My first NES Repro Cart: Shatterhand
There are a few games that I really want for my NES, but they are just too expensive. Shatterhand is one of these games, and it easily sells for anywhere between $60 to $130 USD. I knew about reproduction carts, and that they sold for less, so I started wondering whether I could just make my own. I stumbled upon this great guide by The Poor Student Hobbyist, and decided to go for it.
Before I get into how I did this, I want to say that this was my first time making a reproduction cart, so I definitely made a few mistakes along the way. I will share these mistakes here, and at the end, I’ll talk about how I would do things differently the next time. Also, keep in mind that I’m just a hobbyist at electronics, and I’m sure there are better ways to do what I did. There, disclaimer out of the way. Let’s get to it!
Getting equipped #
I bought myself a TL866II PLUS Programmer, an EPROM eraser, and a few 4 MBit EPROMs (AM27C040). I already had the security bit necessary to open up NES carts, along with wires and soldering equipment.
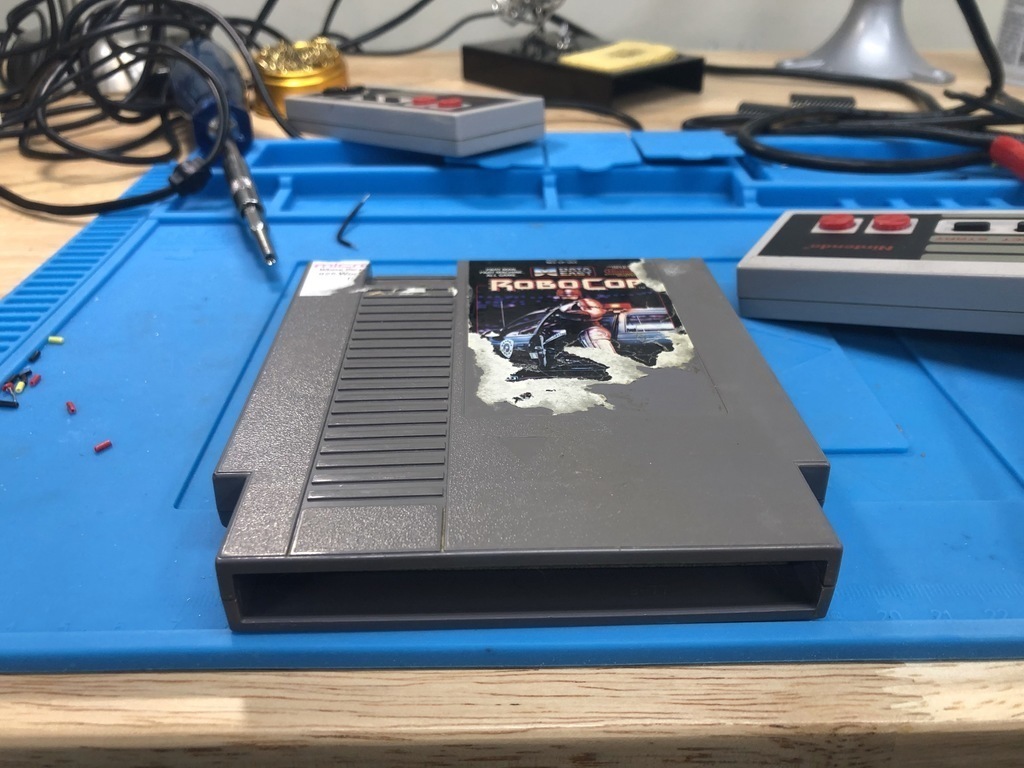
The next thing I needed was a donor cart for Shatterhand. Using the excellent NesCartDB, I opened up the Shatterhand page, and searched for games that used the same PCB Class: the NES-TLROM. I filtered the list to show only US games, and then started searching for cheap games on eBay to see if any were on this list. Eventually, I stumbled upon a pretty beat-up version of Robocop for about $6 USD:
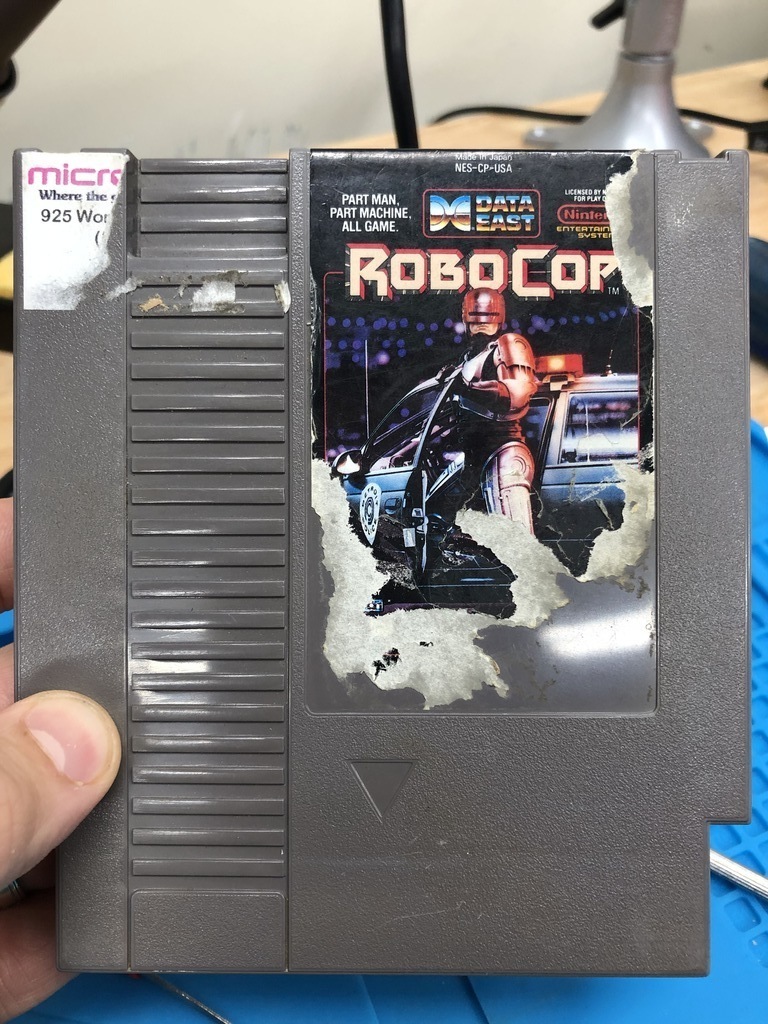
Perfect! As the goal is to replace this with Shatterhand, I didn’t care about the torn up label. In fact, my plan was to remove that label altogether.
Making the repro cart #
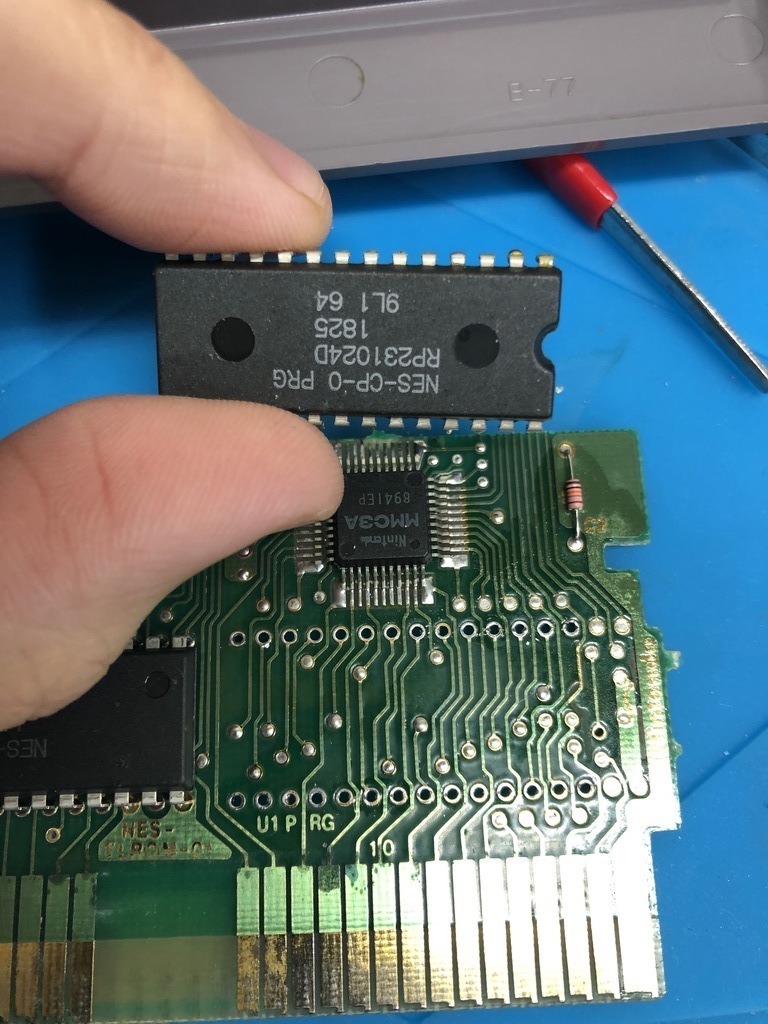
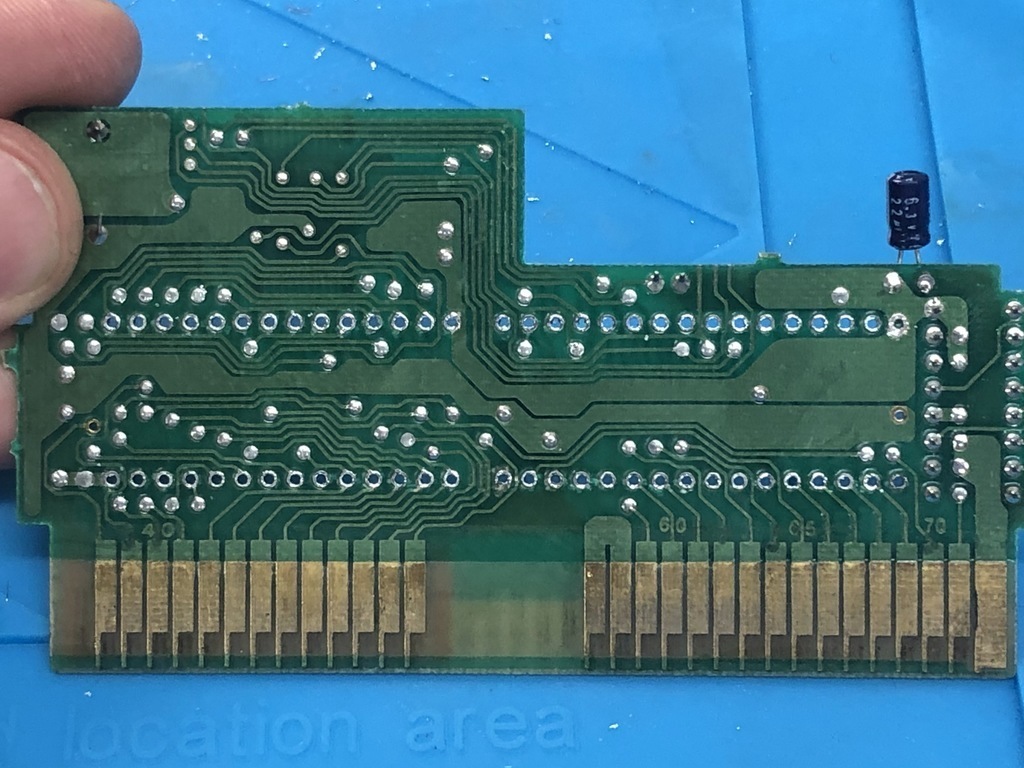
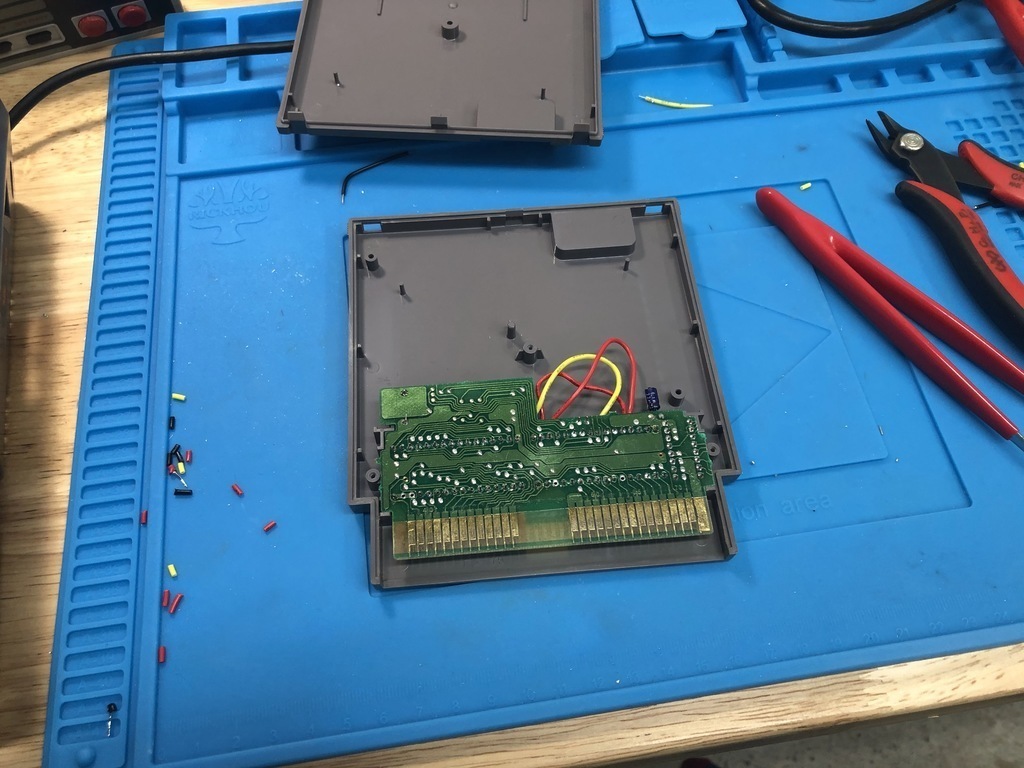
So the first step is to open up the cart, remove the PCB, and desolder the two main ROM chips: the PRG, short for program rom, which holds the game code, and the CHR, short for character rom, which holds the sprite and tile data. I did this using a soldering iron, some flux, a solder sucker, and some desoldering braid. This is definitely not the recommended approach, especially when you need to remove chips with 28 or 32 pins! Ideally, I would use a desoldering gun, but I don’t own one of those (yet). Anyway, with lots of time and care, I managed to remove both chips cleanly, without ripping off any of the vias:
First the PRG:
Then the CHR:
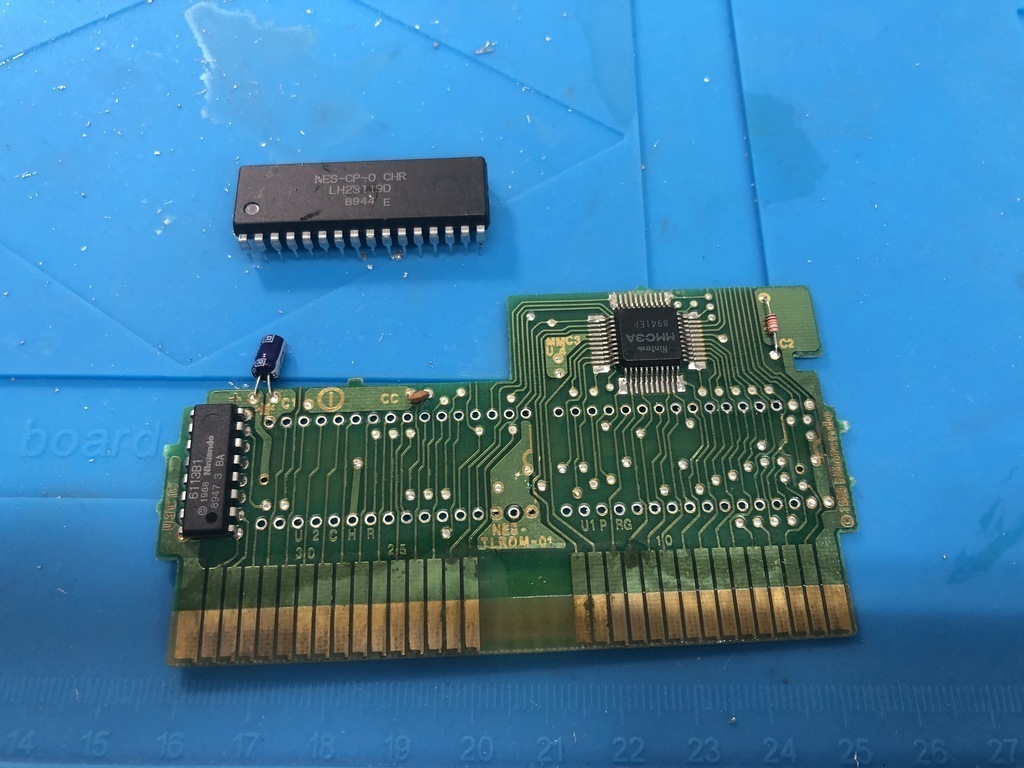
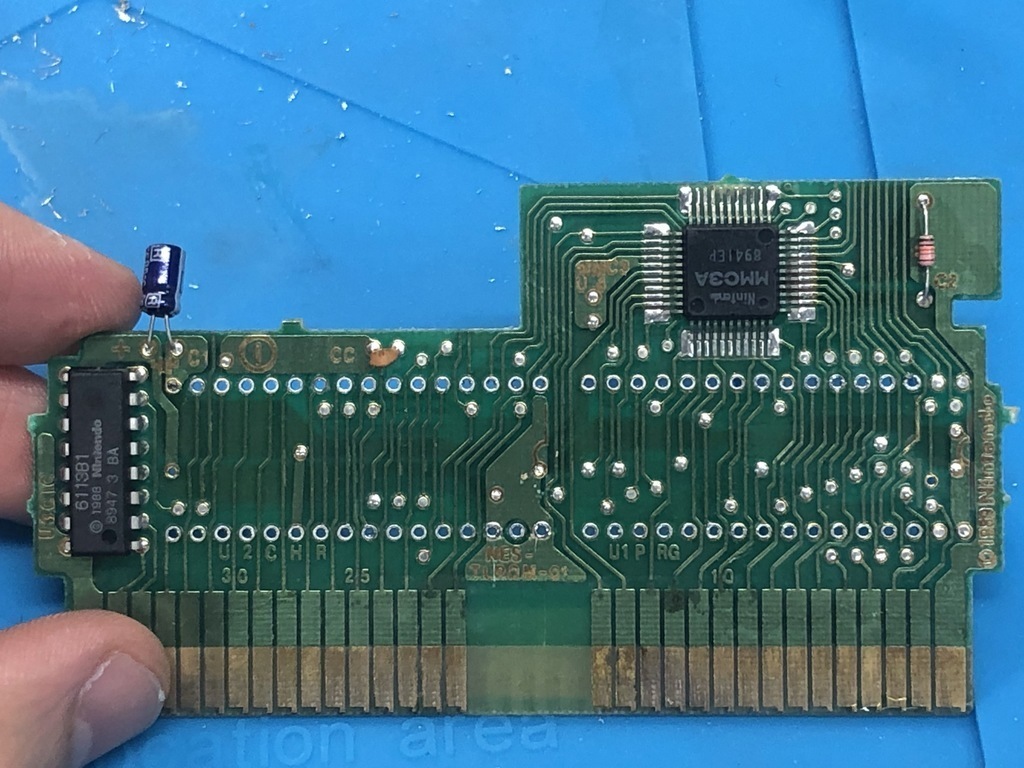
All clean on both sides:
Next, it was time to prepare my replacement EPROMs with the right data. To do this, I needed to take a rom file of Shatterhand, and split it up into two files: one with PRG data, the other with CHR. I used ReadNES3, which I compiled myself by downloading the source from GitHub, and compiling with MSVC:
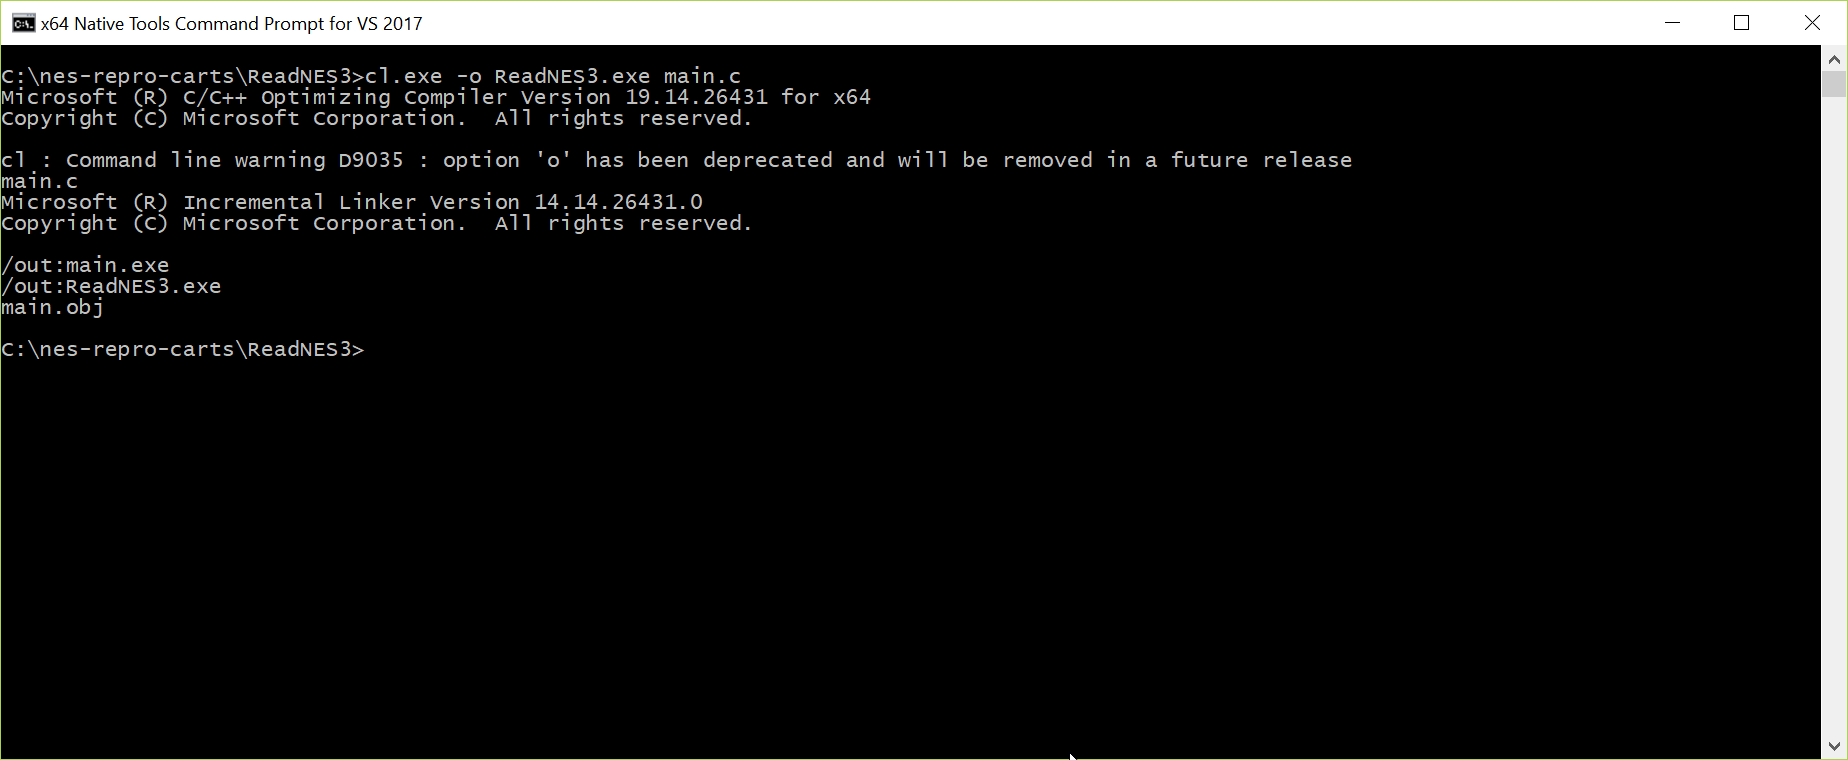
Note that you can download ReadNES3.exe from some sites online, but do so at your own risk. It’s safer if you compile it yourself, as I did. Next, I used ReadNES3 to split up my Shatterhand rom into two:
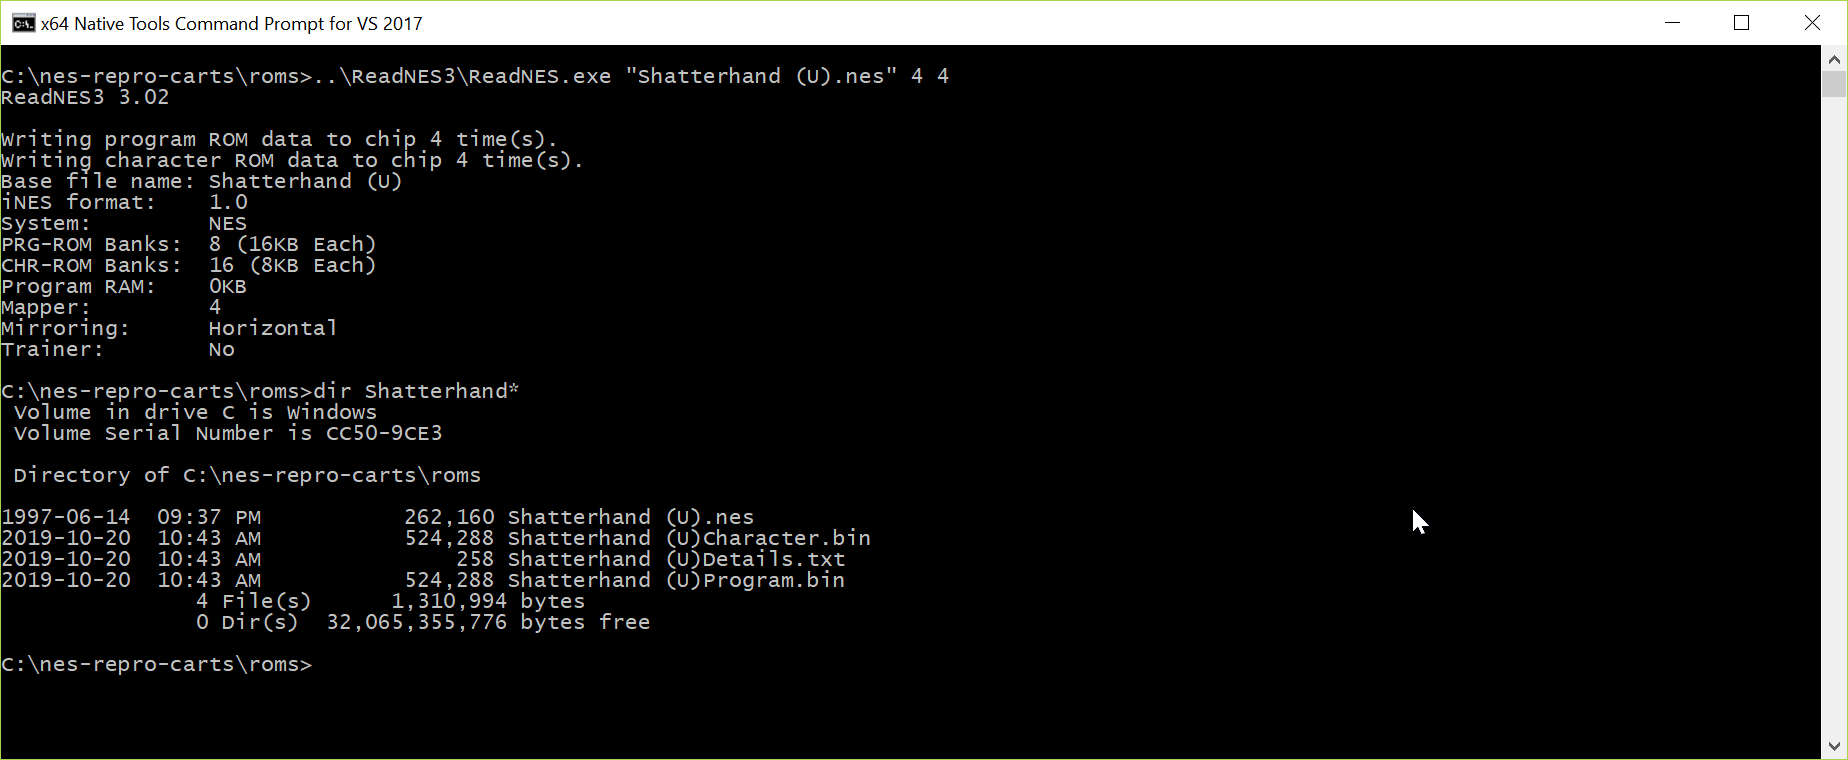
In the case of Shatterhand, this produced two .bin files, each 512 KB, which is exactly 4 MBit - the same size as my EPROM chips. If the files had been smaller, I would have had to duplicate the binary data in each file until the size matched that of my EPROMs.
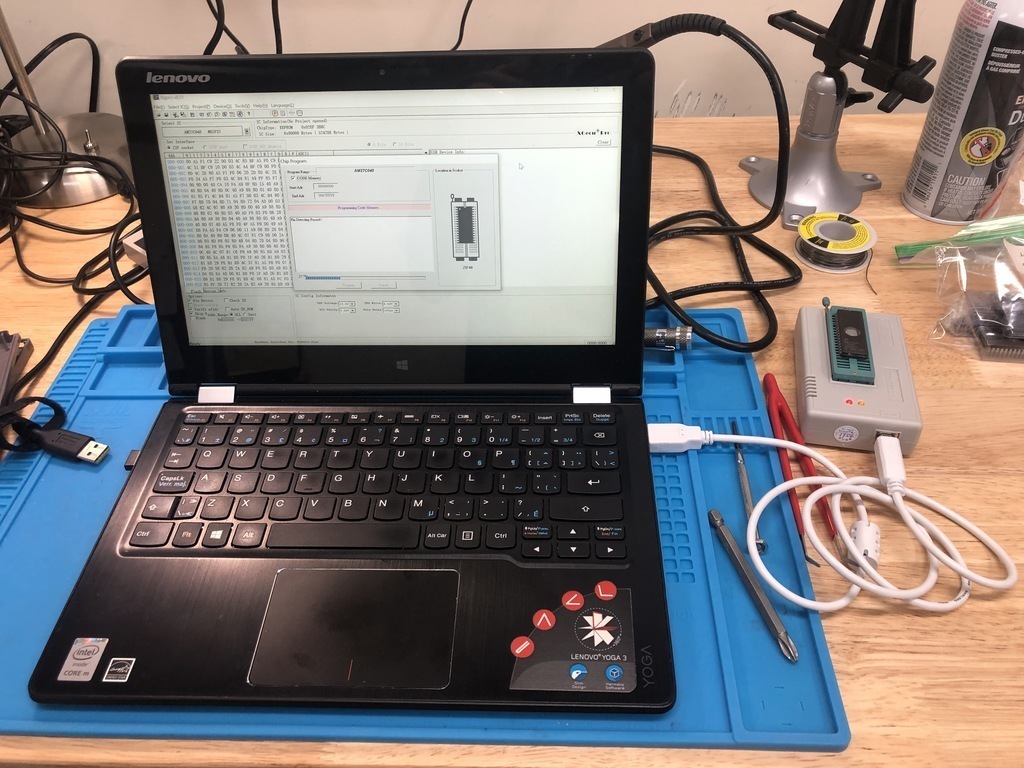
I was now ready to burn these images to chips. I plugged my EPROM programmer to my laptop, and used the programmer software to burn the two files to the two chips:

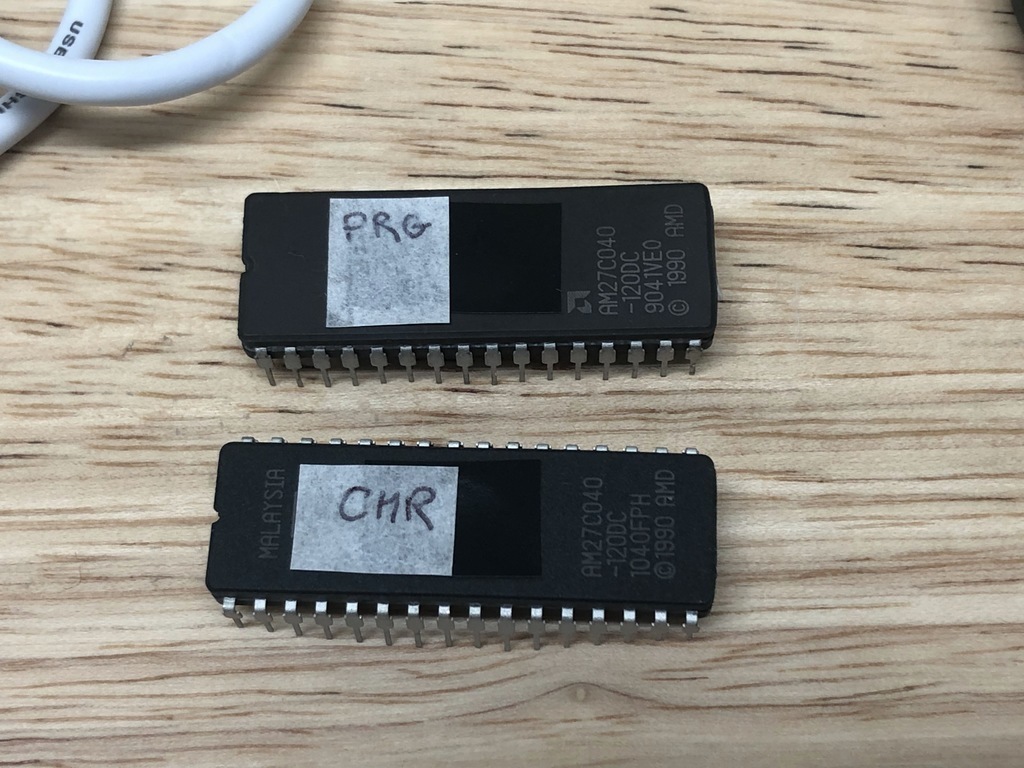
I covered up the little windows on each EPROM with some masking tape, and labeled the chips:
Now because Shatterhand is made up of roms larger than 128 KB (512 KBit), I had to use 32-pin EPROMs, and unfortunately, the pin-out for standard 32-pin EPROMs doesn’t match that of Nintendo’s 32-pin chips. The Poor Student Hobbyist does a good job at explaining why that is, so check it out if you’re interested. Ultimately, what this meant was that I needed to do some rewiring to make the pin-outs match.
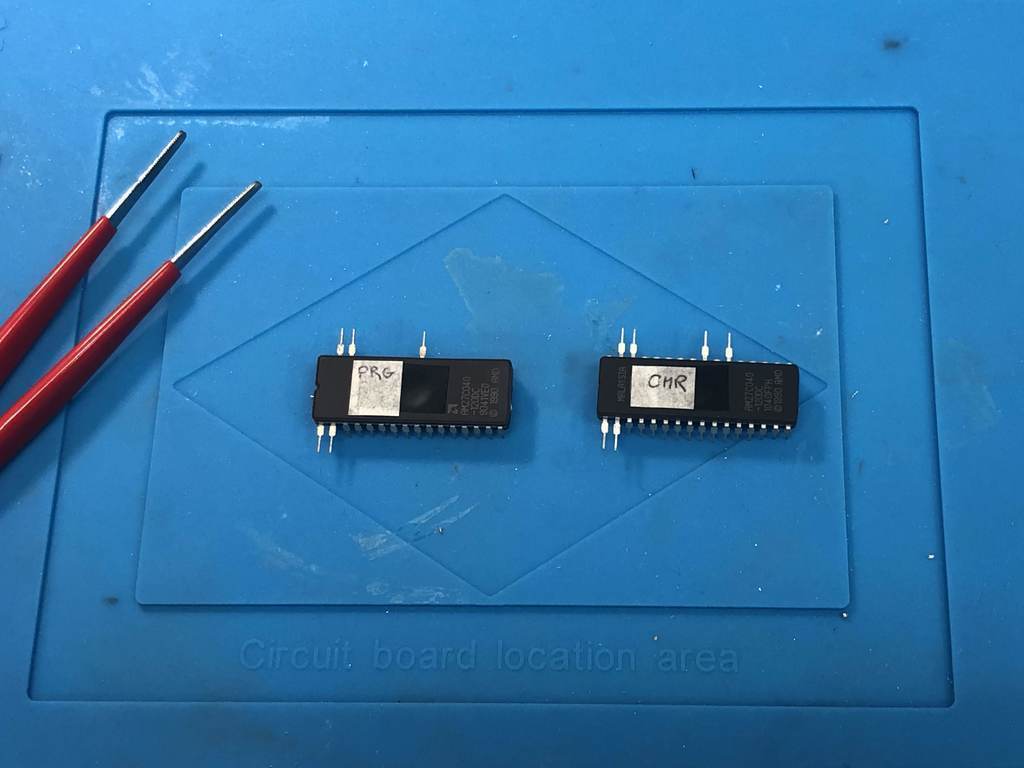
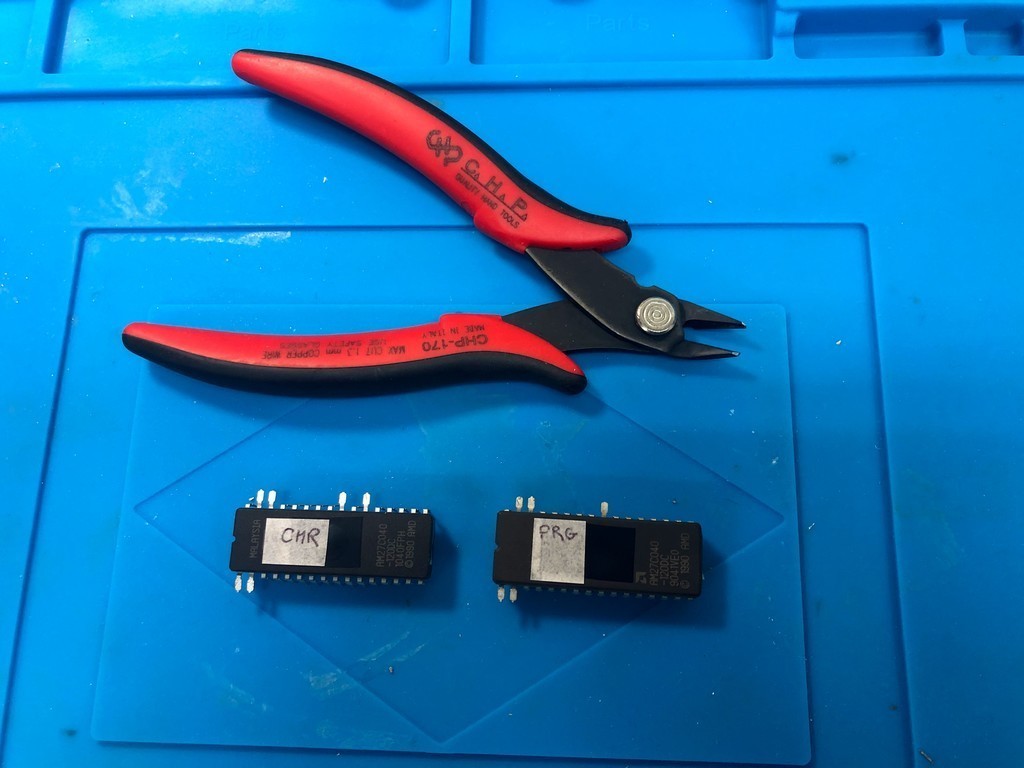
So first I used my tweezers to lift specific pins on each chip, and cut the tips:
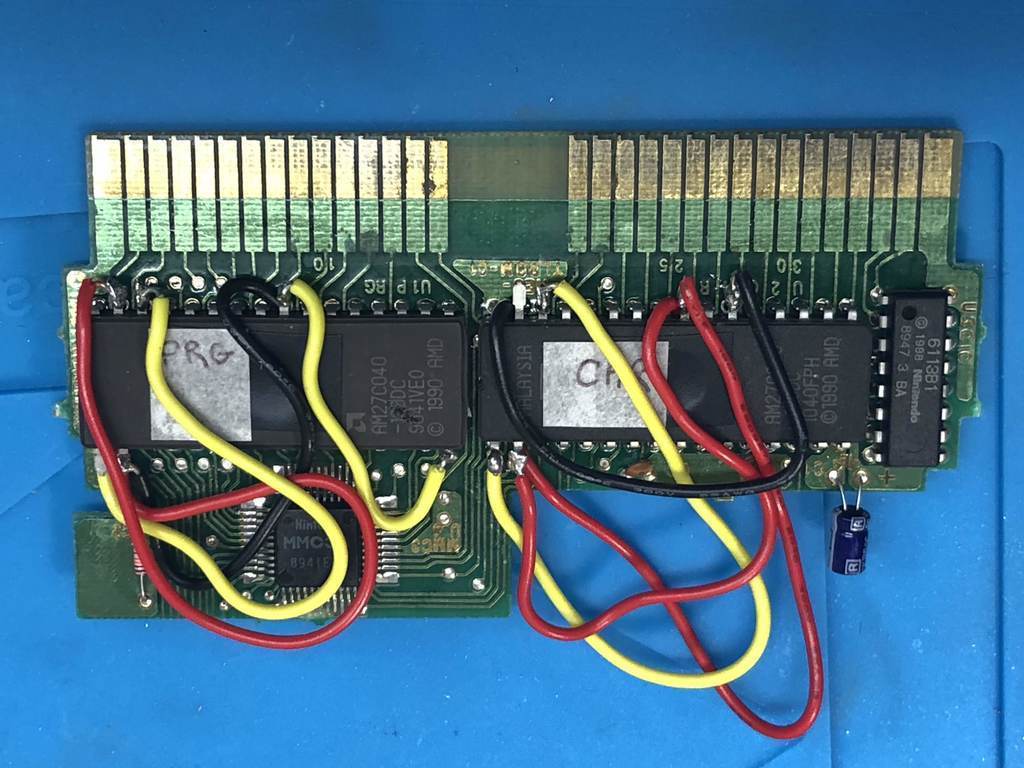
Then I soldered wires into the holes where I had lifted pins:

I placed the EEPROMs into their new home, and soldered them in place:


Then, I soldered the wires to the right pins:

I had to pull all the wires away from the pin connector edge so that it would fit within the cartridge, and try to make it as flat as possible:
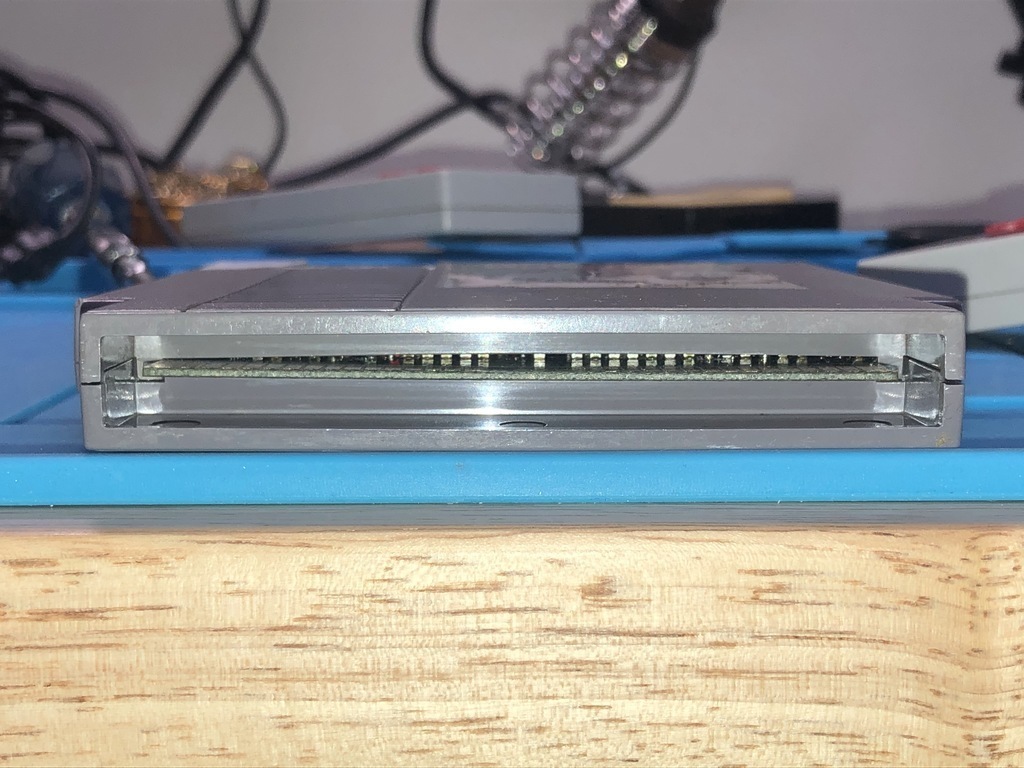
Eventually, I was able to get the PCB to fit back into the cartridge:
Unfortunately, I made the same mistake The Student Hobbyist made, and used wires that were too thick, which meant that the cartridge did not close properly:
Apart from the fact that the cartridge didn’t close properly, I also made the mistake of over-tightening the screws to compensate for that fact, and ended up stripping one of the plastic fasteners. I made it work, but definitely it’s worth nothing that you should never over-tighten the NES cartridge screws.
So finally, it was time to test the game! I popped it in, and it worked!
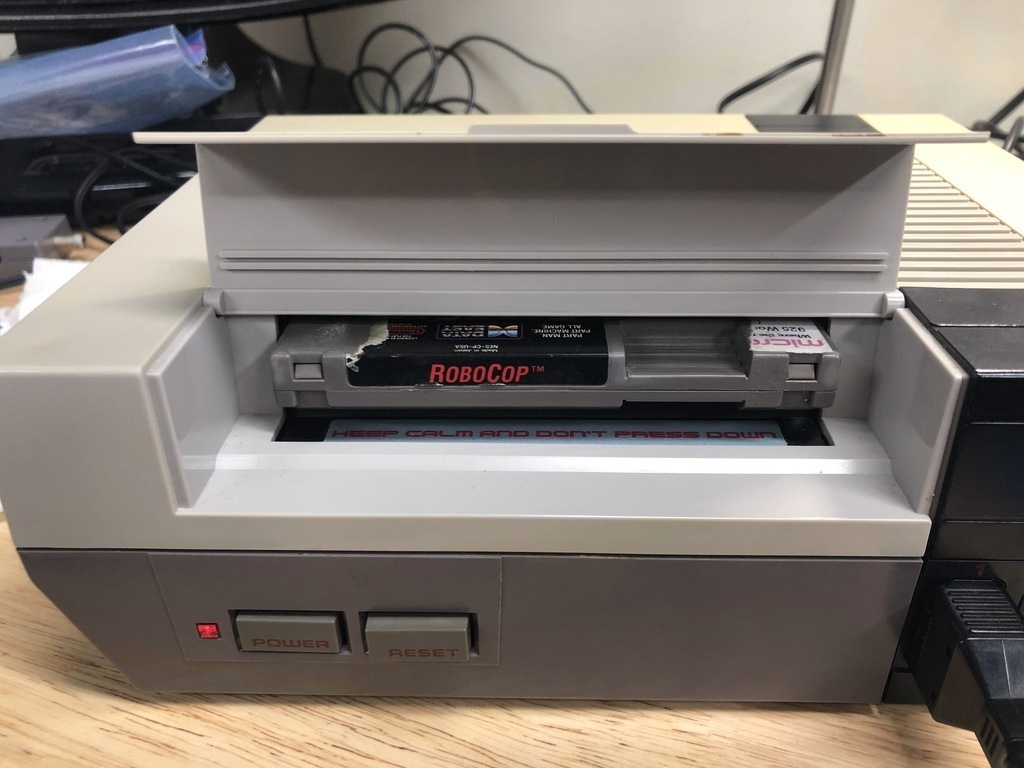
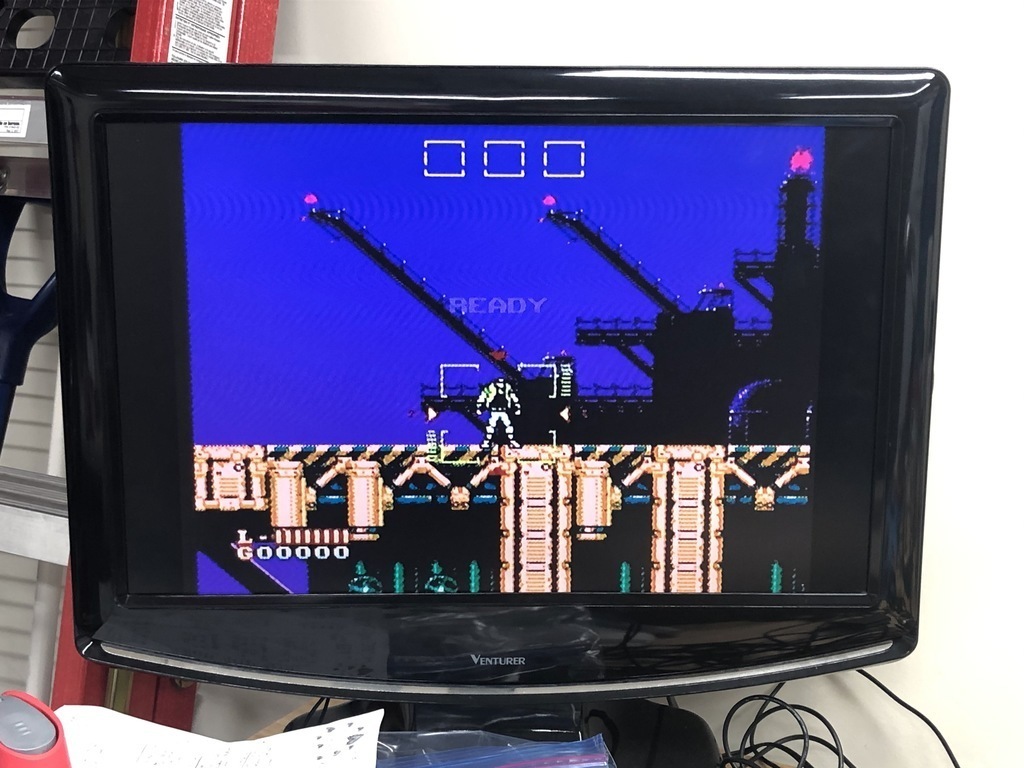
I can’t tell you how elated I was to see this working! It had been such a long and laborious effort, and I was sure something would go wrong, but it actually worked on the first try!
Making the label #
I could have stopped there, but I wanted the cart to look right. So I opened up the cart again, and tried to remove the label. My first attempt was to try some Goo Gone:
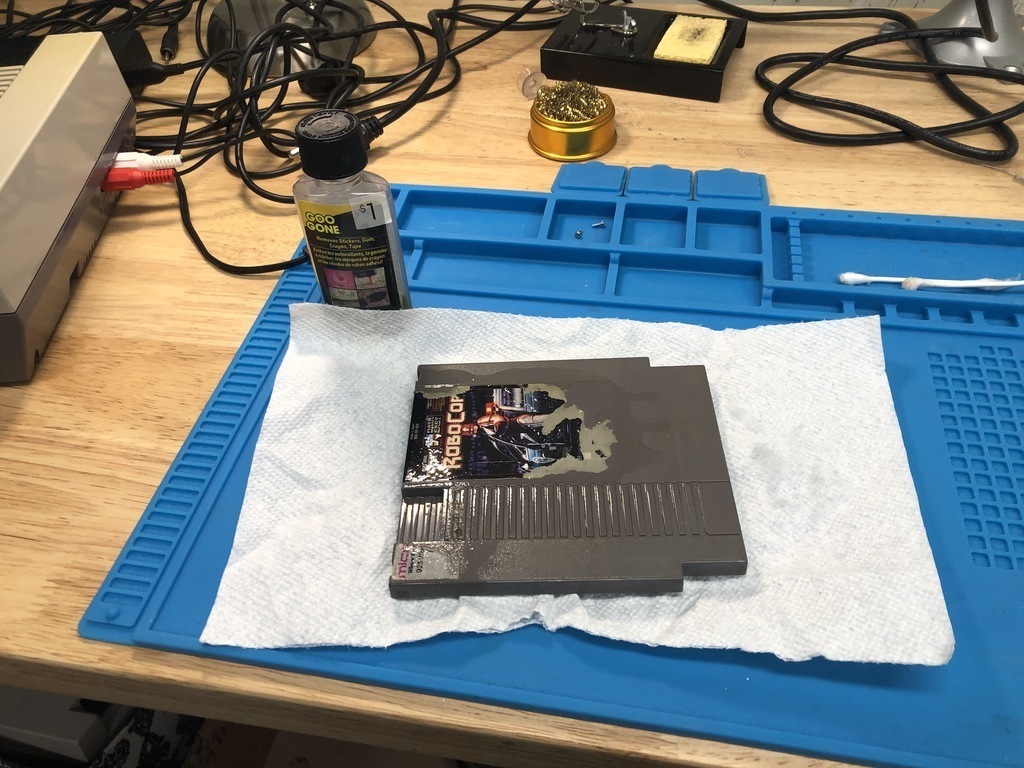
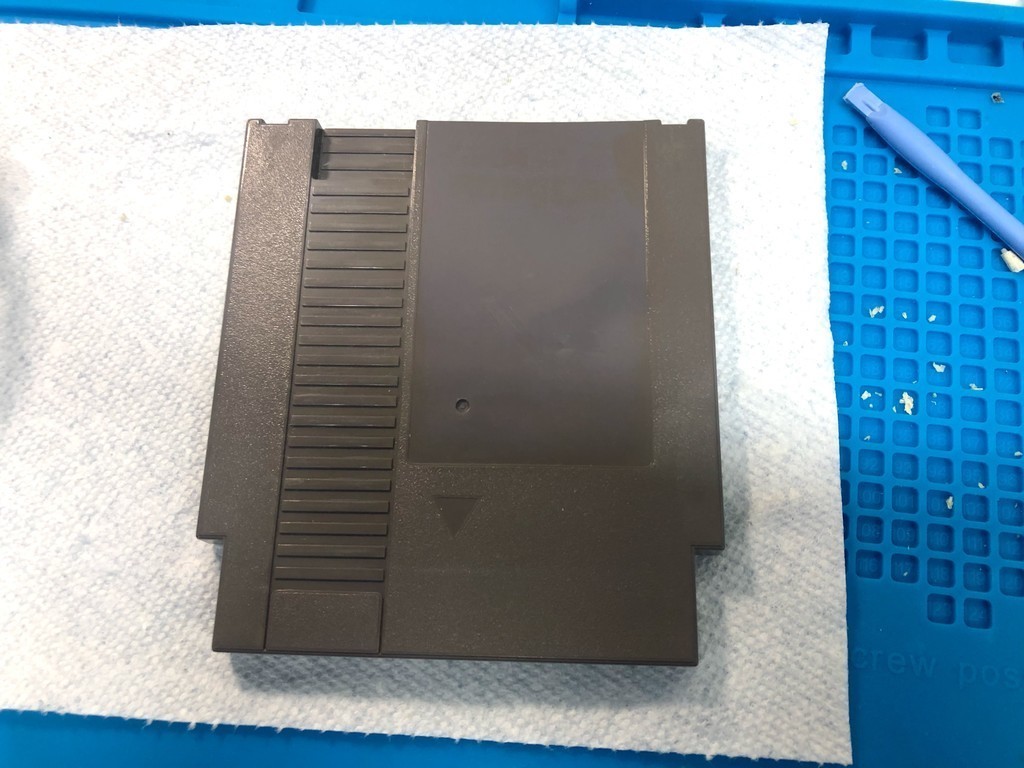
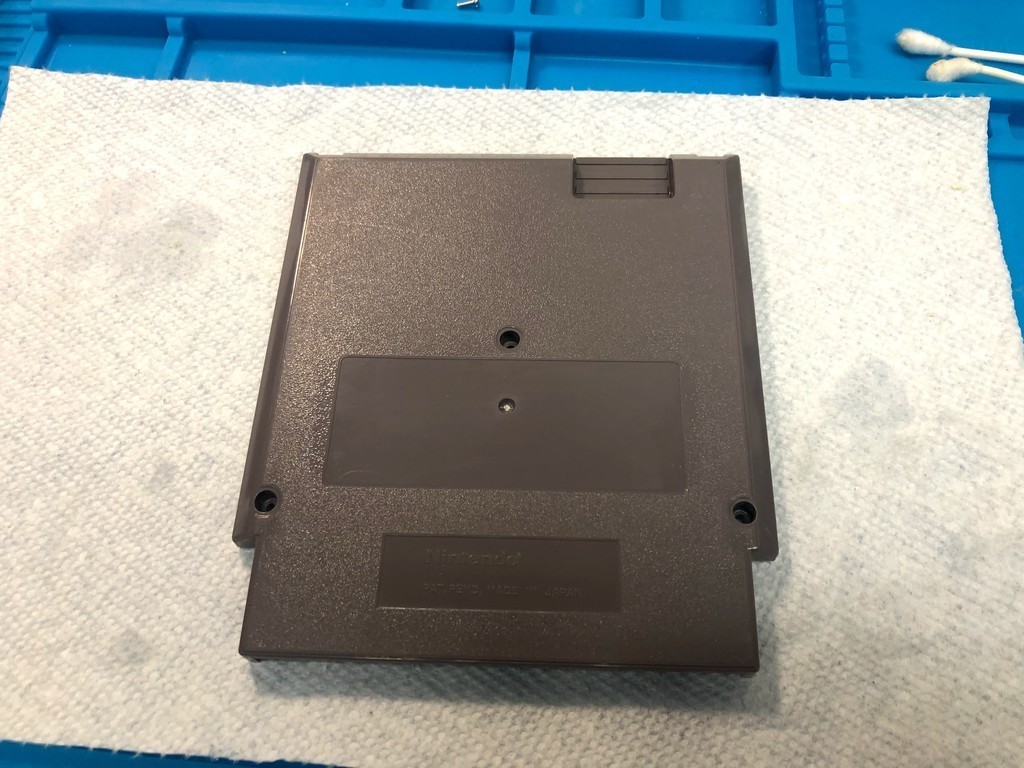
But actually Goo Gone didn’t work that well. What did work was using a blow dryer. Heating up the label makes it come right off. However, I made the mistake of keeping the blow dryer heating up one spot for too long, and somewhat warped the plastic! Anyway, after removing the label, and cleaning up the remaining little bits with Goo Gone, my cart was now ready for a new label:
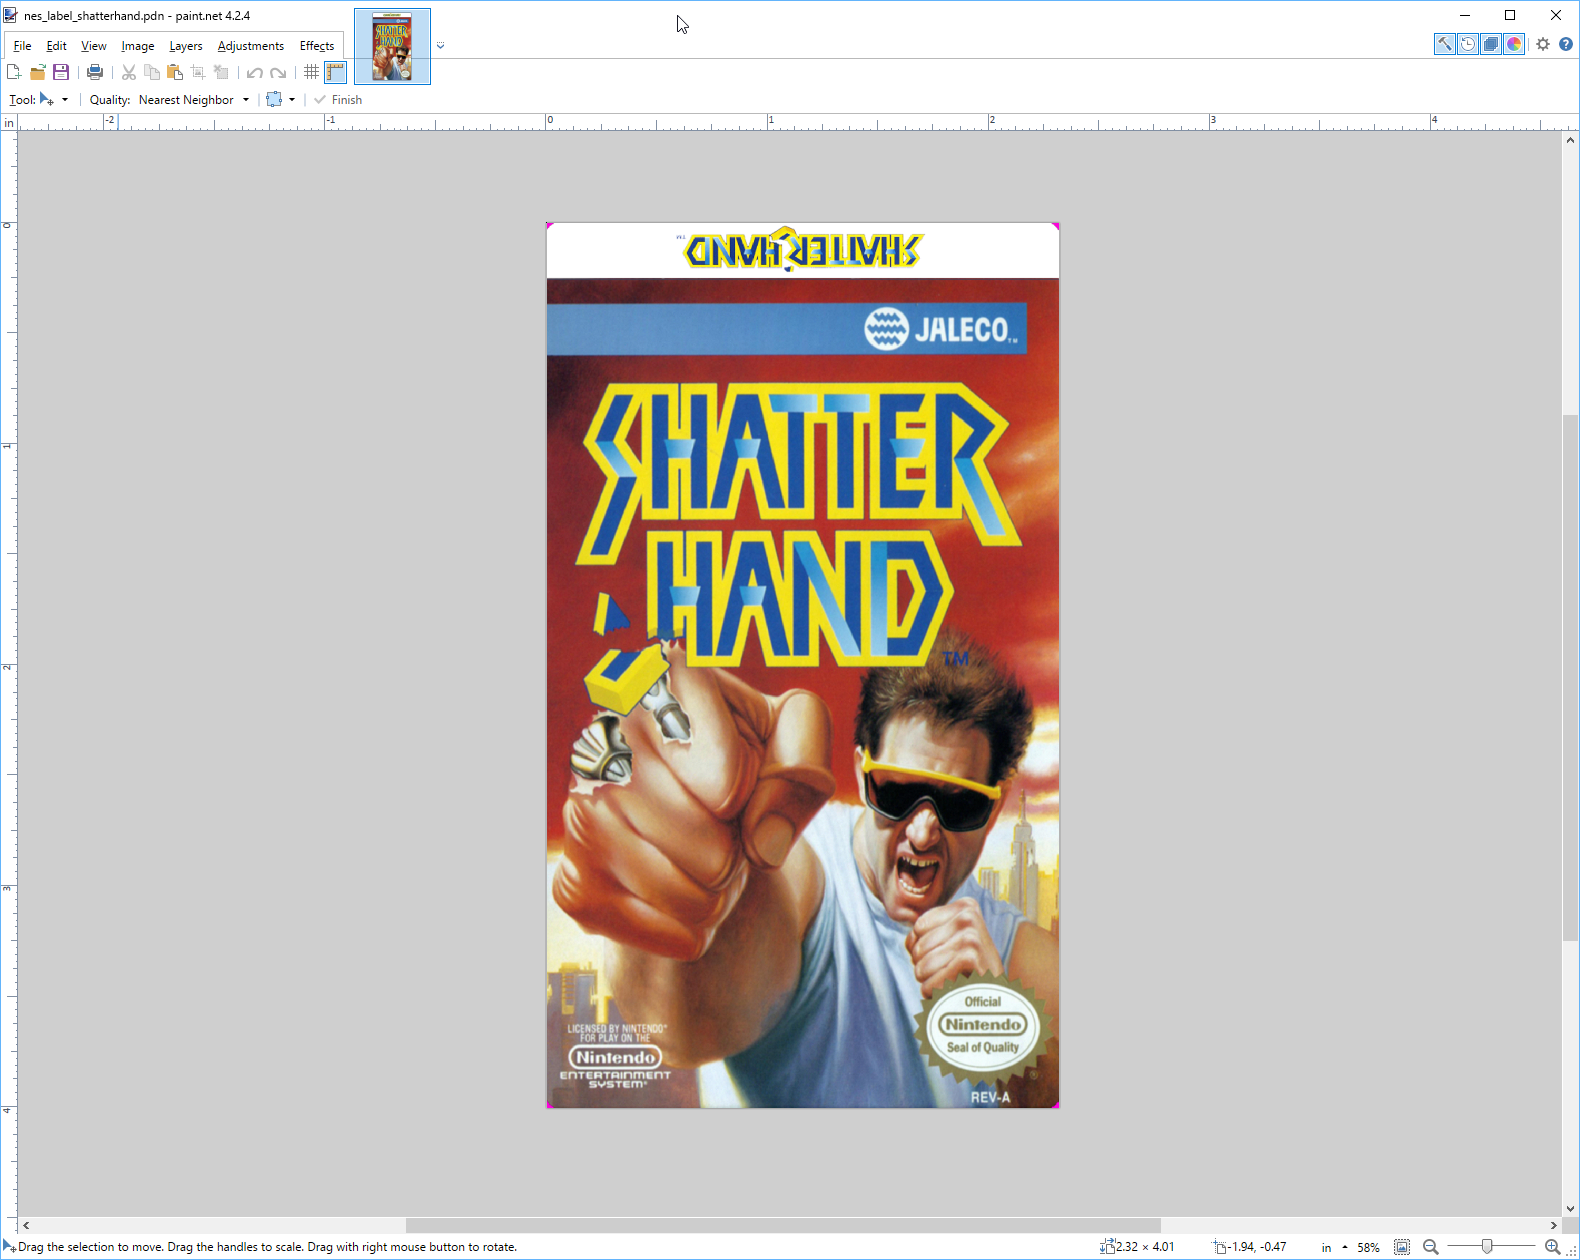
To make a label, I found a template online, and used used Paint.Net to make one that resembled the official Shatterhand label:
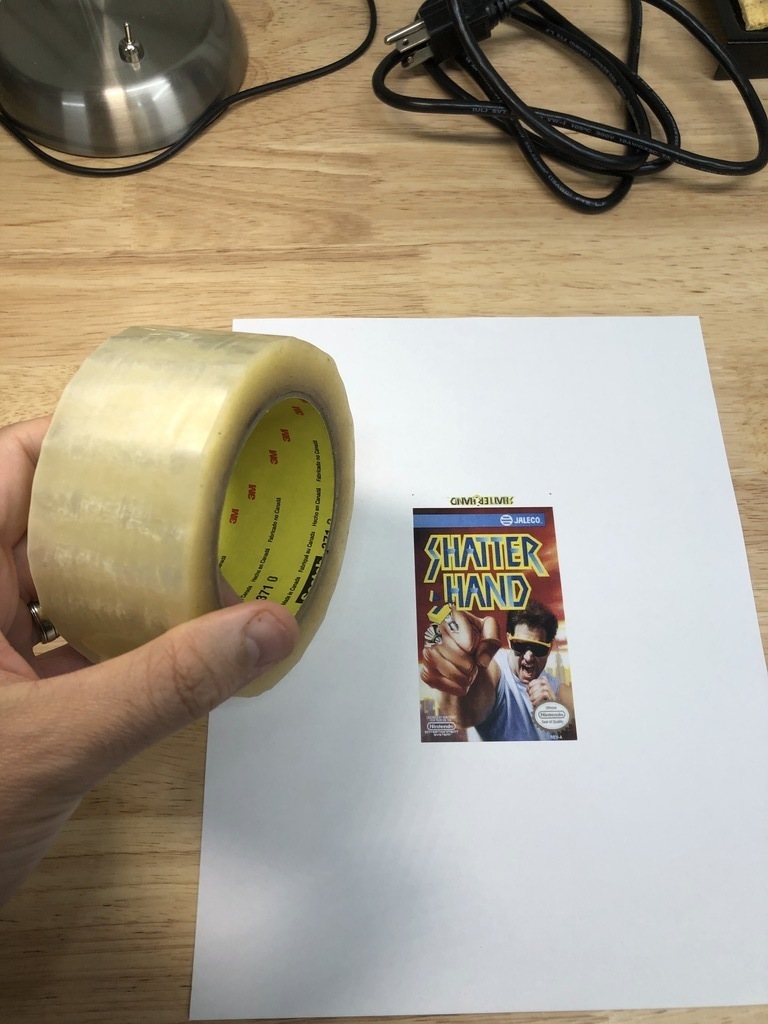
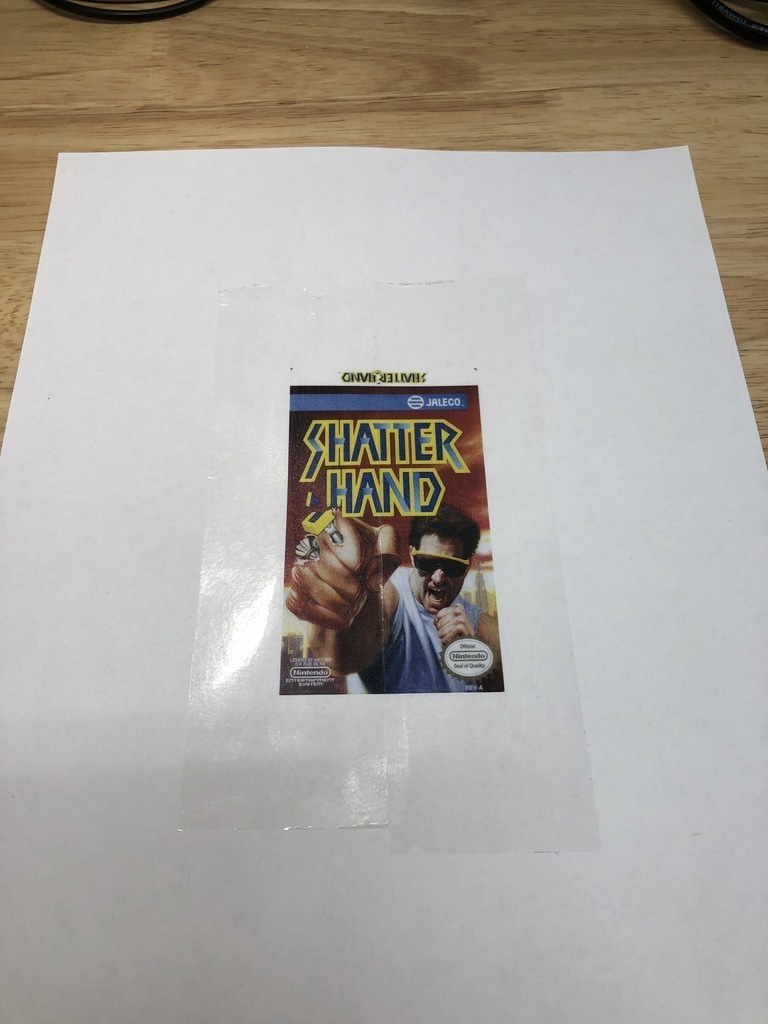
I printed the label on a regular sheet of paper, and used some packing tape to cover it on one side. Because the tape wasn’t wide enough to cover the width of the label, I had to apply two pieces side-by-side:
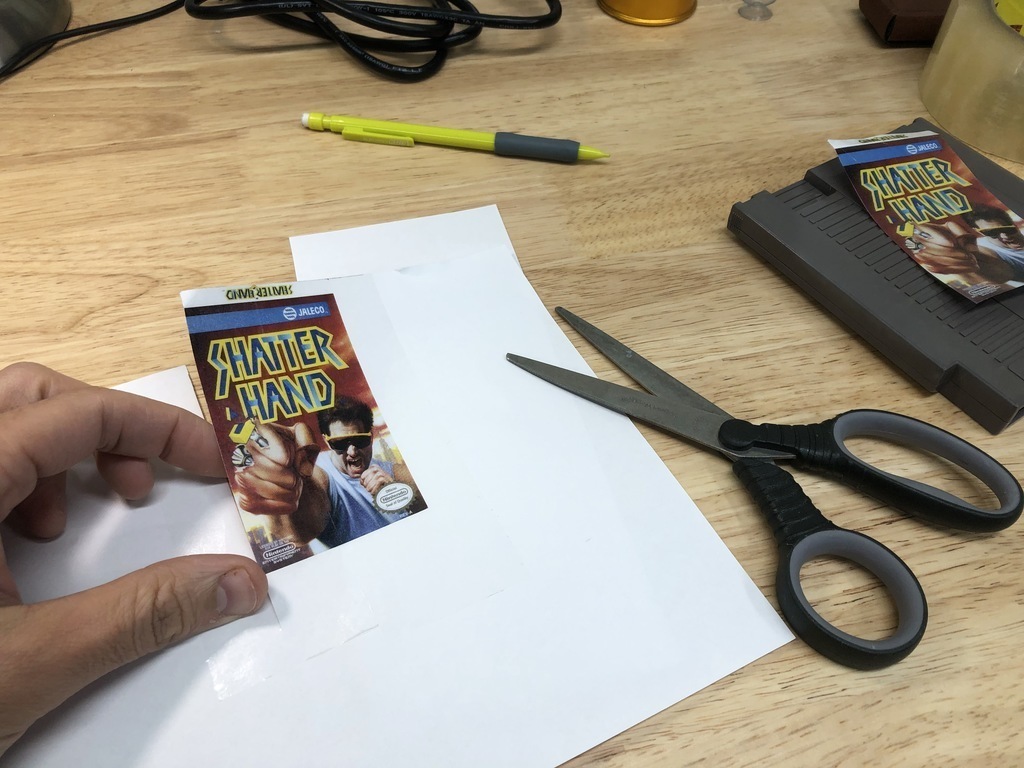
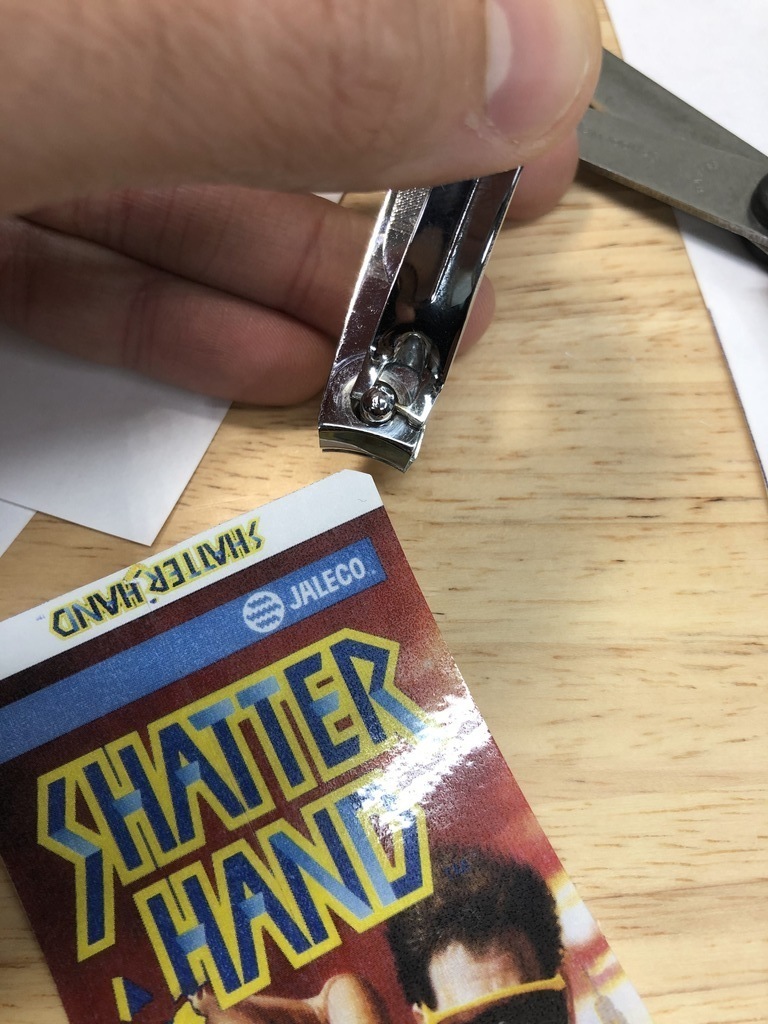
I cut out the label, and used nail clippers to cut the corners:
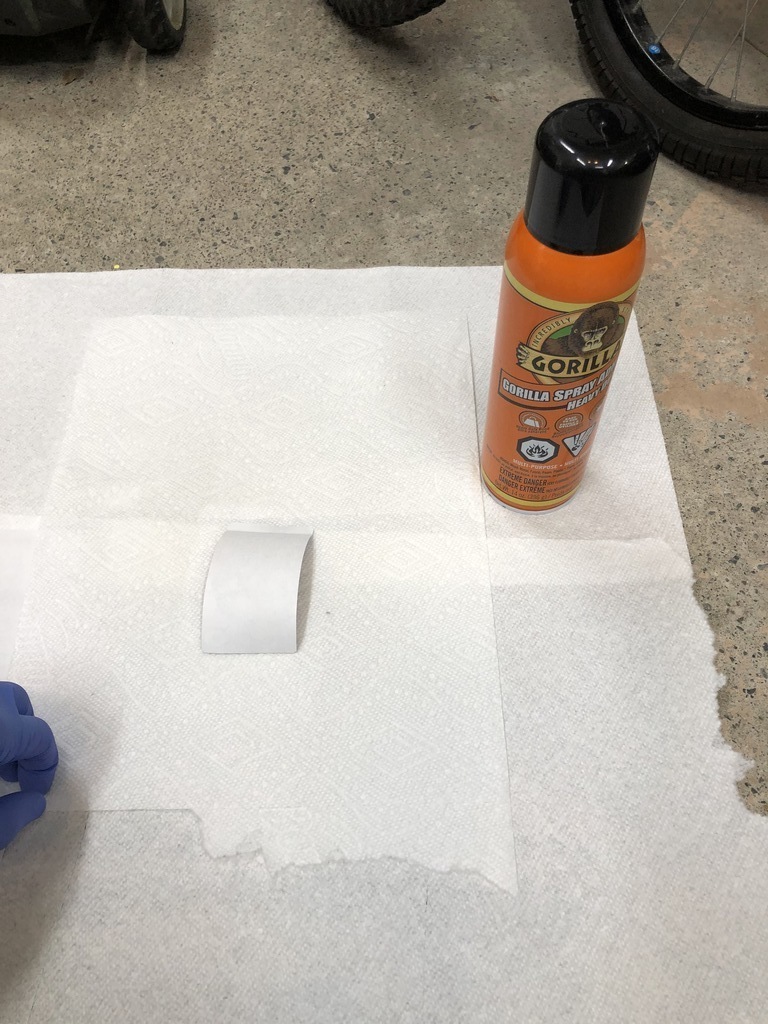
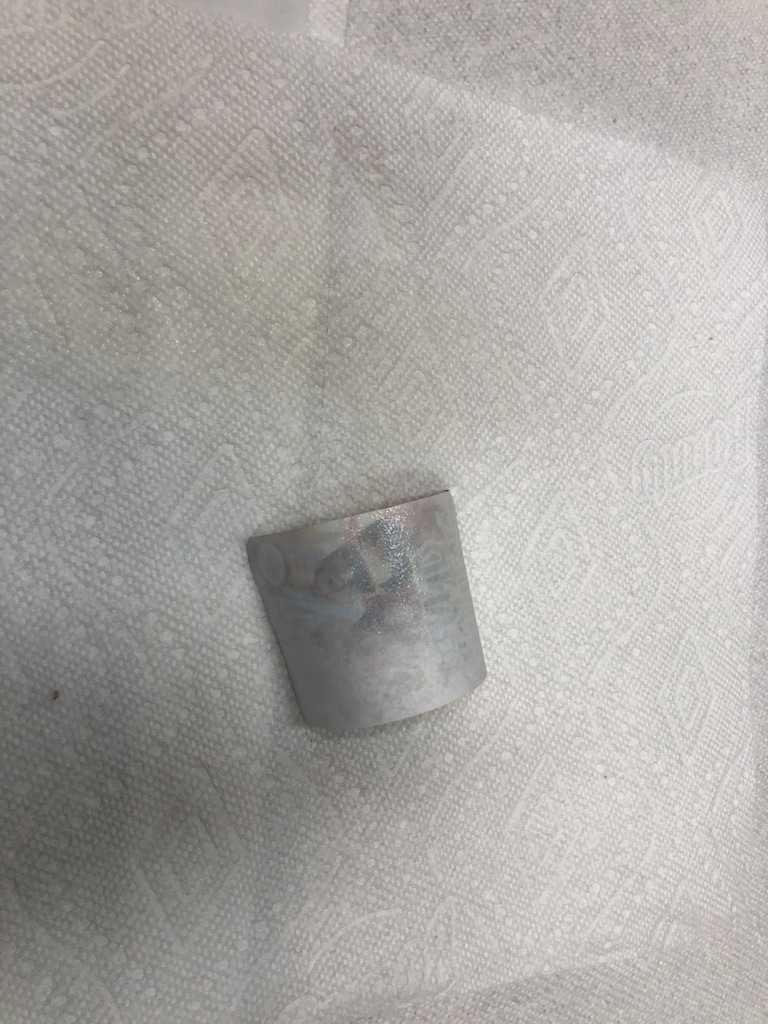
I laid out the label and sprayed the back with some adhesive spray:
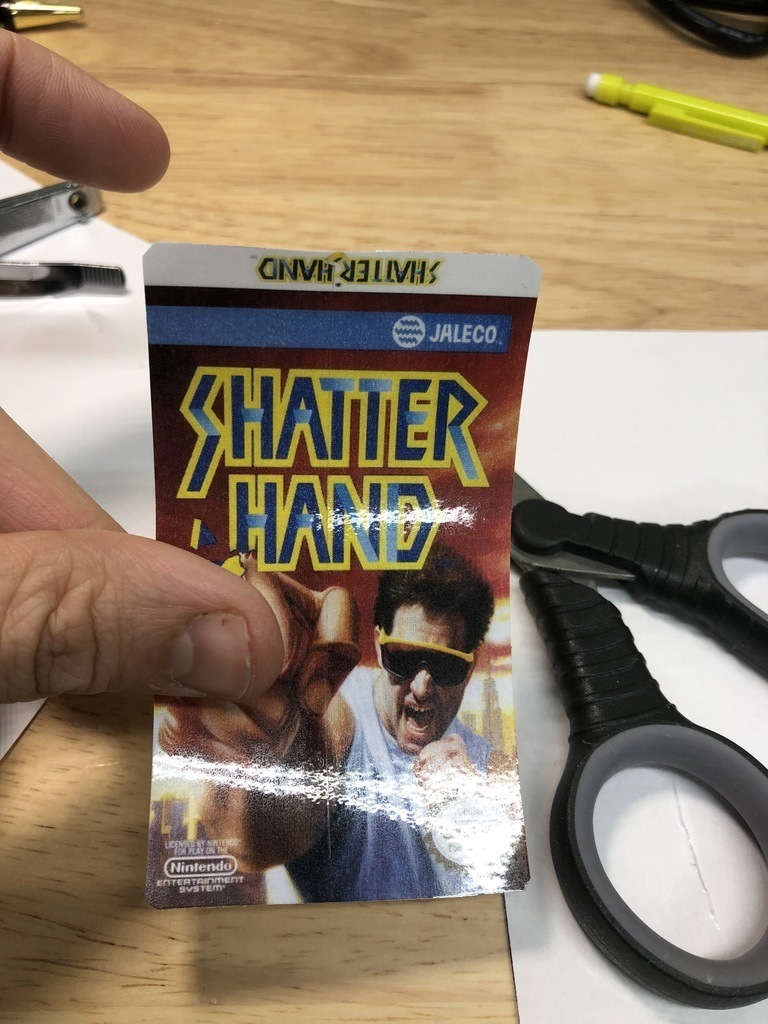
I carefully applied the label to the cart:
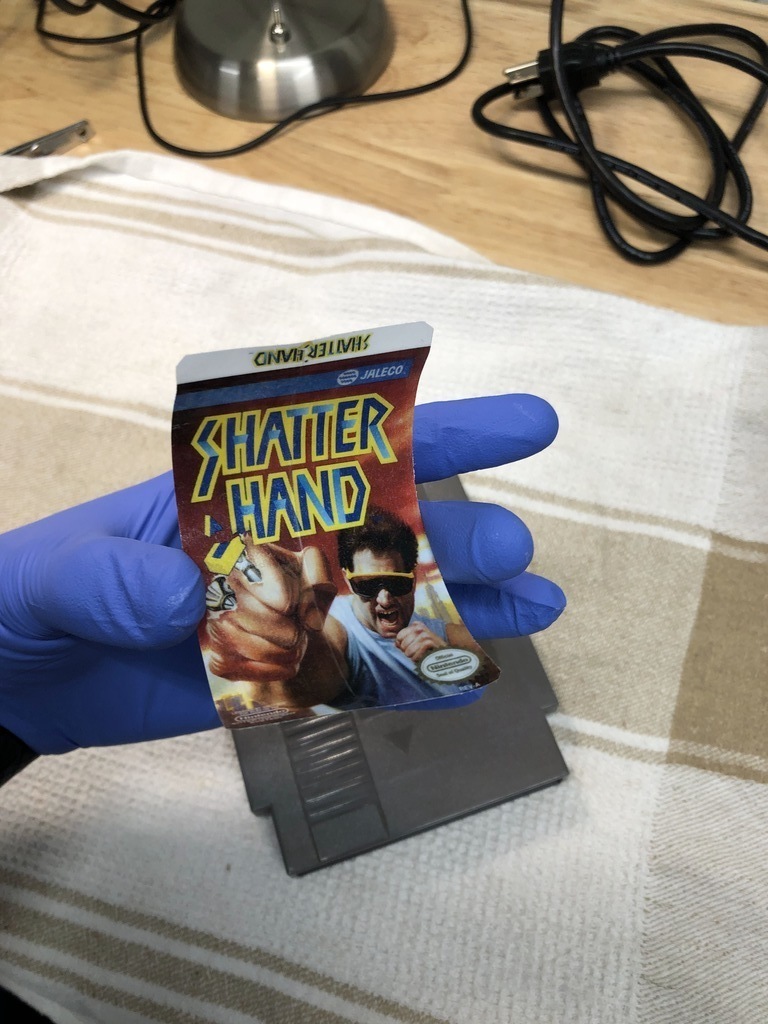
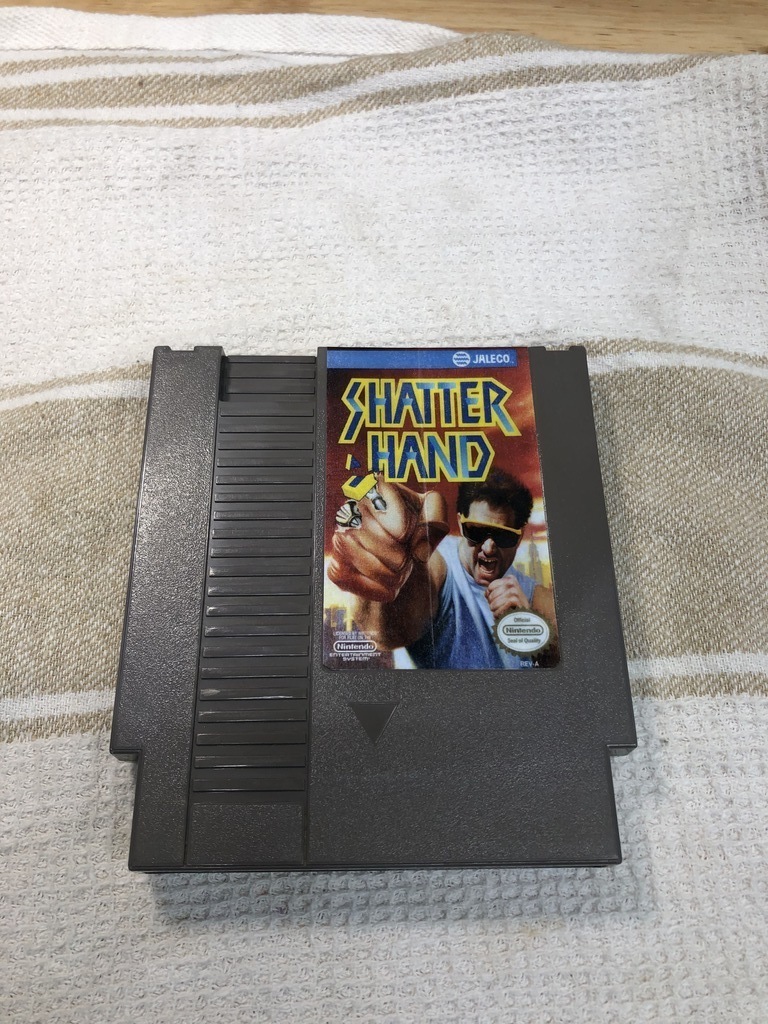
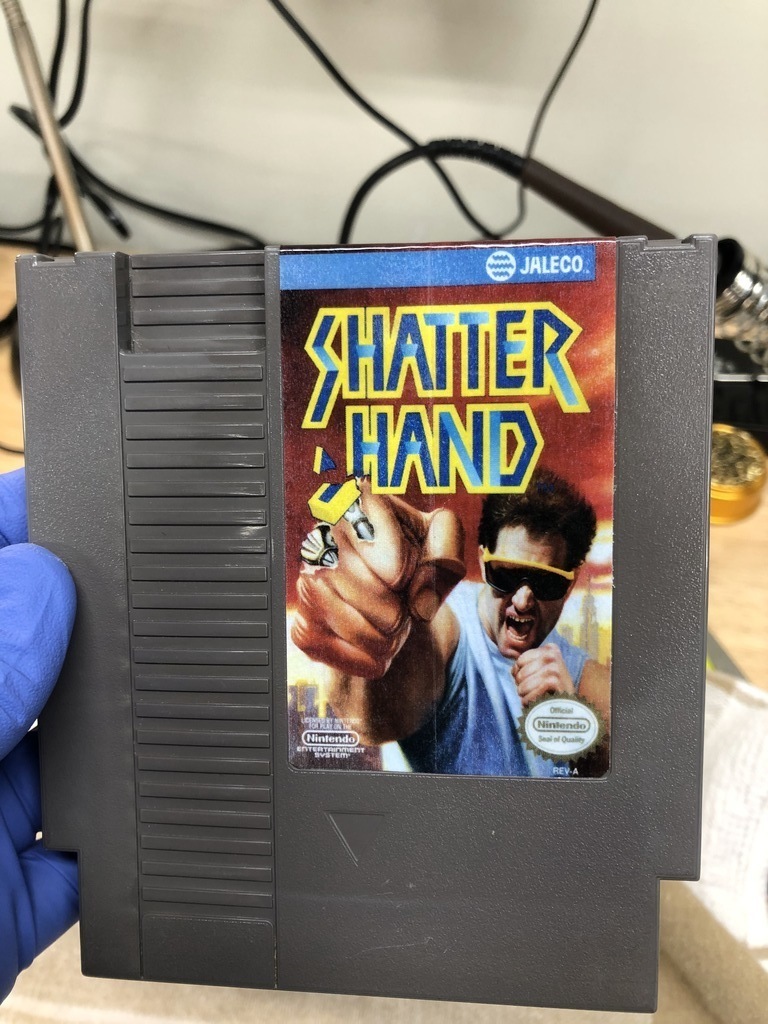
And I was finally done! I thought it looked pretty good:
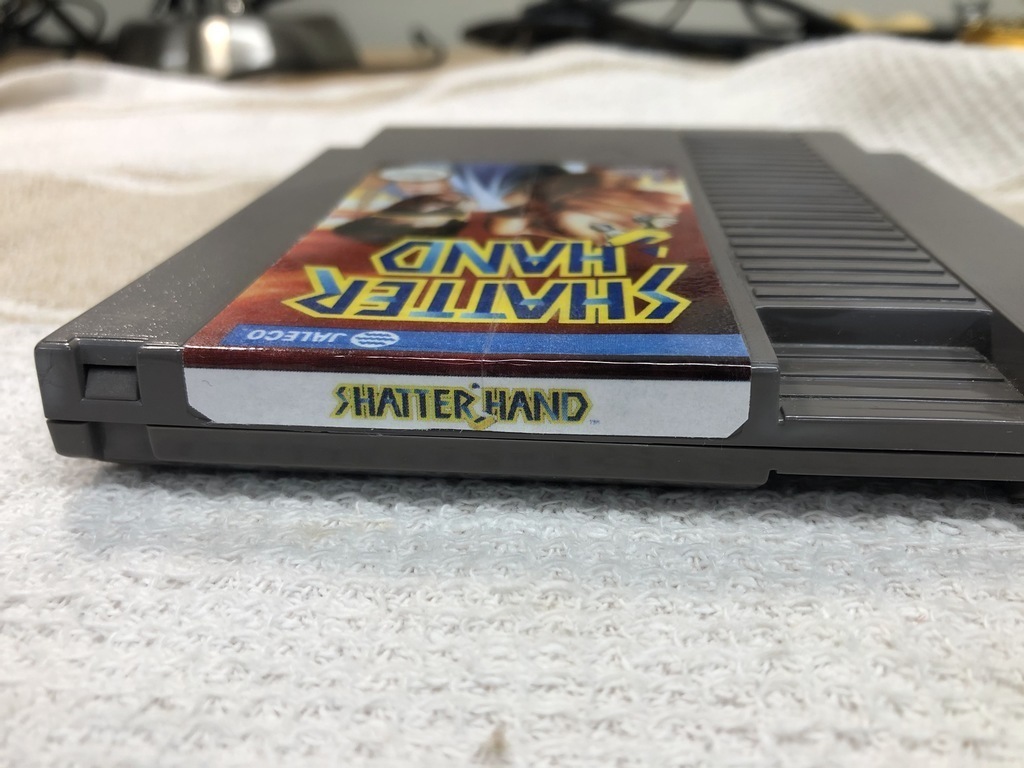
But a day later, I noticed some bubbling under the label:

This was surely because I had applied adhesive spray to the paper side of the label. I should have covered both sides with tape, not just the front.
Lessons learned #
For my first reproduction cart, I must say that I’m very happy with the results! However, I made a few mistakes along the way, so I thought I’d list them here. These are things I’d do differently next time:
- Use a desoldering gun to remove the chips. I managed to remove them with a soldering iron and a solder sucker, but it took a long time.
- Use thinner gauge wires. The wires I used were much too thick, making it impossible to close the cartridge properly.
- Do not over-tighten screws when closing up the cartridge. The screw fasteners are plastic, and strip very easily. When tightening screws on carts, stop screwing as soon as you feel it stop turning.
- Use a blow dryer to remove labels, but don’t overheat. The labels on NES carts are stuck on there with some strong adhesive, but it comes undone quite easily when heated. But don’t overheat, as I did, or the plastic will warp. Just keep moving the blow dryer head over the label, and test it often to see if it’s ready to come off.
- Cover both sides of a new label with packing tape. I only covered the front, and because of this, the adhesive spray soaked the paper back and the label bubbled up the next day. Of course, if you can print directly to label sheets, then you avoid the whole problem altogether.
- Find wider packing tape that actually covers the entire label. I had to stick two pieces side-by-side, which was difficult to do, and didn’t look great. I’ve since bought packing tape that fully covers the label, which I’ll use next time.
My next repro cart will hopefully go smoother. If you’re interested in making your own, I definitely urge you to give it a try. It’s a lot of fun. Having said that, I do not condone the making of repro carts to trick people into paying lots of money for what they think is the real deal. If you are going to sell, please be honest about what you’re selling. In my case, though, I have no interest in selling. This is just so that I can play these games on my real NES.
Thanks for reading! If you found this post useful, or want to share your own repro-cart-making adventures, post about it in the comments.