Genesis Vectrex Controller
I’ve owned my Vectrex since I was a kid, and it’s an awesome system, but it only came with one built-in controller, so I could never play two-player games. I looked into buying a second controller, but it turns out it’s extremely expensive, costing anywhere from $150 to $400 USD, at least on eBay! Another option is to buy a VecAdapt, which can be used to connect a Genesis controller without alteration to the Vectrex. This looks like an excellent product, but it would cost me around $45 USD, which isn’t that bad, but I figured it would be way more fun to make my own.
The original Genesis controller fits almost perfectly into the Vectrex’s 9-pin port, and with some modifications, can be made to work. Of course, the Genesis controller has a dpad, so it can’t be used to play games that require the analog stick; however, it turns out that most games don’t use the analog functionality of the Vectrex, so it’s fine.
The details for the required modifications were originally written up by Brian Holscher and Rob Mitchell, and can be found here. The post describes a more interesting mod that includes a micro-controller that allows to alternate the button mapping, but I went for the simpler approach that hard-wires the button mapping instead. I also used this flickr post by recycledgamer, which had some helpful images.
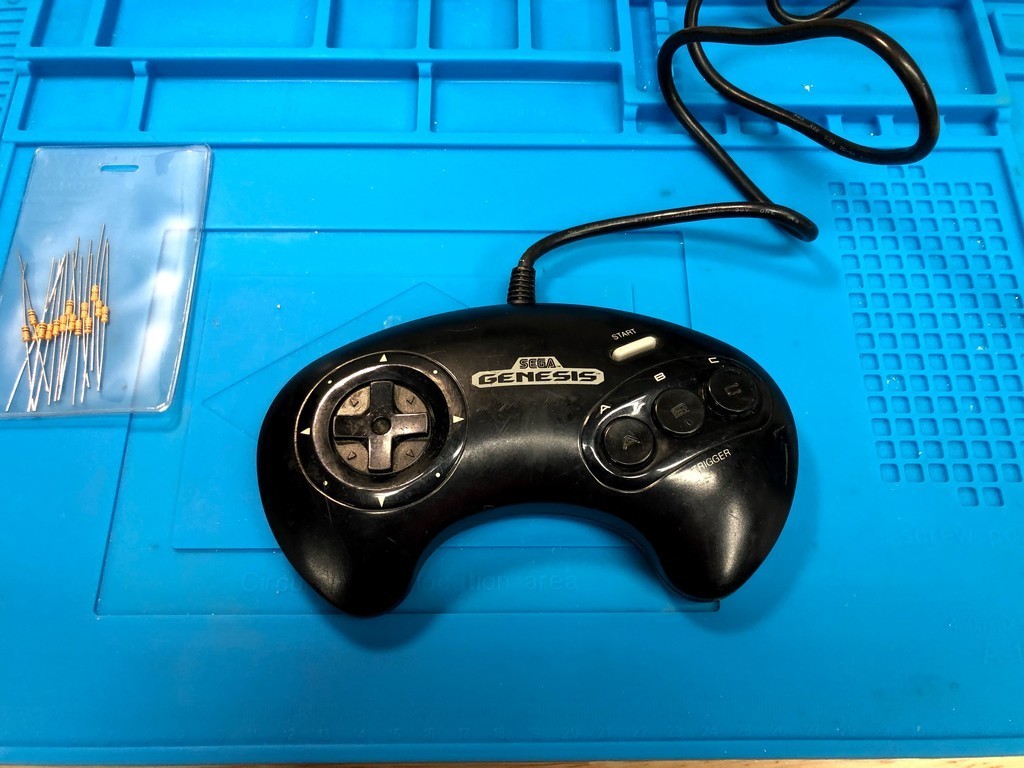
With this in mind, I bought a Genesis controller through Facebook Marketplace for about $12 USD. I later bought 2 controllers for about $7 USD total, so you can definitely do better if you keep looking.
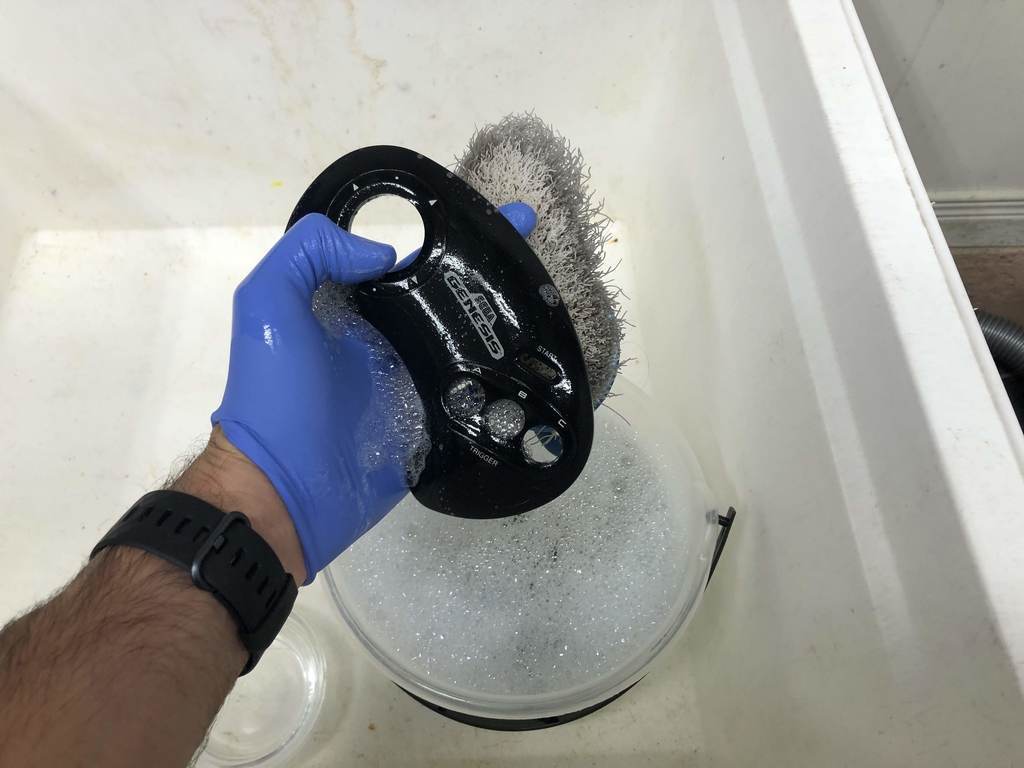
Opening up and cleaning #
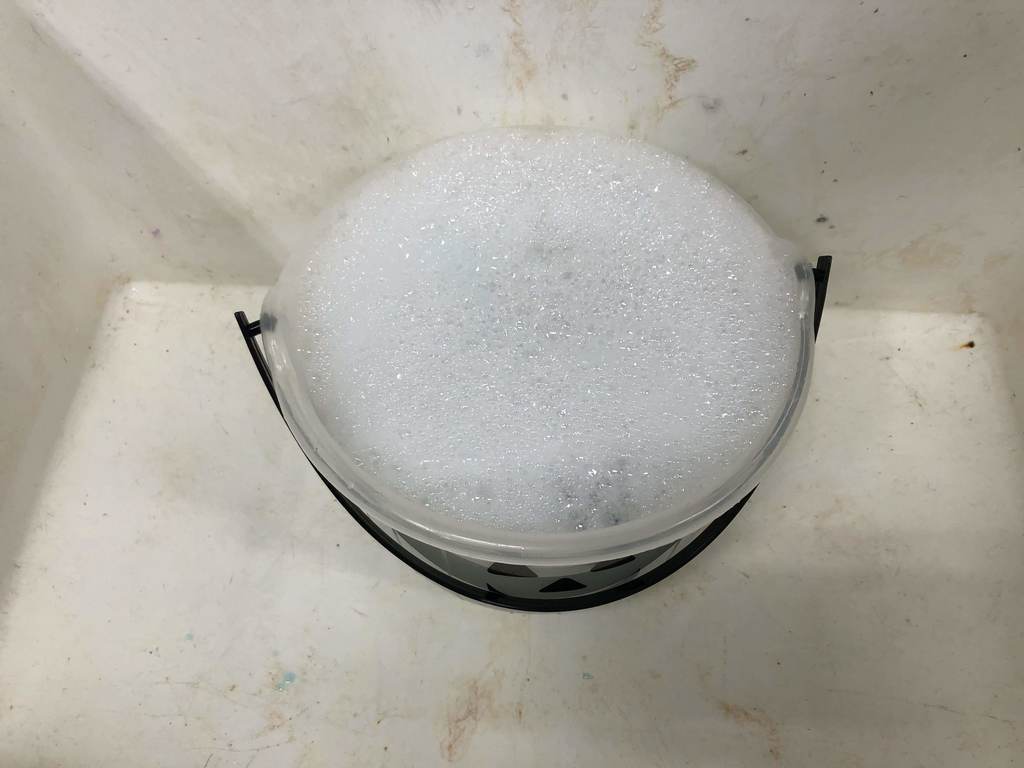
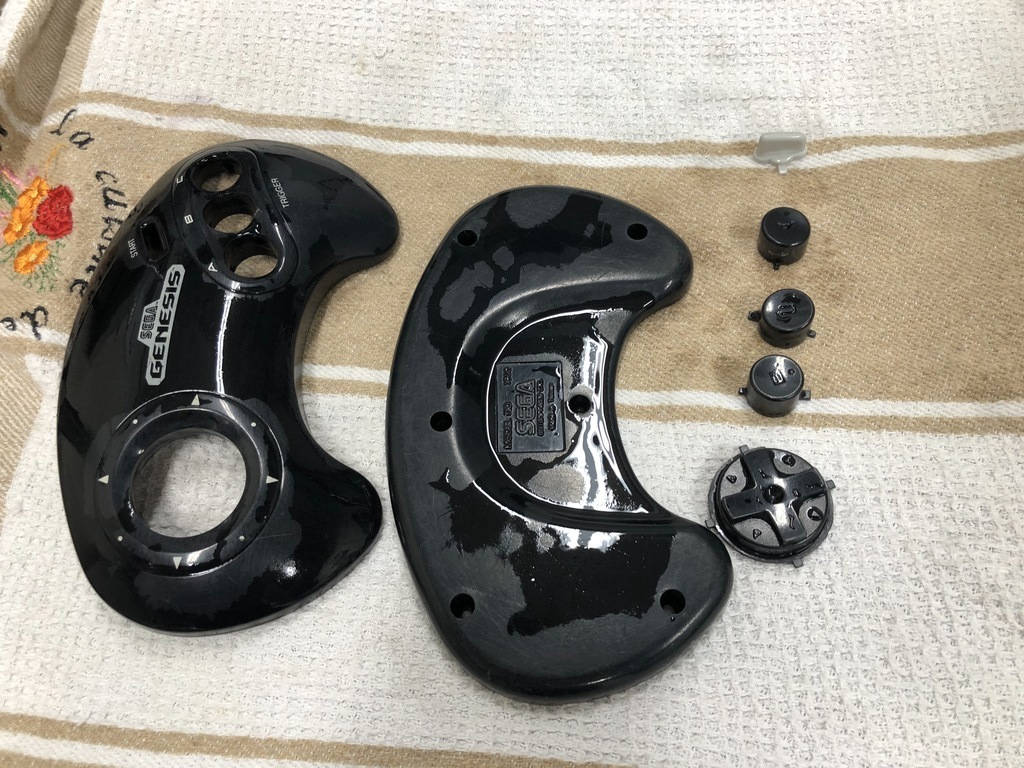
The first thing I did was open up the Genesis controller, and gave the casing and buttons a good clean:
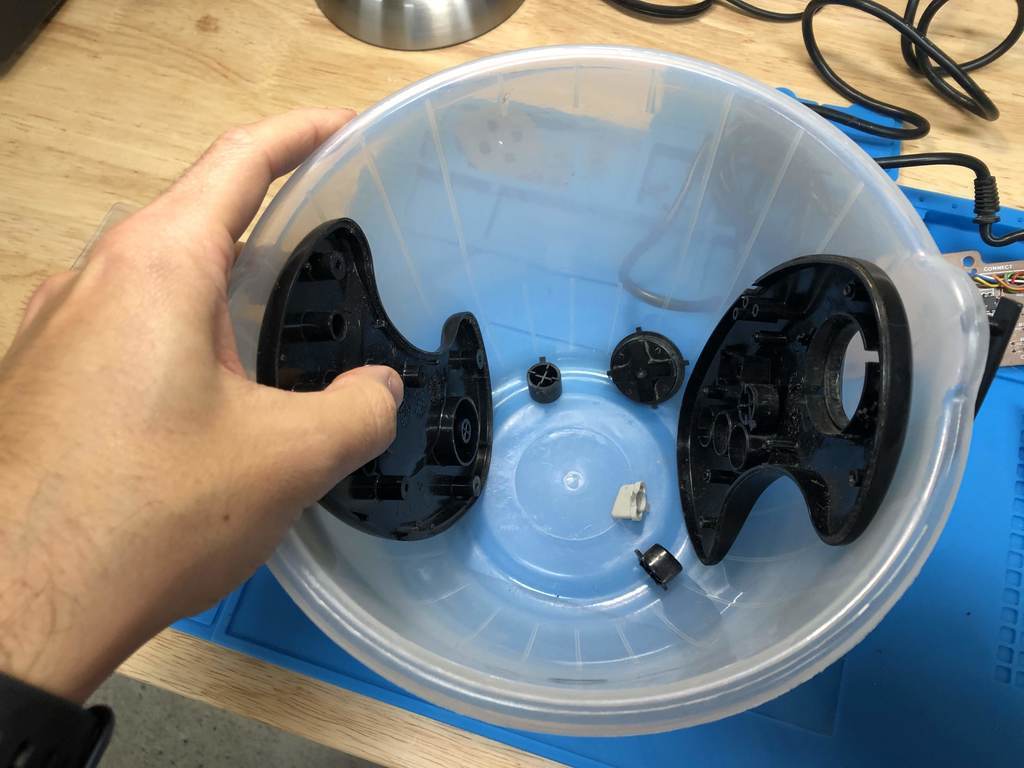
After scrubbing all the plastic parts, I let them dry:
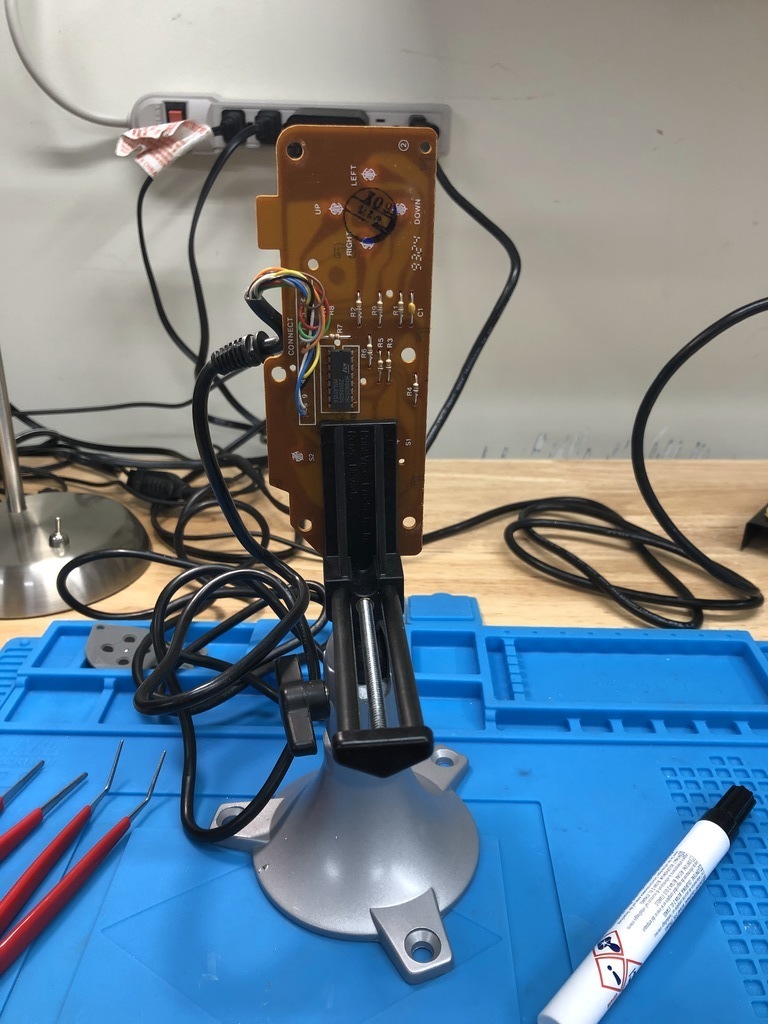
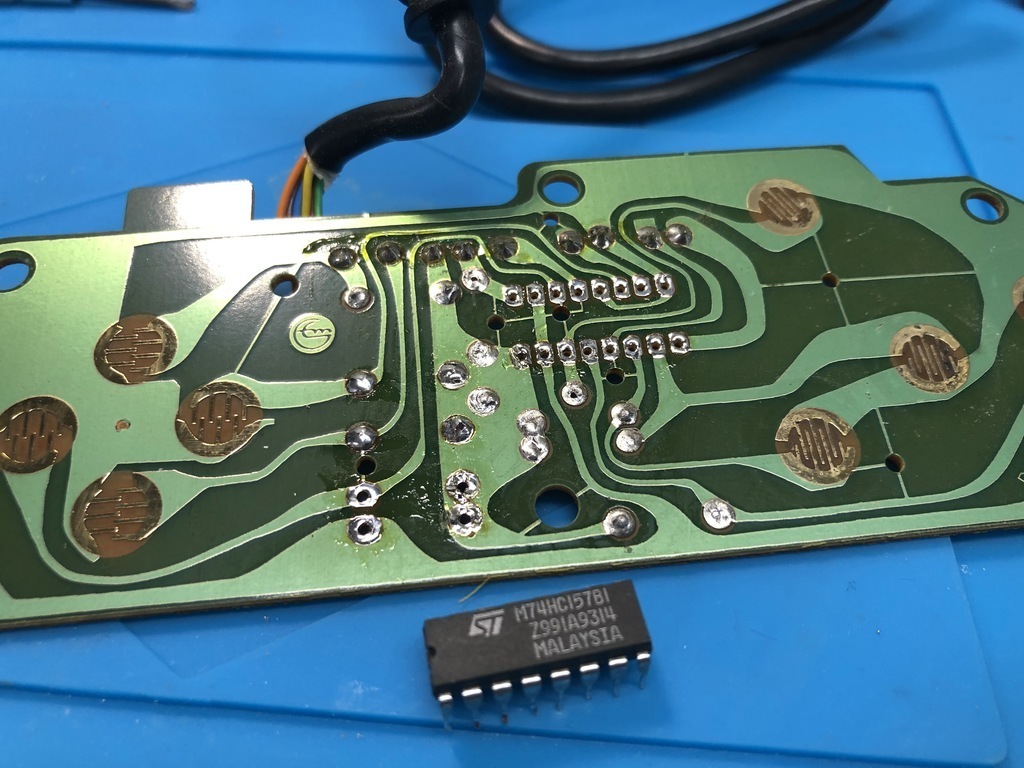
Removing unnecessary components #
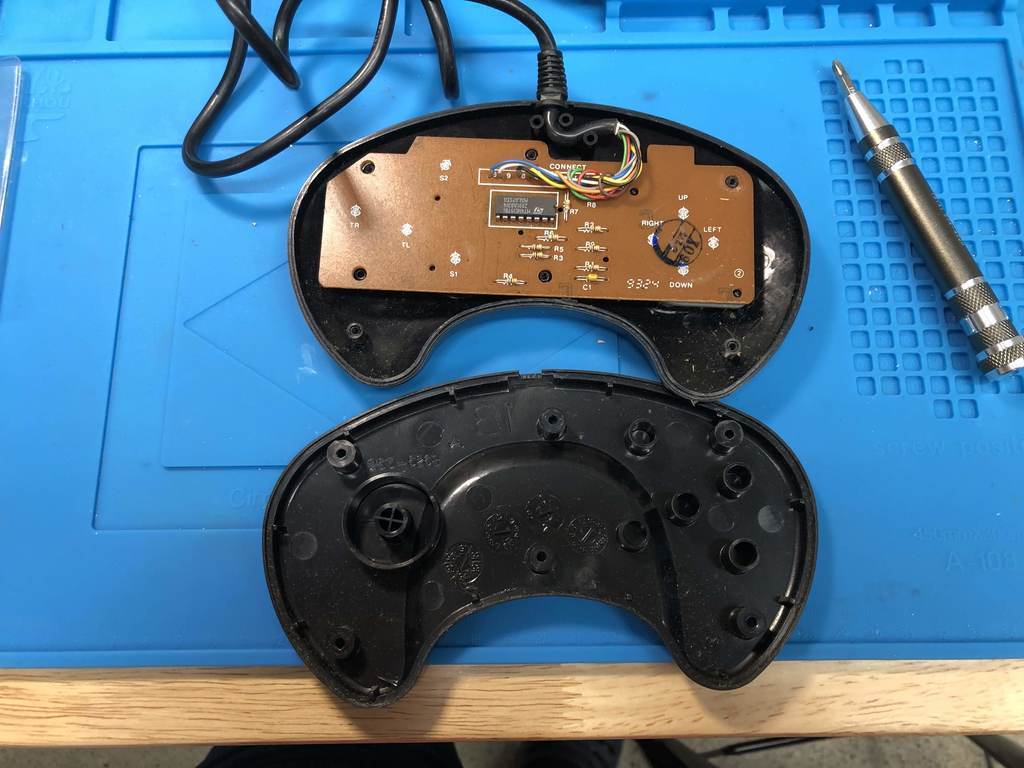
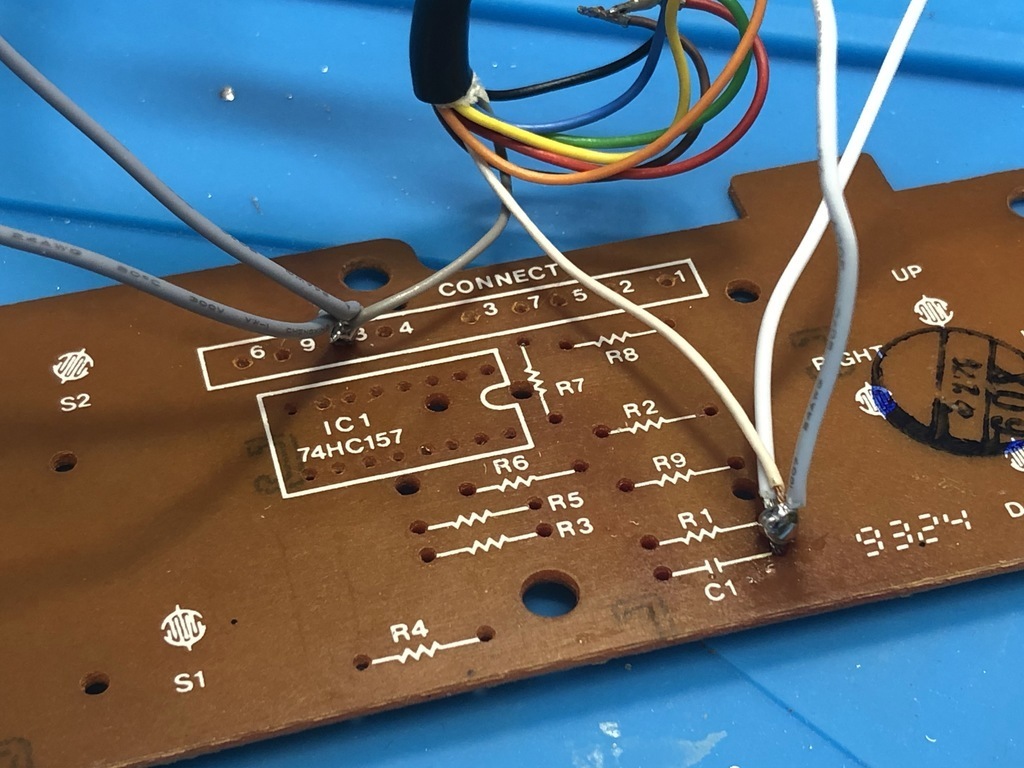
As I wasn’t going to make use of the on-board IC, I needed to remove it along with all the resistors. First I desoldered and removed the resistors:
And then the IC:
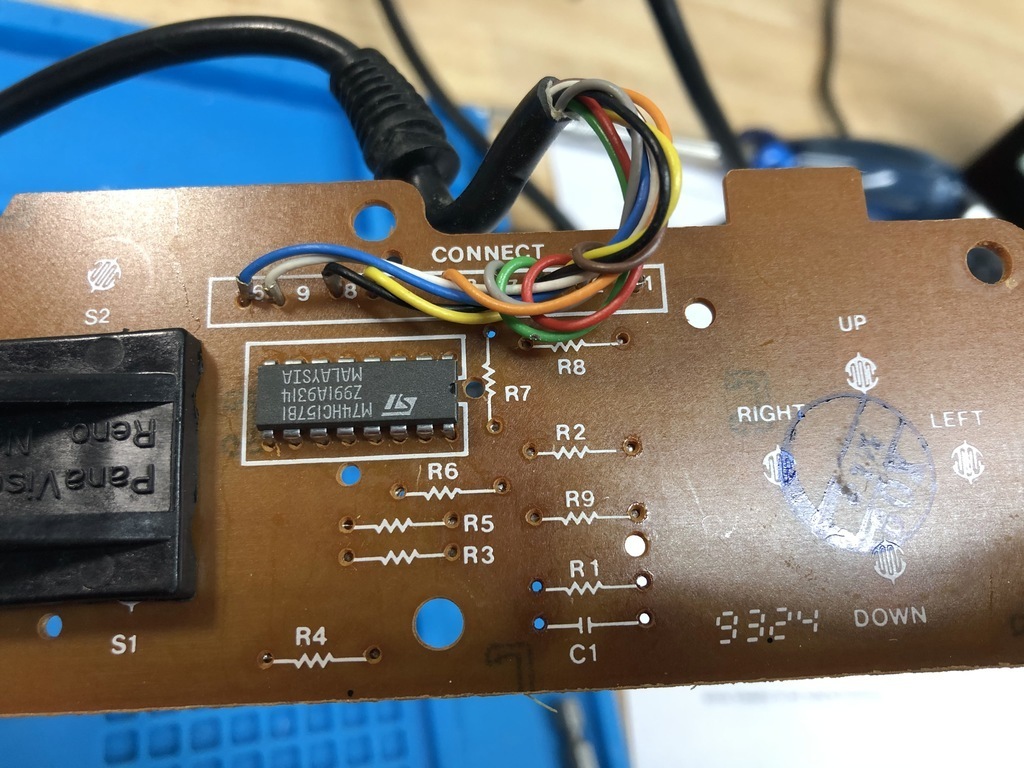
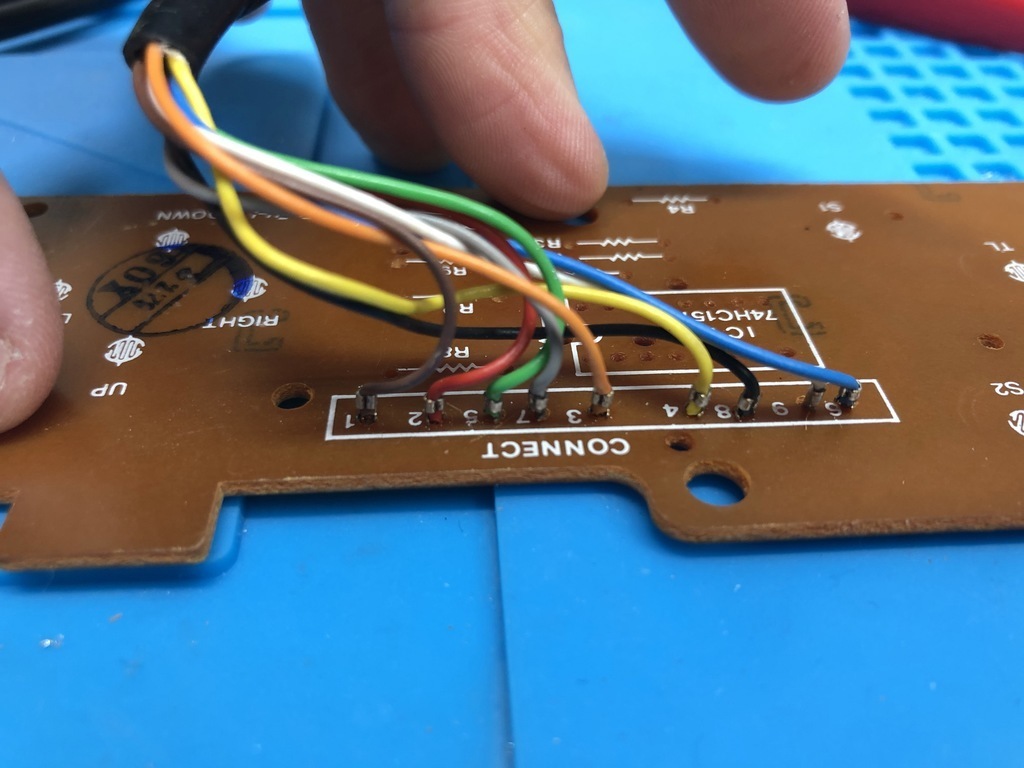
Identifying pins #
The next thing I did was desolder the cable wires from the board. I initially left the black wire connected, but later desoldered that one as well:
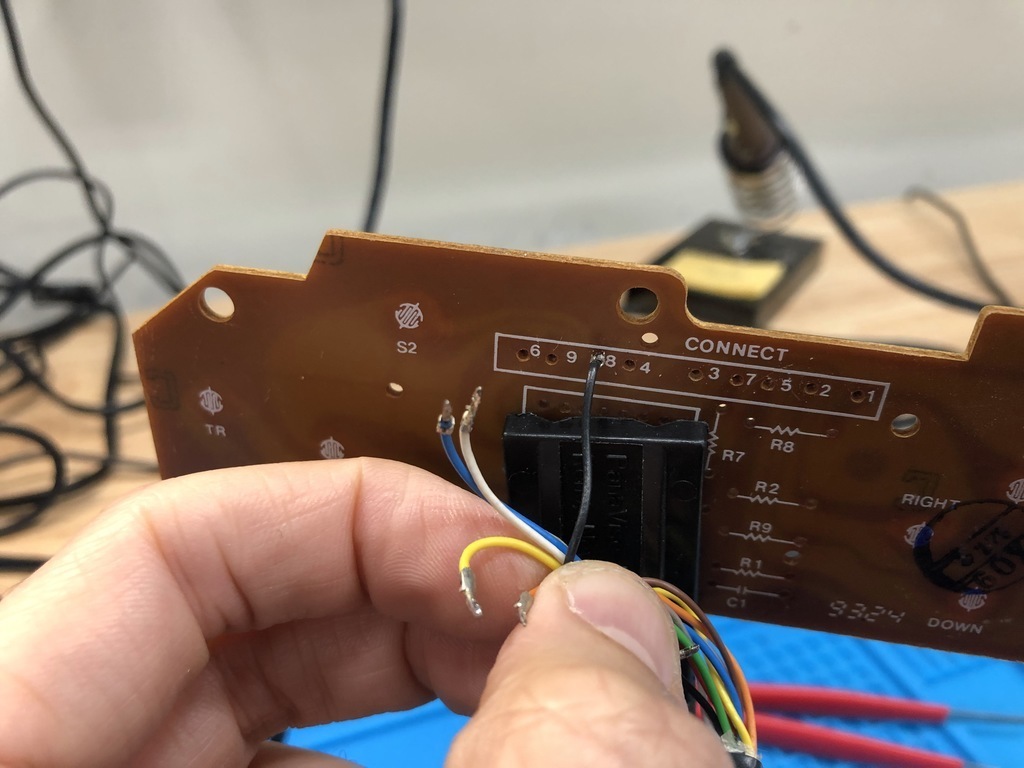
I then used my multimeter in continuity mode to identify which wires were connected to which pins. I used a paper clip attached to one of the multimeter probes so that I could stick it into each pin hole:
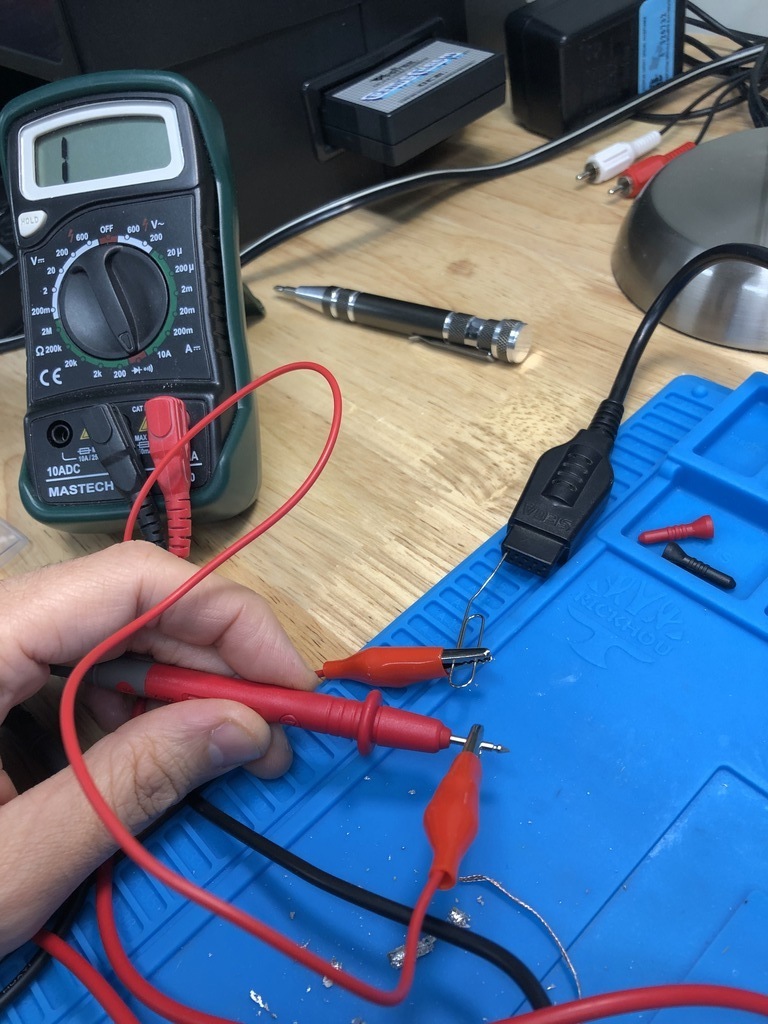
I wrote down the wire color for each pin:

It’s important to do this to make sure you wire things properly. There are different versions of the Genesis controller that were made, so it’s entirely possible to have different pin outs between them.
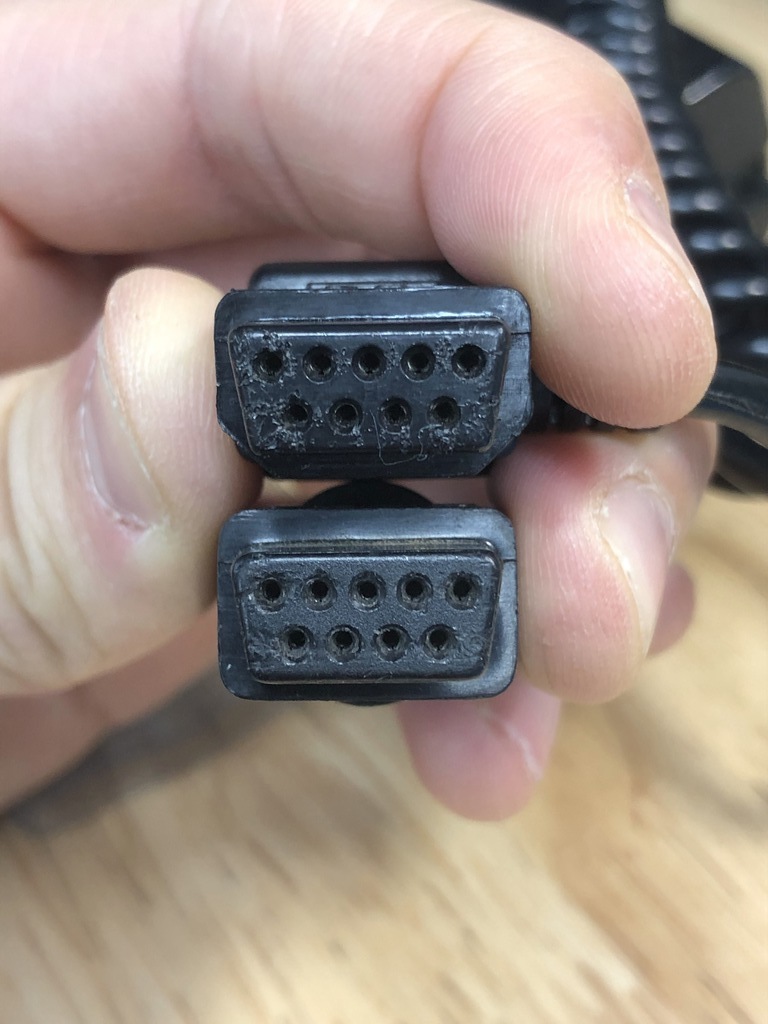
Making the controller end fit #
I compared the Vectrex controller end (top) to the Genesis controller end (bottom):

Using a knife, I carefully shaved off some plastic off the two bottom corners to make it match:
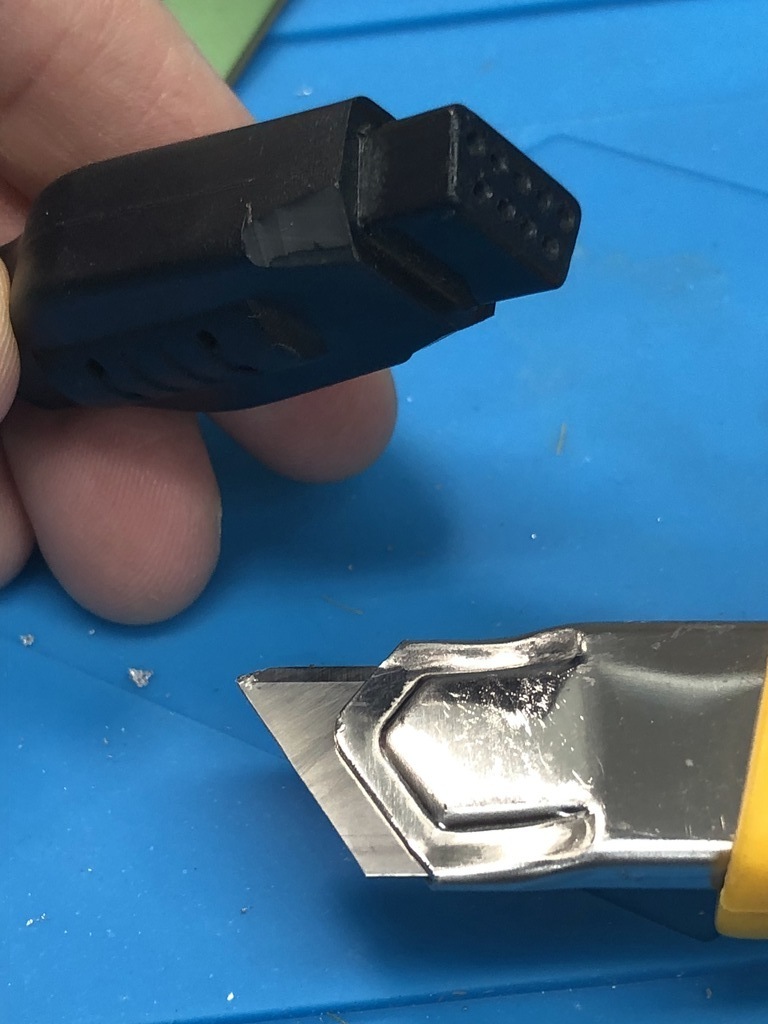
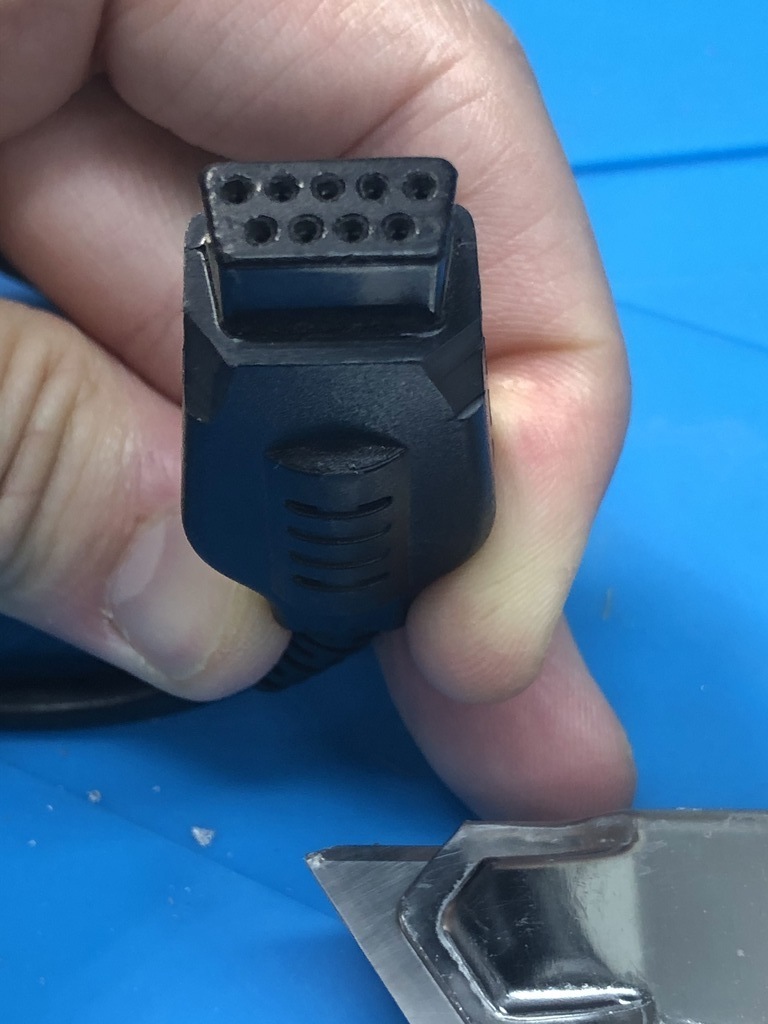
I did this over multiple iterations until it fit snugly into the Vectrex:
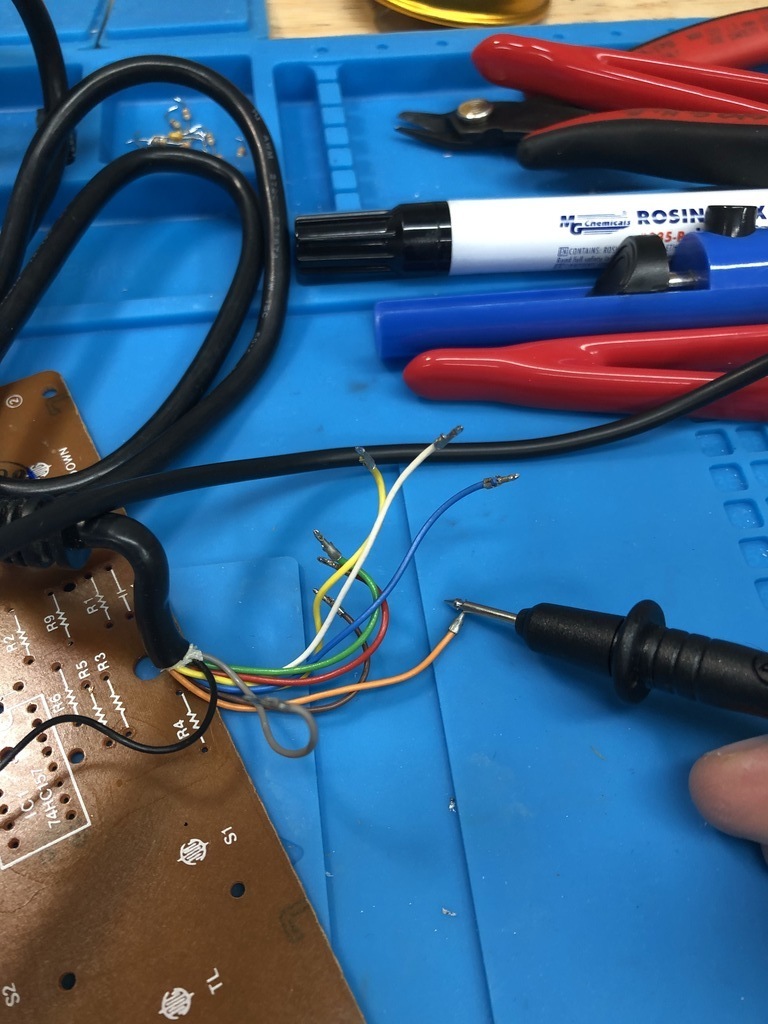
Rewiring the controller #
Now came the most challenging part. I read the Holscher/Mitchell instructions, as well as recycledgamer’s flickr post, many times to understand the best way to wire up the controller.
To help myself, I drew my own schematics. The first one is for wiring up the dpad:
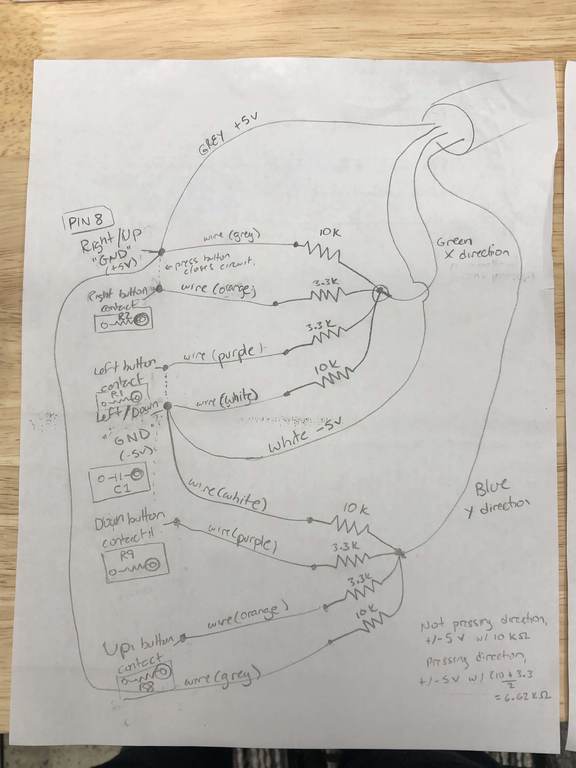
This second one is for wiring up the four buttons:

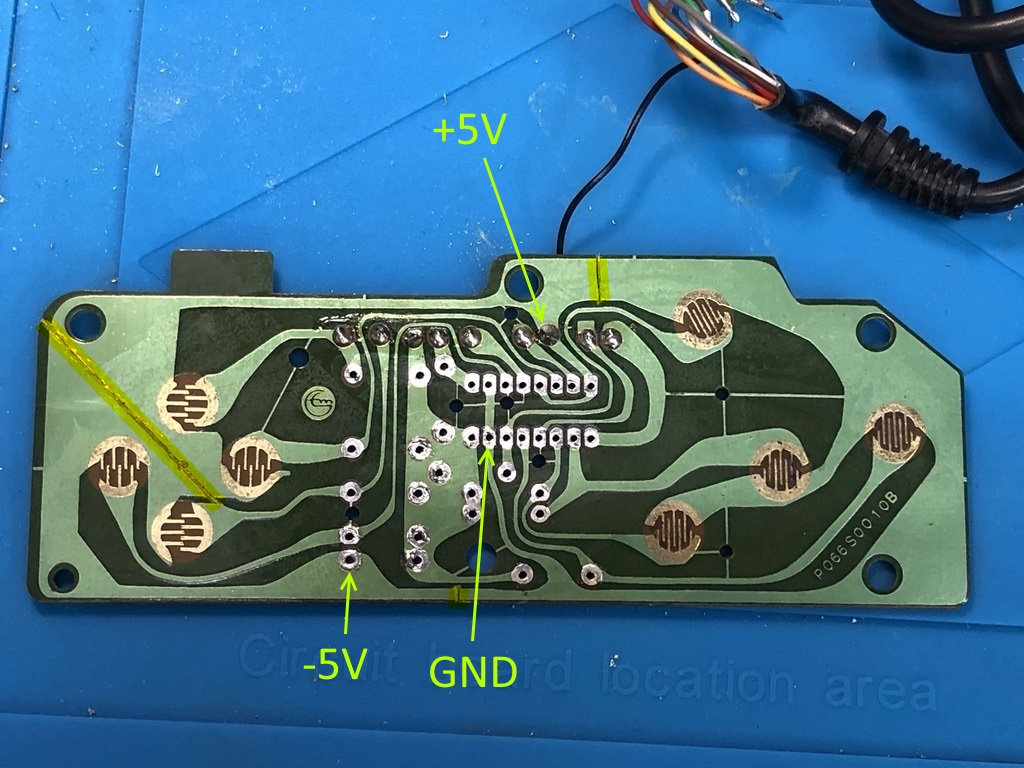
For the Vectrex to work, I needed to isolate the dpad area so that Up + Right are connected to +5V, Down + Left to -5V, and the rest of the buttons to ground (GND). I realized that if I cut the large ground plane in just the right places, I’d be able to wire up everything without needing to scratch away solder mask, like recycledgamer had to do on his board (see here).
I used some masking tape and a ruler to avoid cutting too much when using my knife:
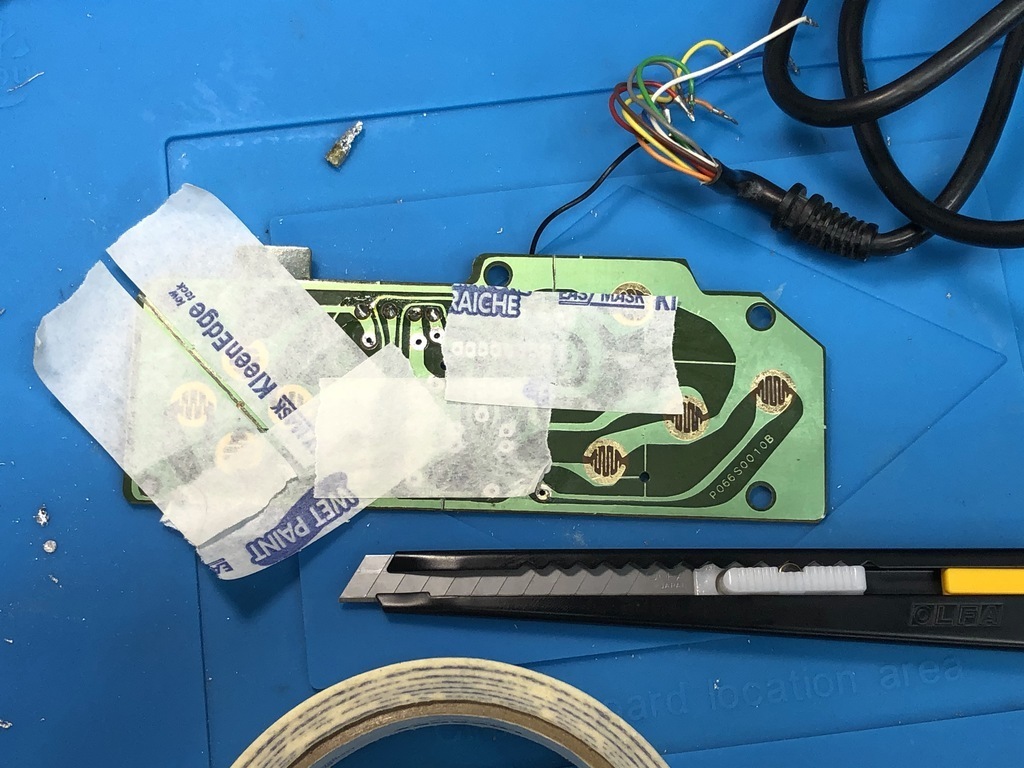
I made three cuts, which I highlighted in this next photo, as well as showing which holes I would use to connect the -5V, +5V, and GND wires (note the small cut on the bottom center):
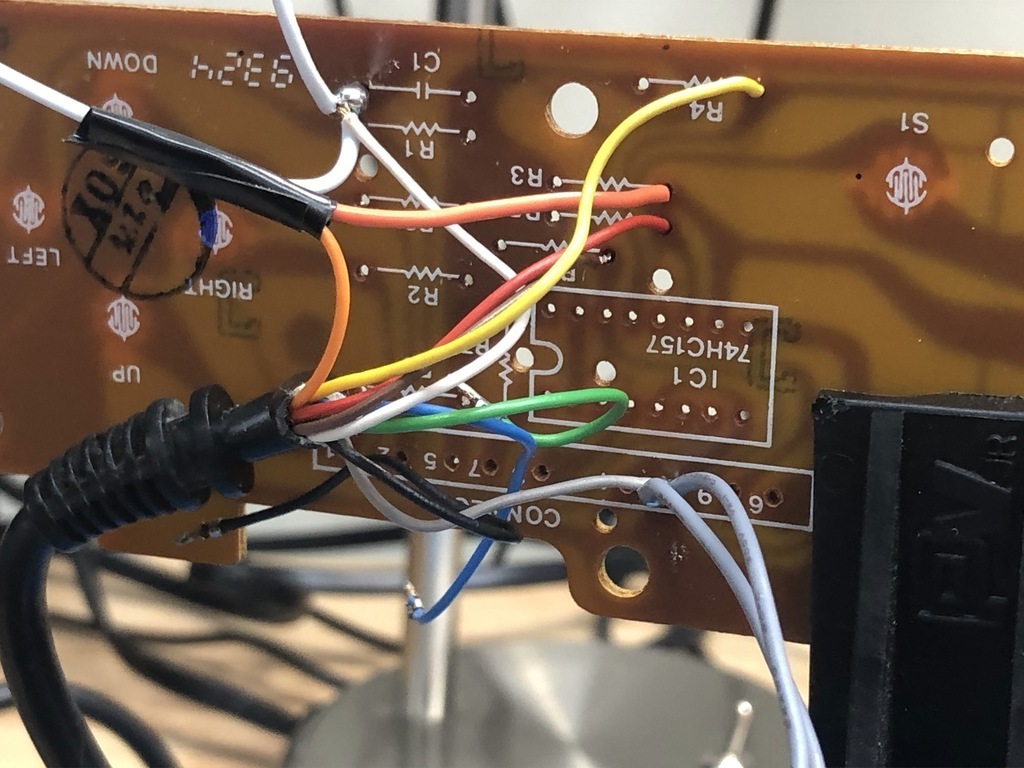
Now I started wiring up everything according to my diagrams:
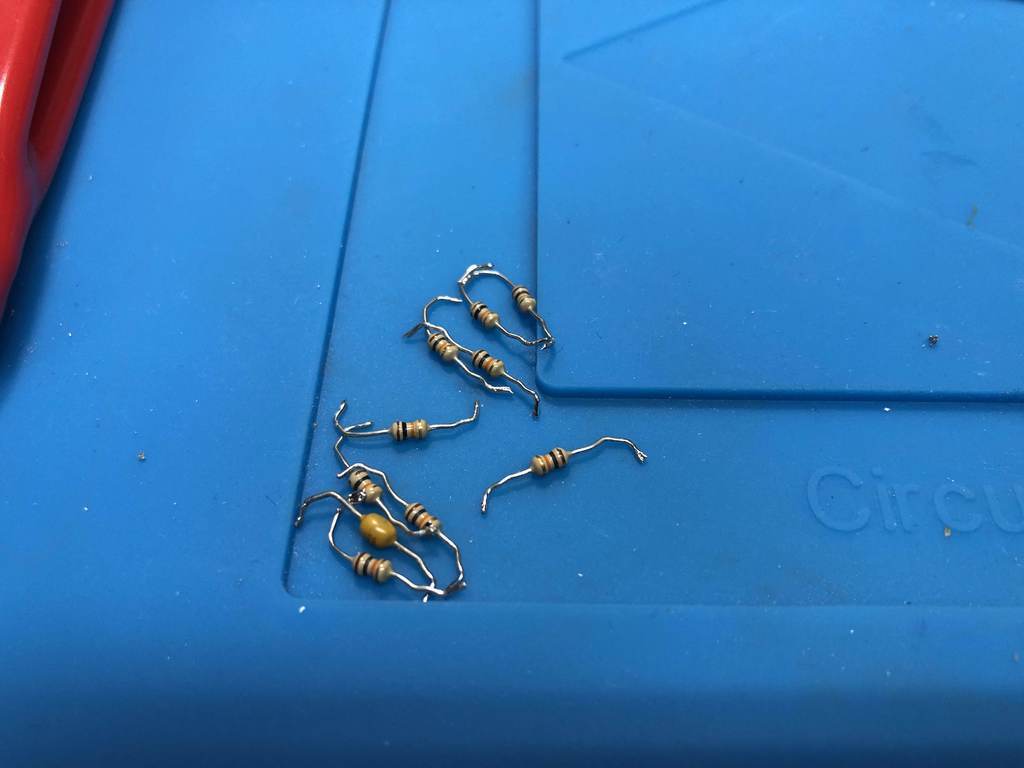
Next up was wiring up the 10K and 3.3K resistors:
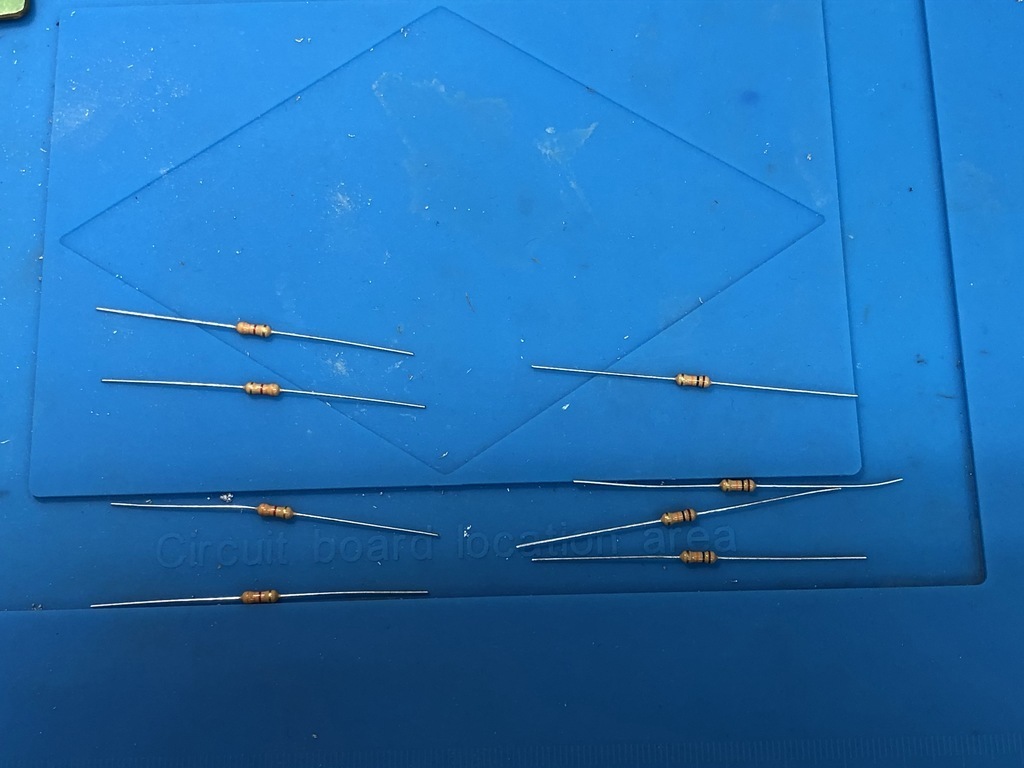
Check out these monstrosities:
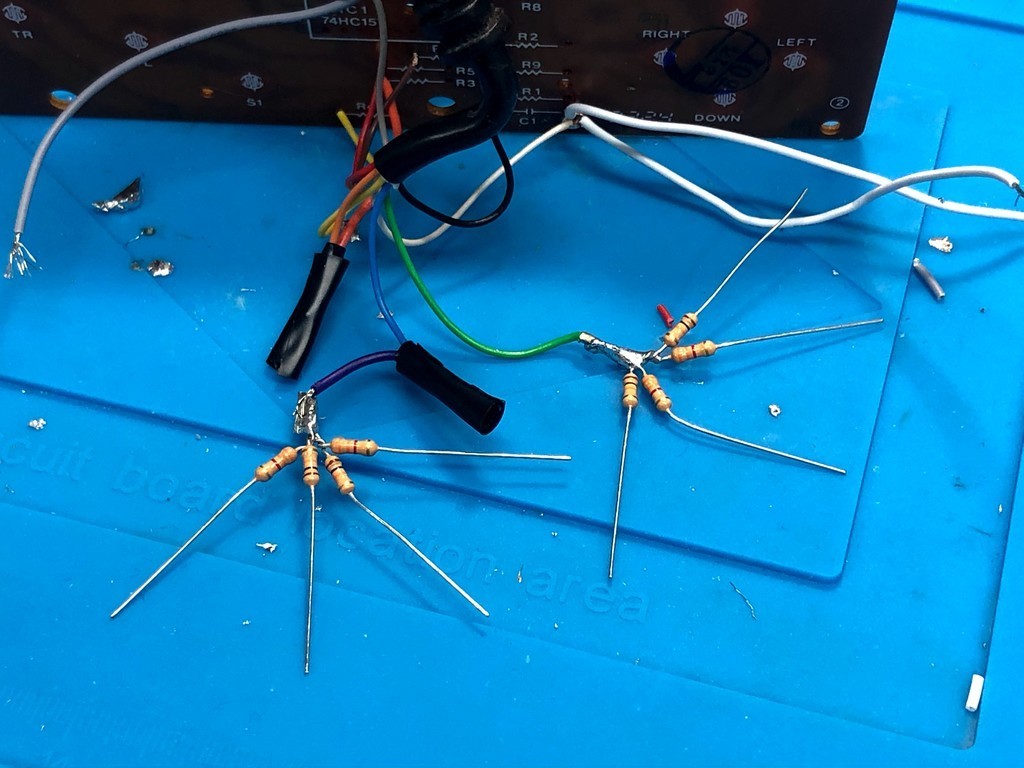
I wired those to the board as well:

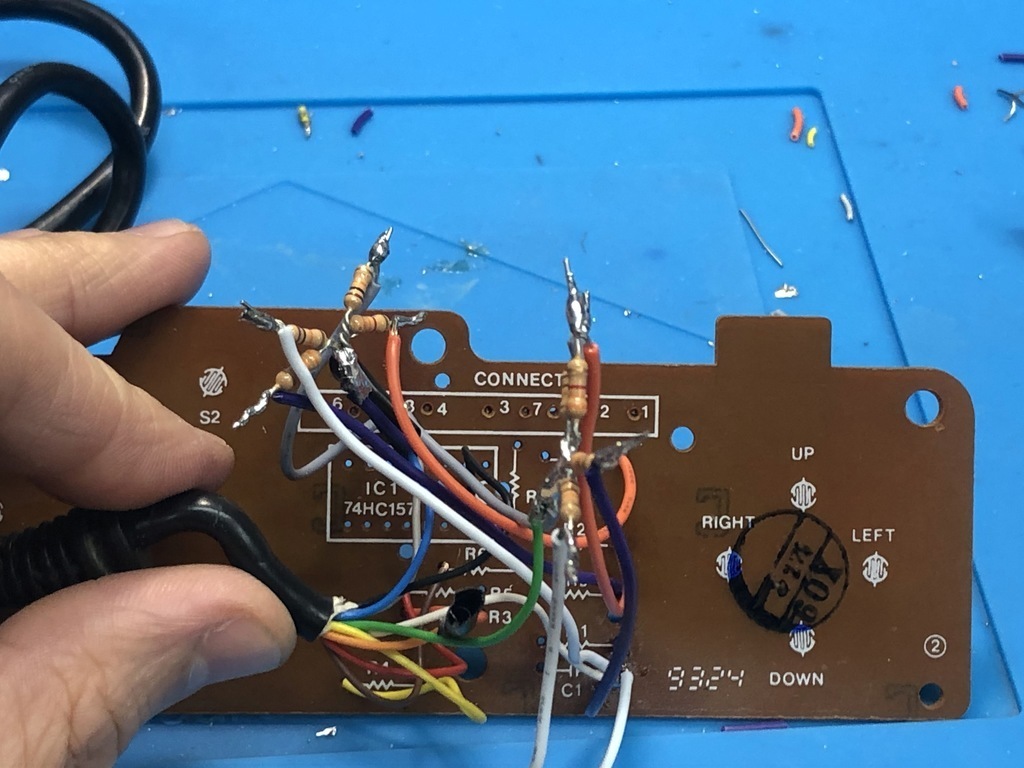
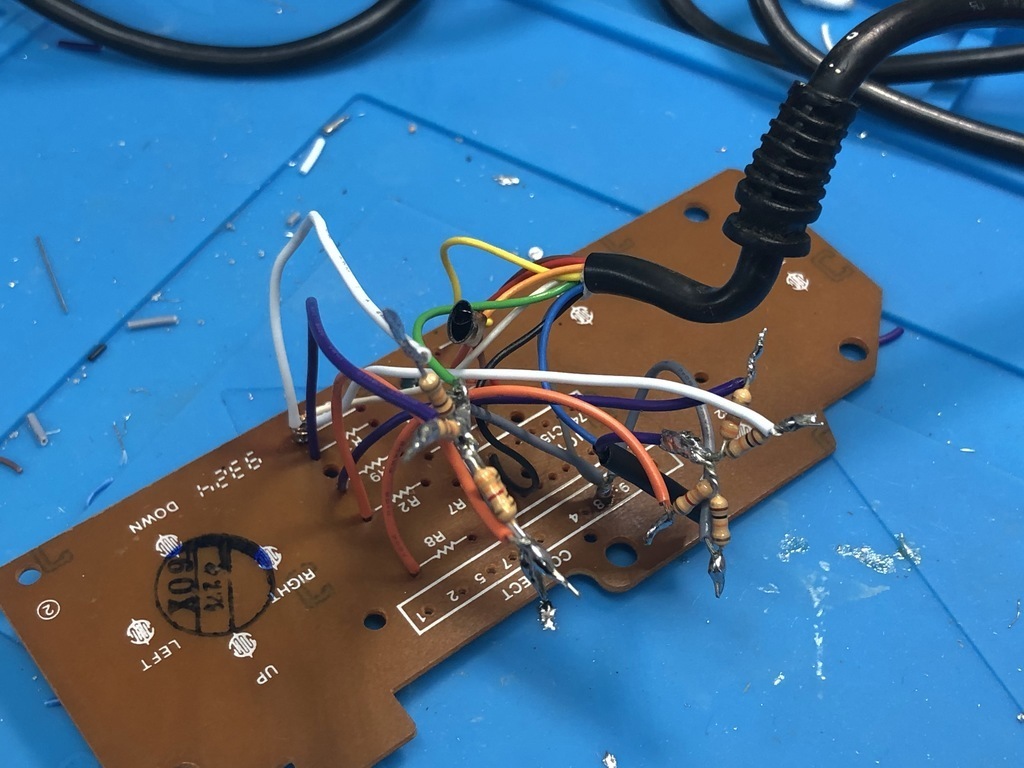
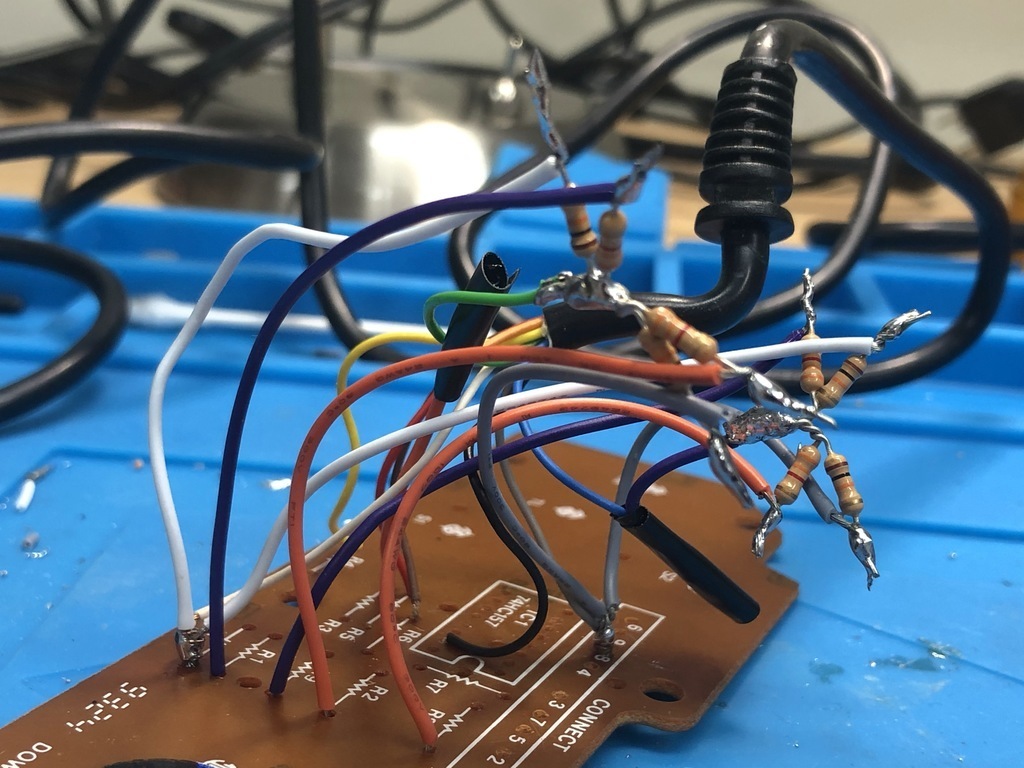
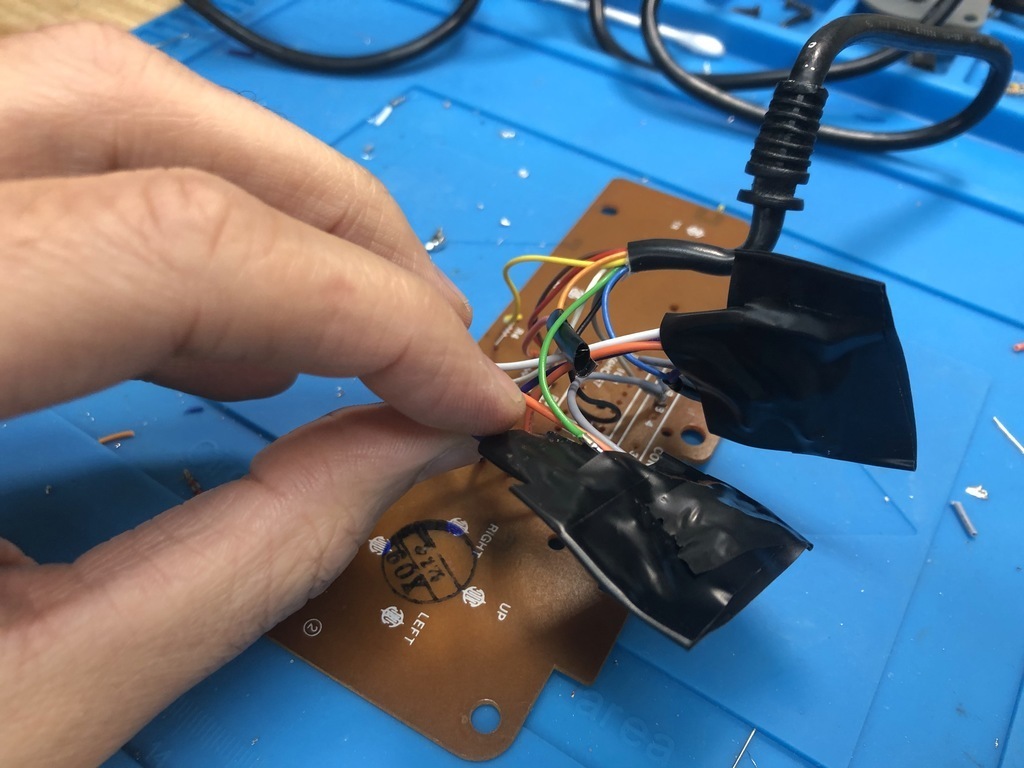
I wrapped up the exposed resistors with wire tape to ensure no shorts would occur once everything was closed up:
Putting it back together again #
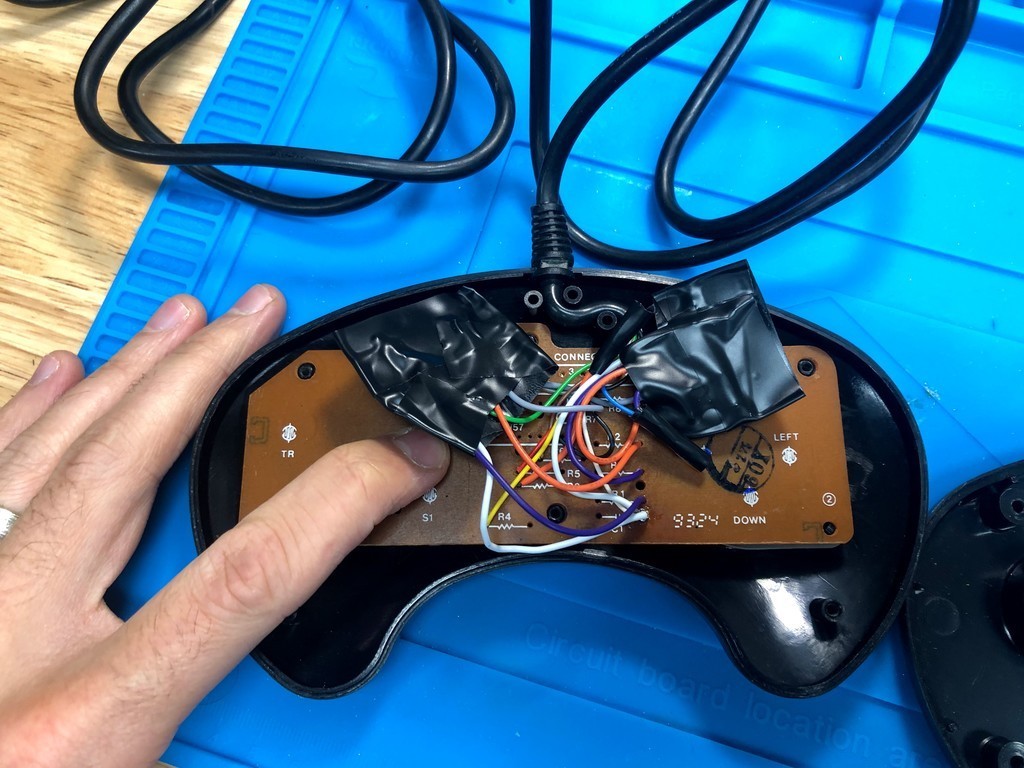
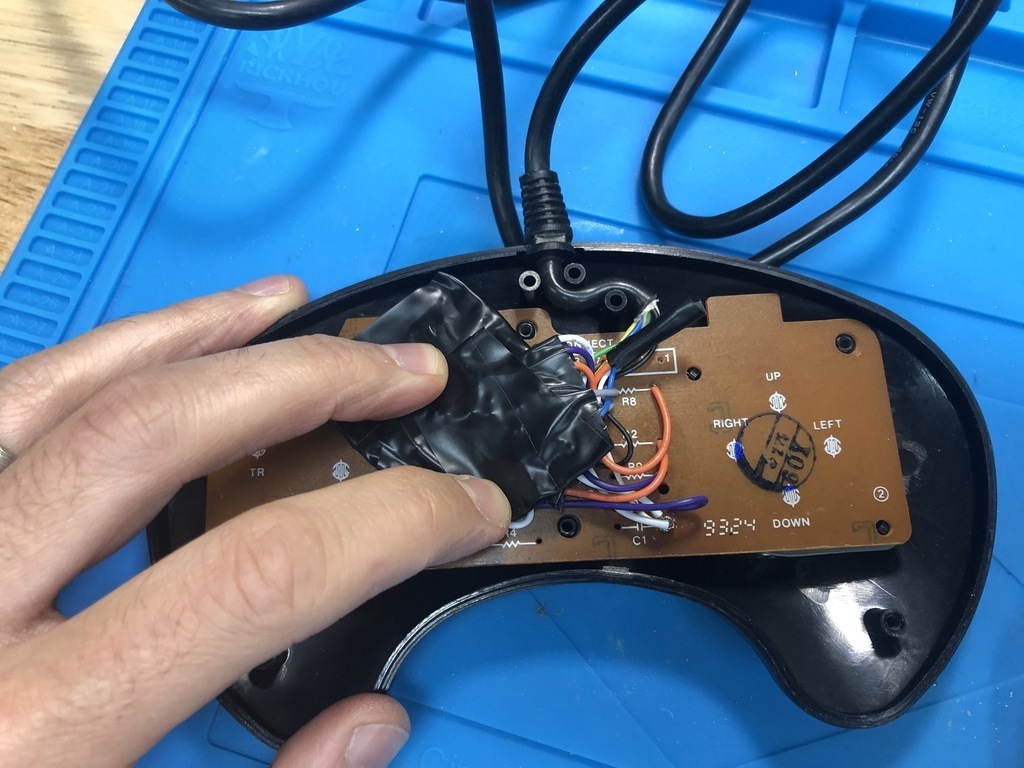
With the wiring done, I put the board back into the controller. This turned out to be a bit challenging, as there isn’t that much room leftover in the controller casing. Next time, I’d make my wires a bit longer to allow for more flexibility:
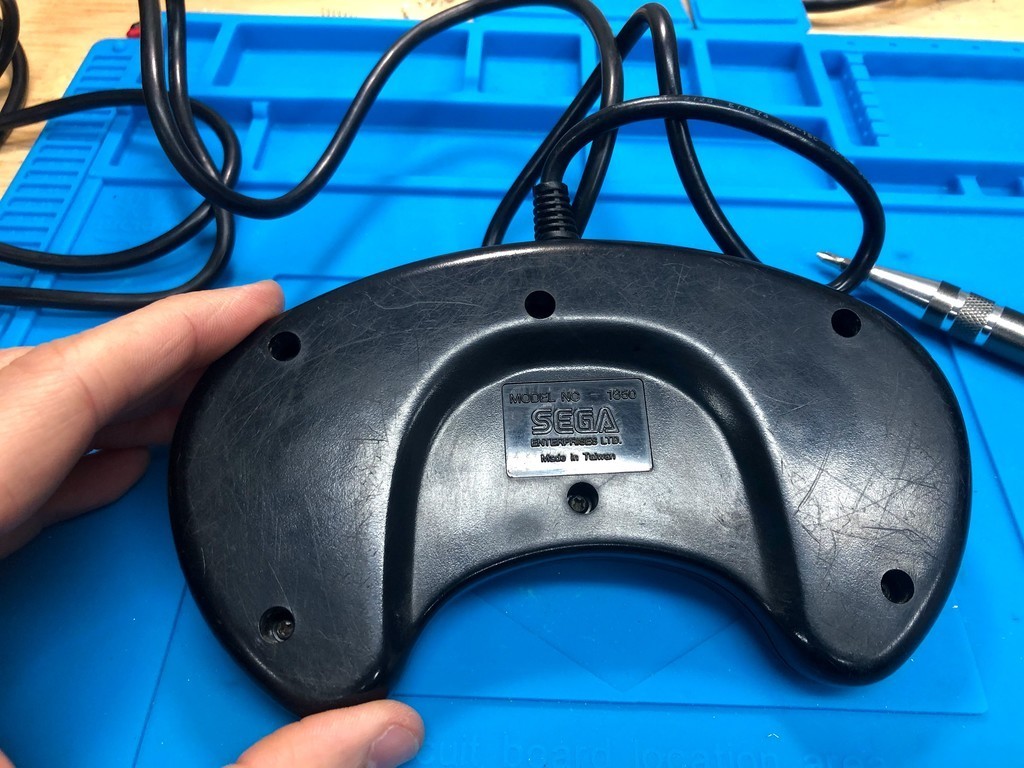
Finally, I got the case closed:
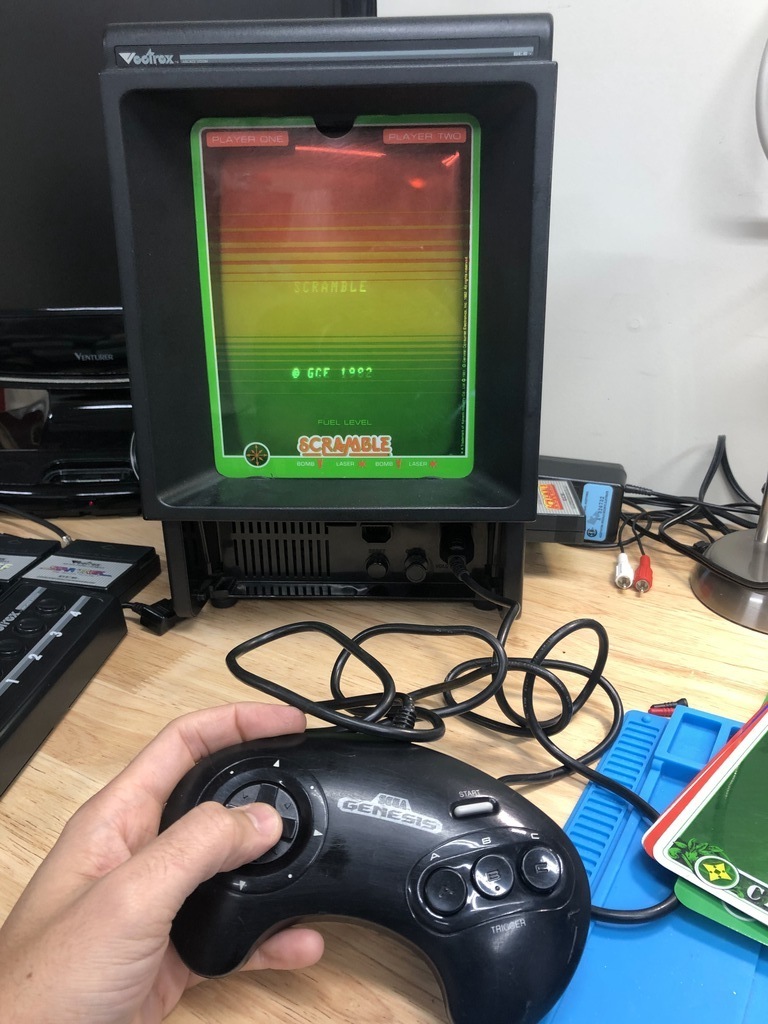
Testing #
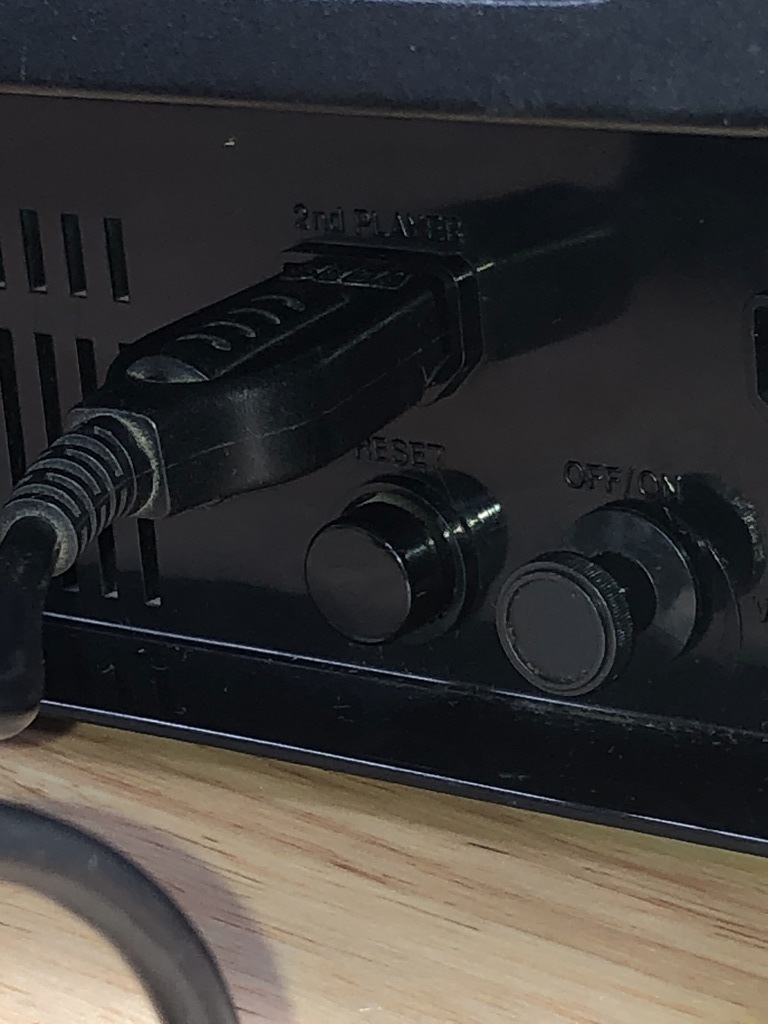
I plugged in the controller, and it worked!
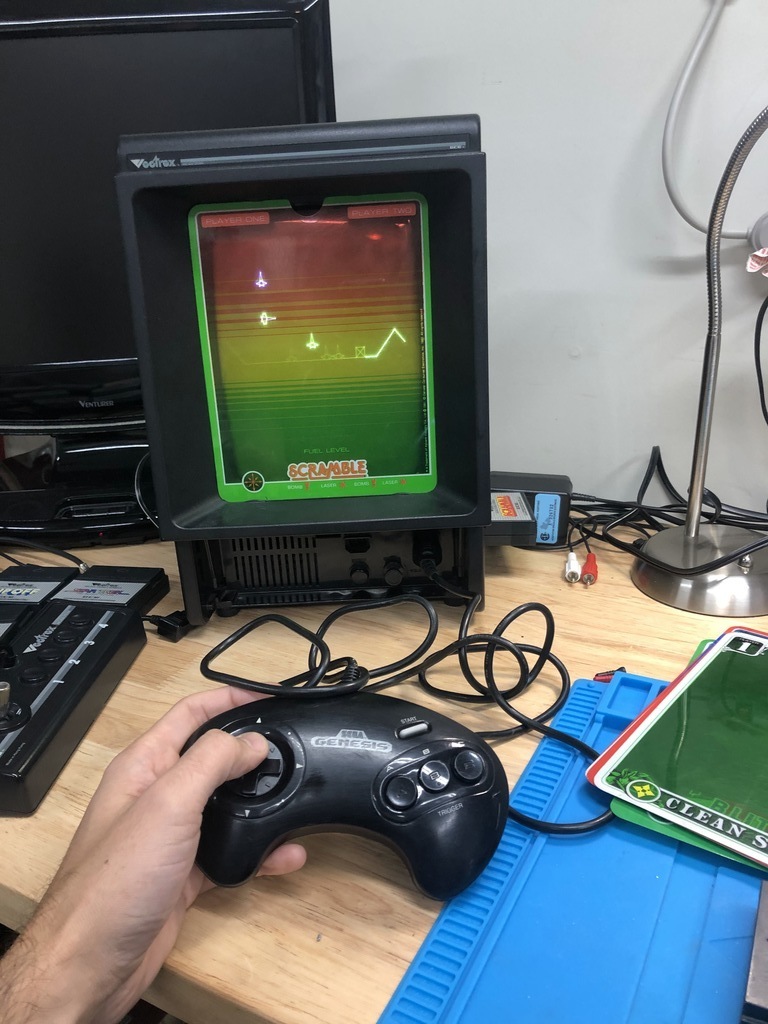
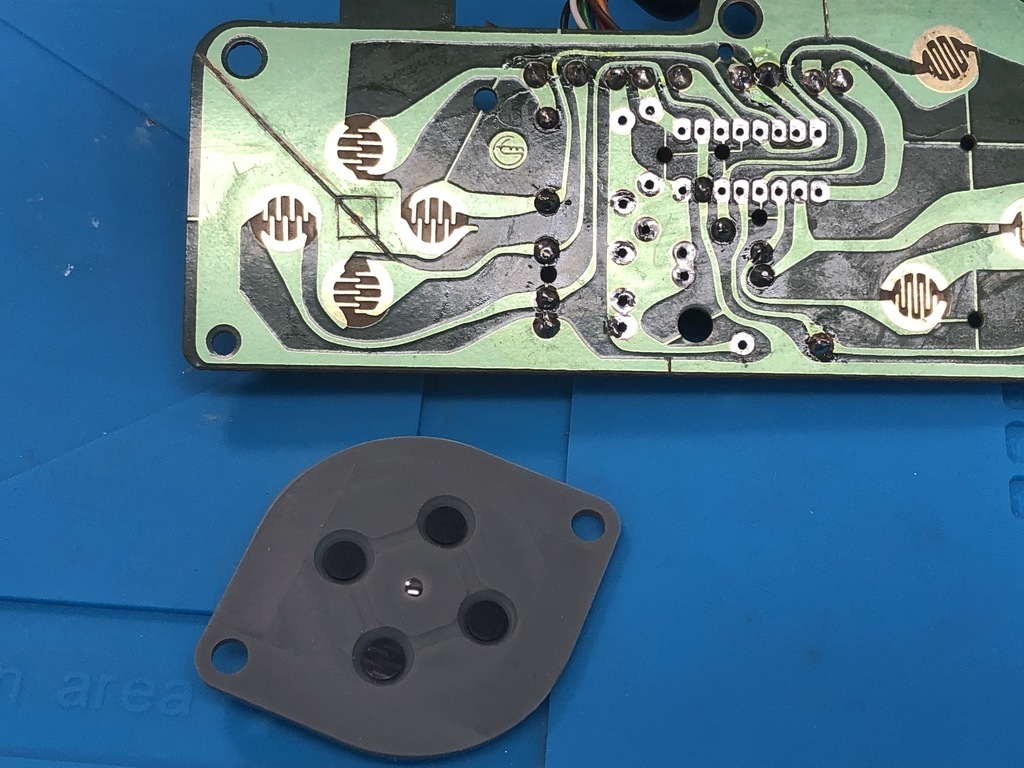
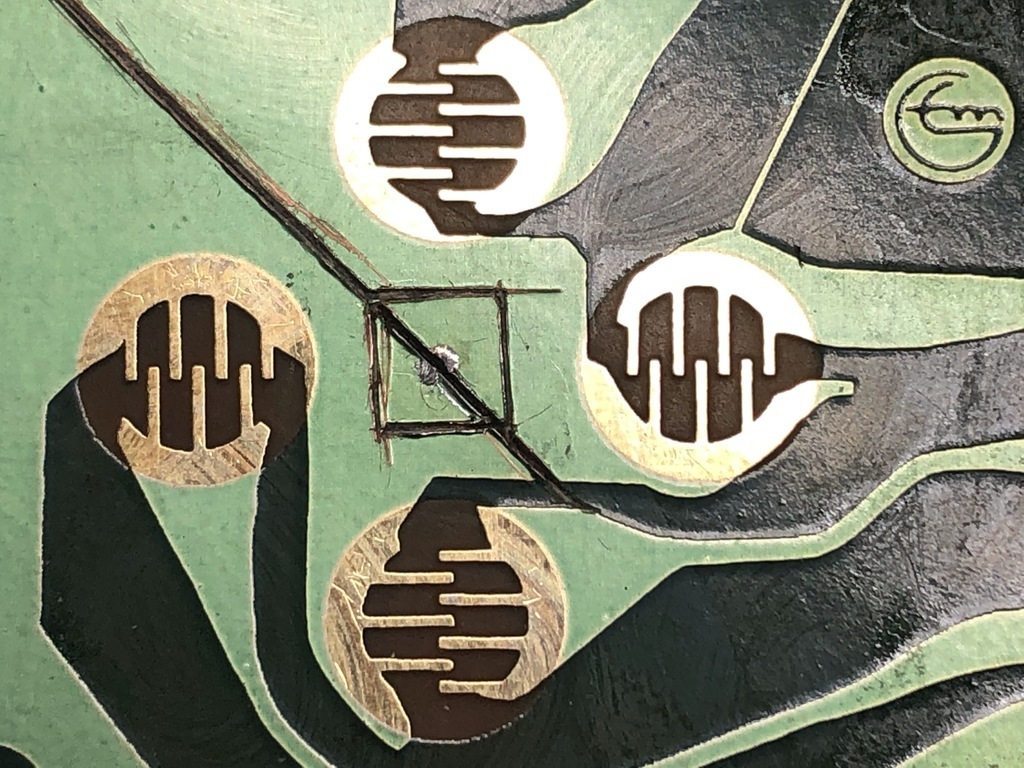
But, after a little while, I noticed that when pressing down on the dpad, the Vectrex would suddenly reset. I figured that the +5V and -5V were probably making contact due to the metal rocker underneath the dpad contact rubber piece. So I opened up the controller, and cut a square around the center, hoping it would help avoid the problem:
After this, I had no more issues; however, in retrospect, I’m not sure this was necessary. I realized when closing up the controller again that I had not properly tightened the screws in the casing the firs time around, and I think that allowed the dpad rocker to shift more than usual, bridging the two sides together. In any case, I’ve since played with the controller many times without any problem.
Thoughts #
Overall, I’m thrilled with the results. I learned a lot, and am super glad to have a second controller. My son and I have had a blast playing Blitz!, Space War, and Rip Off together. If you’re a little handy with electronics, I definitely recommend giving this mod a try.