GameCube PicoBoot with Custom SD2SP2
Recently in the modding community, there’s been a lot of buzz around a really cool mod by @webhdx known as PicoBoot. This project uses the inexpensive Rasberry Pi Pico as a mod chip for the GameCube, allowing one to run games and homebrew from media such as an SD card. In this post, I cover how I restored a GameCube that I bought on Marketplace, installed a custom SD adapter to make up for the lack of a serial port 2 on this model, and finally, how I installed this awesome PicoBoot mod.
Parts #
- GameCube with third-party controller, and 2 memory cards: $50
- Rasberry Pi Pico: $13
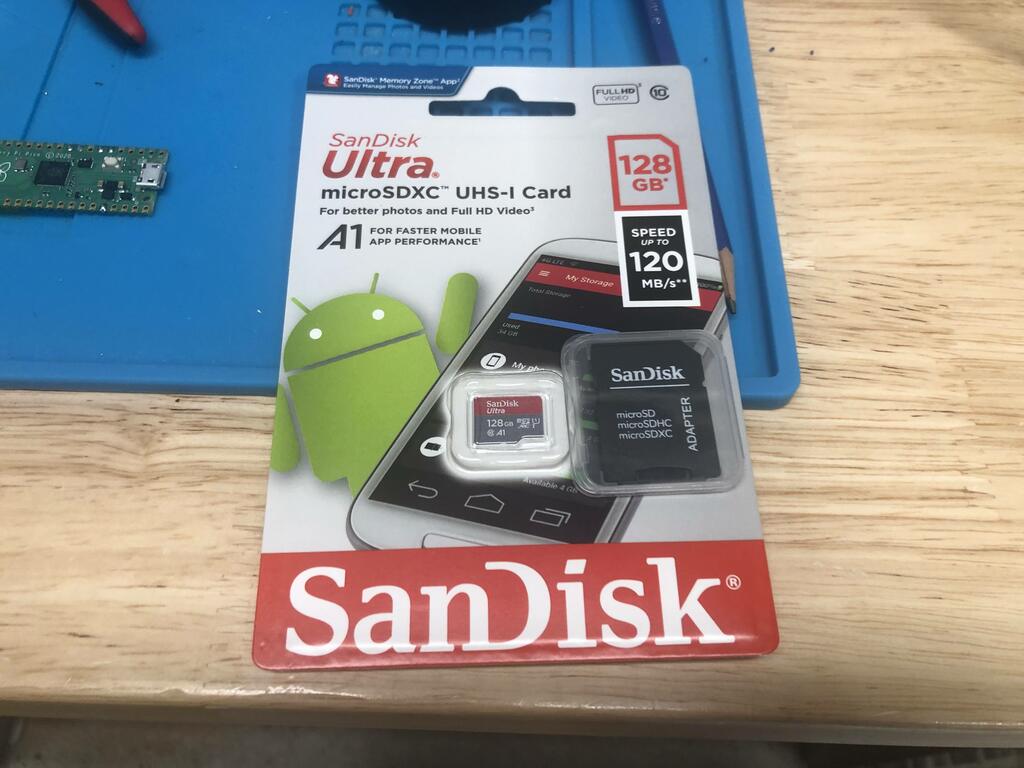
- Sandisk Ultra 128GB Micro SD card with adapter: $20
Restoration #
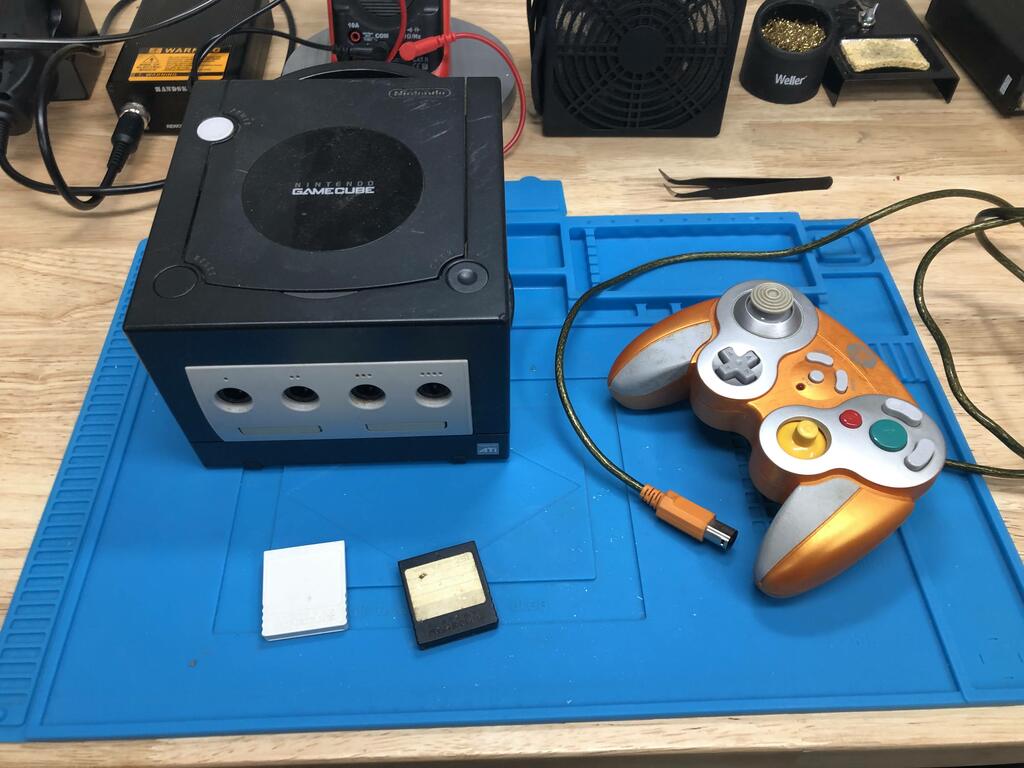
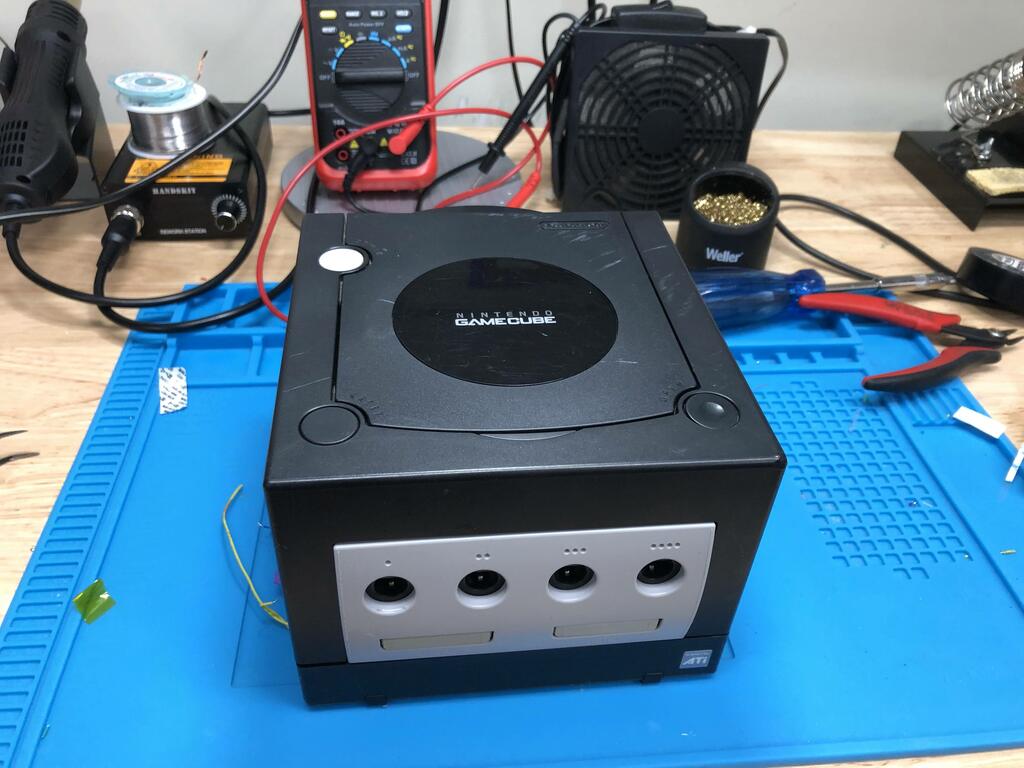
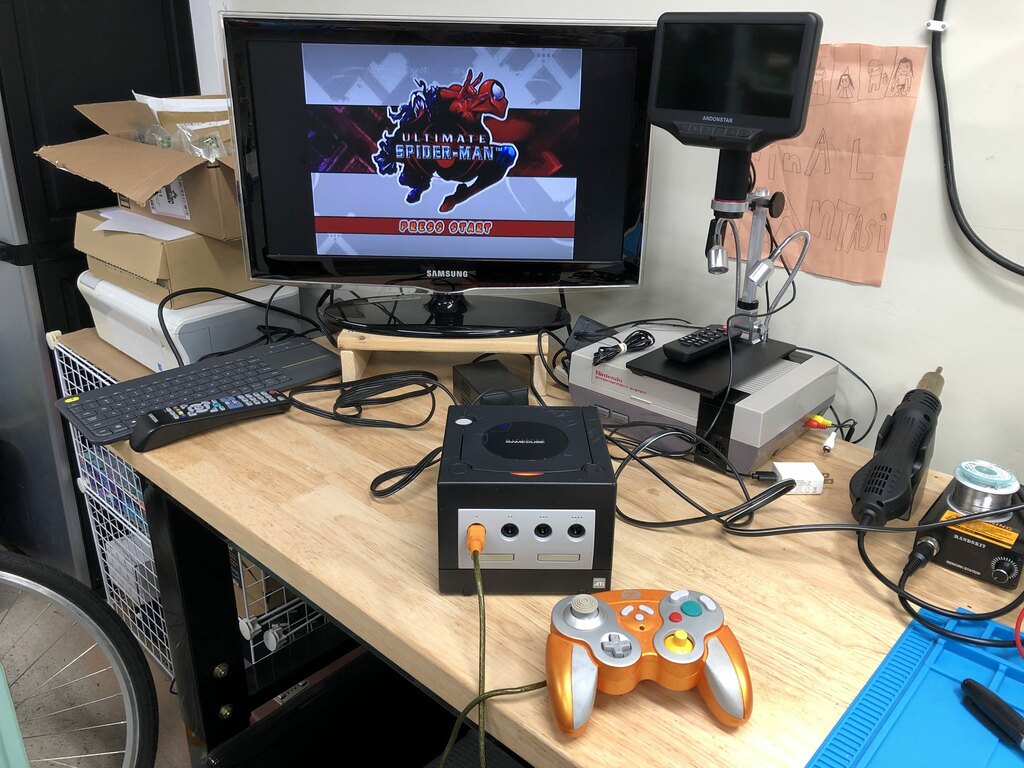
As mentioned above, I bought a GameCube, along with a third party controller and 2 memory cards for $50 on Marketplace:
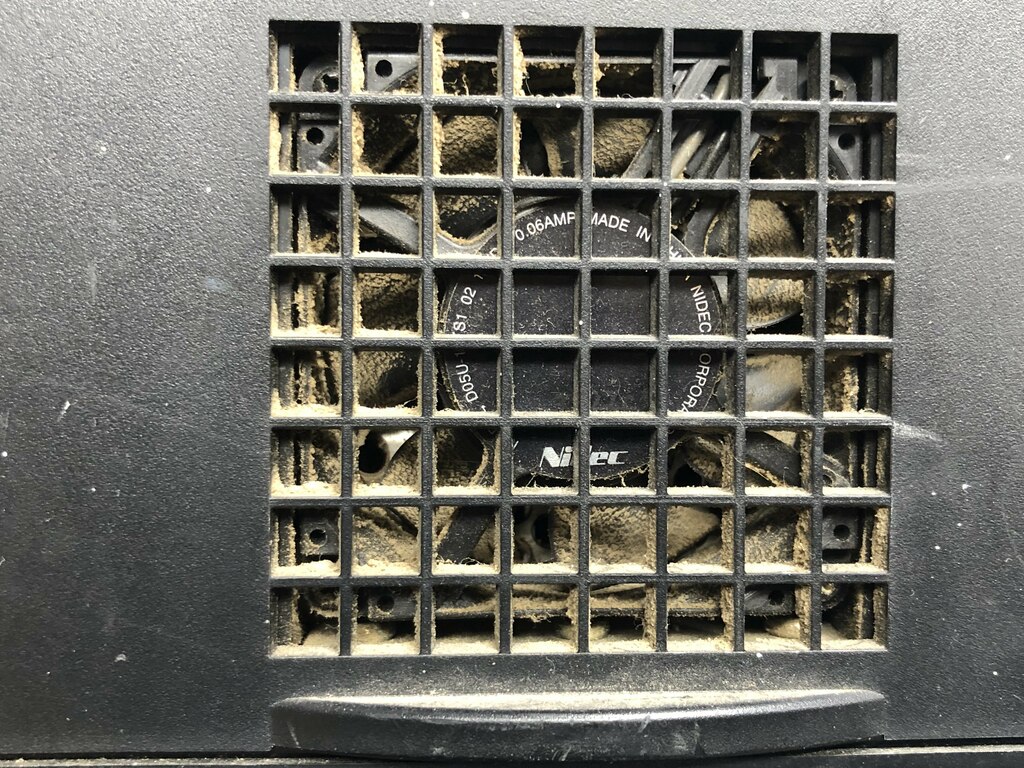
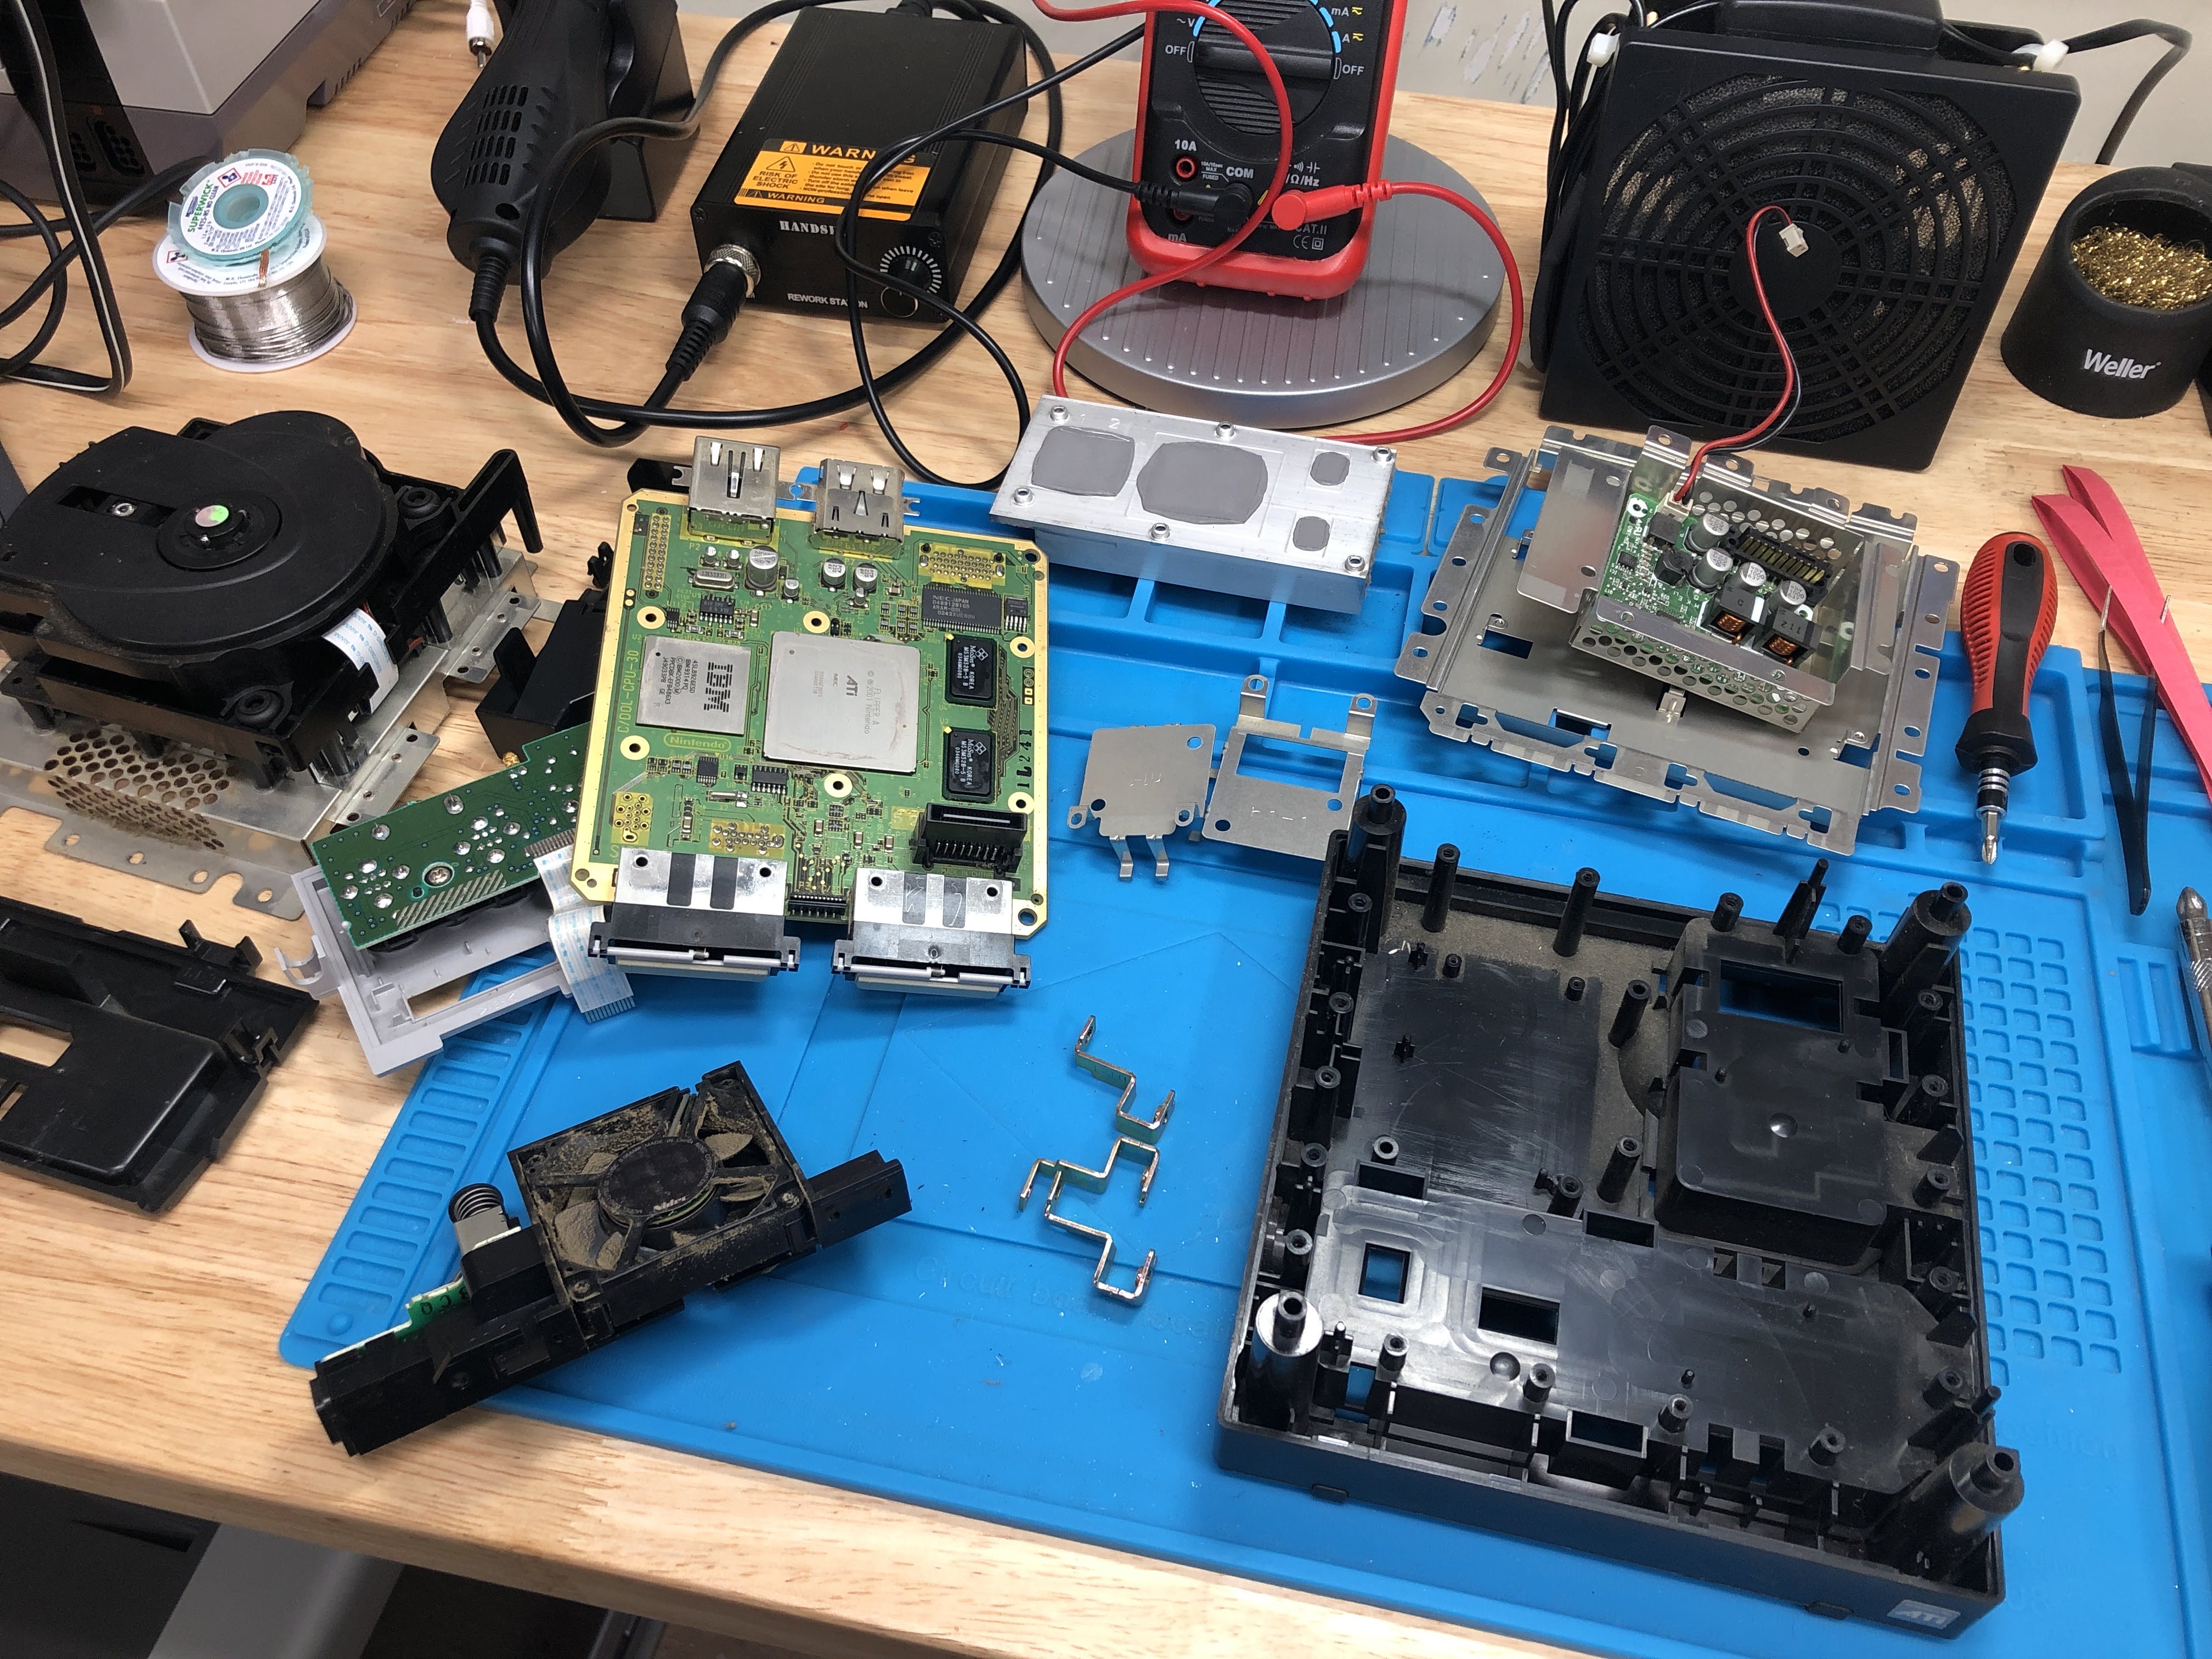
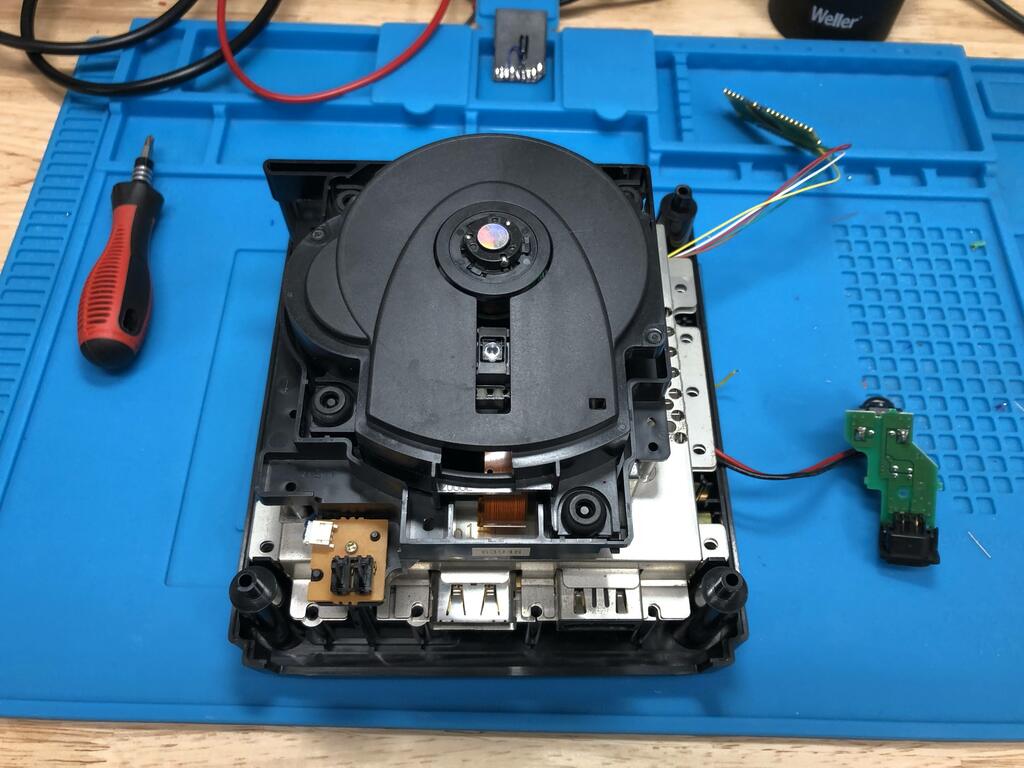
The seller said the DVD drive wasn’t working, but when I brought it home, it worked just fine. However, it was pretty filthy:
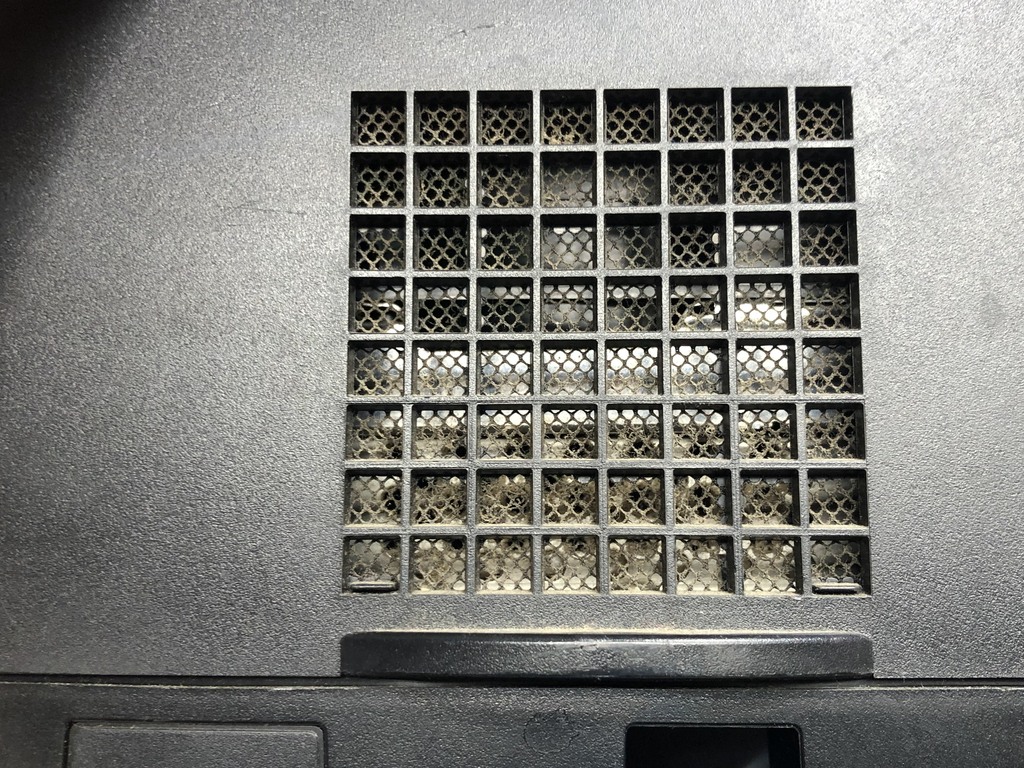
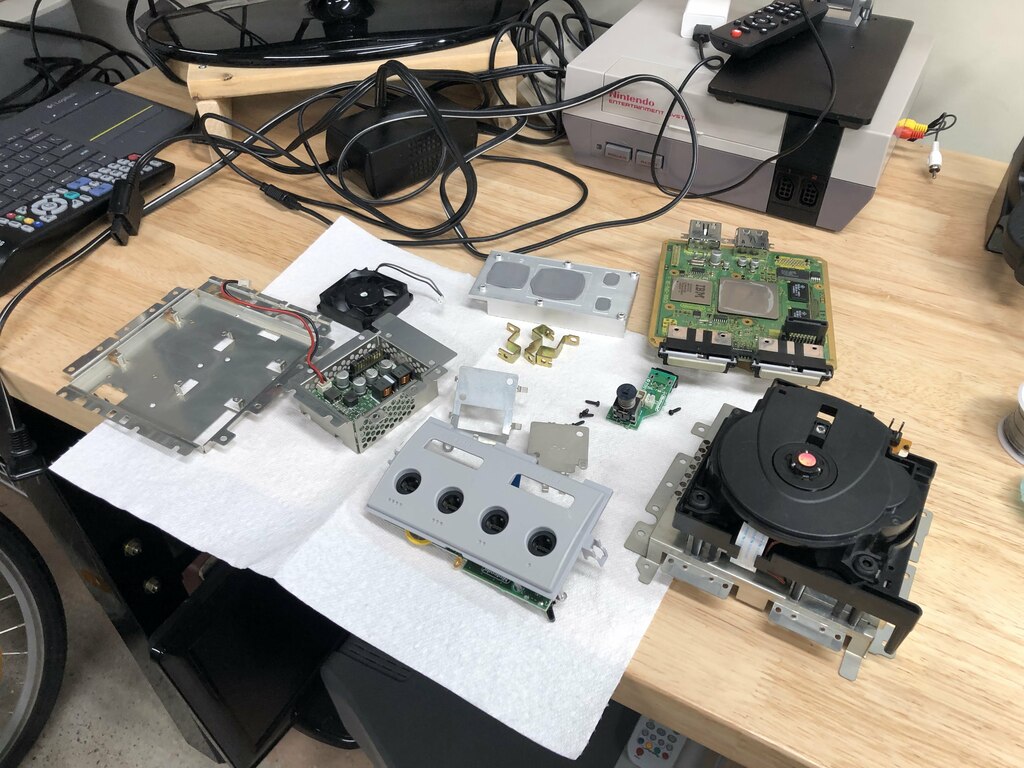
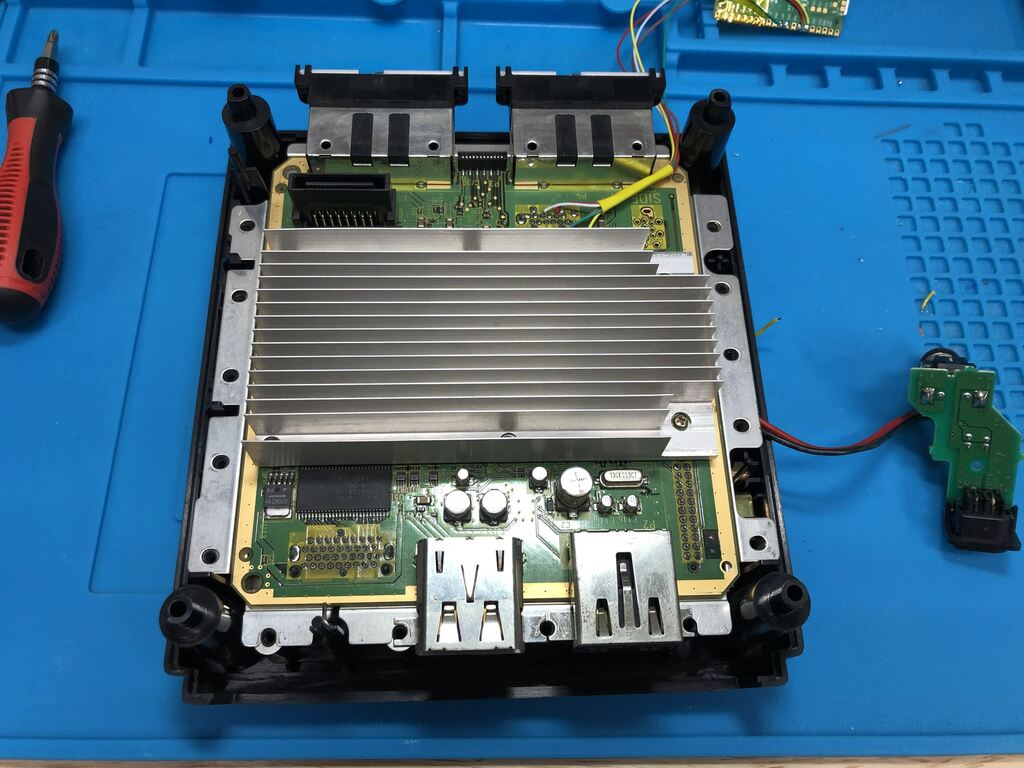
I took it all apart, and gave it a good clean:
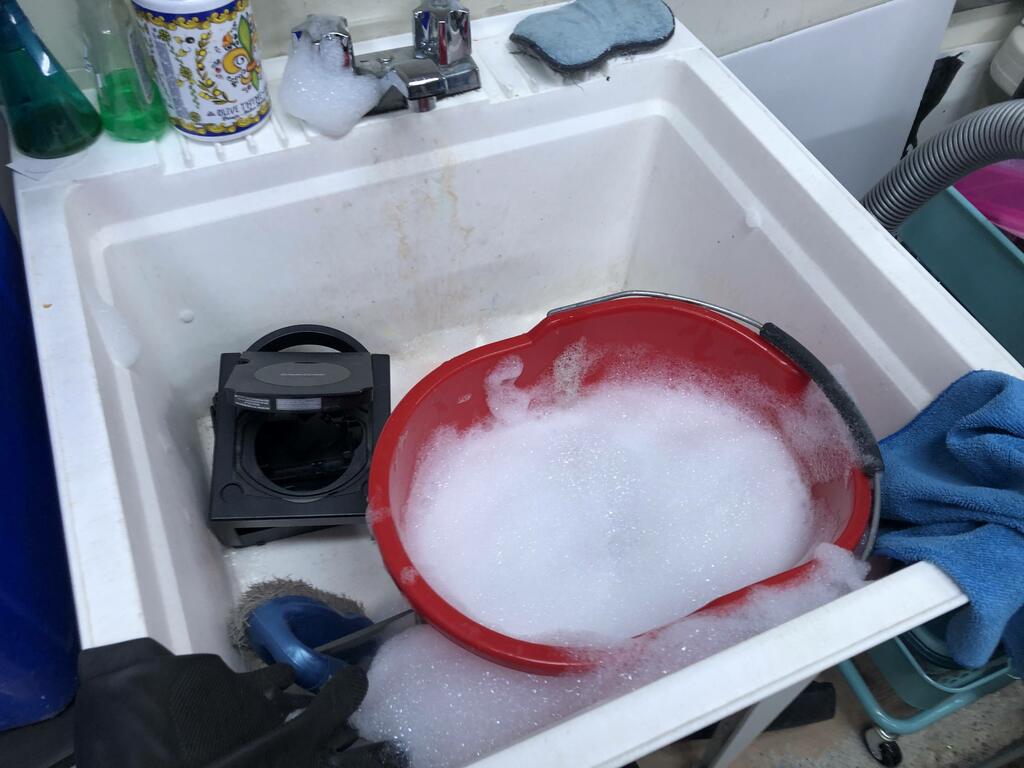
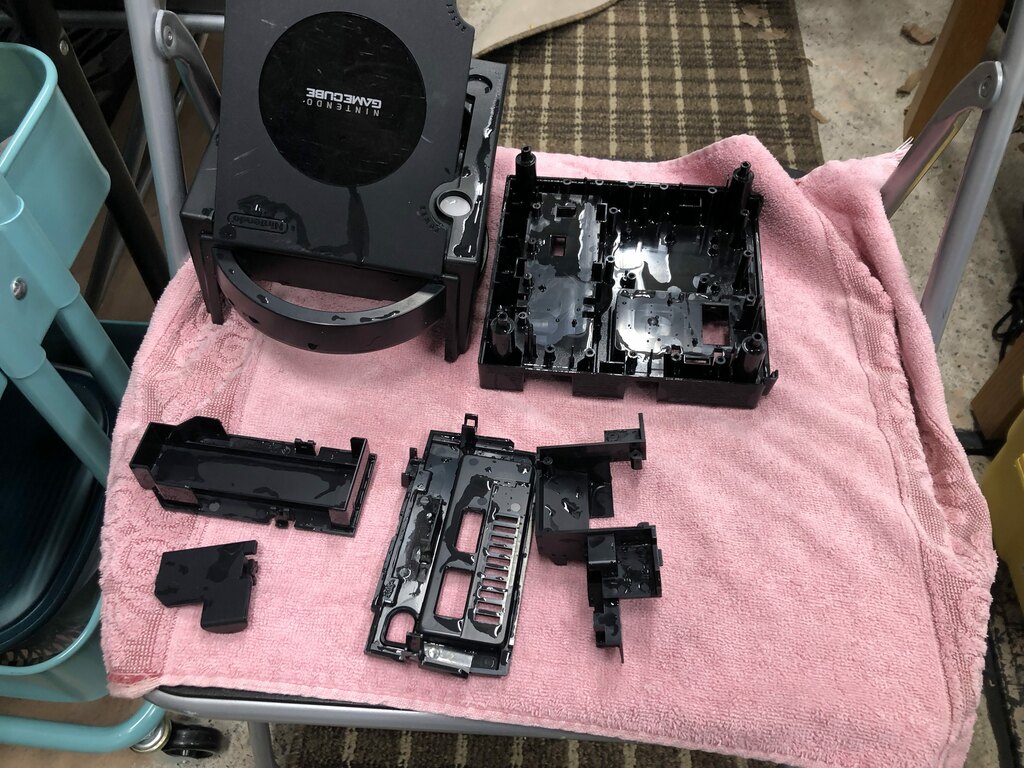
I washed all the plastic parts:
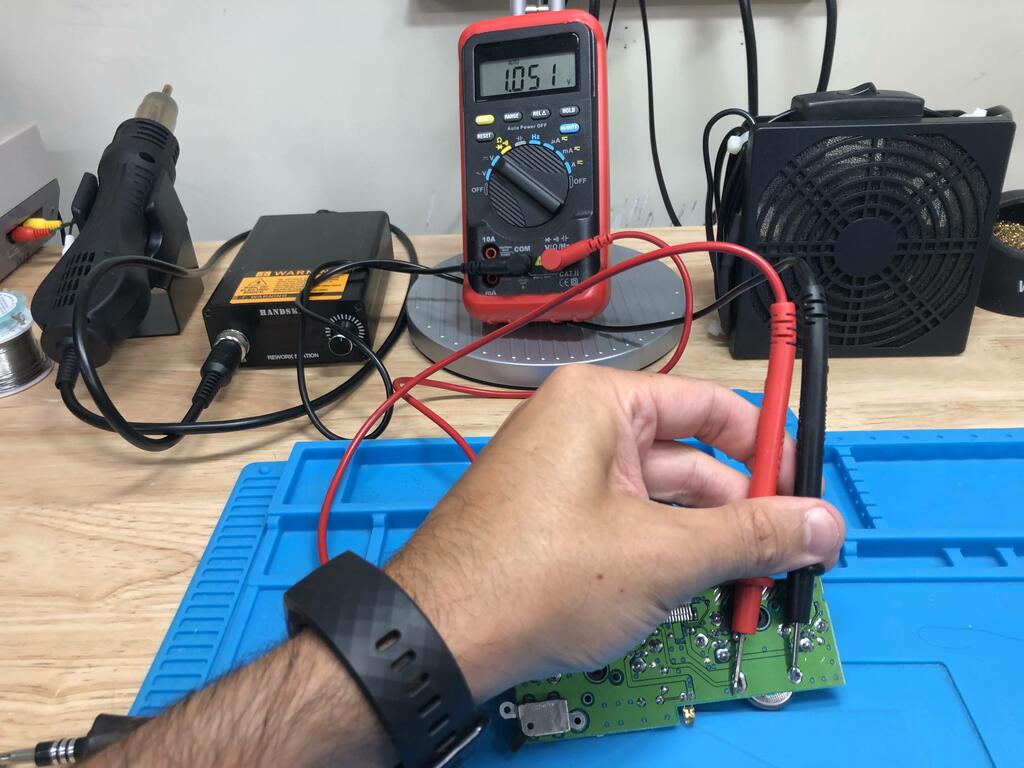
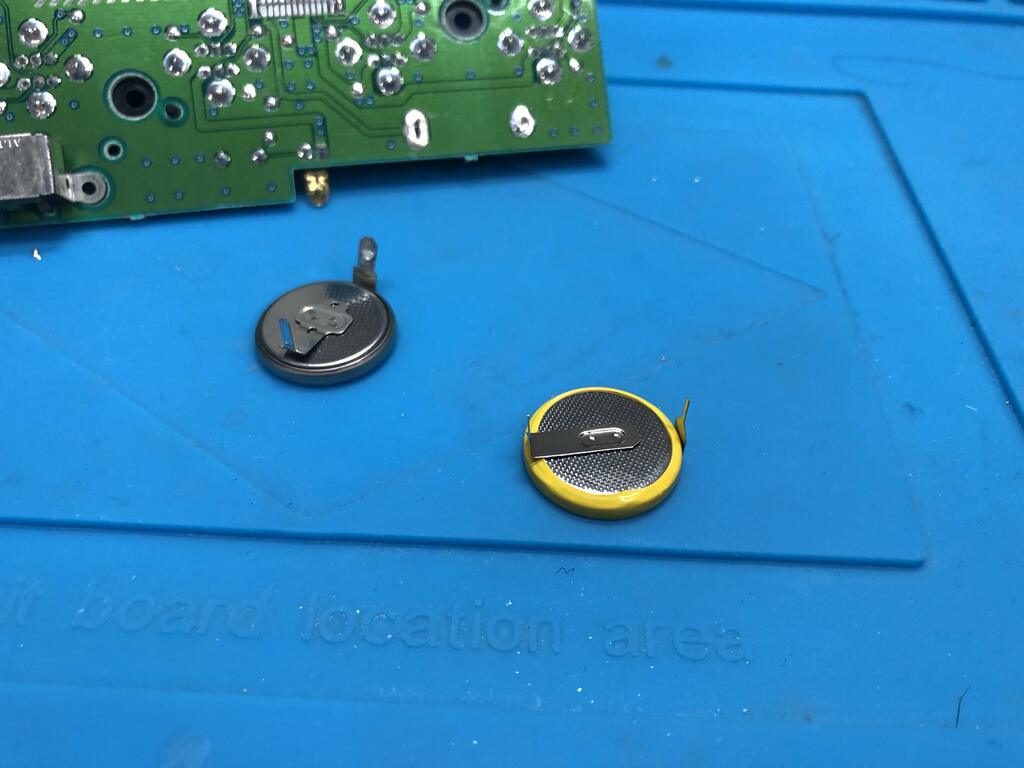
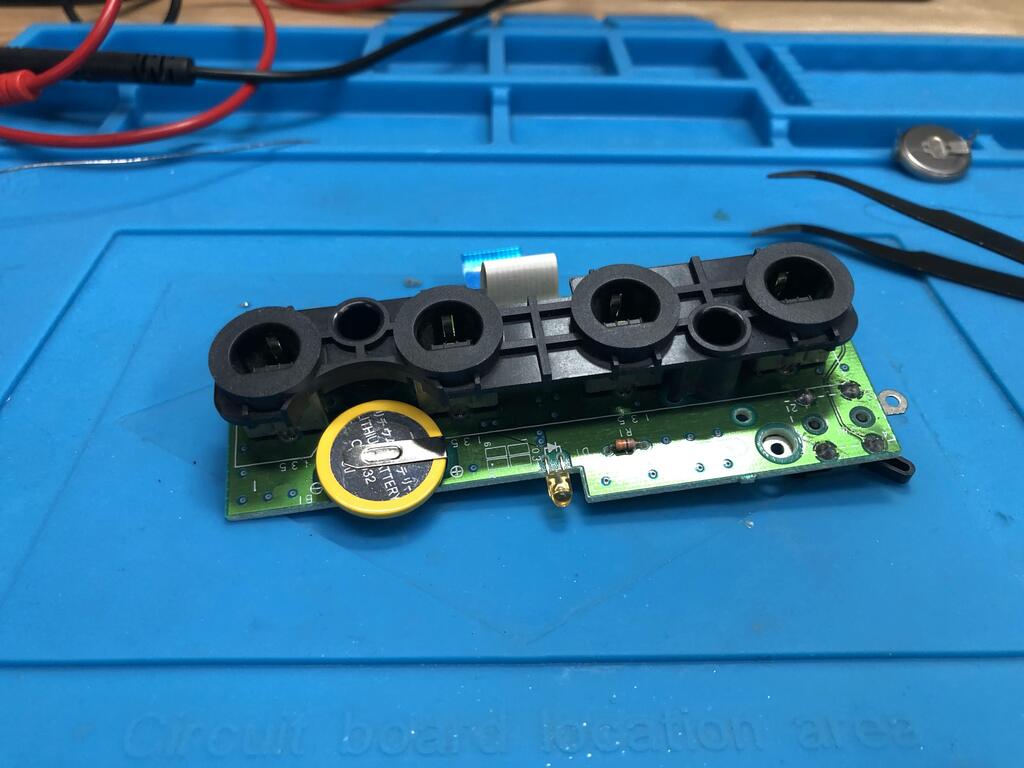
The clock battery was dead, so I changed that as well using an NES cartridge replacement battery:
Finally, I cleaned the non-plastic parts with some IPA and damp cloth:
With all that done, I could finally move on to the Picoboot mod.
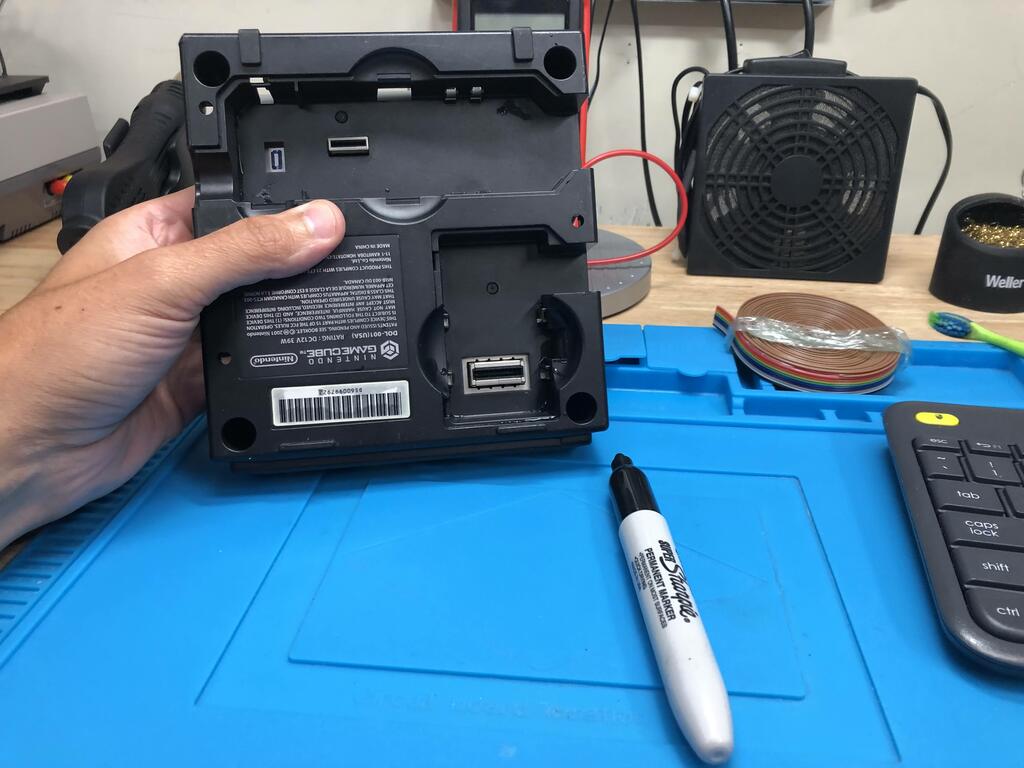
SD Card Adapter for SD2SP2 #
When a GameCube is modded, it supports a few different ways to access media, such as via a USB hard drive, ethernet, and SD cards. One of the most affordable methods is using an SD card by installing an adapter in the GameCube’s serial port 2 (SP2), known as an SD2SP2. Unfortunately, some GameCube models don’t have an SP2, including mine. One alternative is to use an SDGecko, which is basically a memory card SD adapter, but this uses up one of the memory card slots.
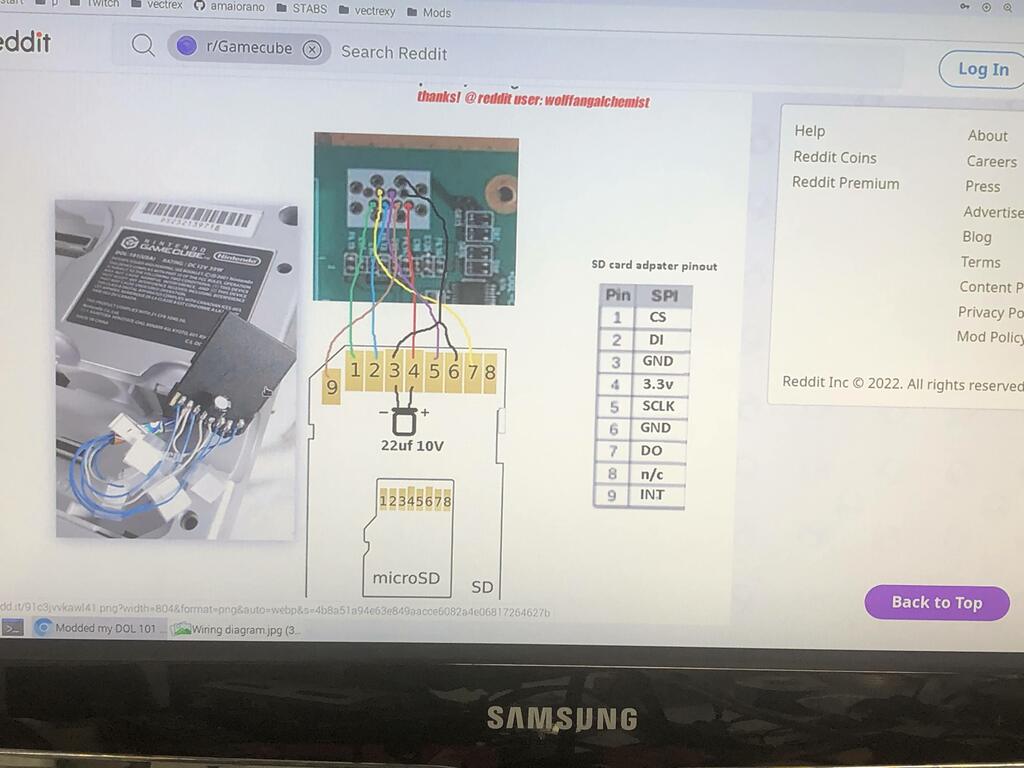
I searched online to see if anyone had found a way to restore the SP2 slot, and stumbled upon this Reddit thread where u/Joeygcpr shares how he wired up an Micro SD adapter directly to the internal pins on the GameCube motherboard. Although it’s not the most ideal solution, it’s definitely a cheap one, so I decided to give it a try.
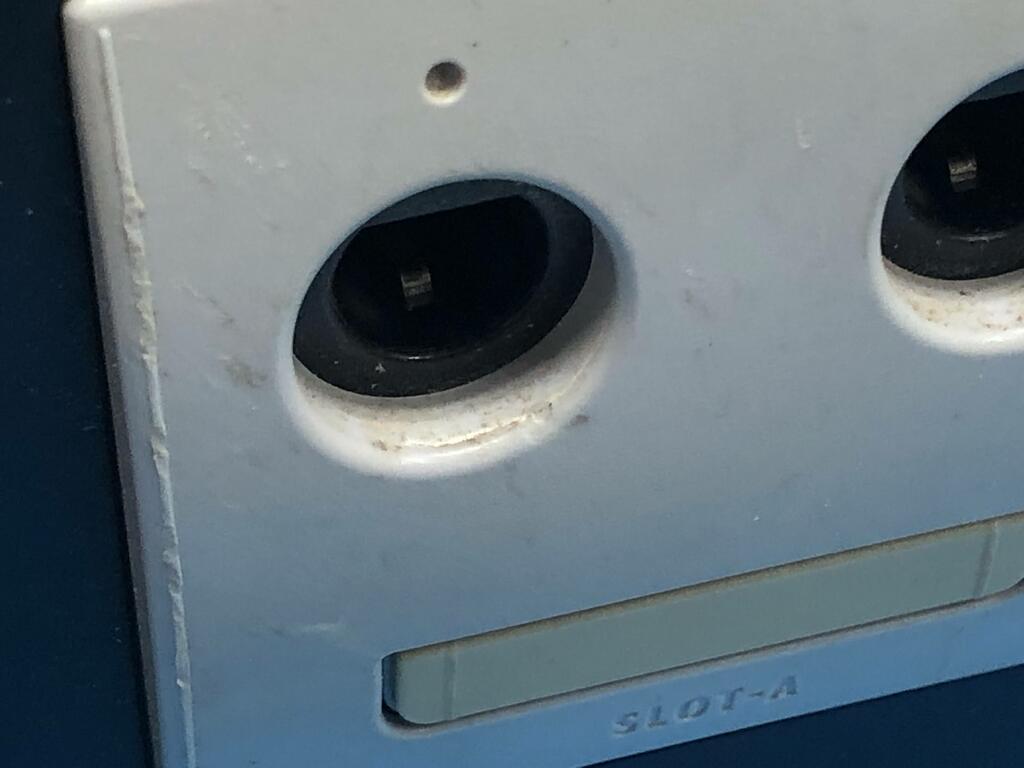
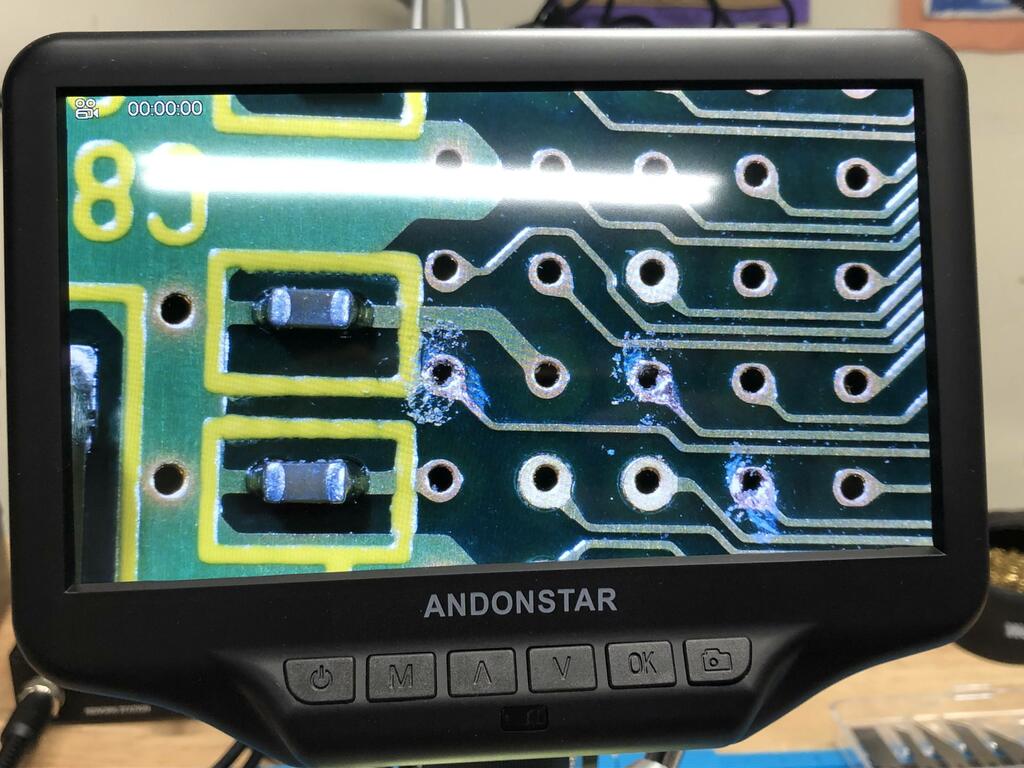
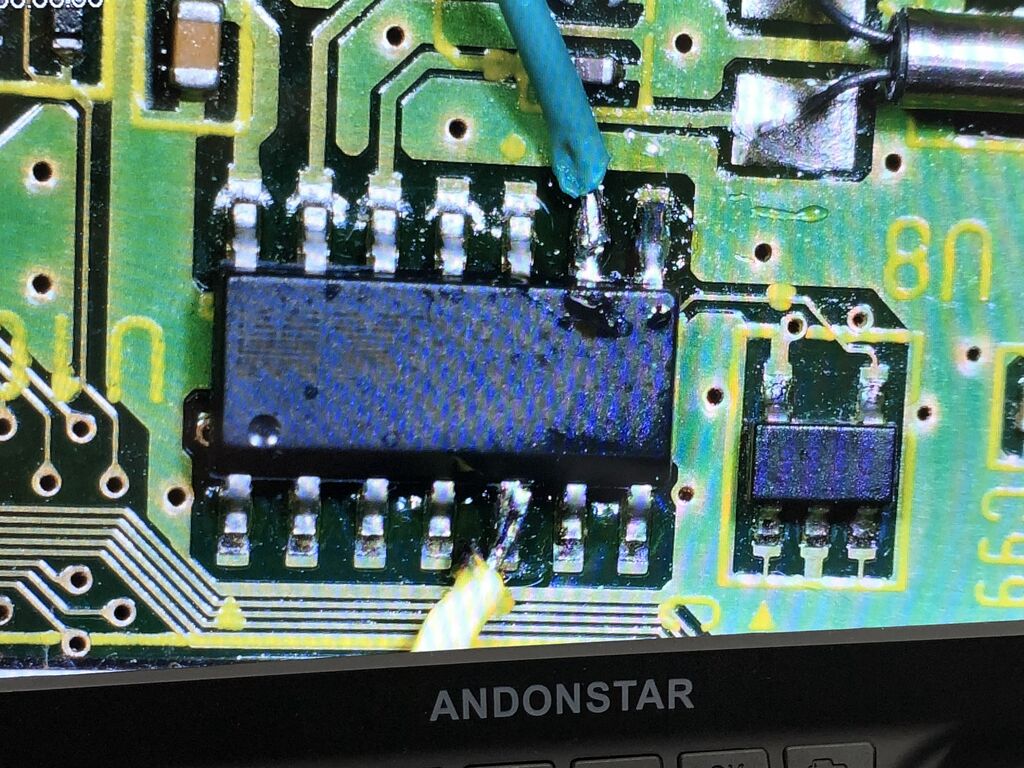
I zoomed in on the photos shared on the Reddit post to get a good view of the vias I’d need to solder to:
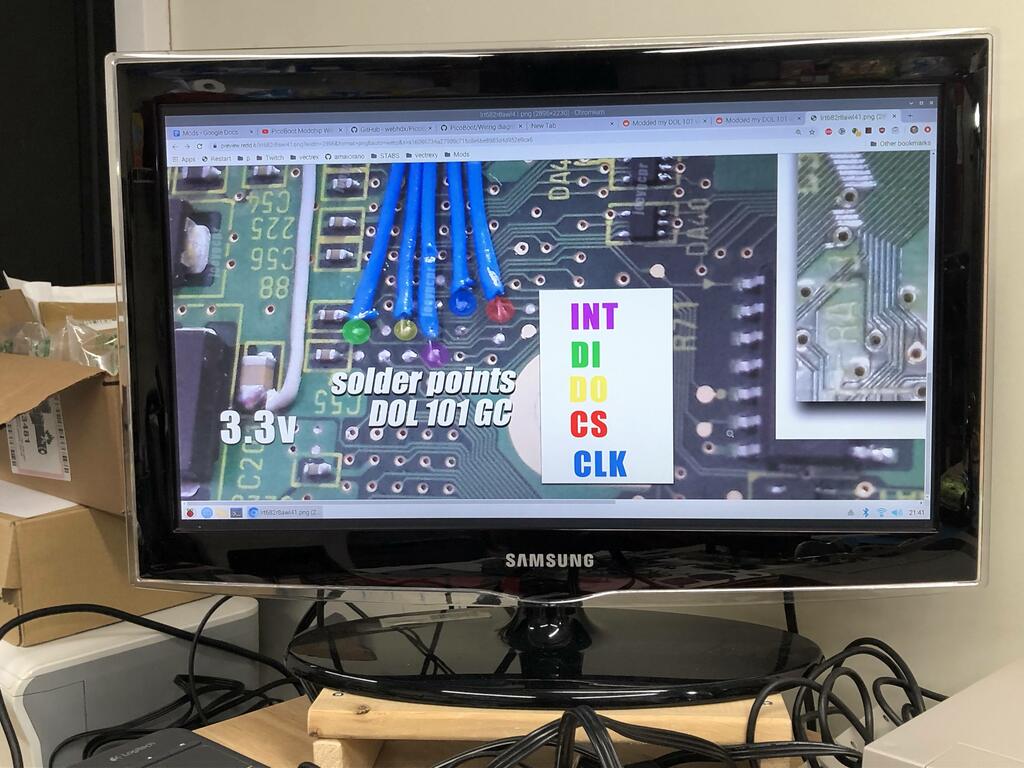
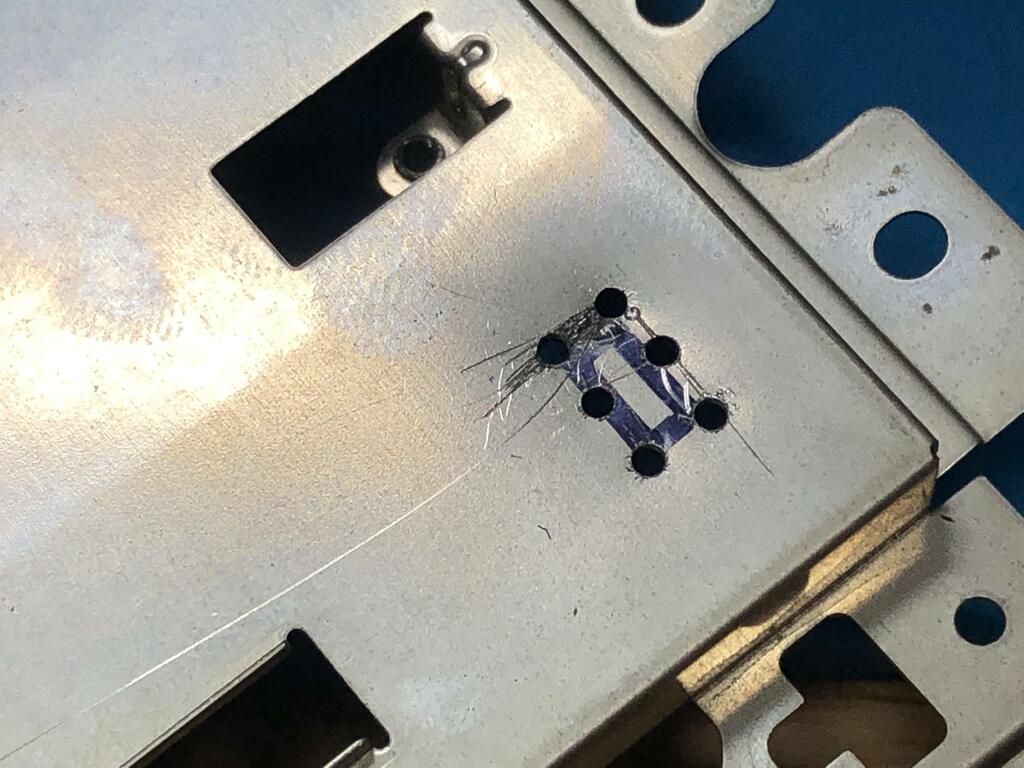
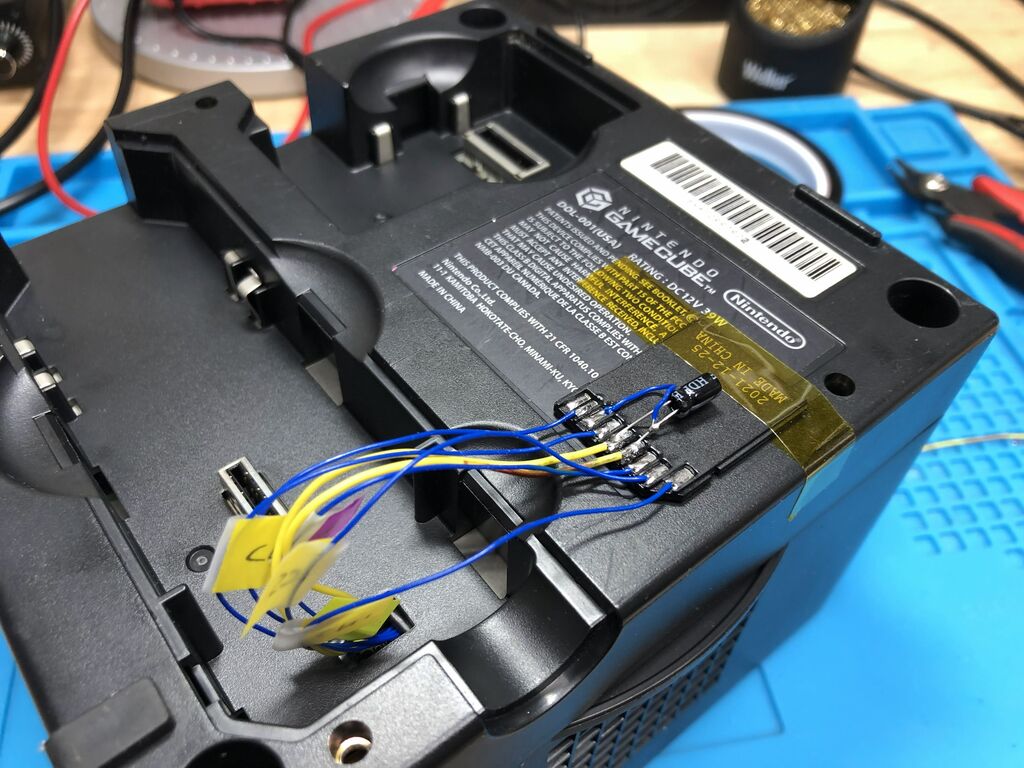
These vias are tiny, so I used my recently acquired AD407 microscope. I started off by using a pen knife to remove solder mask off the vias:

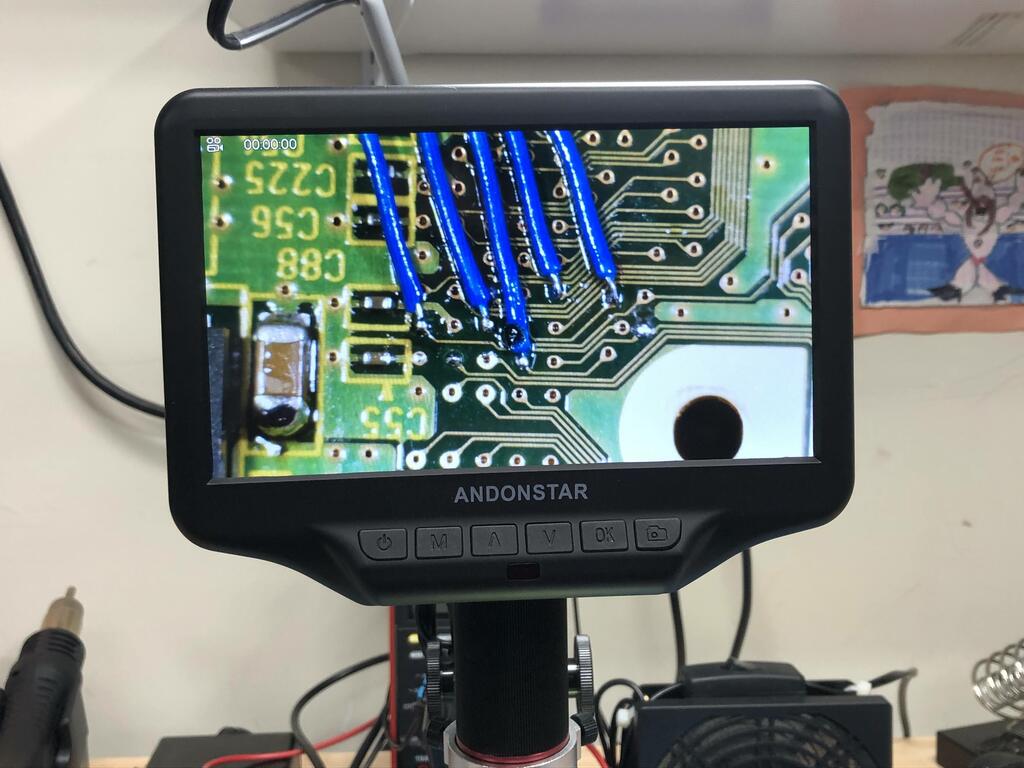
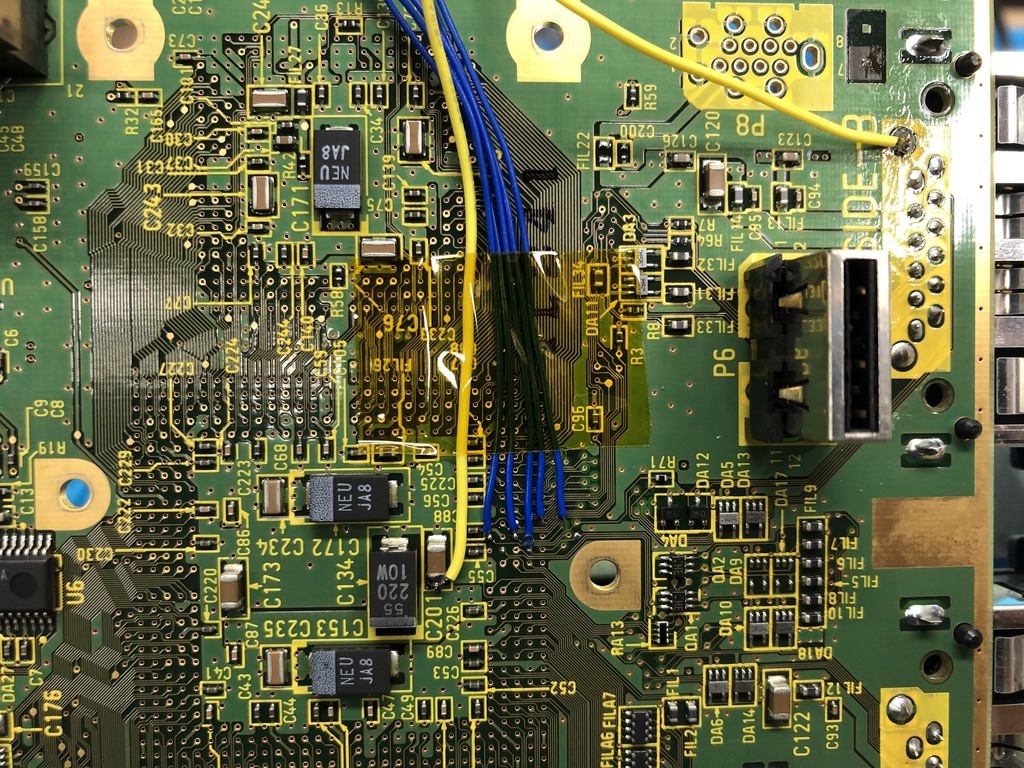
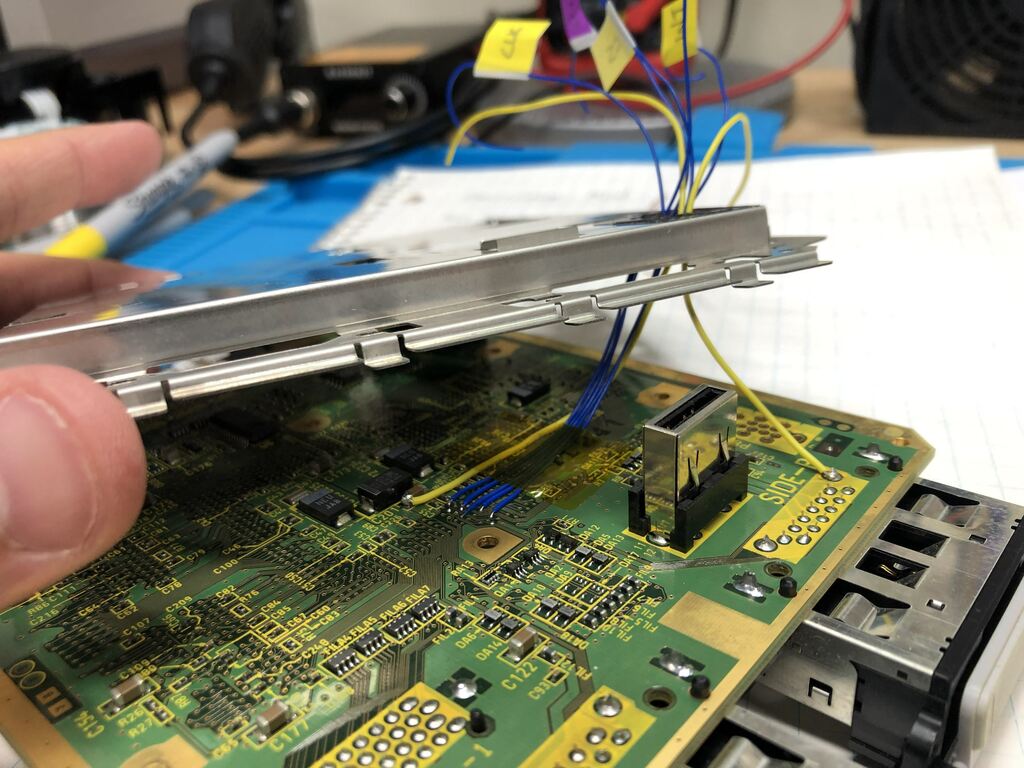
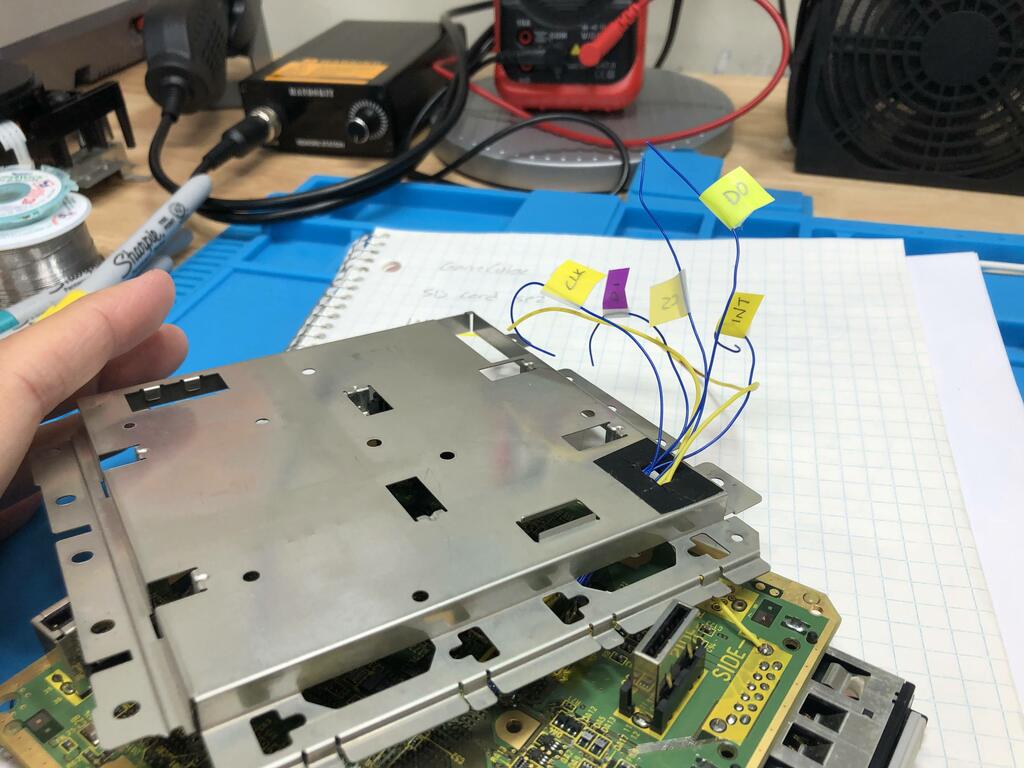
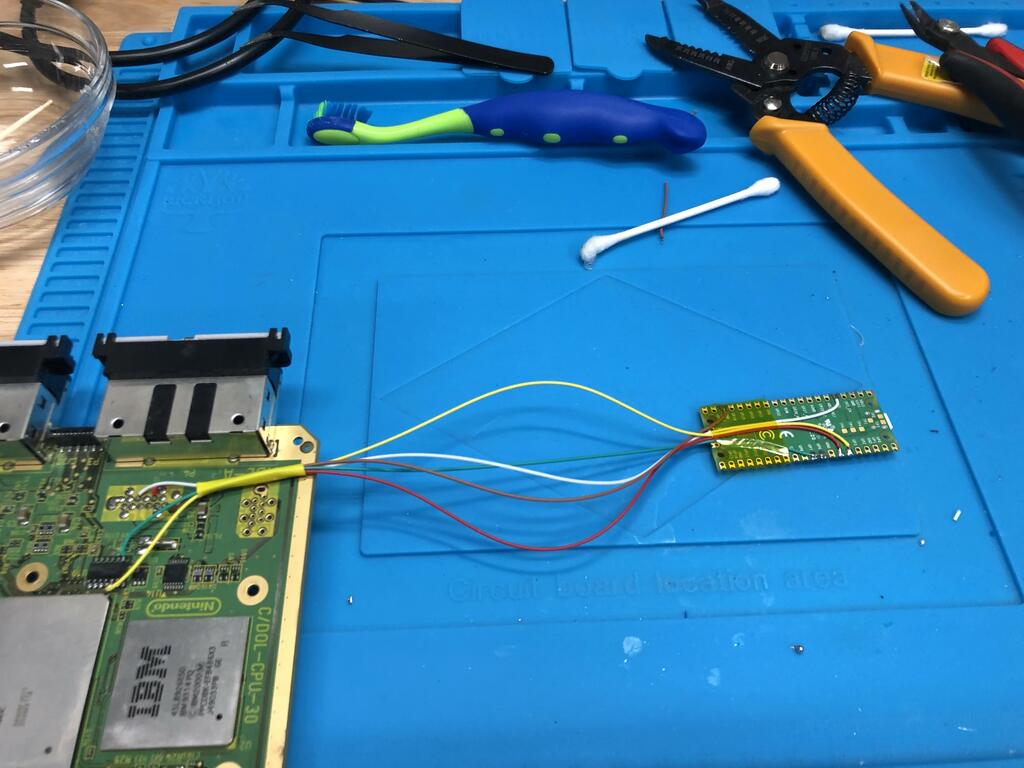
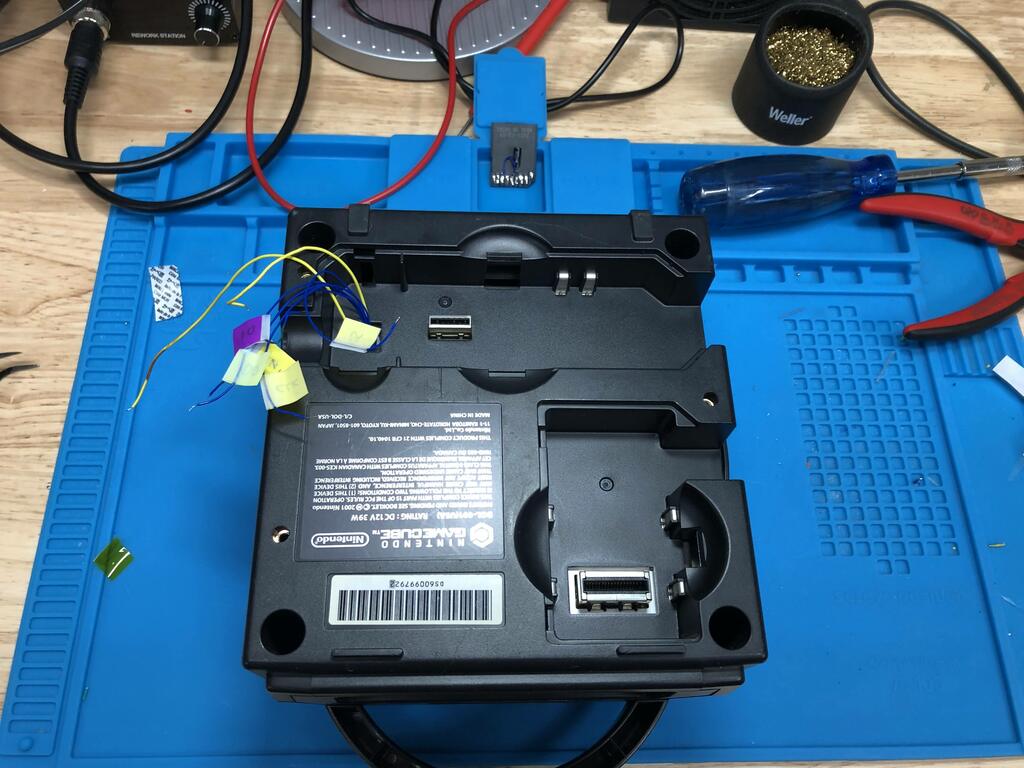
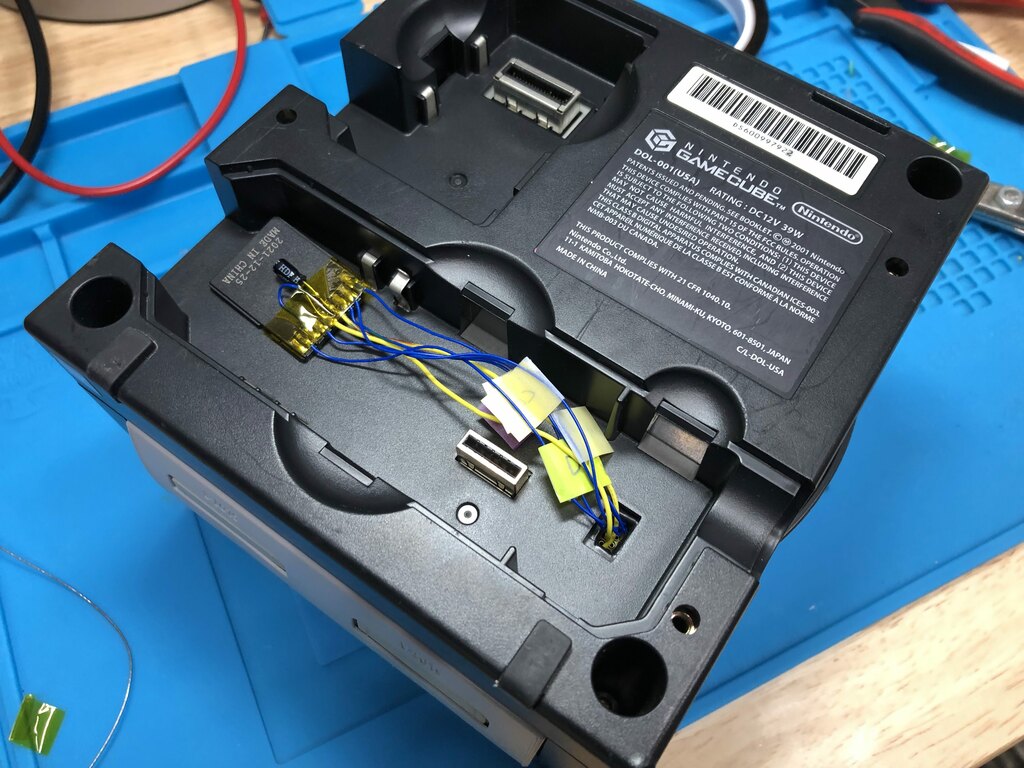
I soldered 30 AWG wires to the data pins, and 28 AWG for voltage and ground:
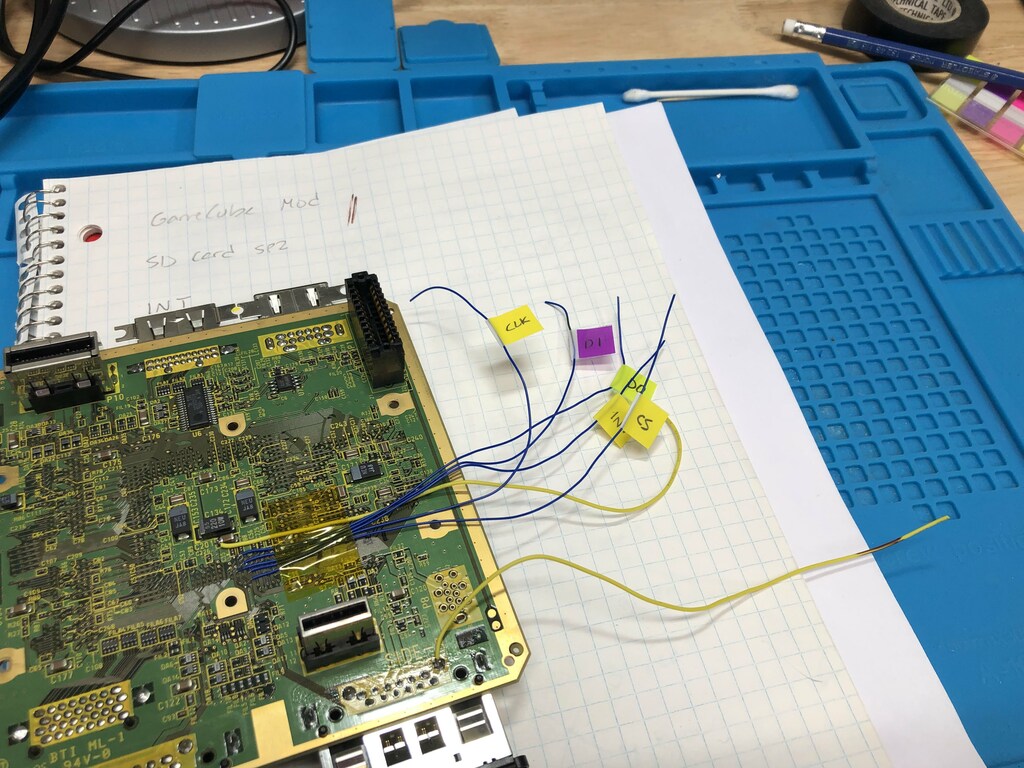
I also made sure to label each wire:
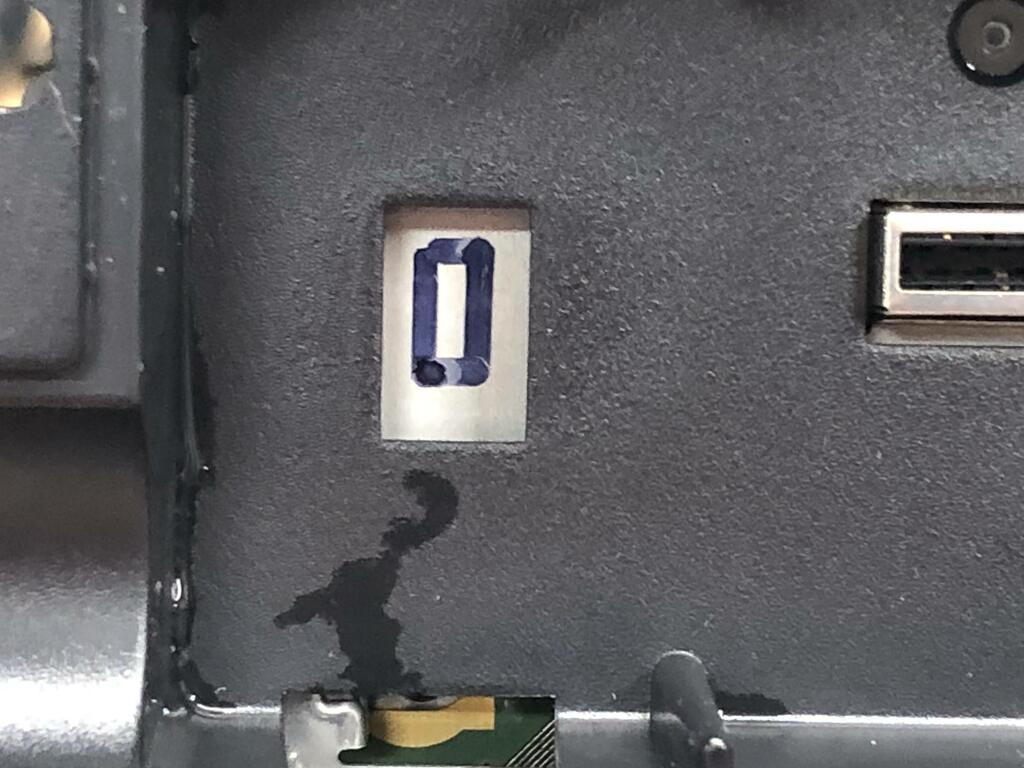
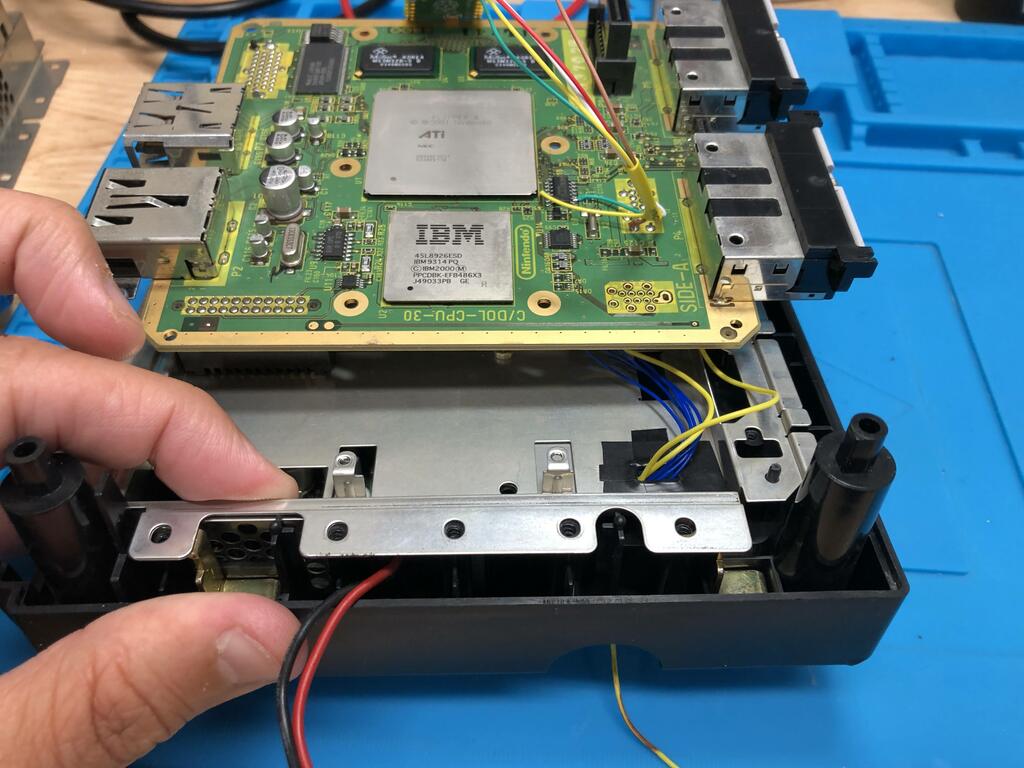
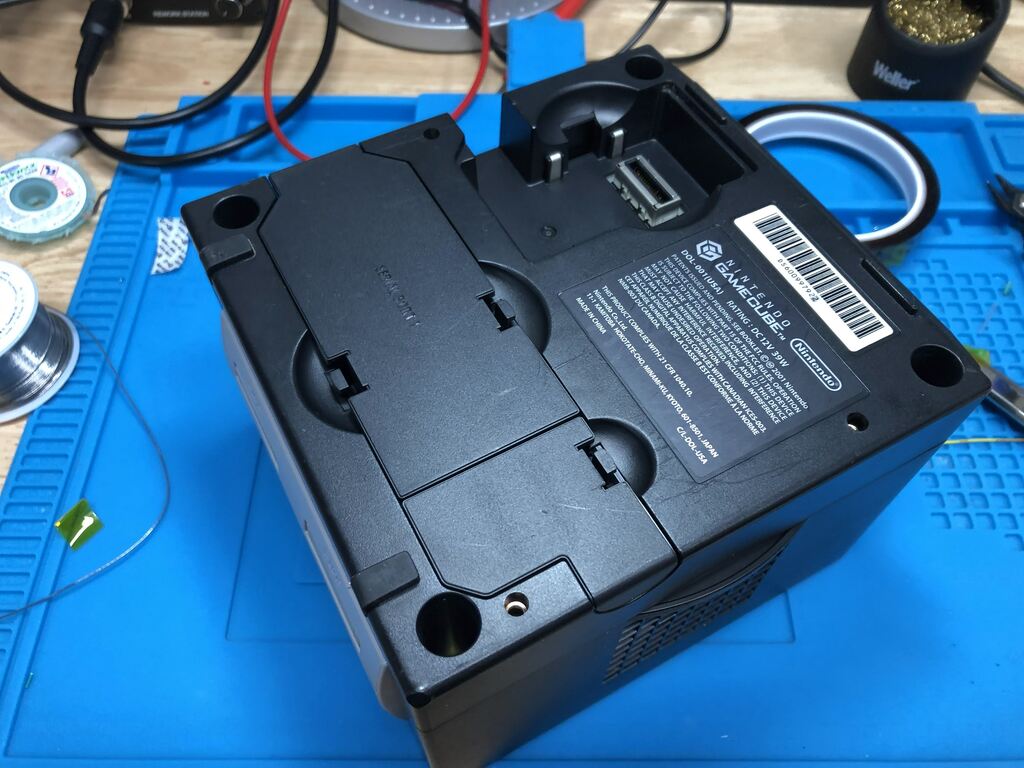
With the soldering done, I now needed a way to pass the wires through the bottom of the GameCube. Thankfully, the GameCube shell still had the original hole for SP2, but it was now covered by the bottom RF shield. So I decided to cut a rectangular hole in it. I marked the area to cut:
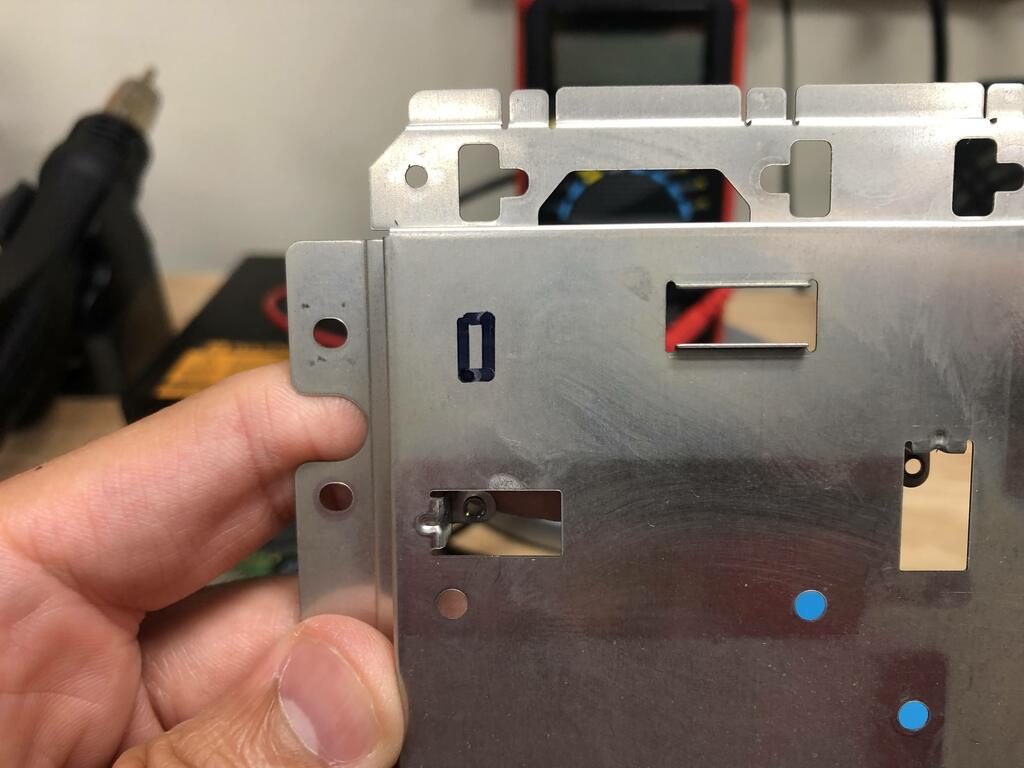
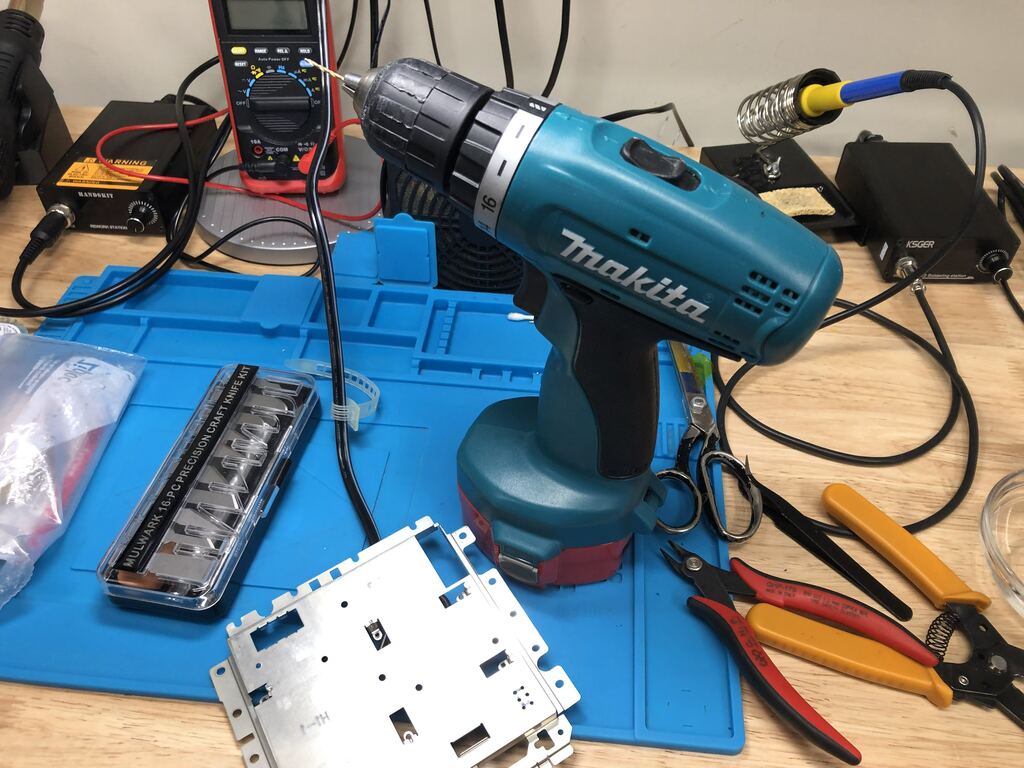
I drilled six holes around the markings, then used by flush cutters to cut between the holes:
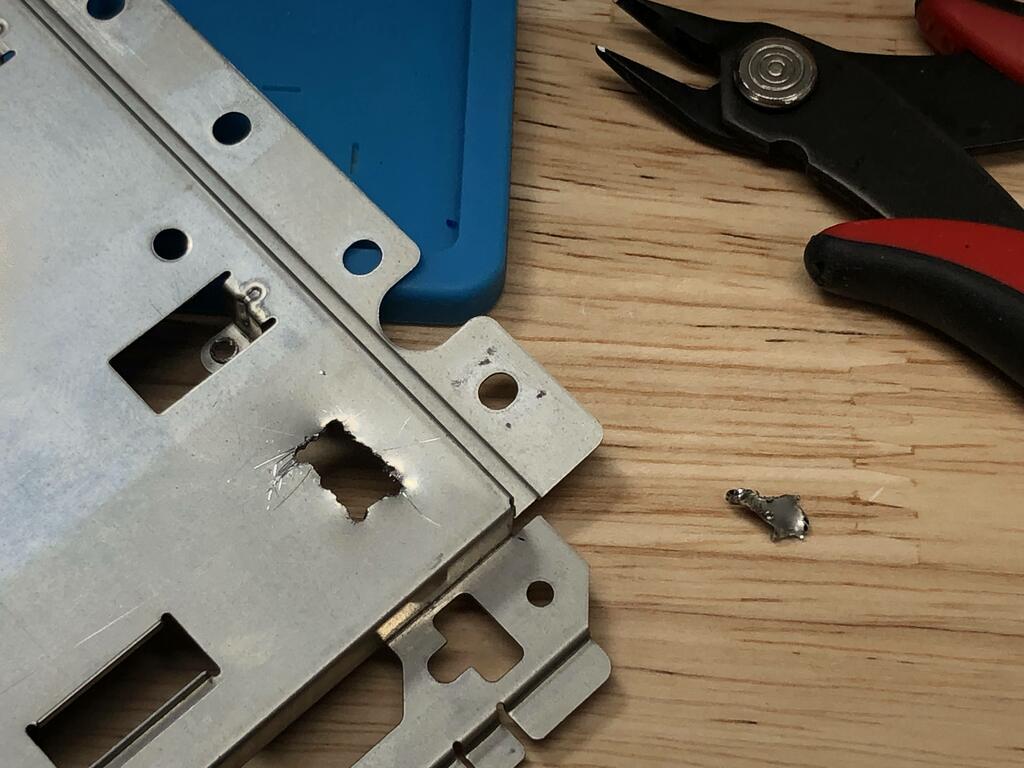
I didn’t have a thin enough file on hand to file down the rough edges, so I used some wire tape to wrap the edges:
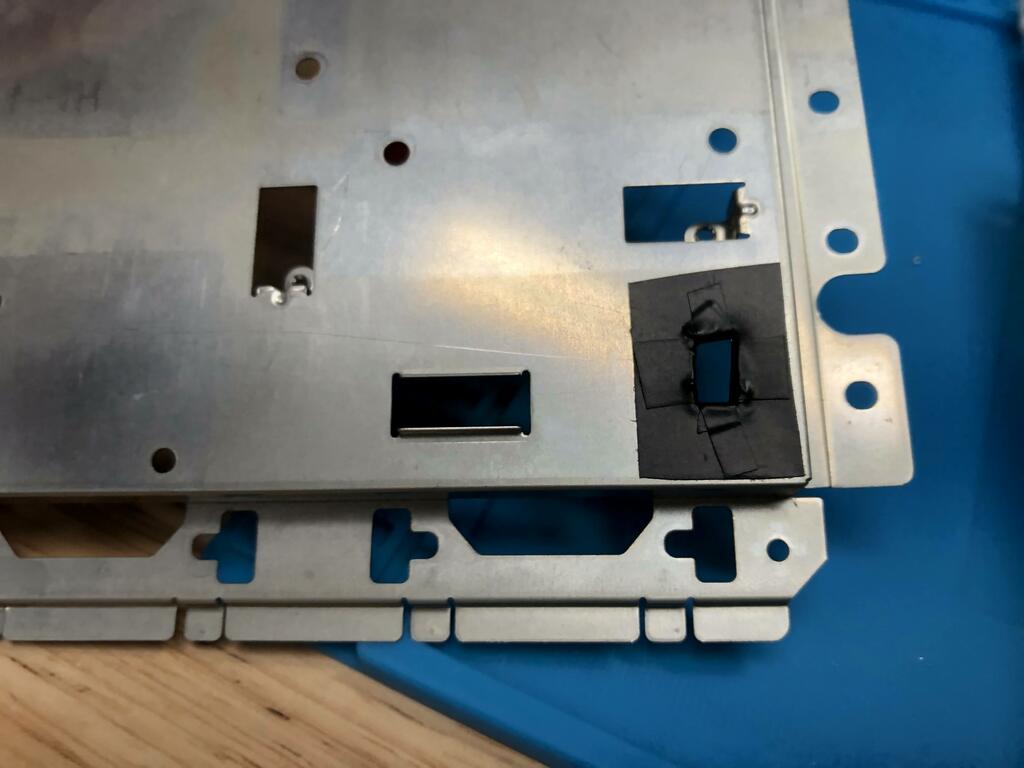
With that, I’d be able to thread the wires through:
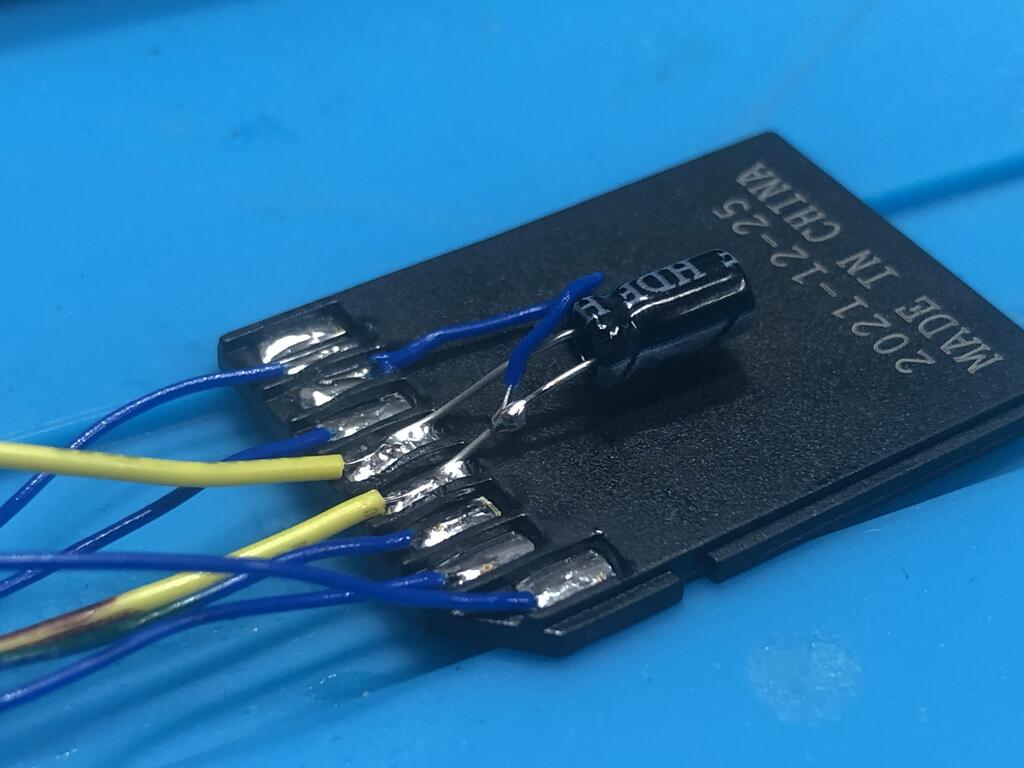
Next up was soldering the exposed wires to a Micro SD adapter, along with a 22uF electrolytic capacitor:
Great! With that out of the way, it was time to install the PicoBoot mod.
PicoBoot #
To install PicoBoot, I followed both the instructions on the main GitHub page as well as Tito’s excellent video.
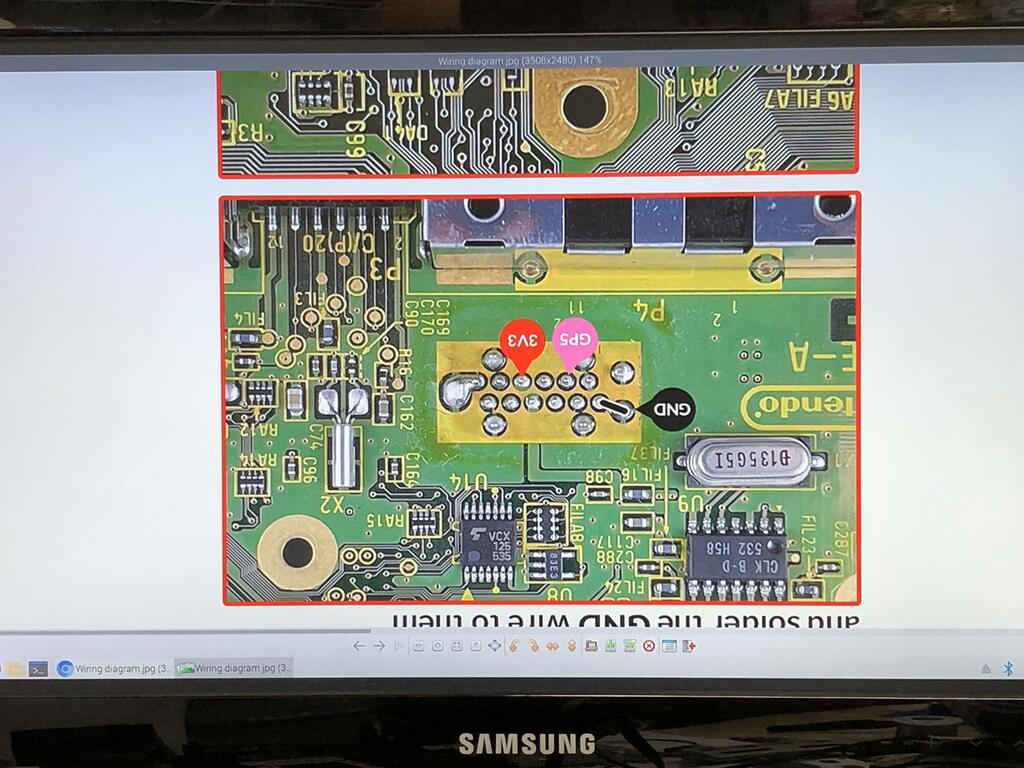
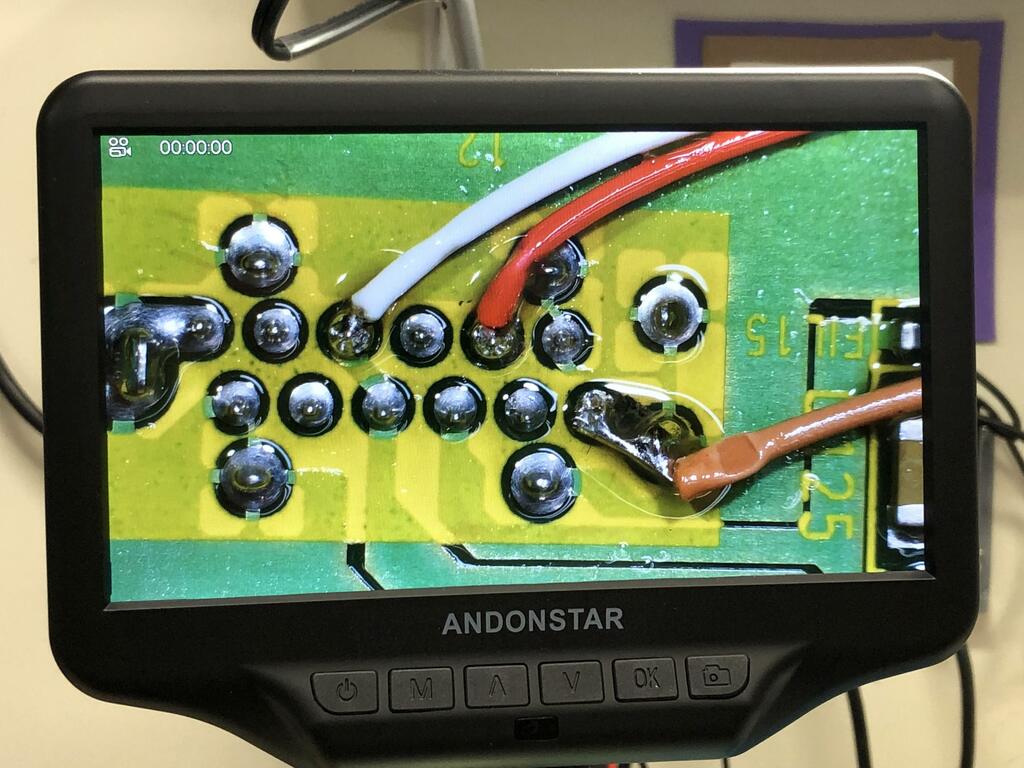
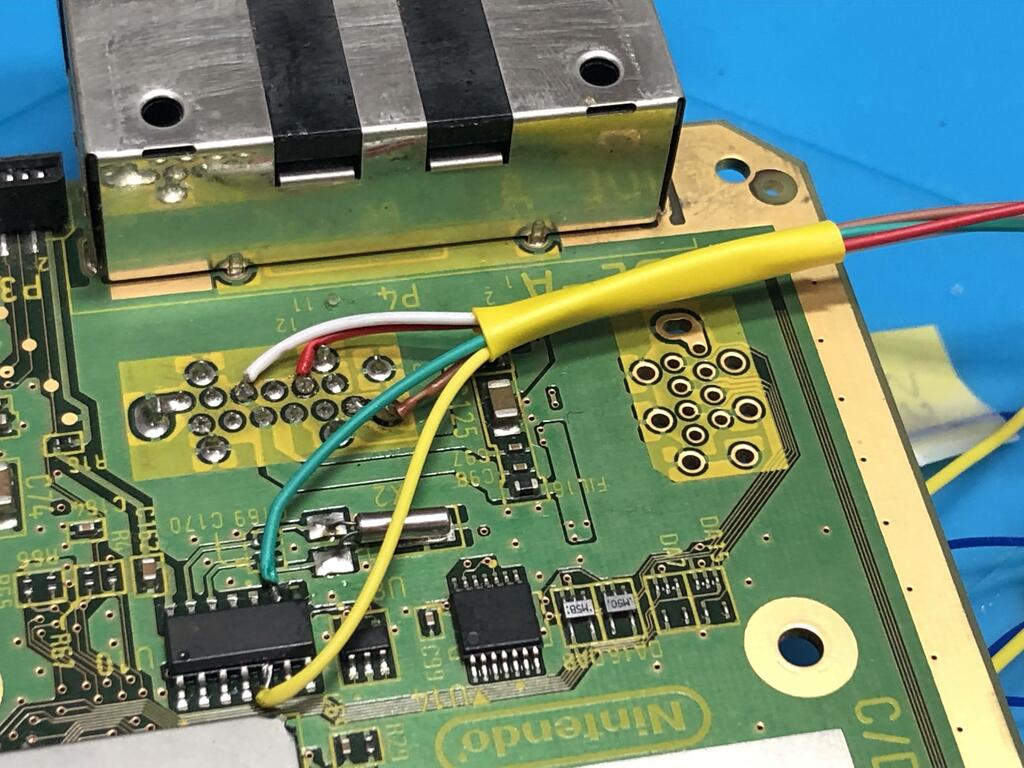
First I soldered wires for 3V3, GND, and GP5:
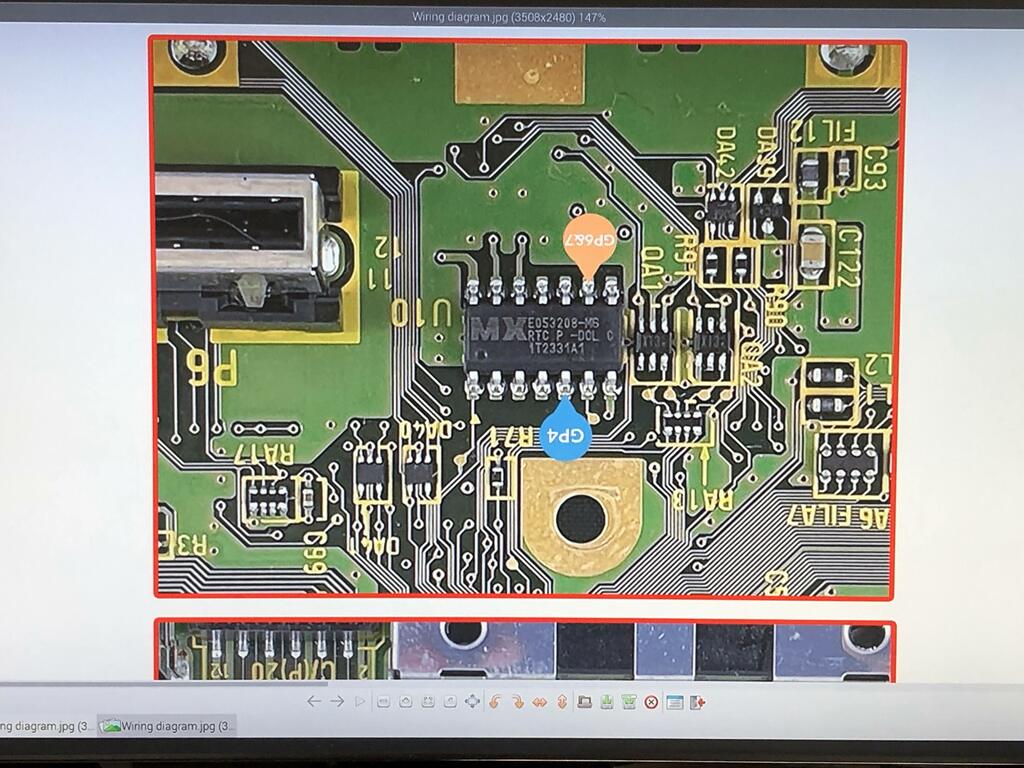
Then I soldered wires for GP4 and GP6&7:
Like Tito, I put some heat shrink tubing on the wires to hold them together and to add some protection for when routing them later:
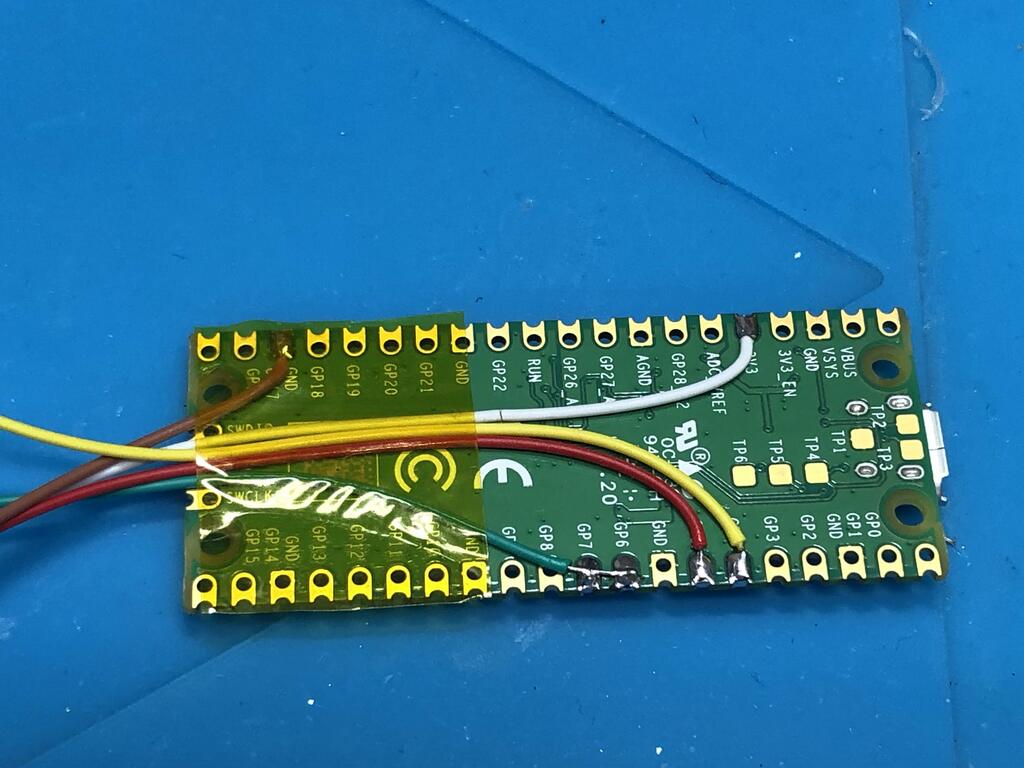
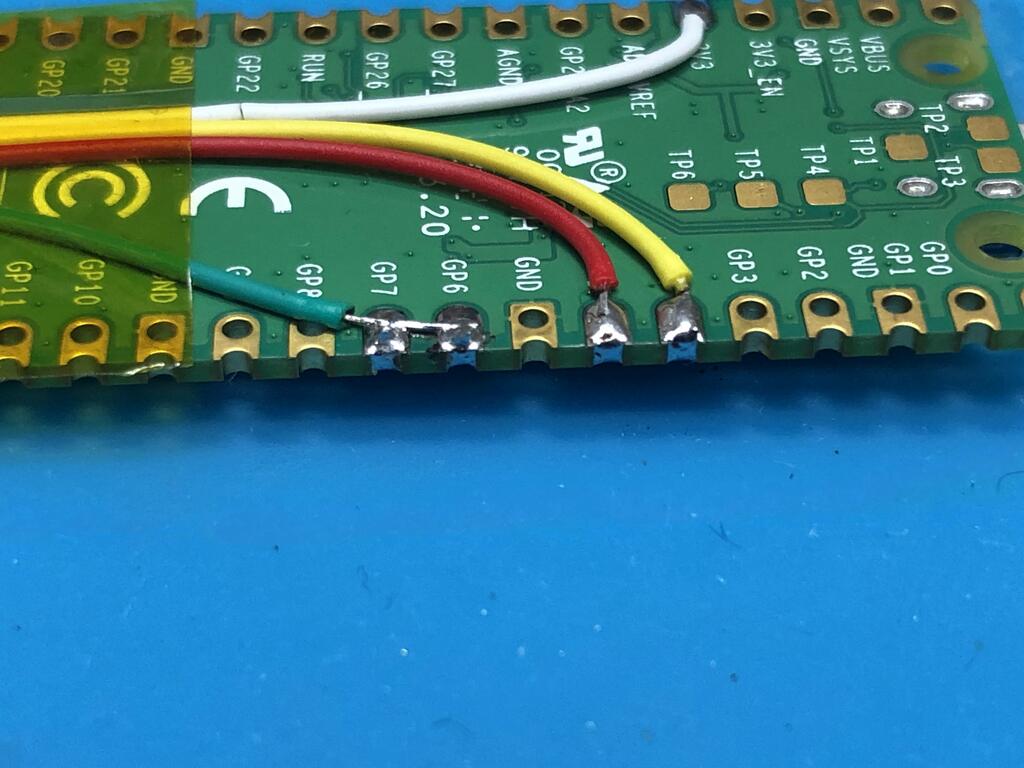
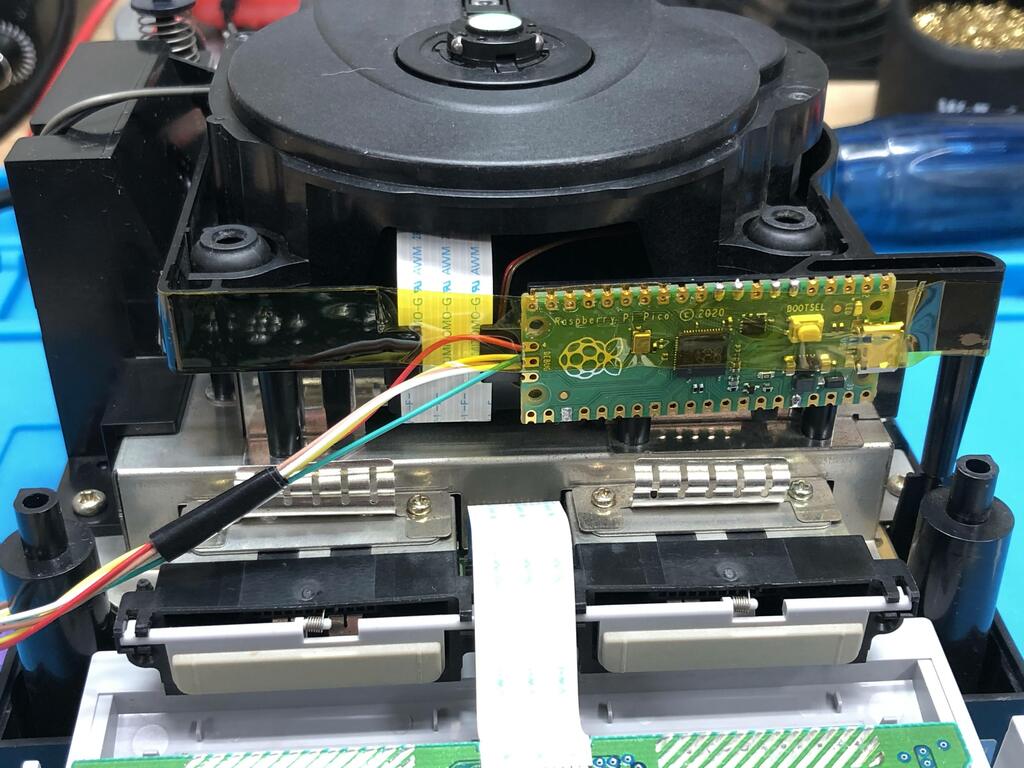
I then soldered the other ends of the wires to the Pico:
Putting it all together #
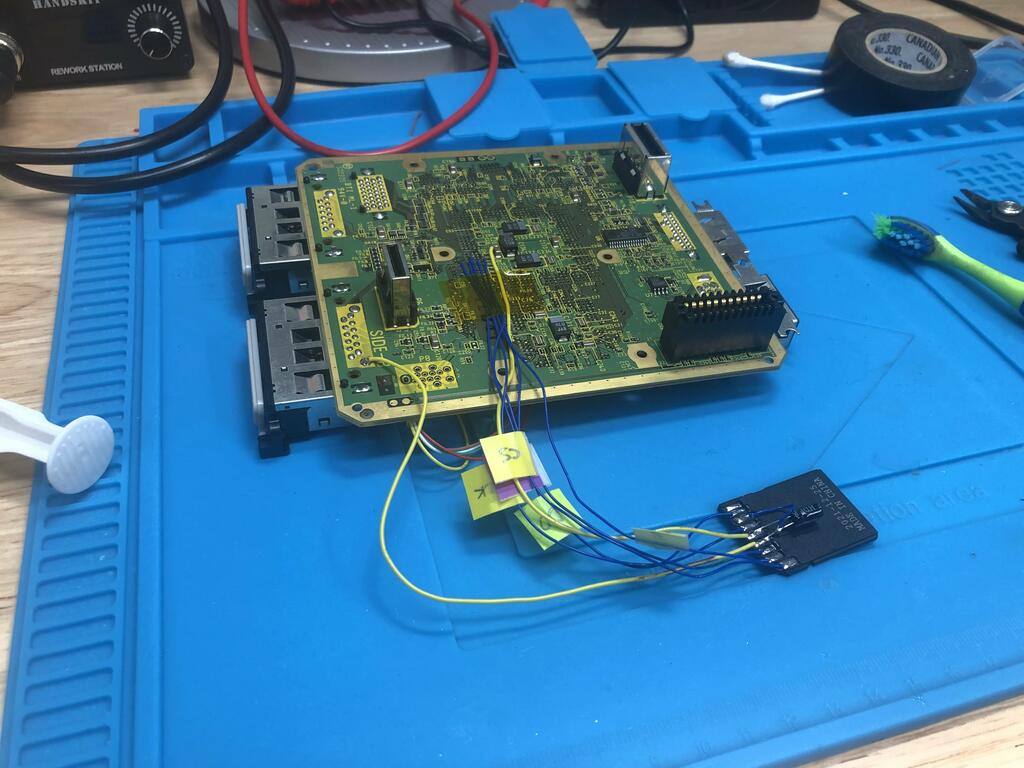
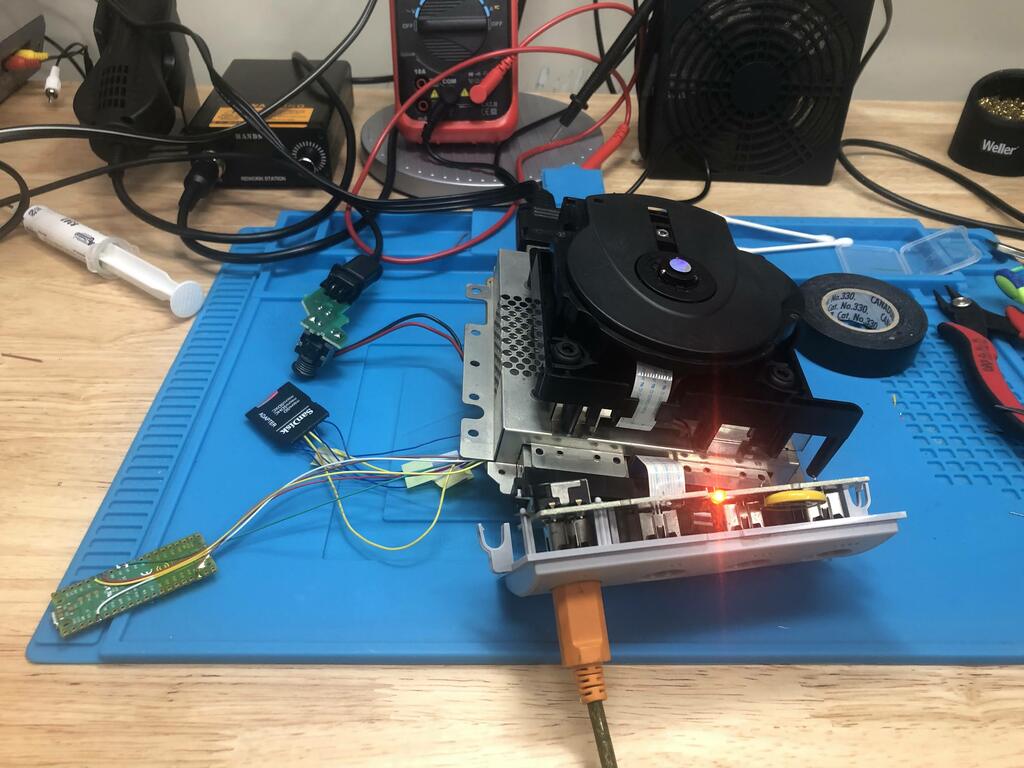
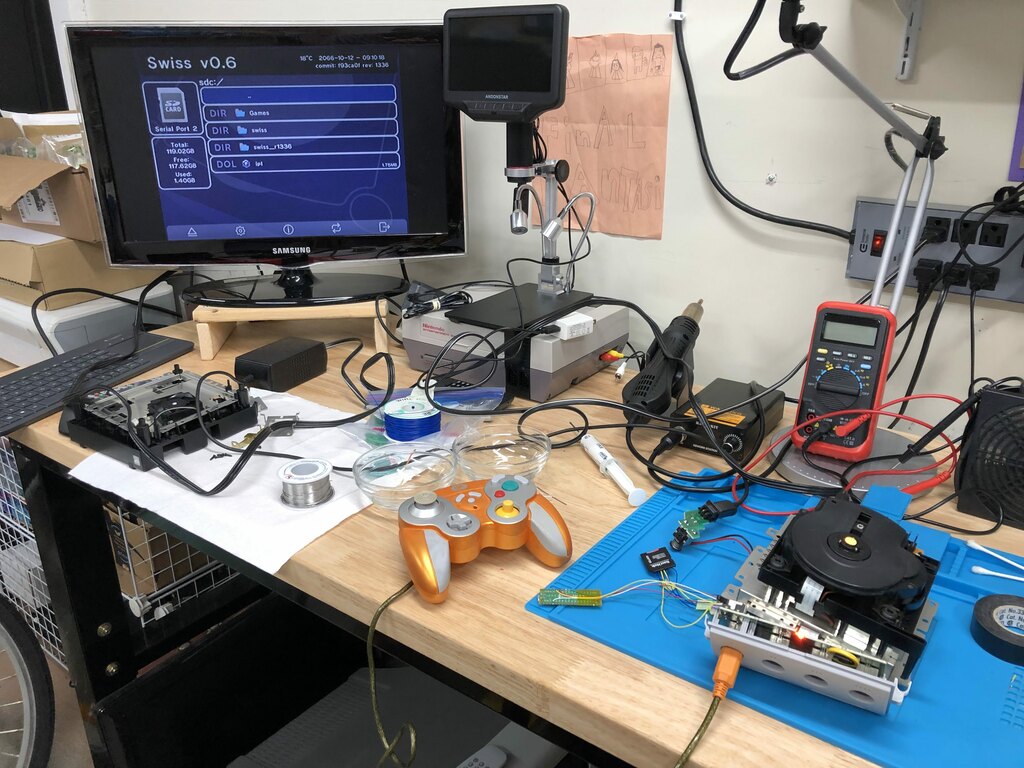
With my custom SD2SP2 and PicoBoot both installed, I could finally test everything. I downloaded Swiss and put it on my micro SD card, popped it into the SD adapter, and amazingly, everything worked right away!
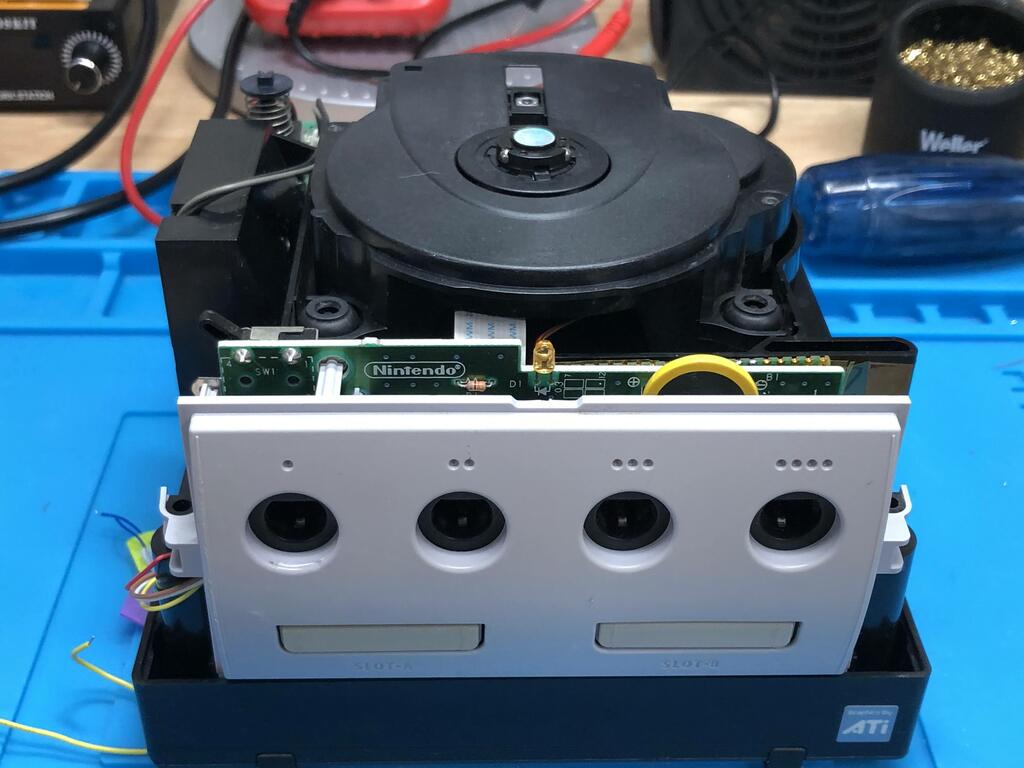
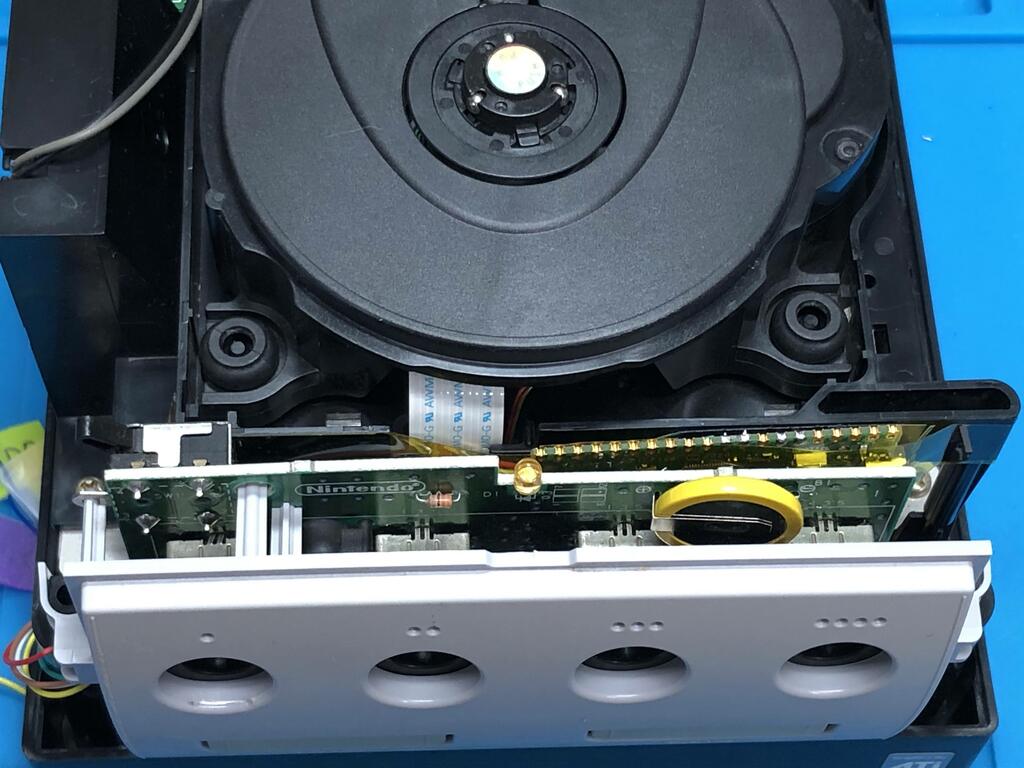
Now I could finally put everything back together:
I used some double-sided tape to stick the Pico to the front, behind the controller PCB:
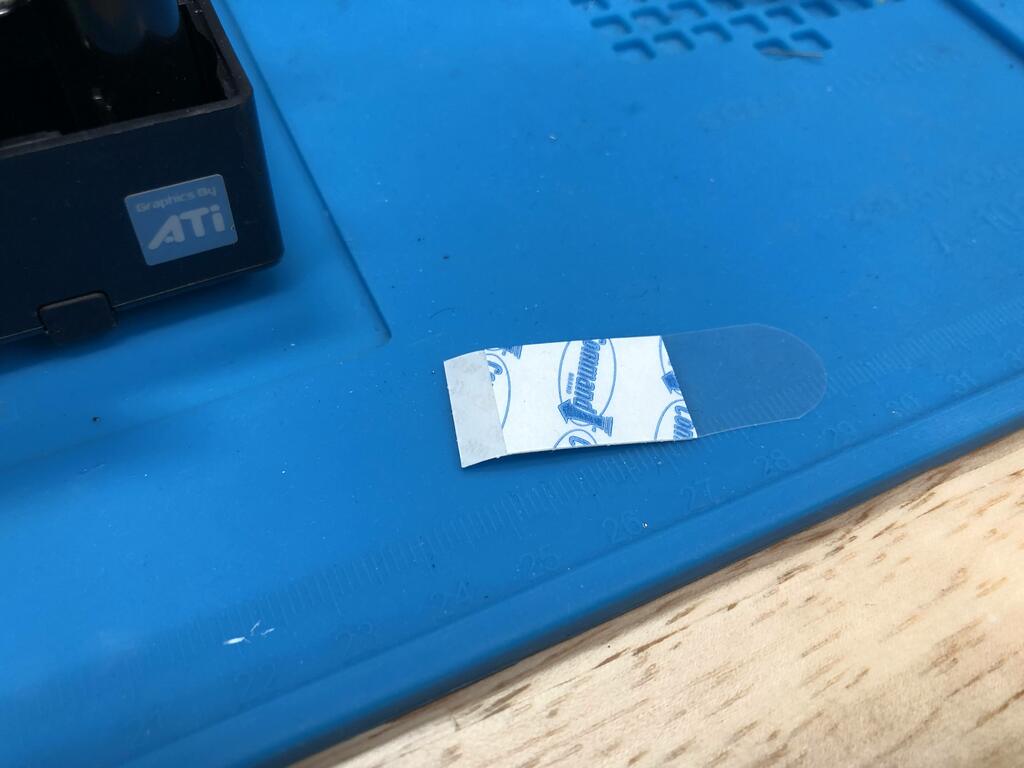
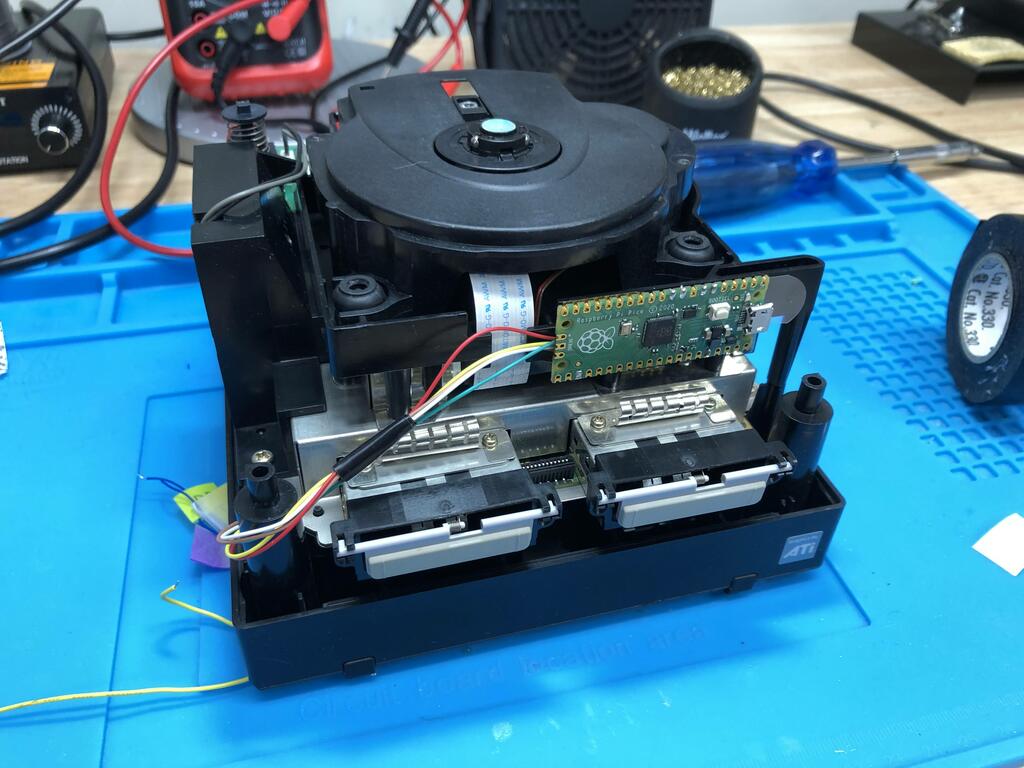
It didn’t feel very solid, so I added some Kapton tape:
It’s not great, but I’ve since stumbled upon this nice mount on Thingiverse that I plan to use at some point. Anyway, I finished closing up the console:

And once again, I resoldered the SD2SP2 wires to the micro SD adapter:
Done!
Thoughts #
I have to say, I really love the PicoBoot project! It’s inexpensive, easy enough to install, and works really well. I’ve copied a bunch of great games to my micro SD card, and have been having a blast playing them.
The custom SD2SP2 adapter was more challenging, and is definitely not the most elegant solution; but it works perfectly, and if you don’t have a serial port 2 on your GameCube, it’s probably one of the most affordable options. However, soldering these wires is a lot more difficult than for the PicoBoot as the vias are quite small and close together. I definitely recommend using a microscope.
If you’ve got a GameCube lying around, I definitely recommend doing this mod.