NES Restoration
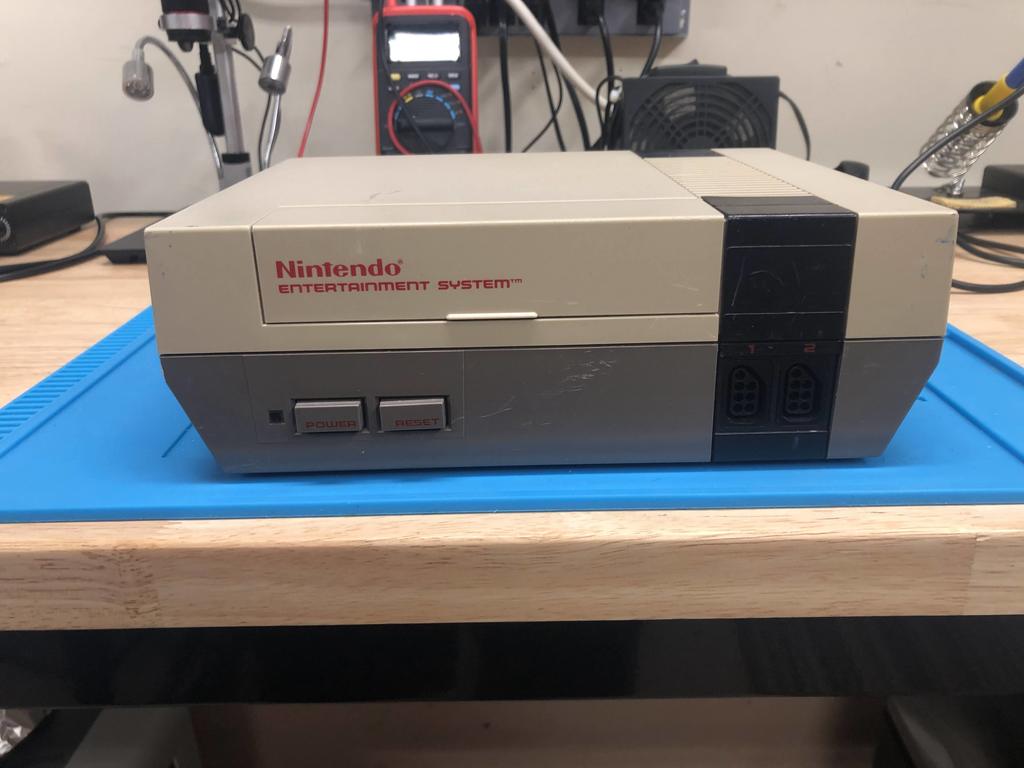
I bought a NES for $20 on Marketplace. The seller said it wasn’t working well. I tested it, and sure enough I got the blinking screen most of the time. But with some fiddling, I managed to get a game working, so I knew it just needed a good cleaning and restoration. In this post, I go over the process of restoring this NES.
Cleaning #
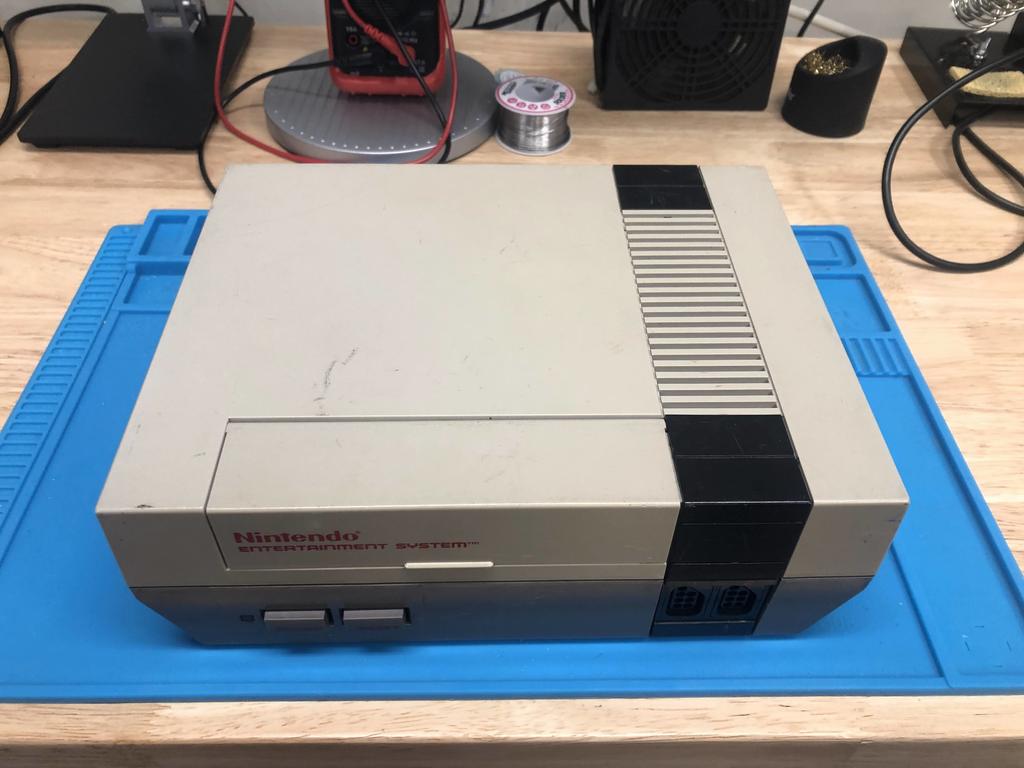
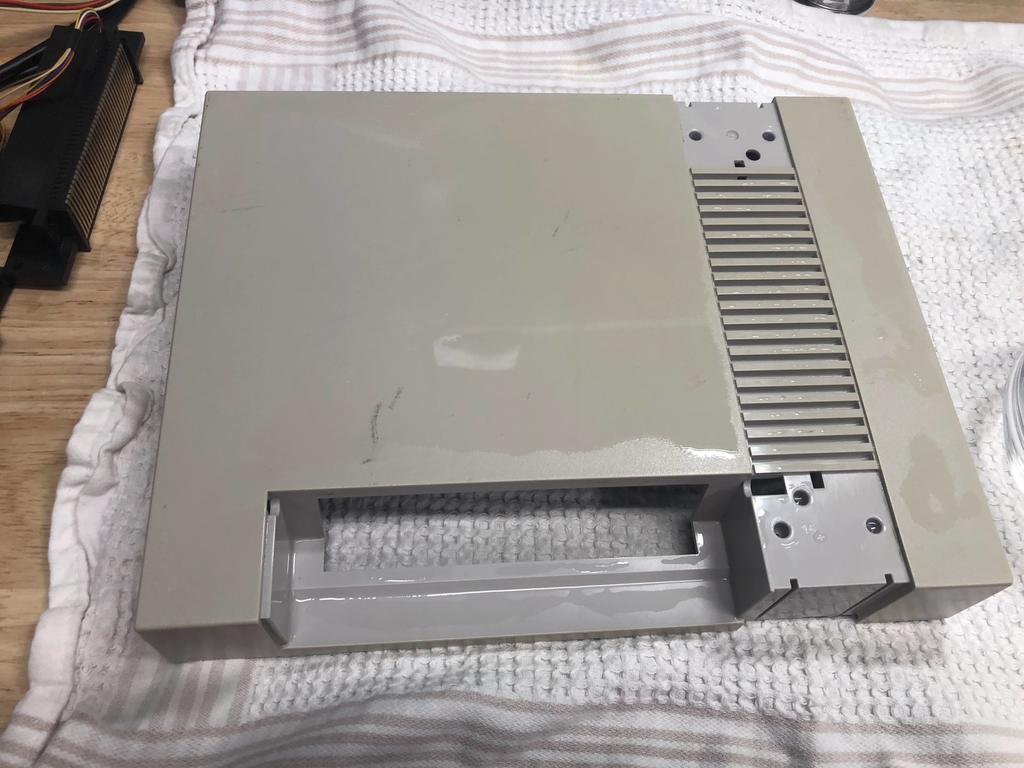
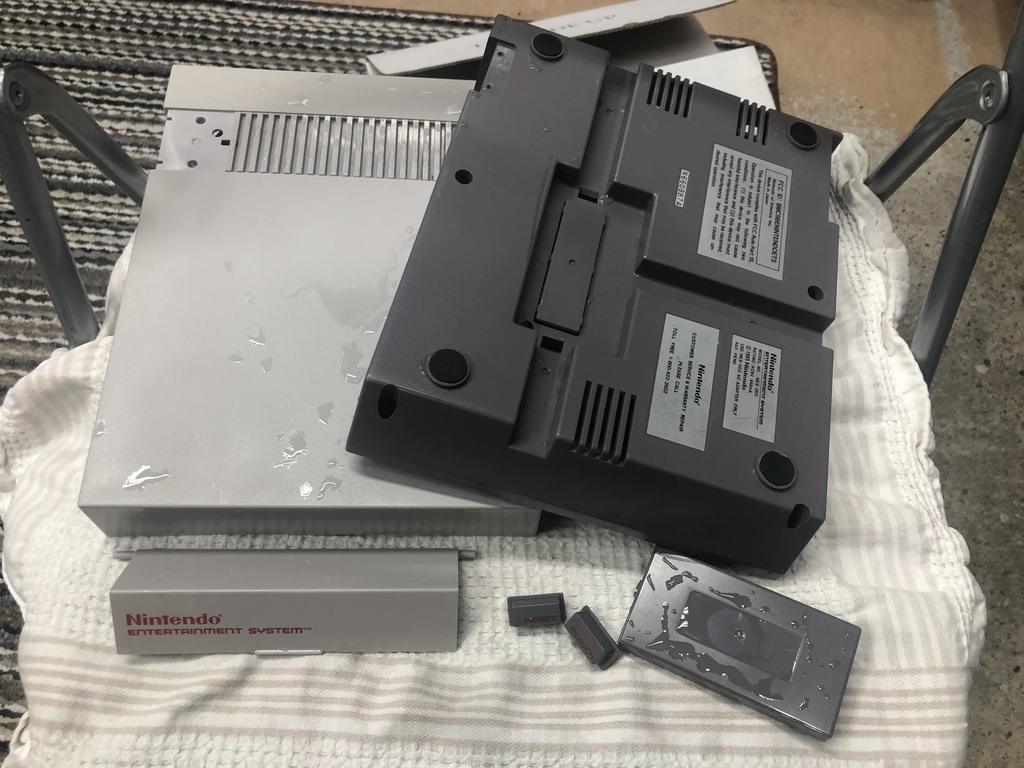
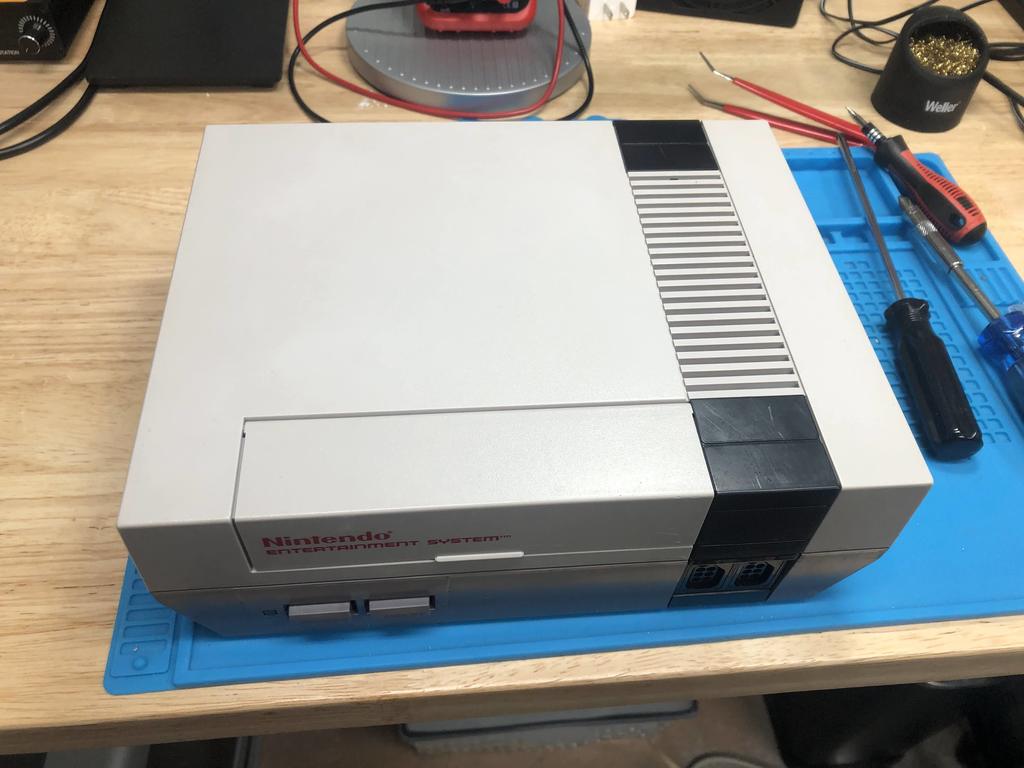
The NES was a little dirty and yellowed:
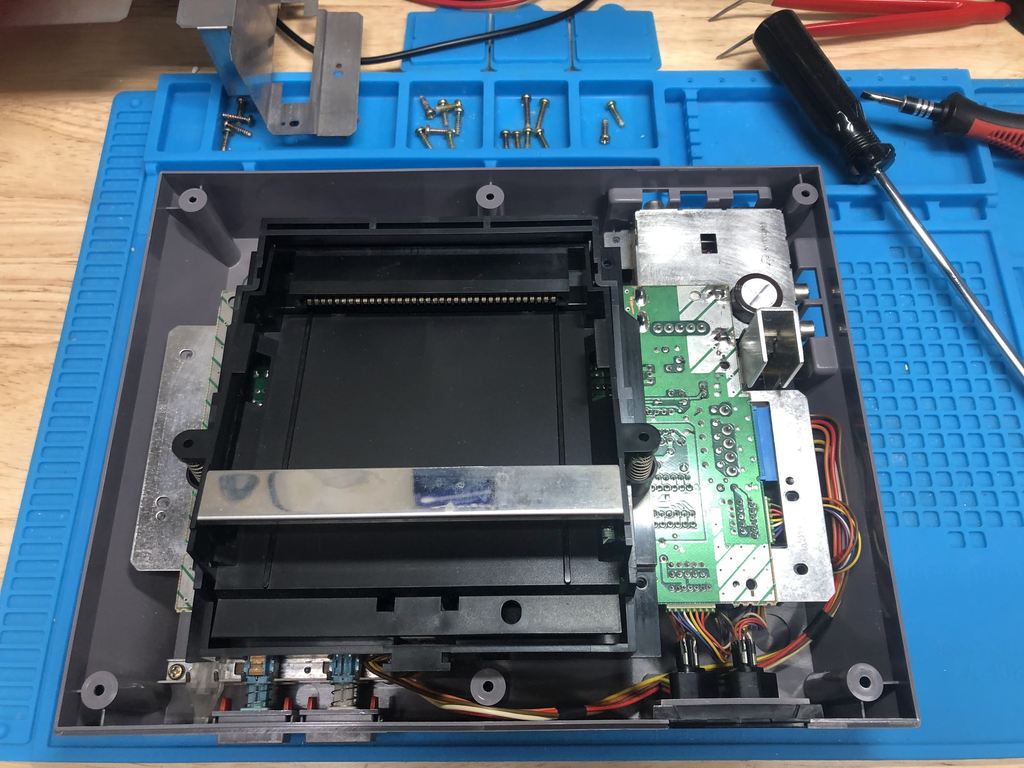
Inside was also pretty dirty:
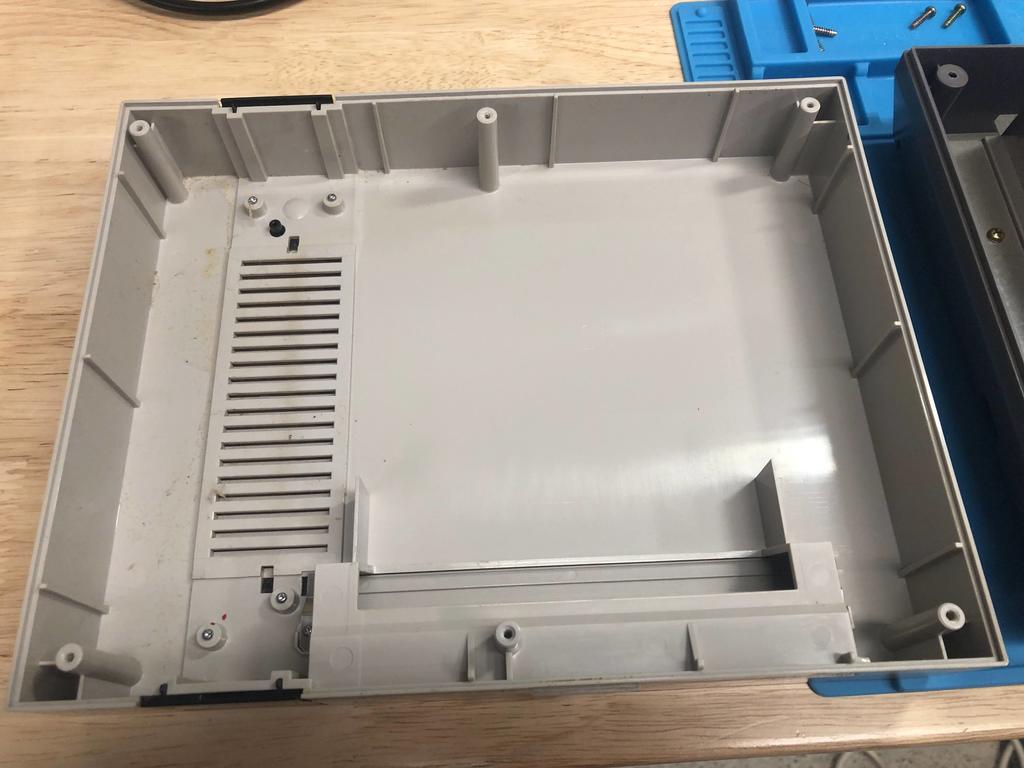
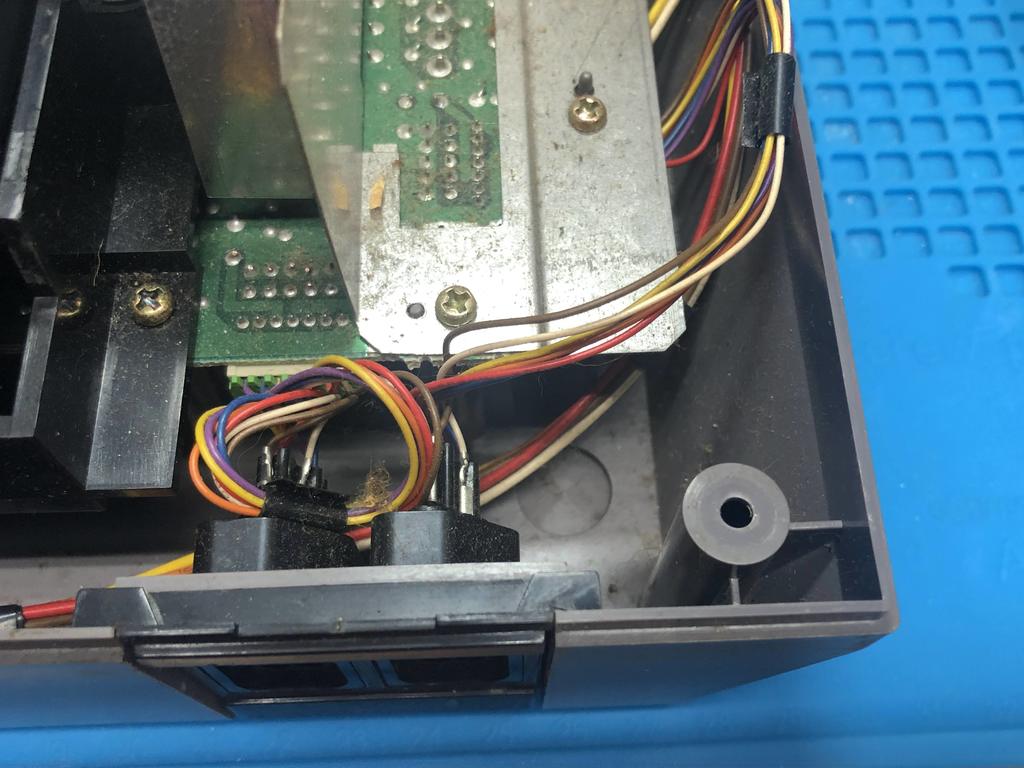
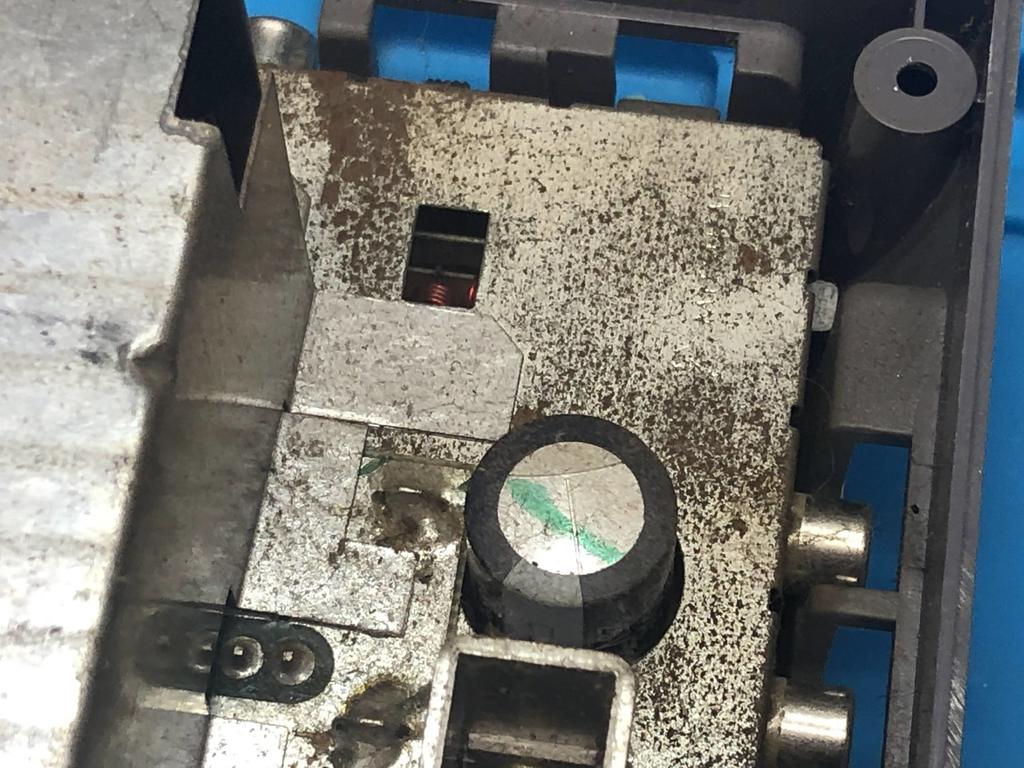
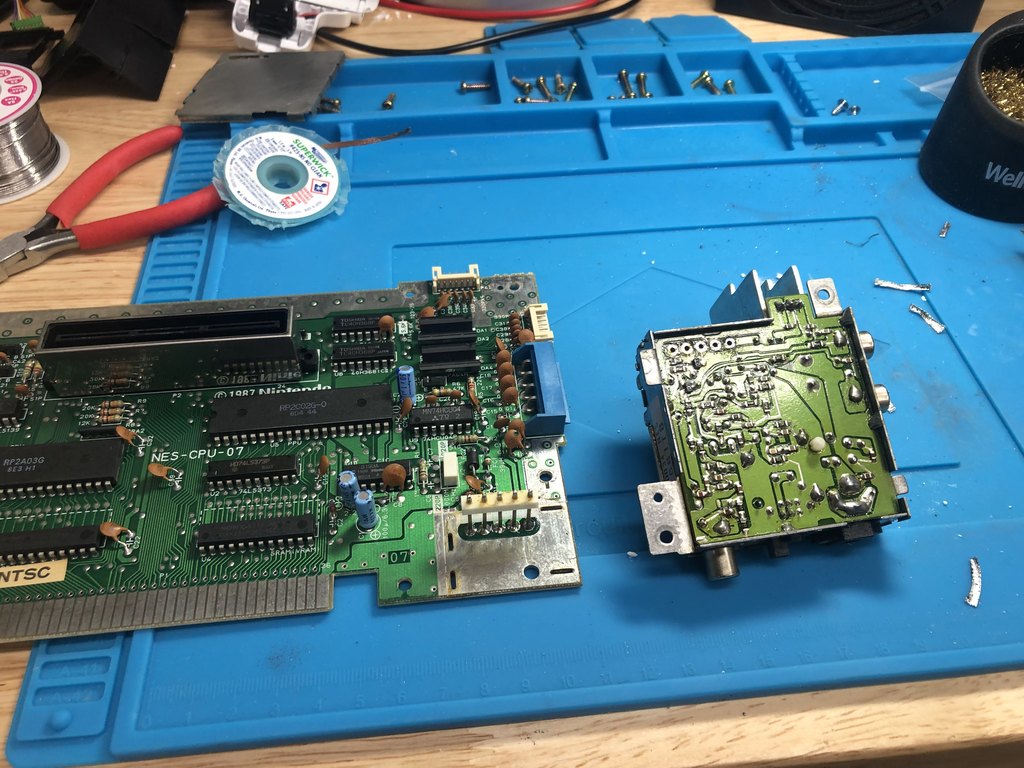
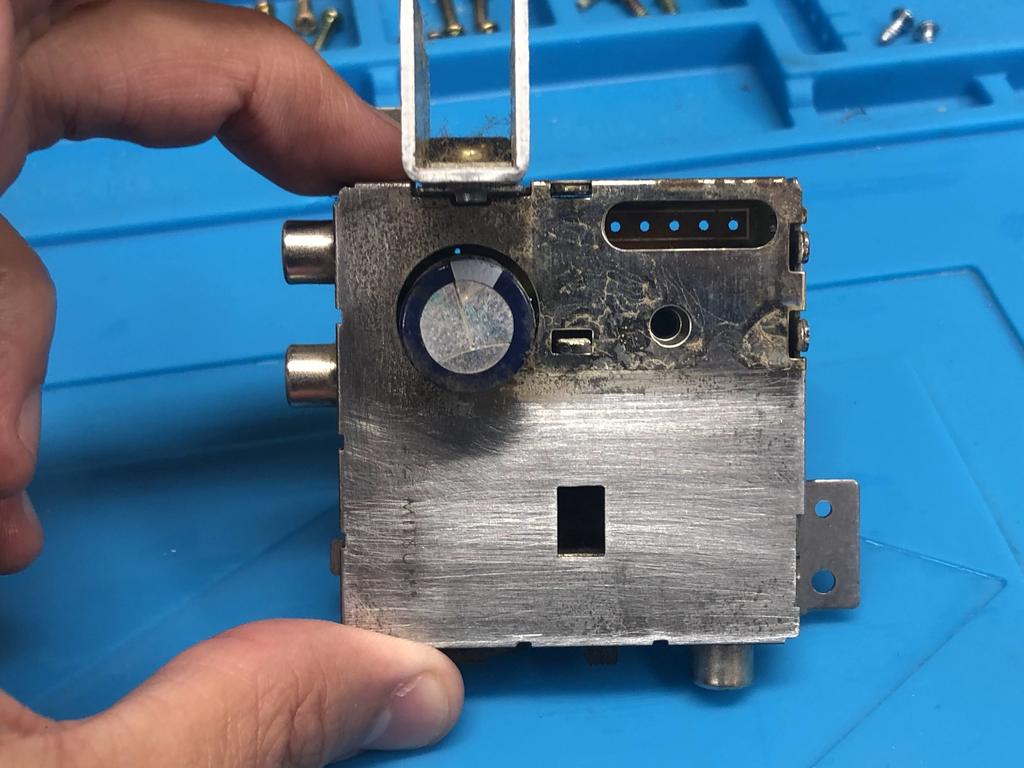
The power/RF module was quite rusty:
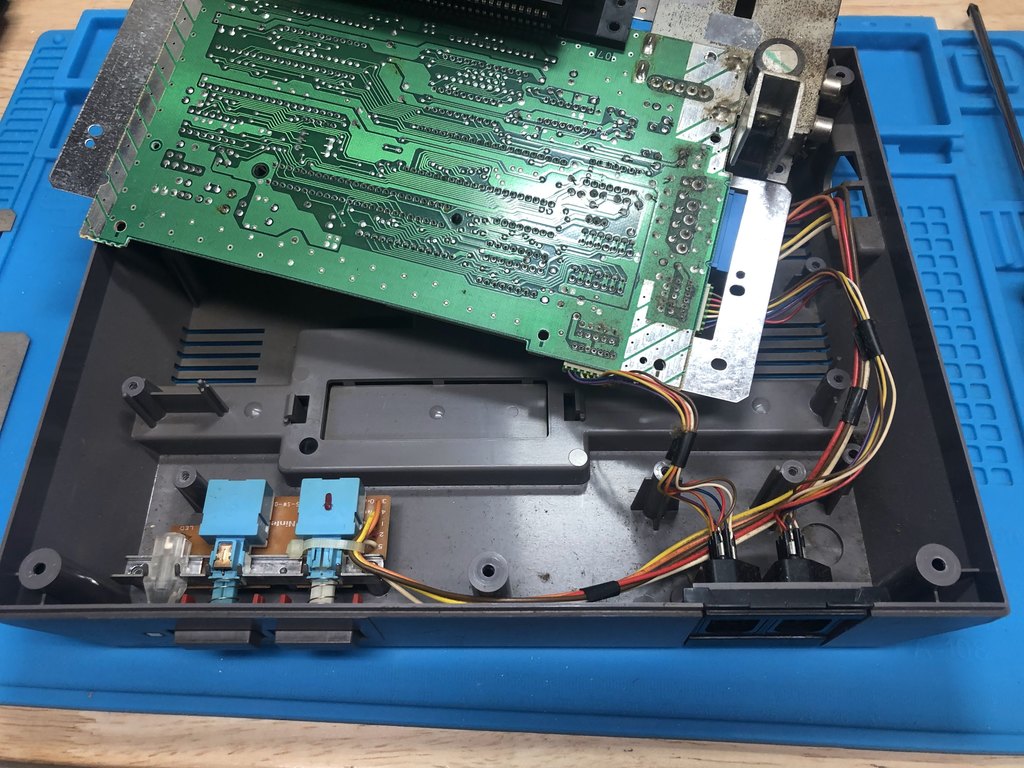
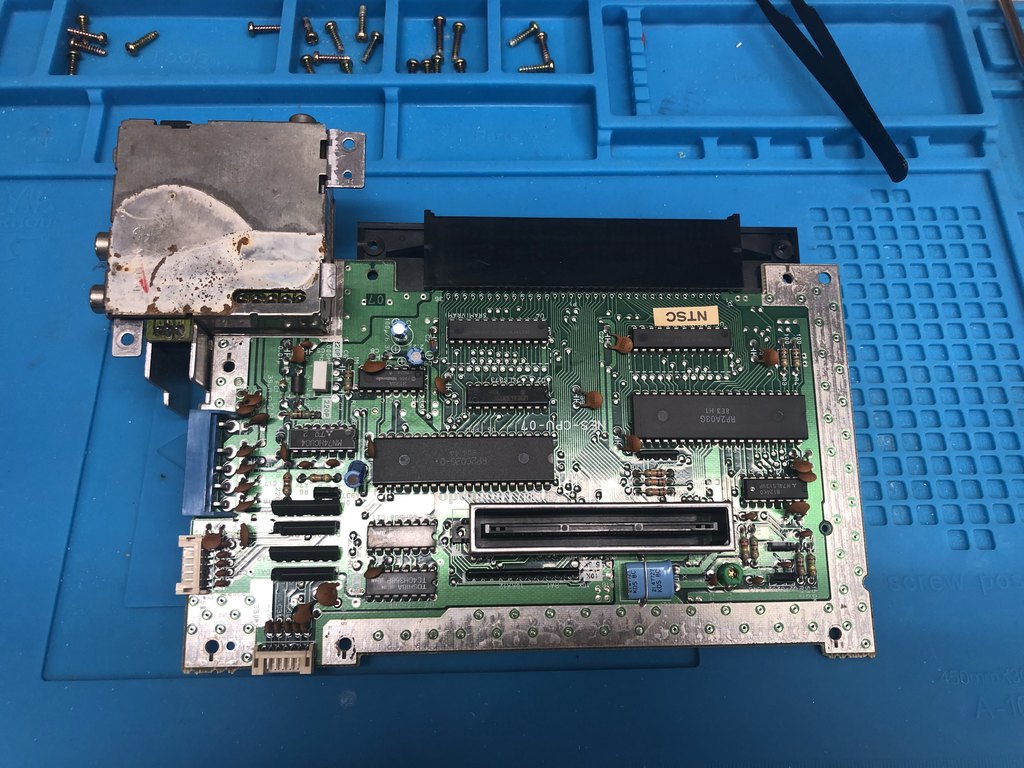
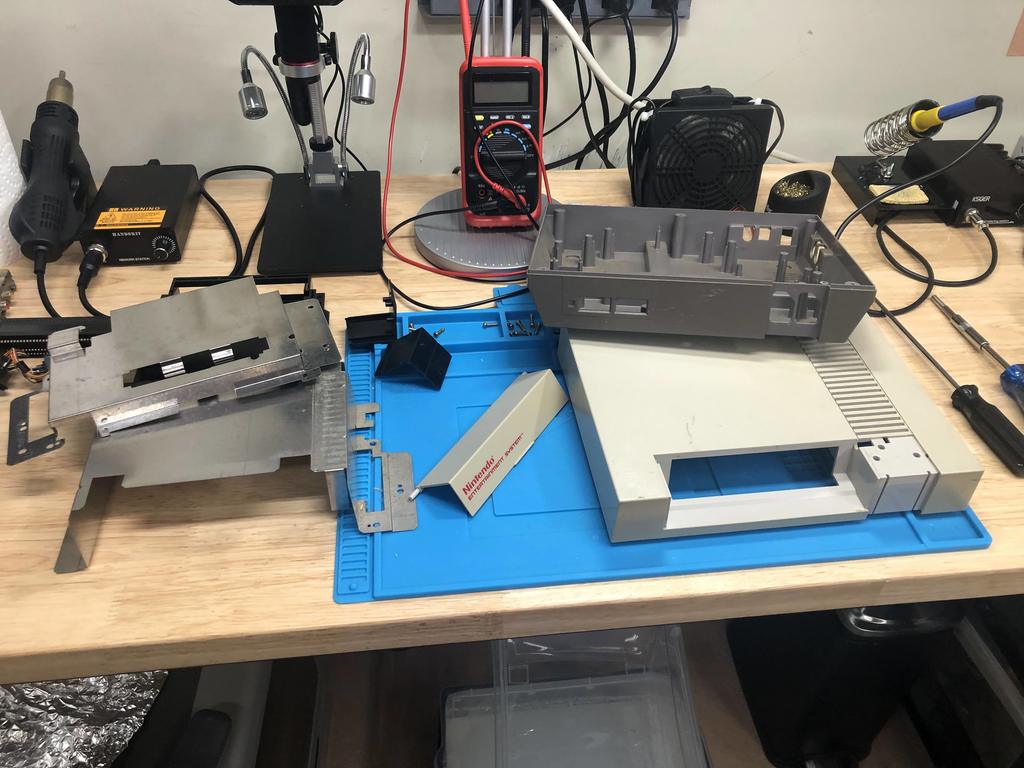
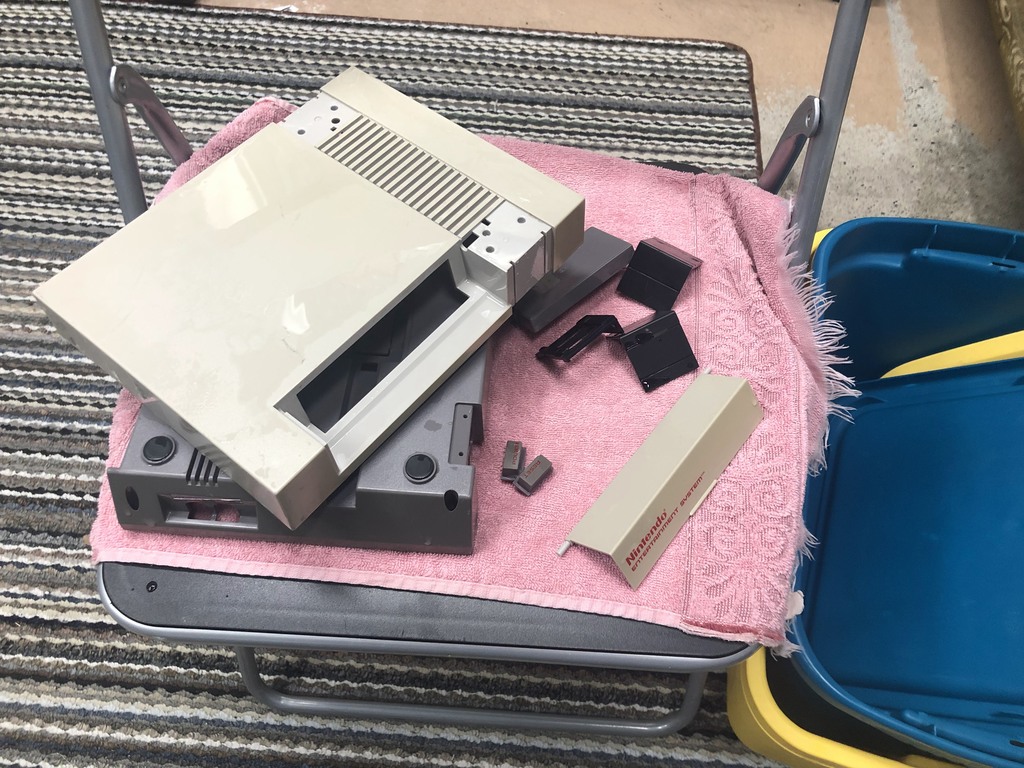
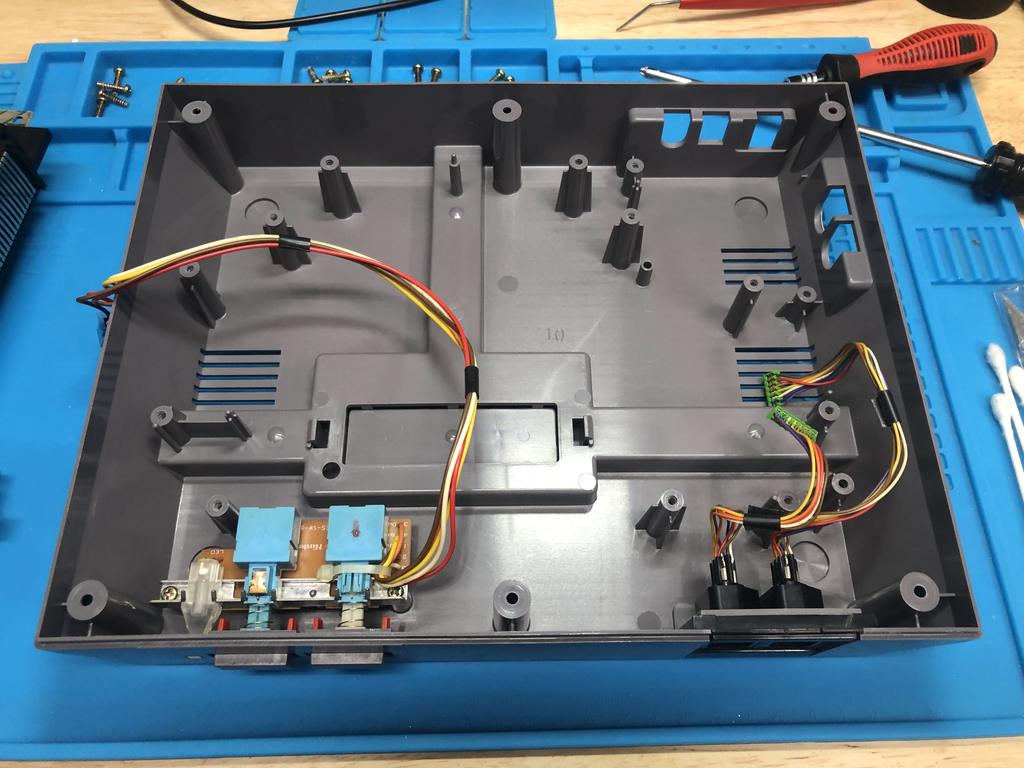
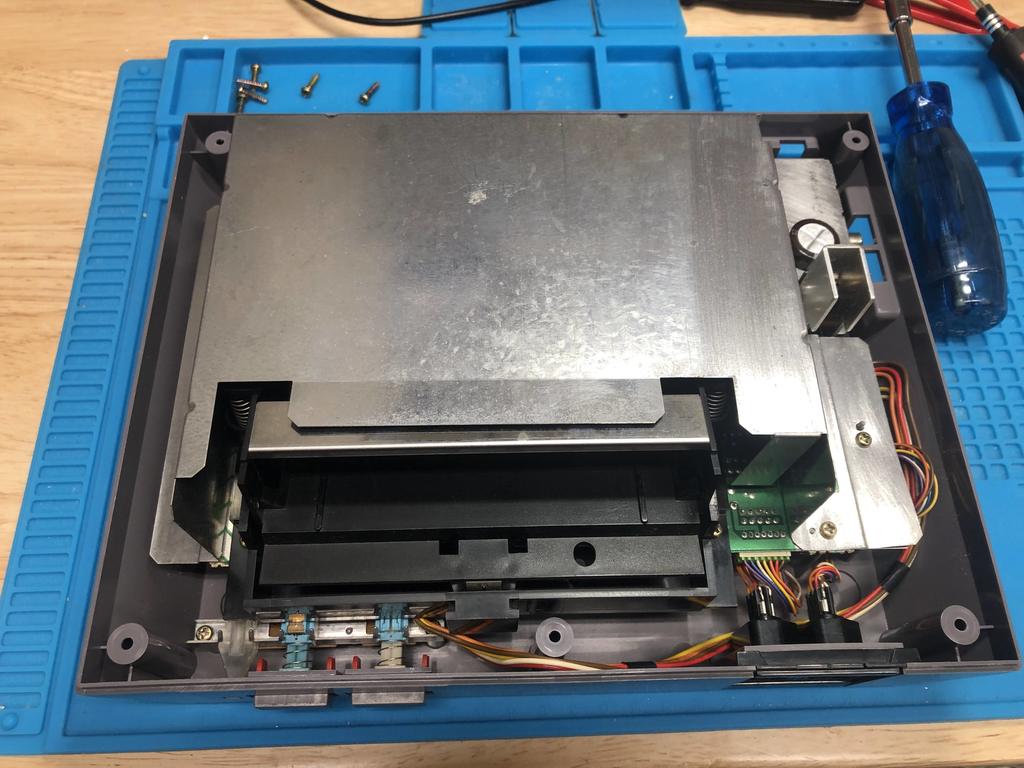
So I took everything apart:
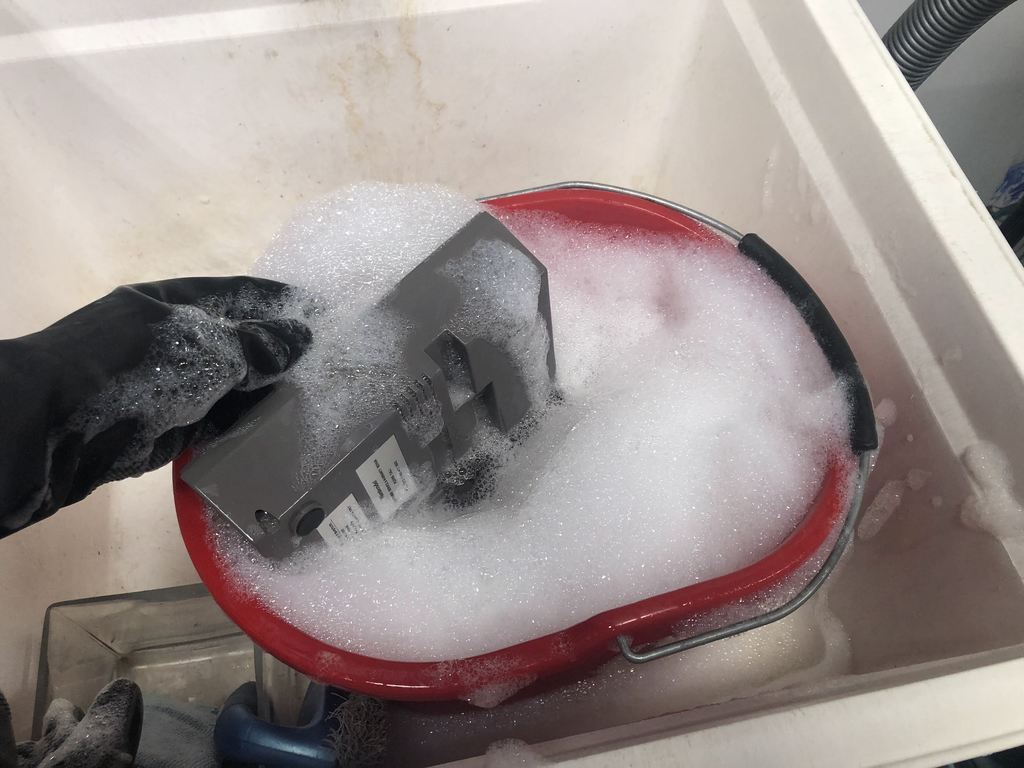
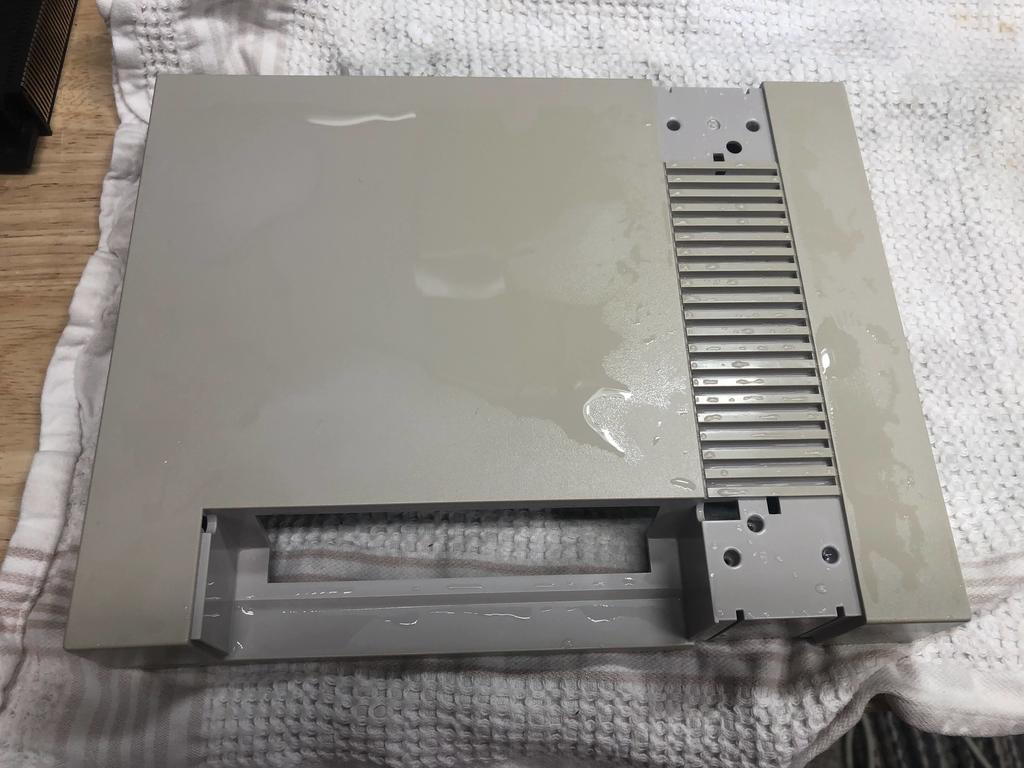
I gave all the plastic parts a good clean:
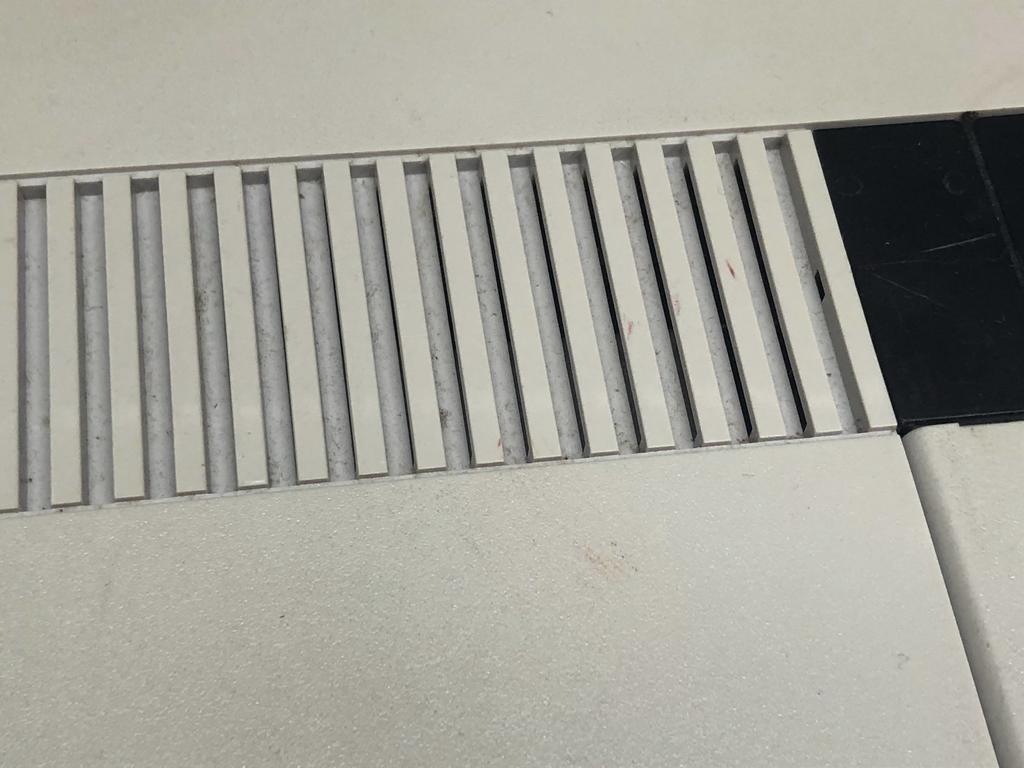
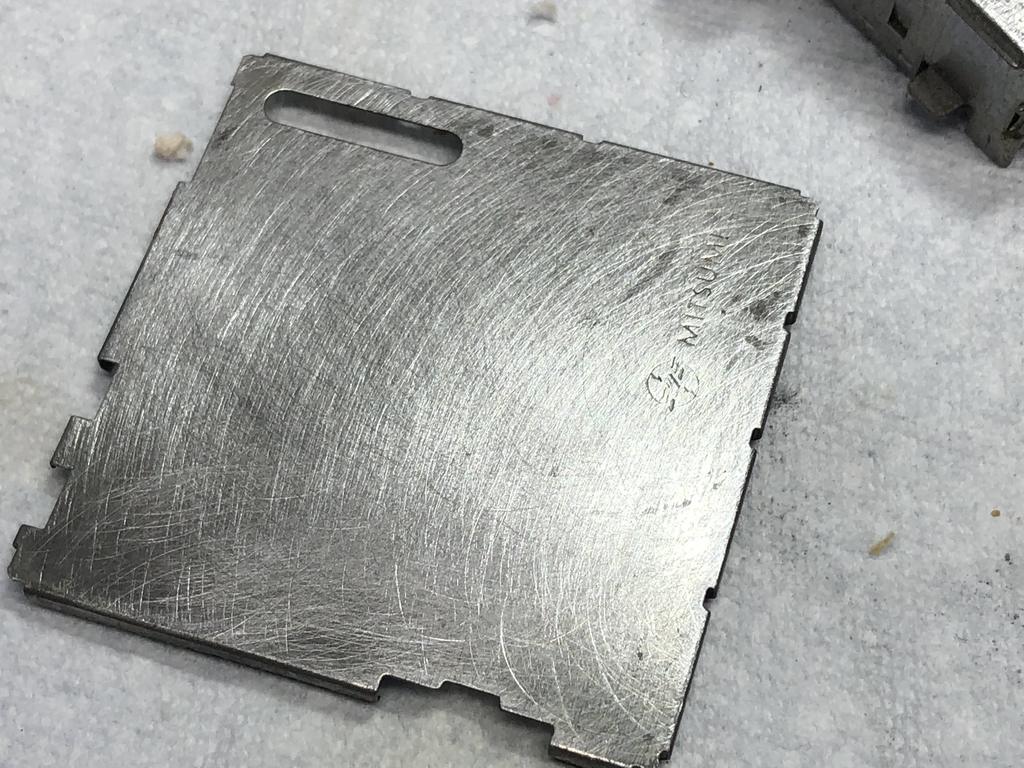
I noticed some markings on the top shell:
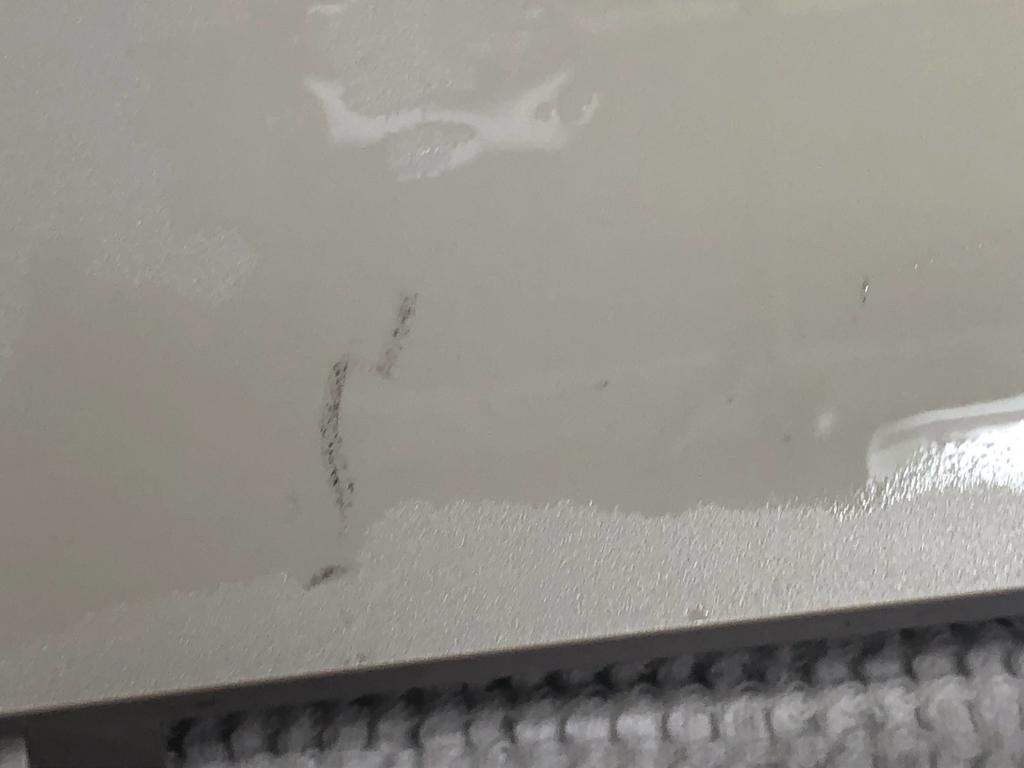
To get rid of it, I used a vinegar and baking soda mixture, and some elbow grease:

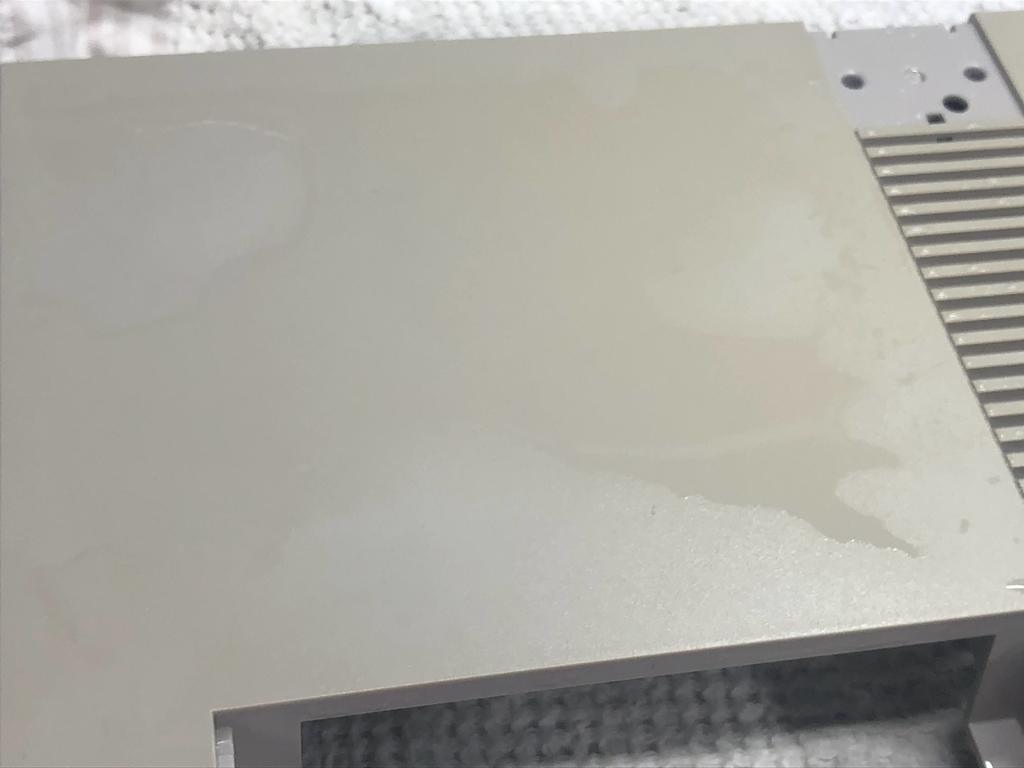
Much better:
Retrobriting #
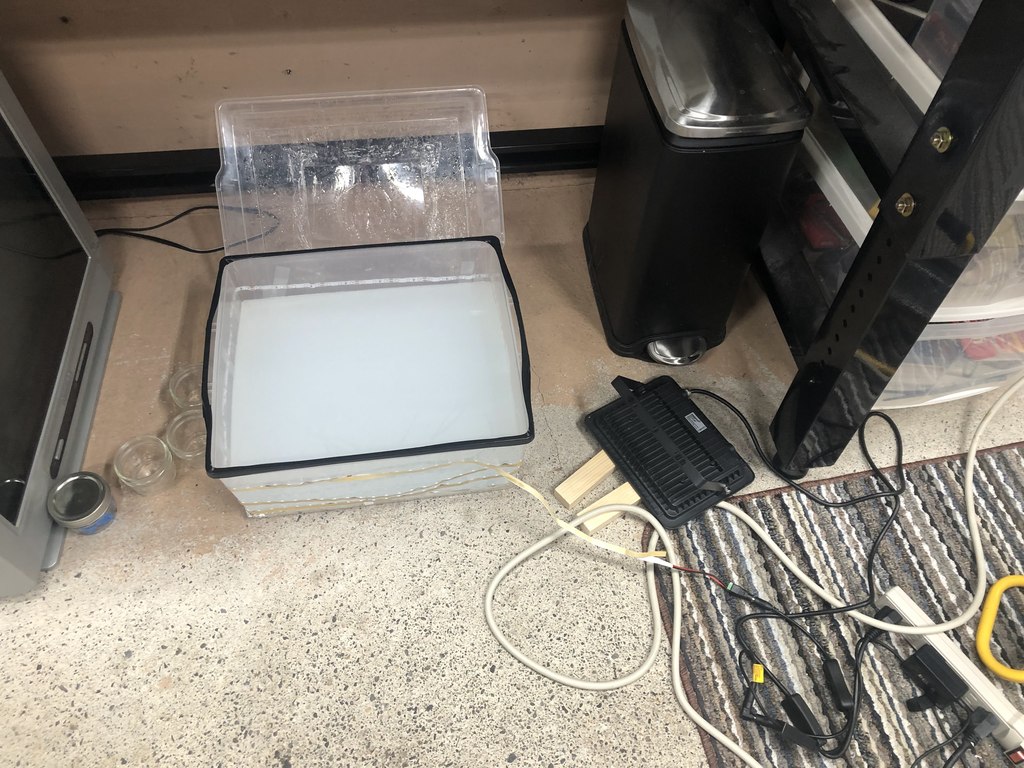
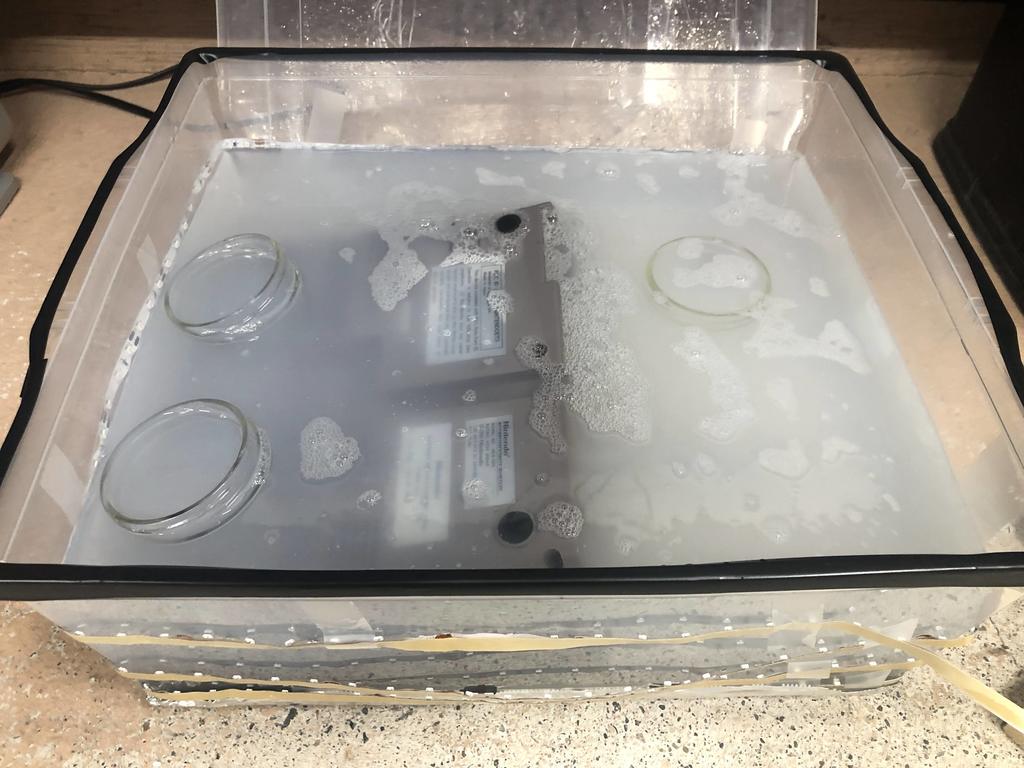
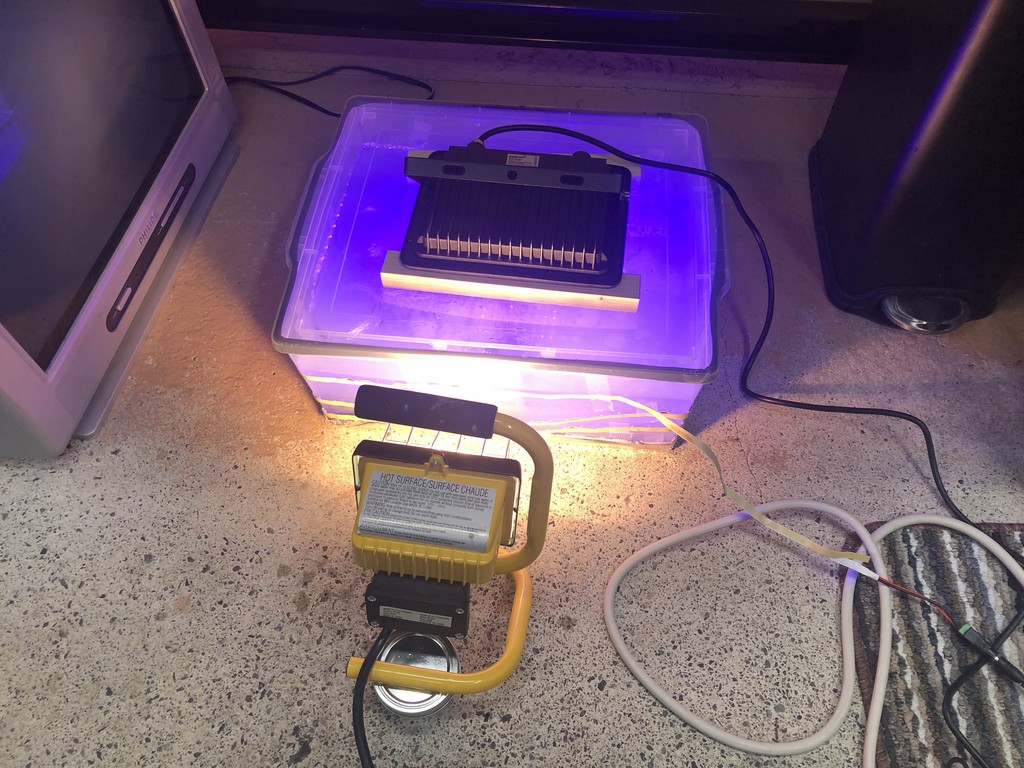
Next step was retrobriting. For this, I used 6% hydrogen peroxide cream (aka 20 volume developer) diluted in water. I poured this into a bin that is surrounded by led strip lights, and I placed a more powerful UV lamp on top:
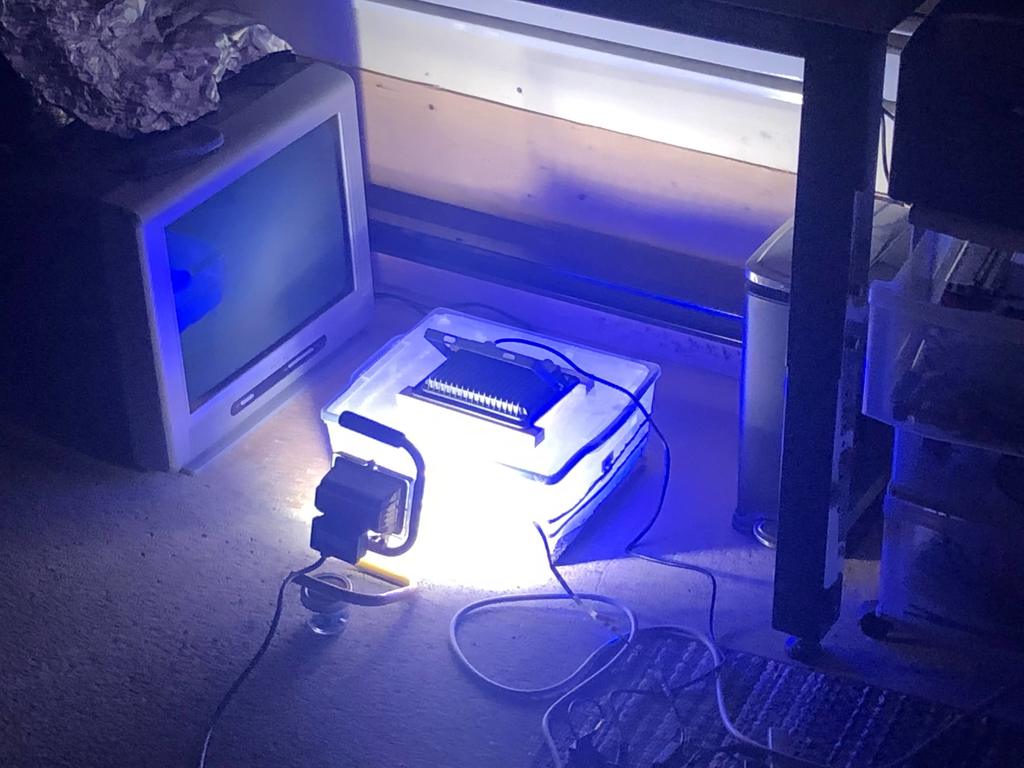
Retrobriting can take some time, depending on the concentration of the solution, and how yellowed the plastics are. In my case, I believe I left it in for about two days.
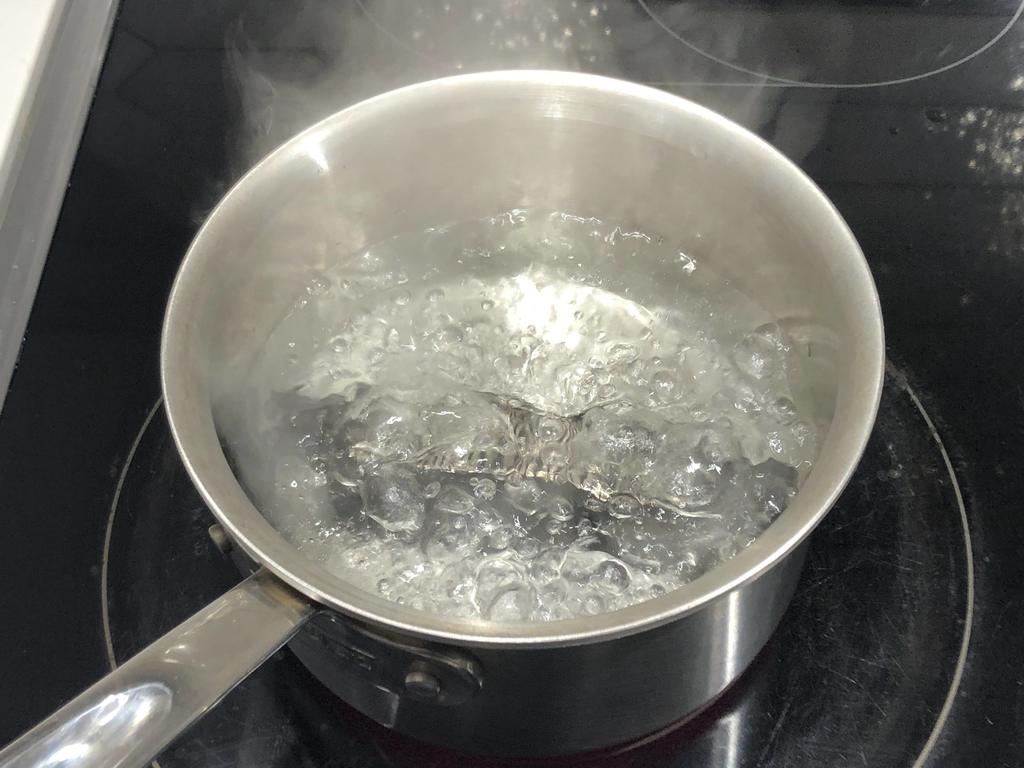
Boiling the cartridge connector #
While retrobriting, I took care of the cartridge connector. To improve cartridge connectivity, I boiled the connector for about 30 minutes, which helps to bring back the pins to their original positions:
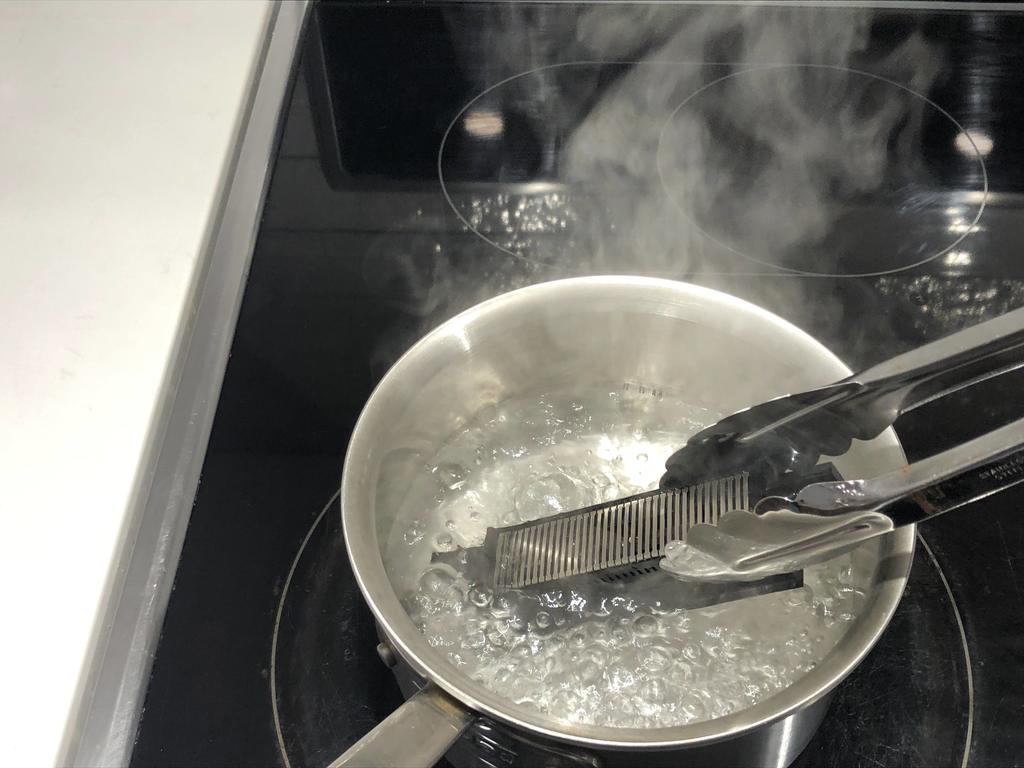
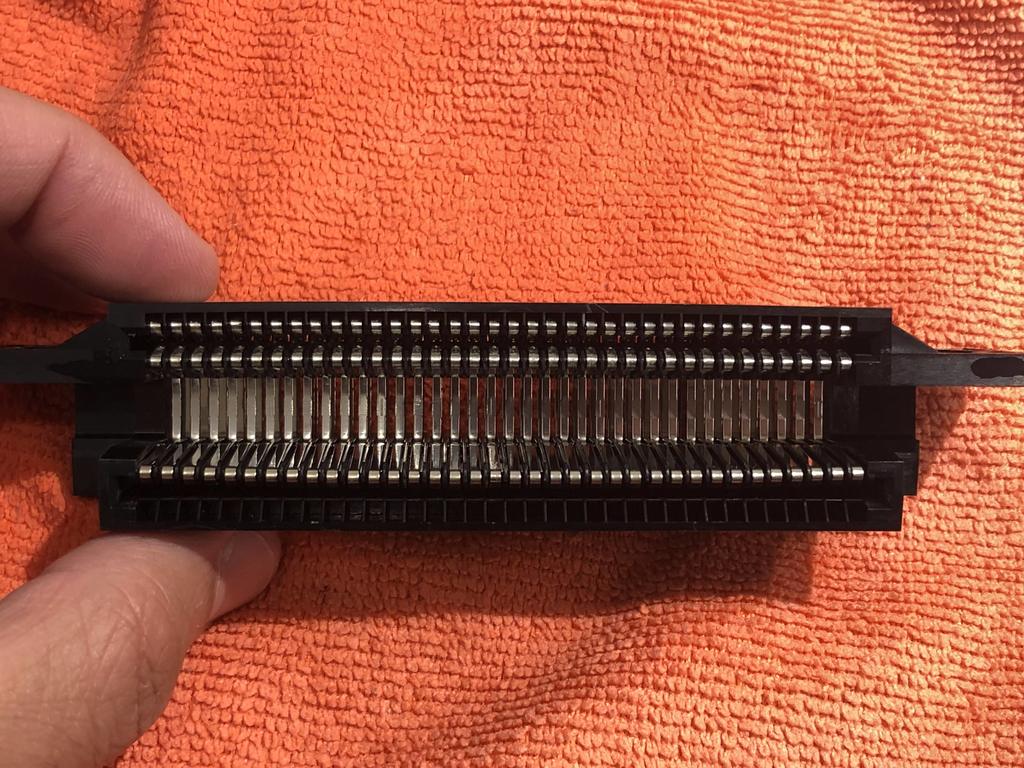
Although the boiling method helped, I did end up using a needle to push some of the more bent pins up into position. I don’t love doing this, as it results in a tighter grip on the cartridge, but it’s better than dealing with the blinking light issue.
Rust removal #
Next, I took care of the power module, removing the rust with some sandpaper:
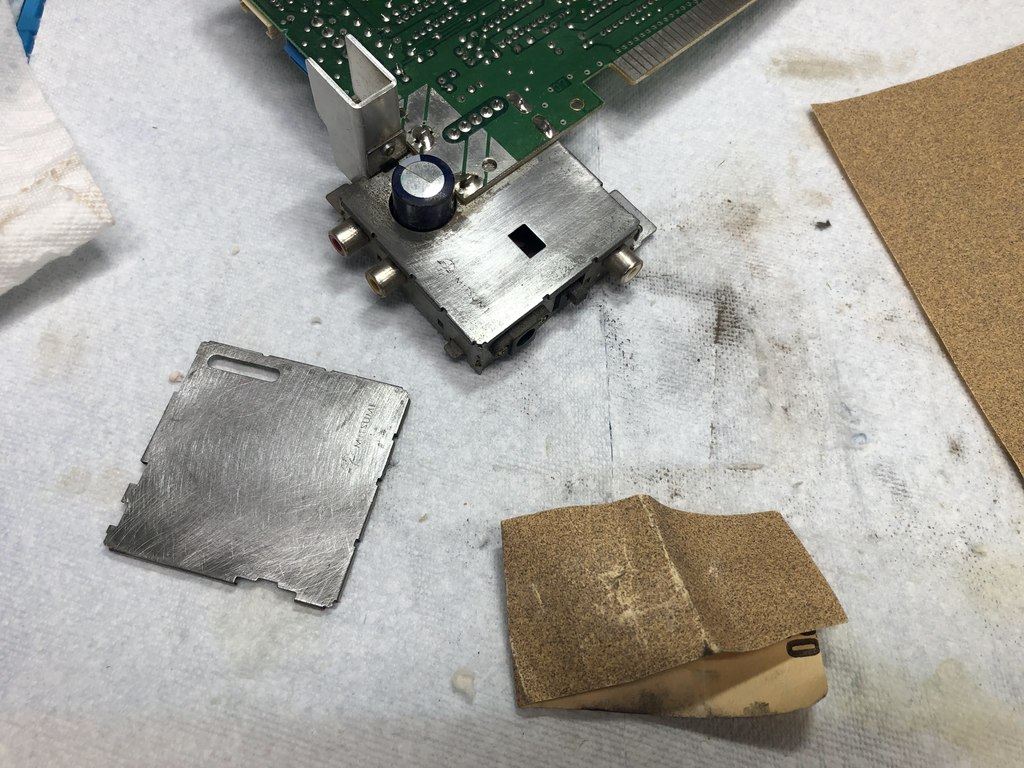
Not shown here, but I also used sandpaper to remove some rust off the RF shielding.
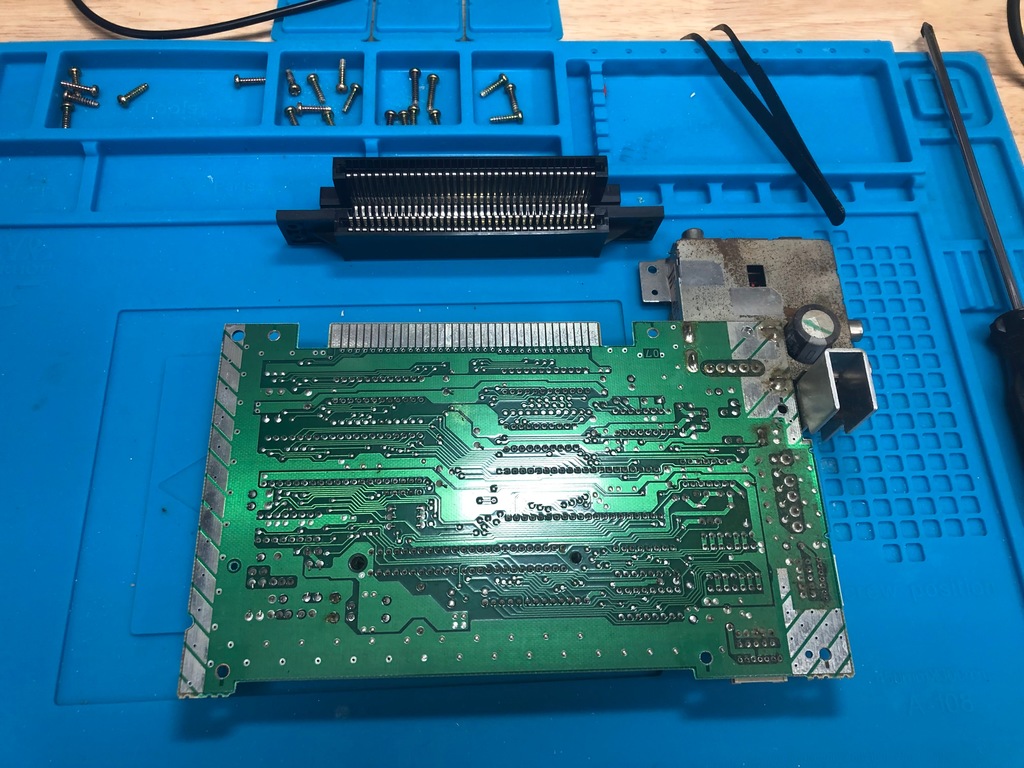
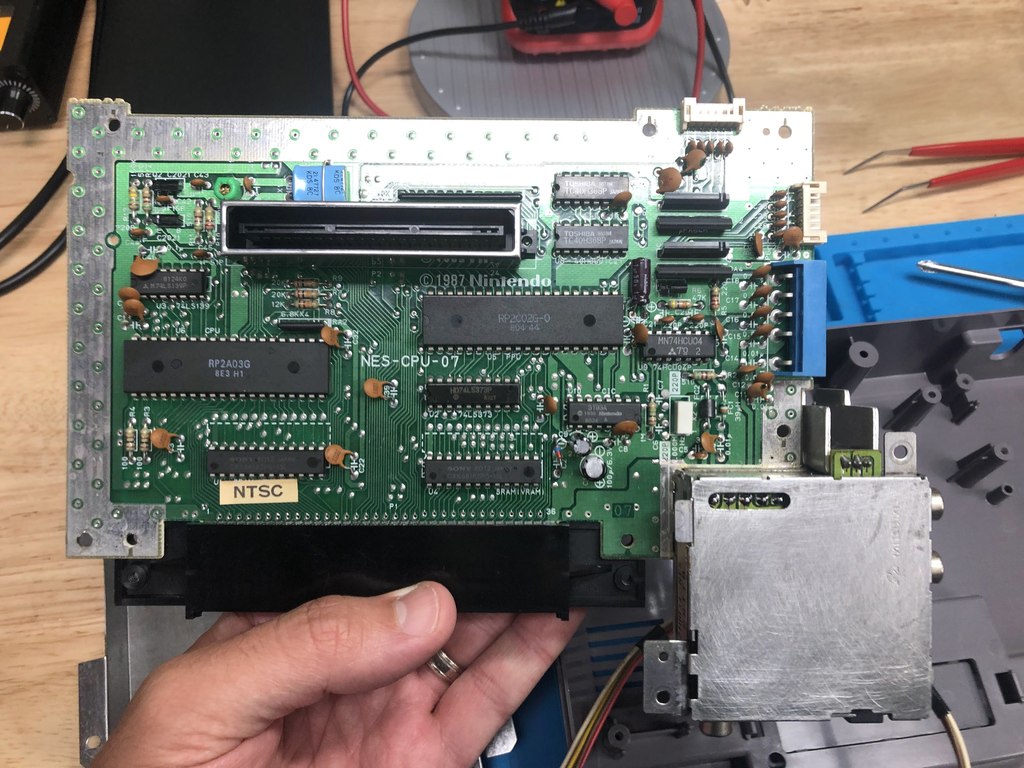
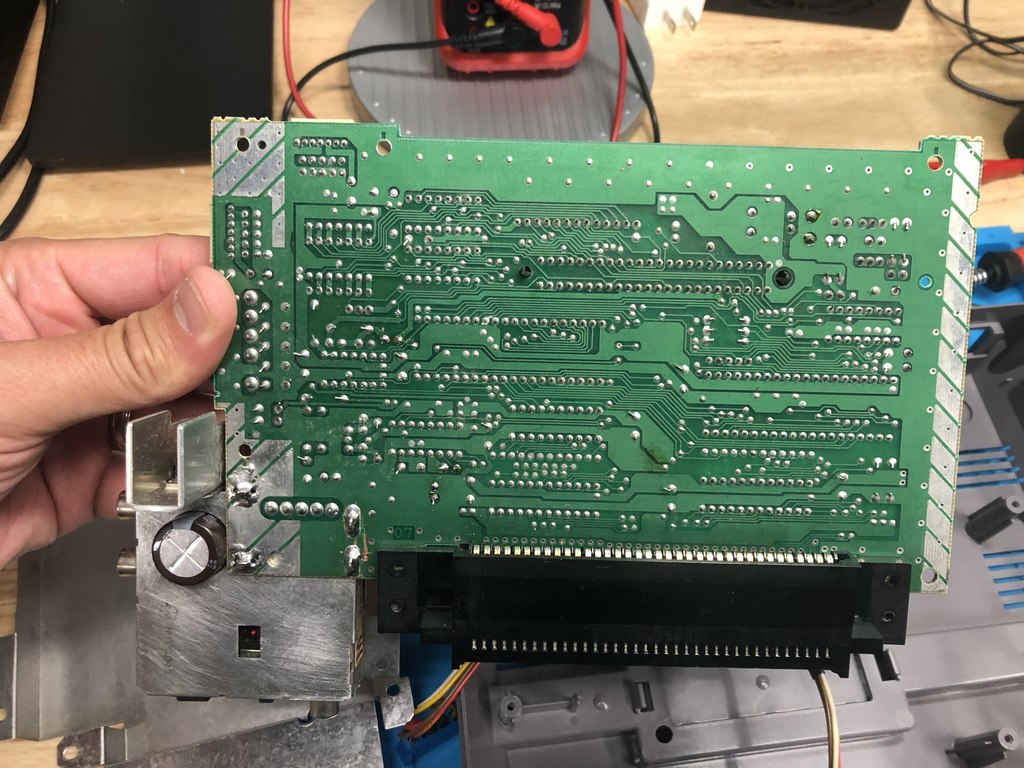
Recapping #
Next up was recapping. As most of the capacitors to change are in the power module, I needed to remove it from the main board. This is never an easy process, but with the right tools, and some patience, it’s very doable.
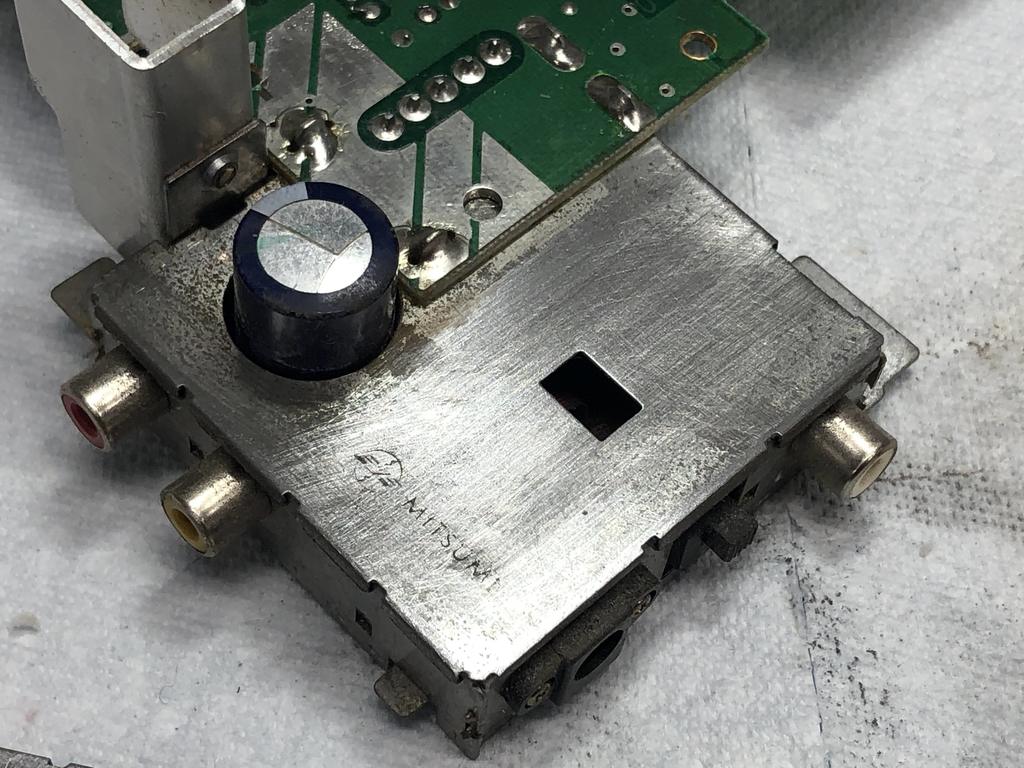
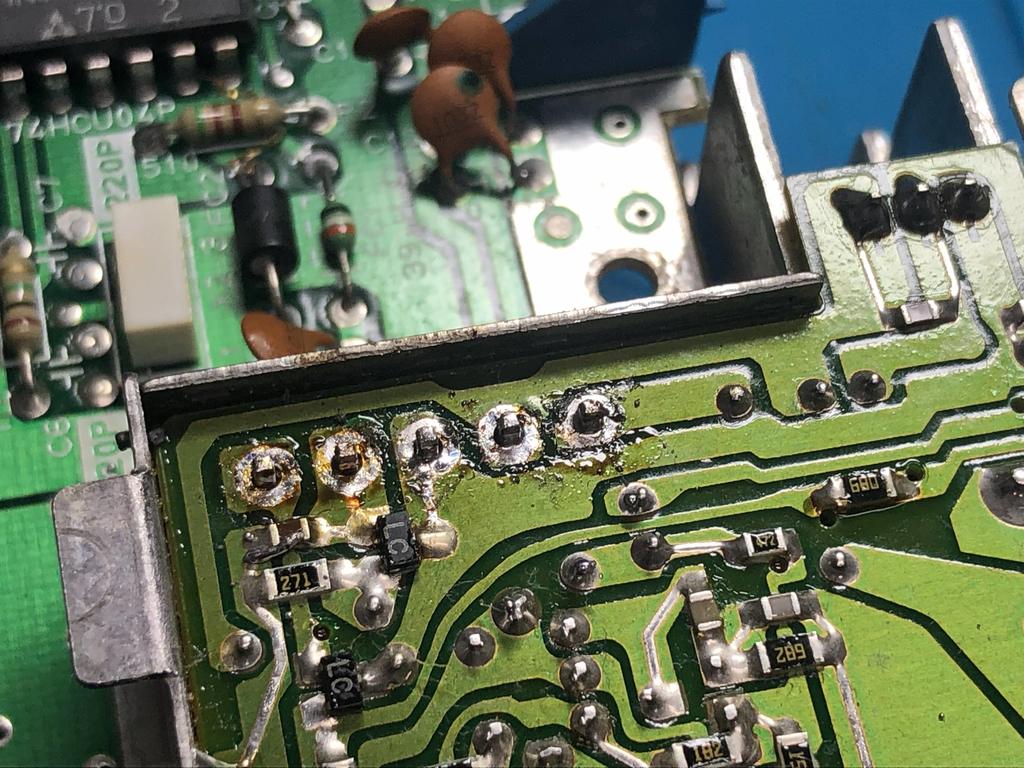
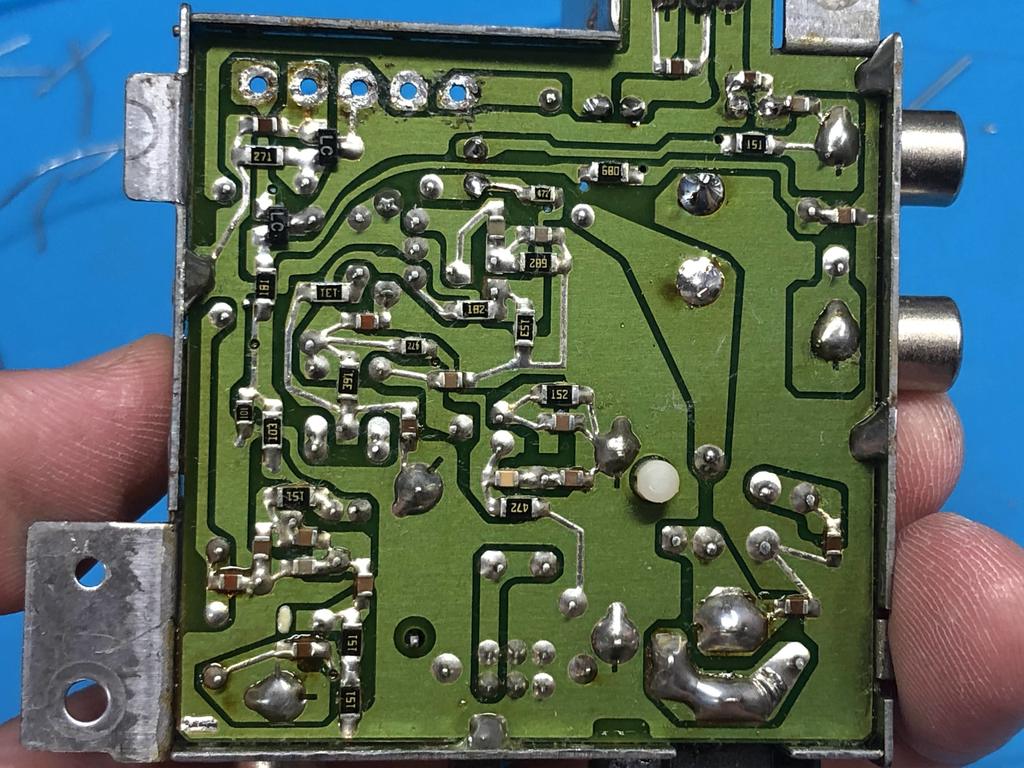
First, I removed the metal cap on the power module to expose the 5 pins I needed to desolder:
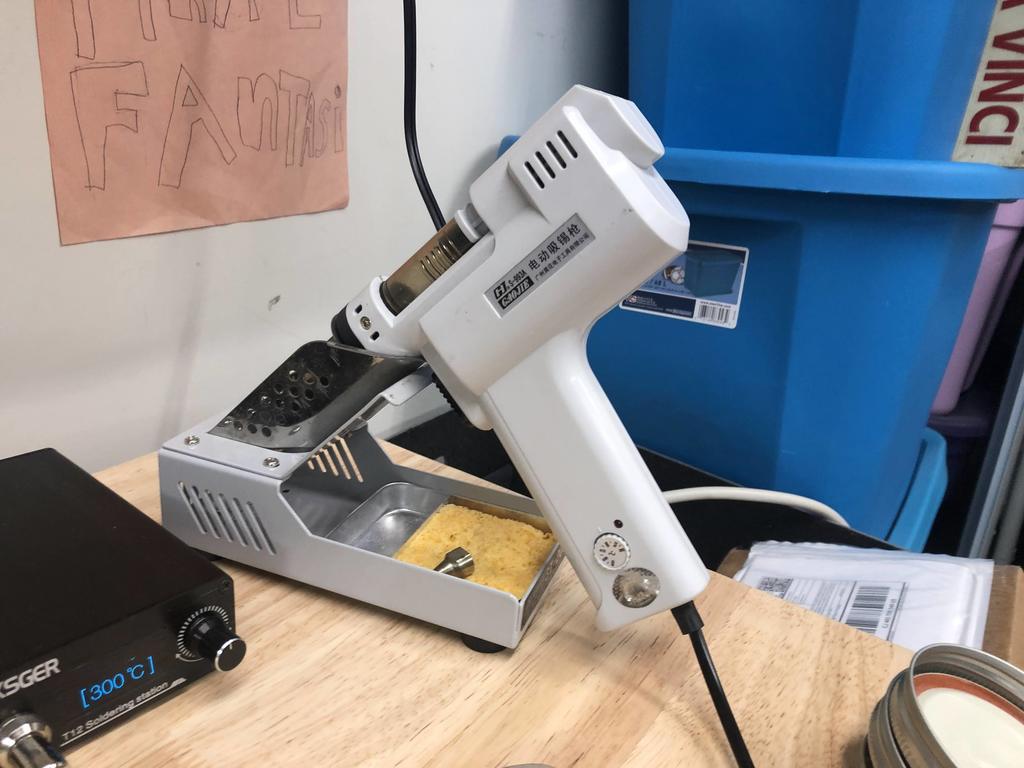
I added some fresh solder to each pin, then used my desoldering gun with a 1.5mm nozzle to remove the solder:
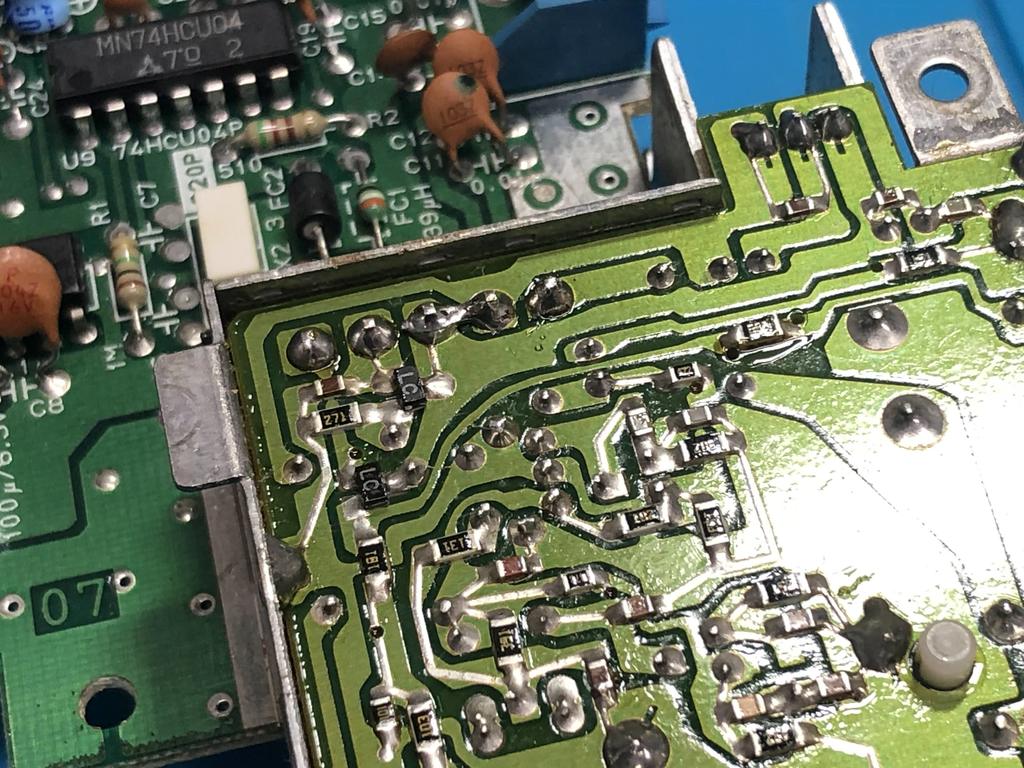
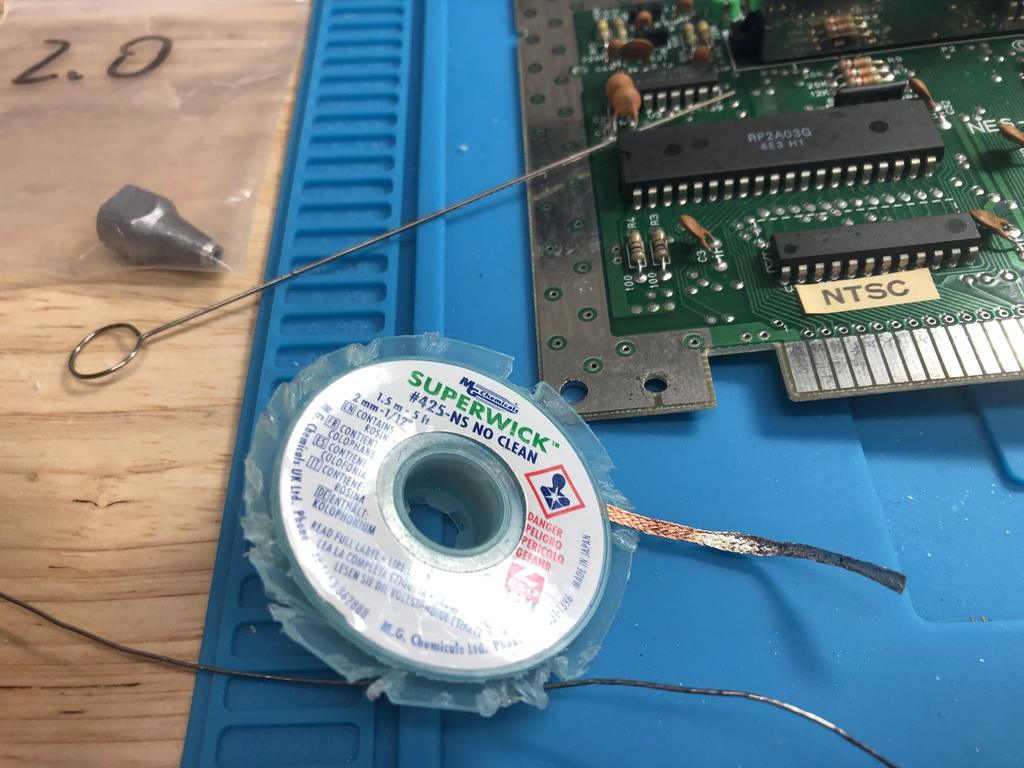
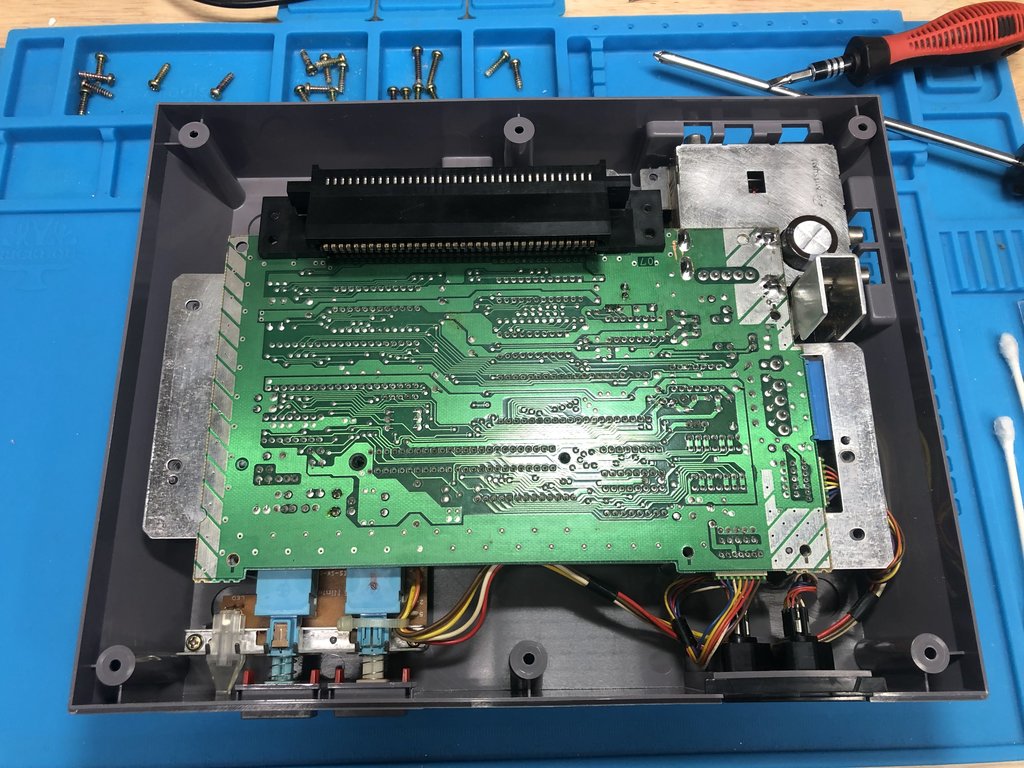
Next, I flipped the board over, and used a combination of my desoldering gun and some wick to remove the solder around the four legs that attach the power module to the main board:
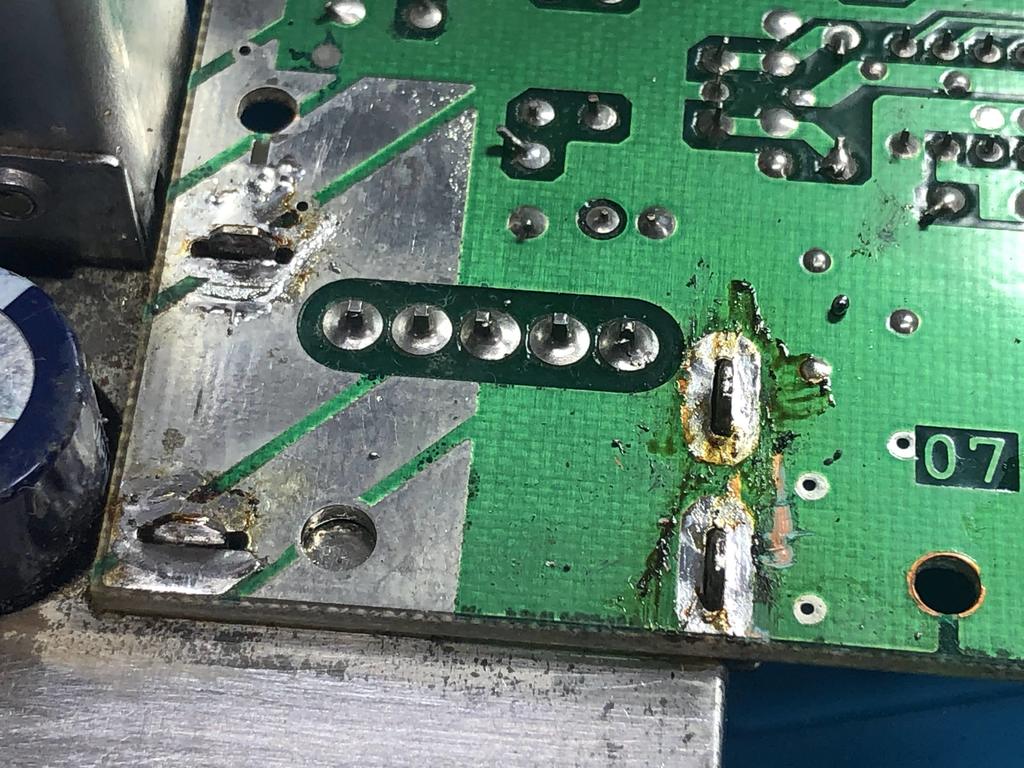
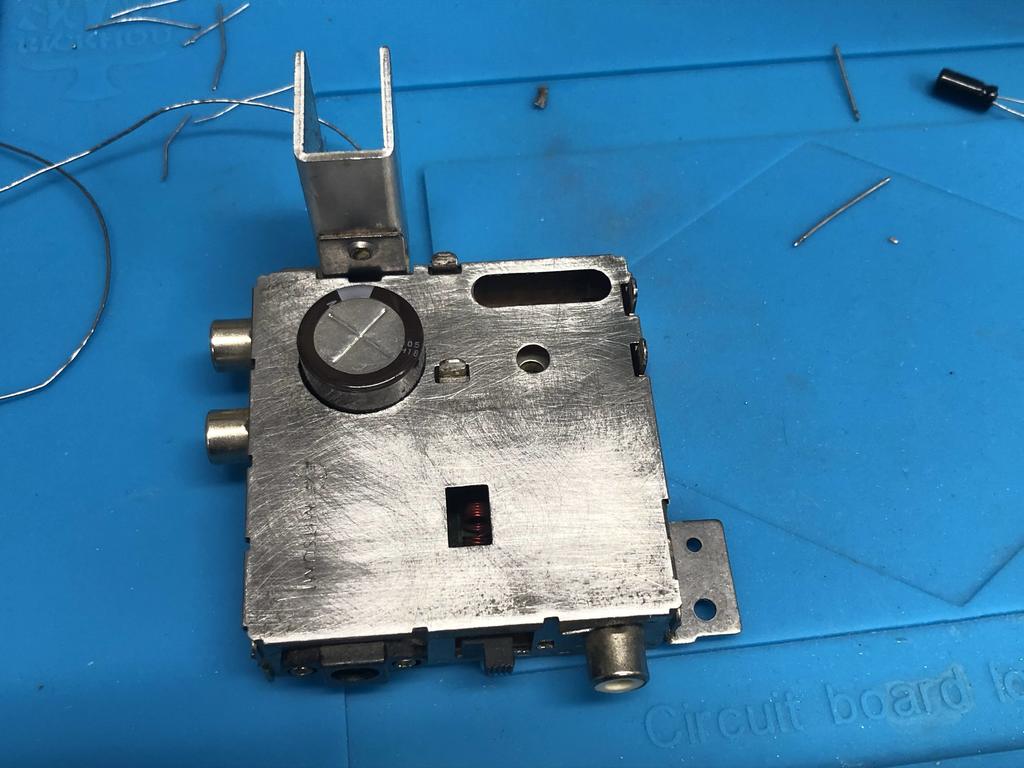
Once all the solder was removed, I grabbed the module, and slowly rocked it back and forth until it came off:
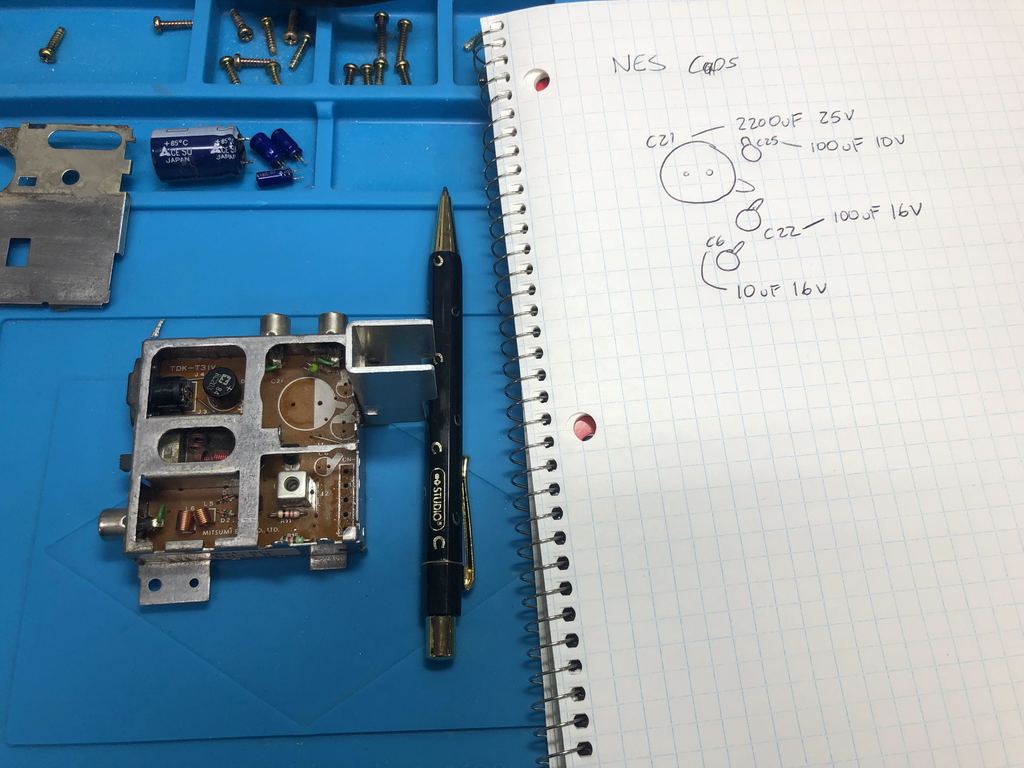
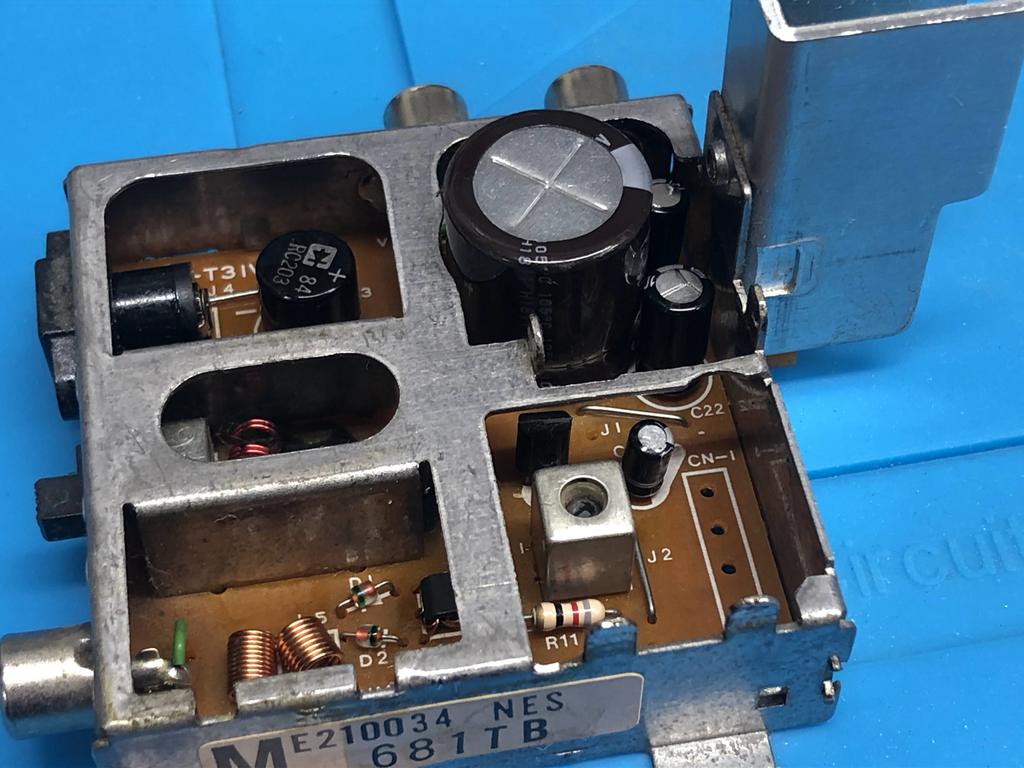
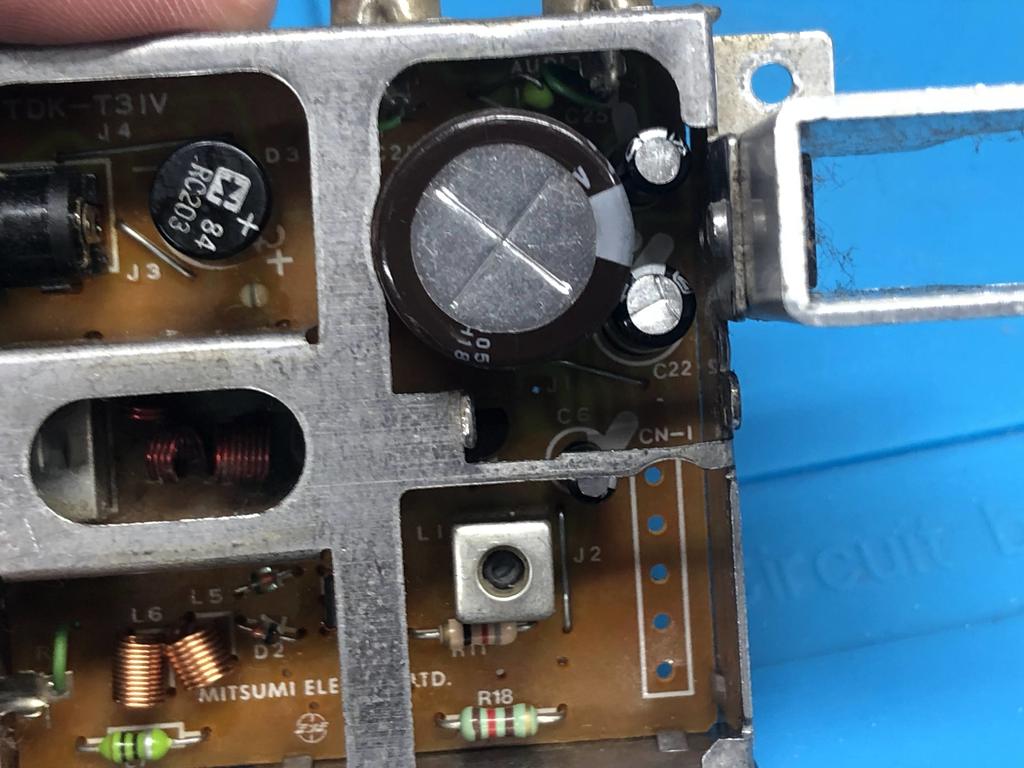
I was now able to remove the cover on the opposite side, revealing the capacitors that need replacing:
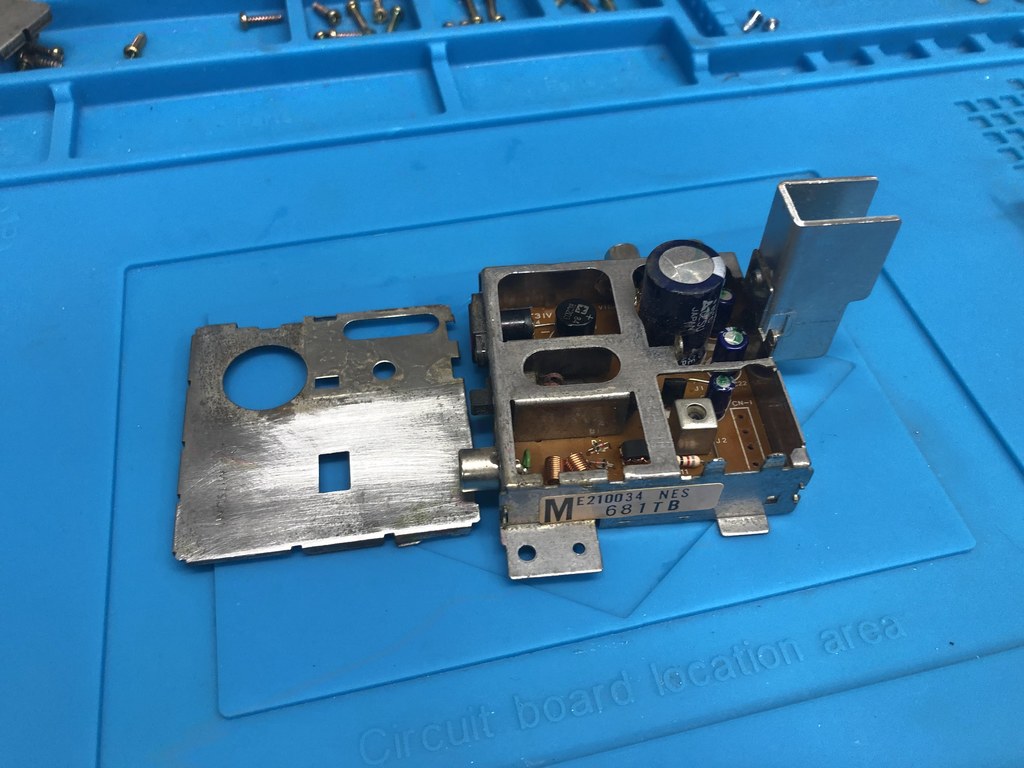
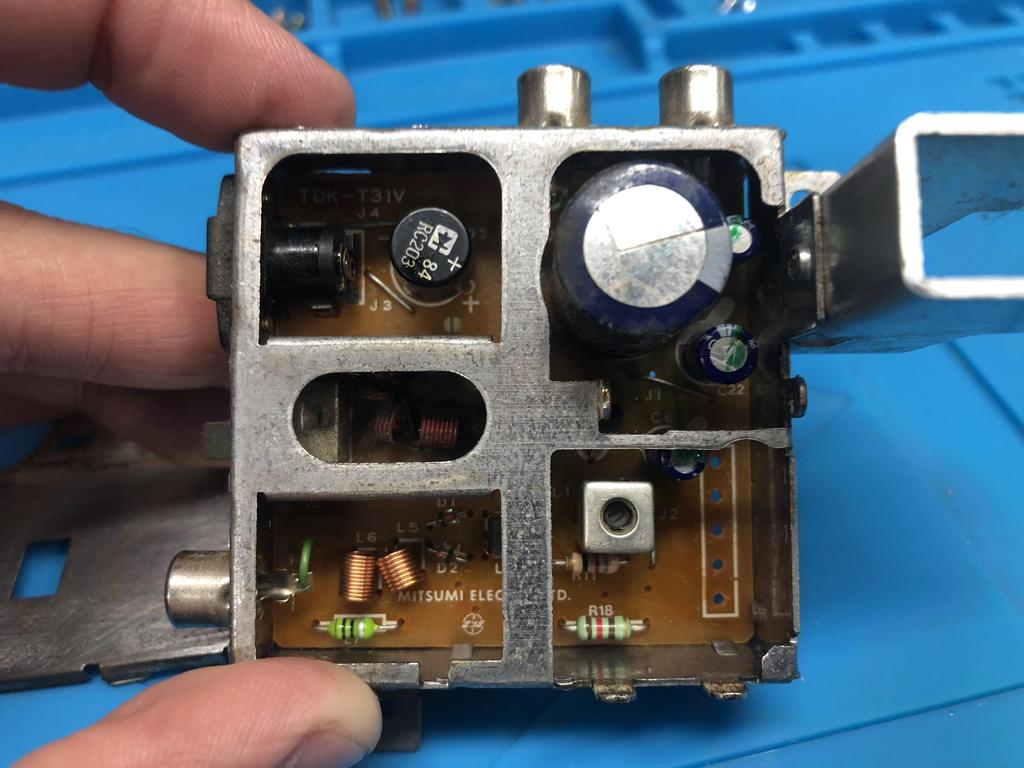
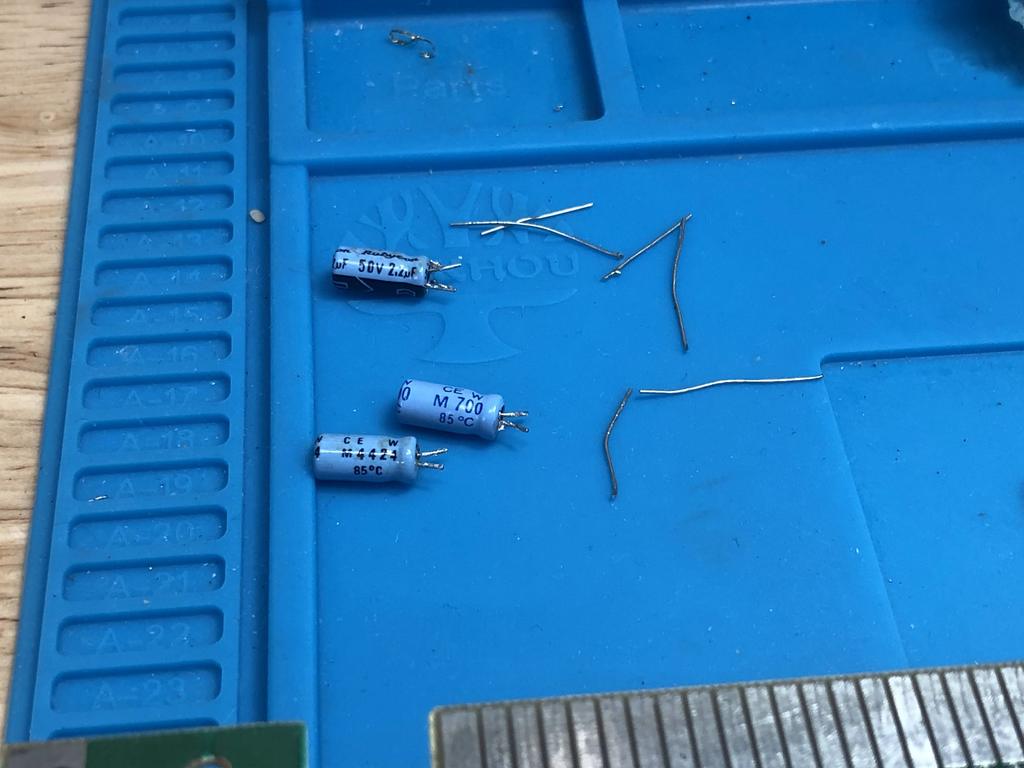
I wrote down the values and position of each cap:
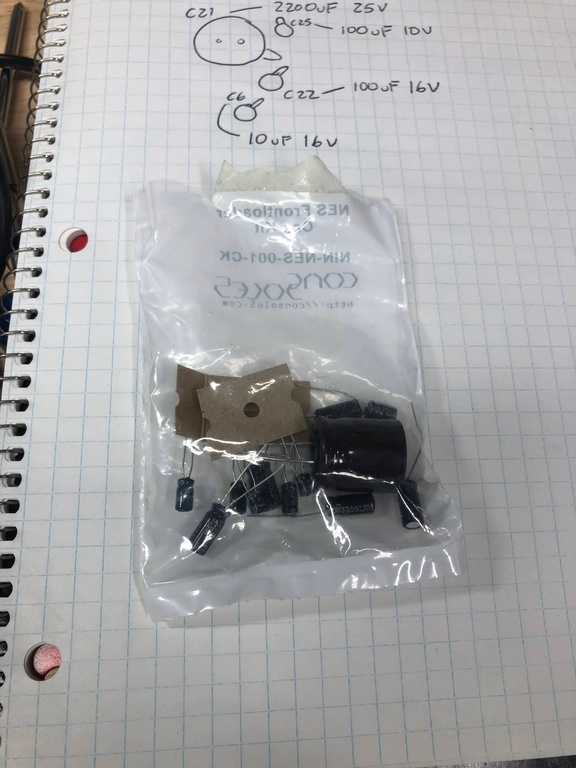
Then using a cap kit I bought from Console5, I matched up the caps to replace, keeping in mind that the capacitance (in farads) must match, but voltage can be greater or equal in value:
One problem I ran into was that the large 2200uF cap didn’t fit through the hole on the metal cover. It was slightly too large. I ended up using a file to make the hole large enough:
With that done, I soldered the power module back onto the board:


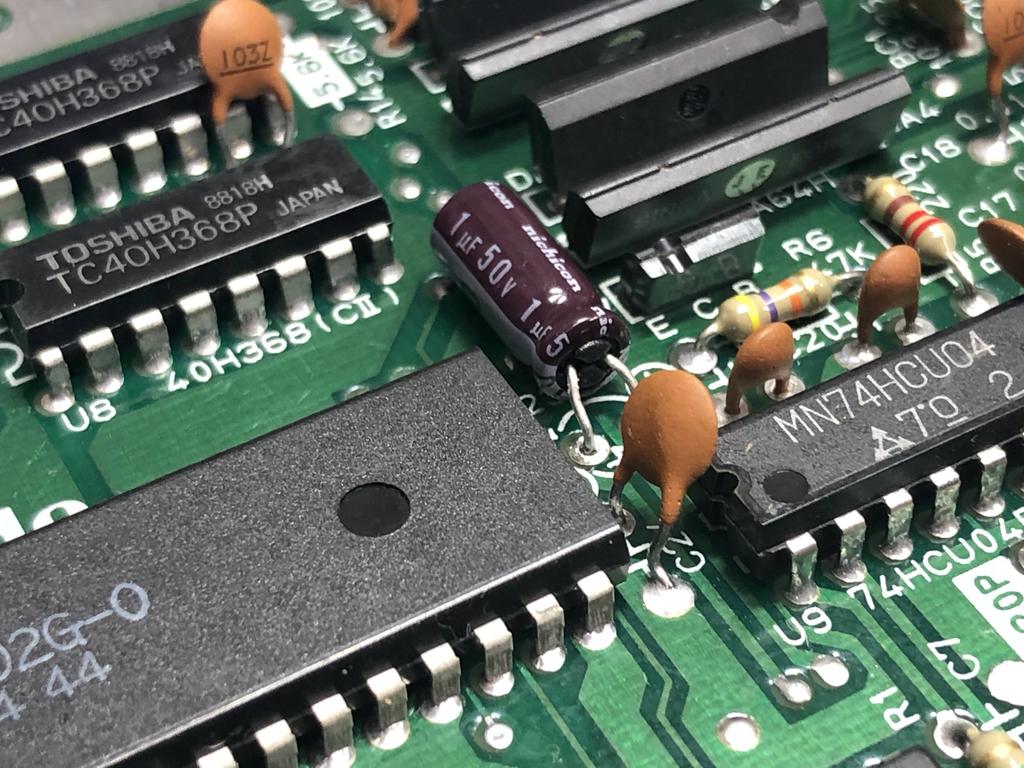
Finally, I removed the three caps on the main board, and replaced them:
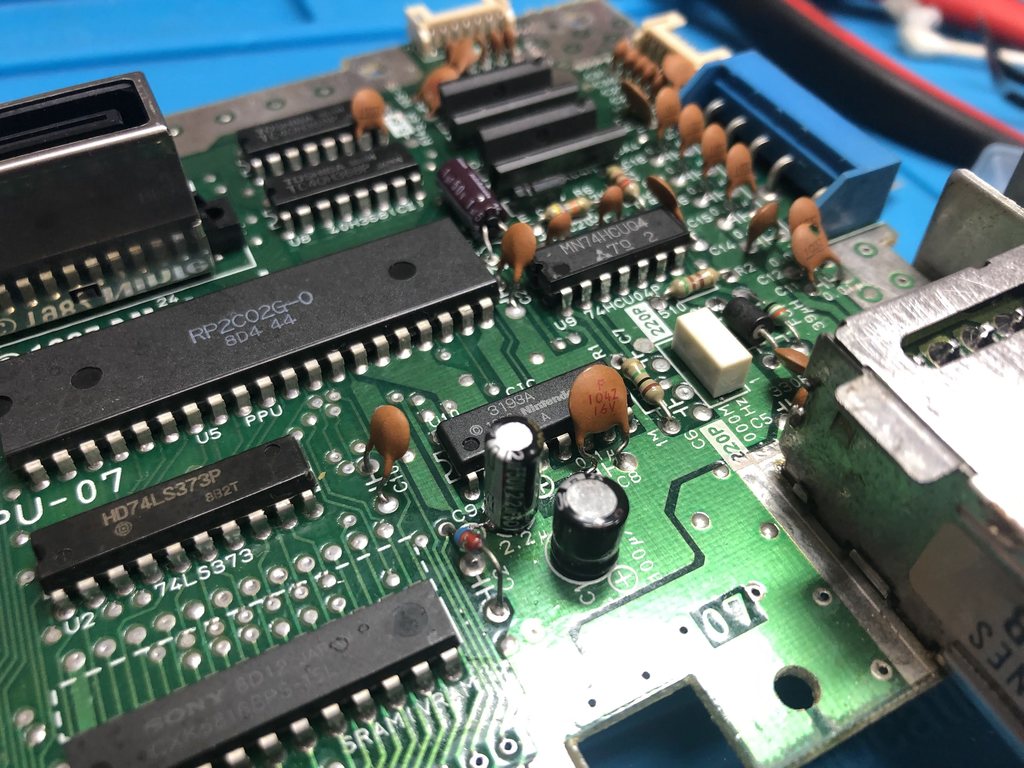
This specific cap is next to the PPU. I purposely layed this one flat in case I ever decide to install an NESRGB mod, as it would sit right on top of this area:
Reassembly #
After a couple of days, the retrobriting was done. I removed and washed each piece:

Once everything was dry, it was time to reassemble:
Done!
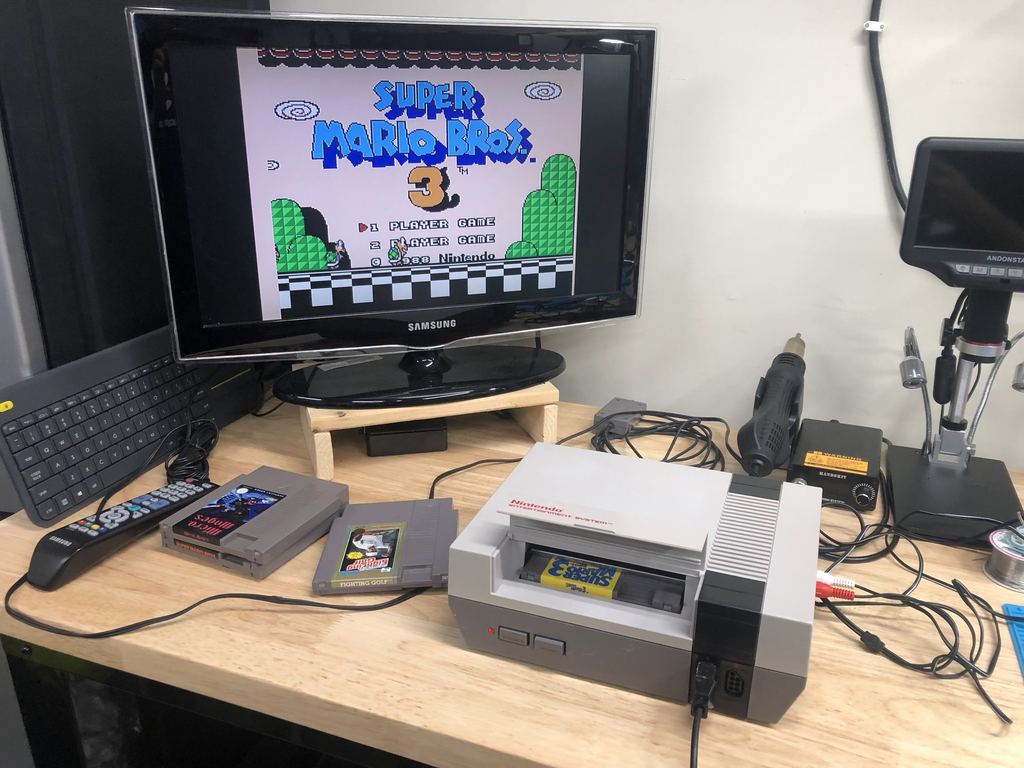
And working well:
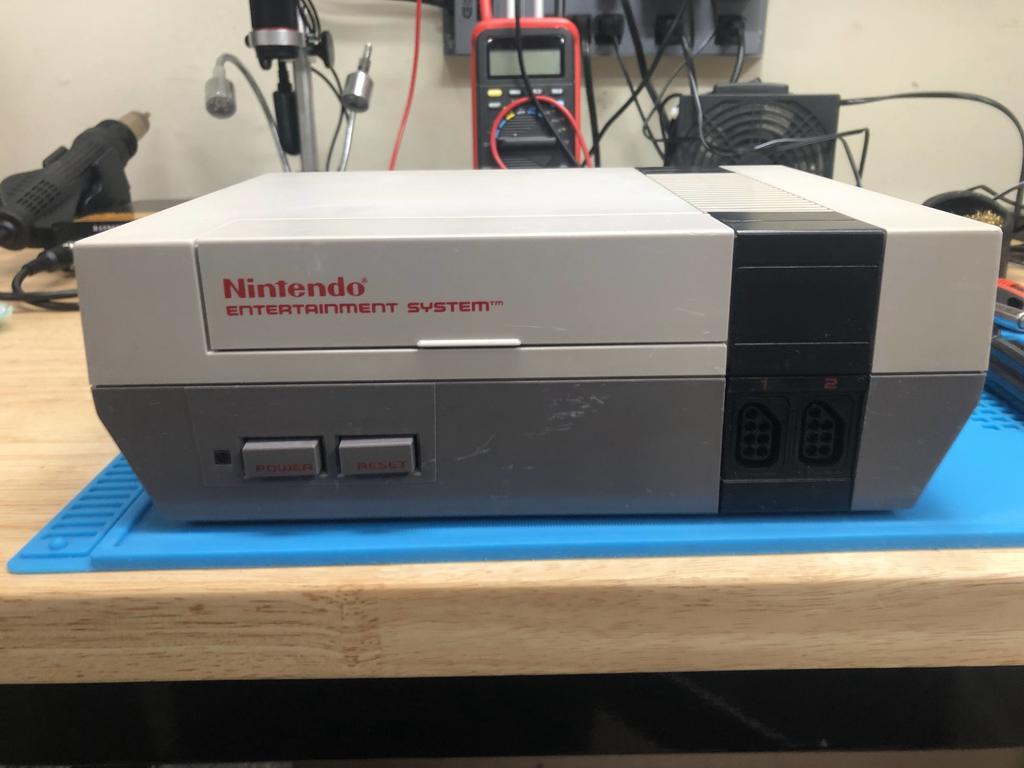
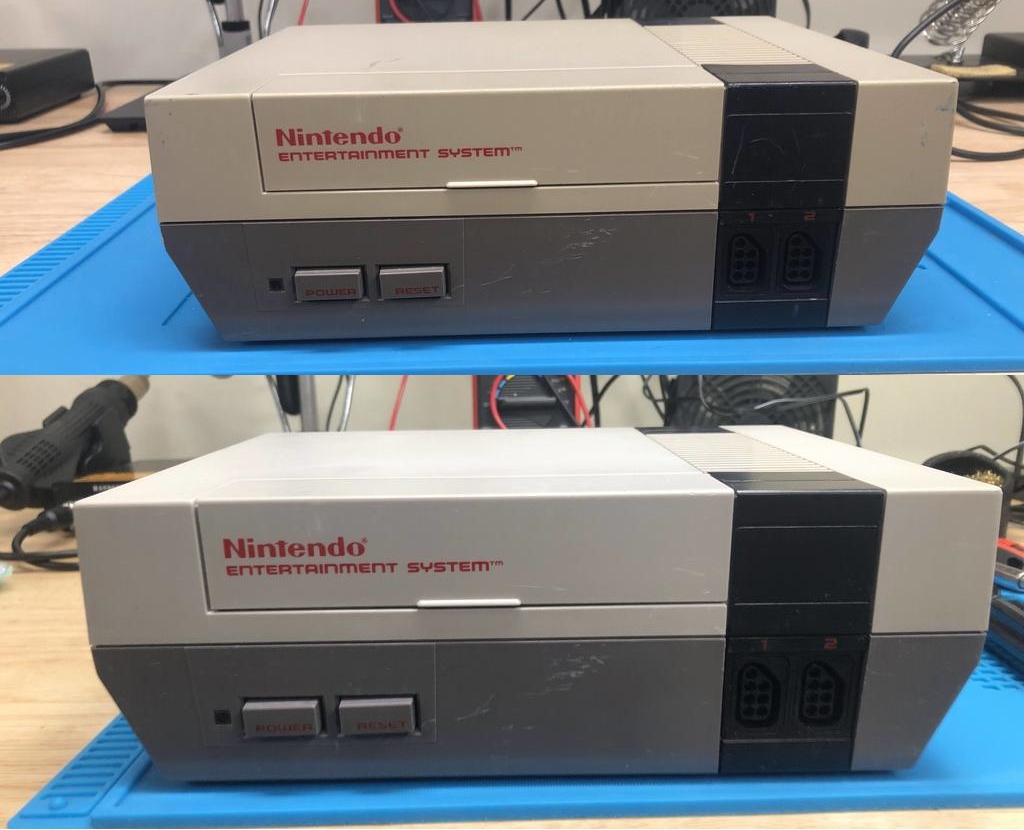
Here’s a before and after shot to show how the retrobriting helped to de-yellow the console:
Thoughts #
I believe this is the fifth NES I restore. With experience, things are definitely a lot smoother now. The NES is my favorite console, so it it makes me especially happy to breath new life into them.