SFC Controller 8BitDo Mod Kit
After BlueRetro-fying most of my consoles, I realized that I much prefer using original controllers. 8BitDo makes some really great “mod kits” that are PCB replacements for controllers with Bluetooth support and rechargeable batteries. In this post, I’ll go over how I installed their mod kit for SNES/SFC controllers.
Parts #
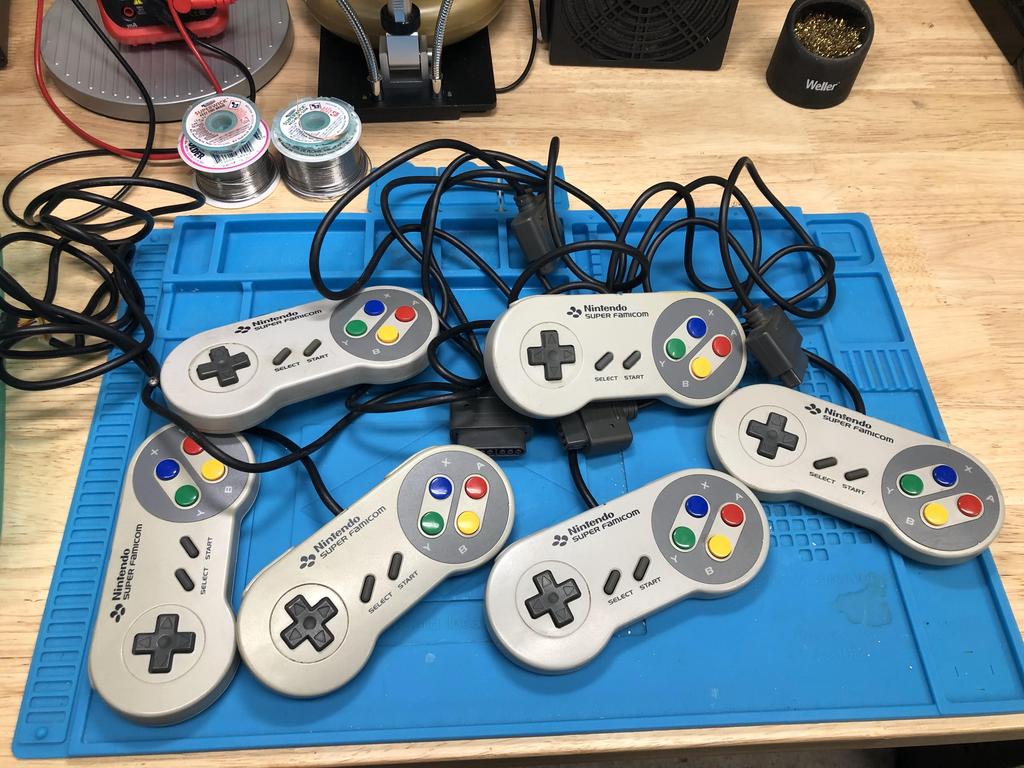
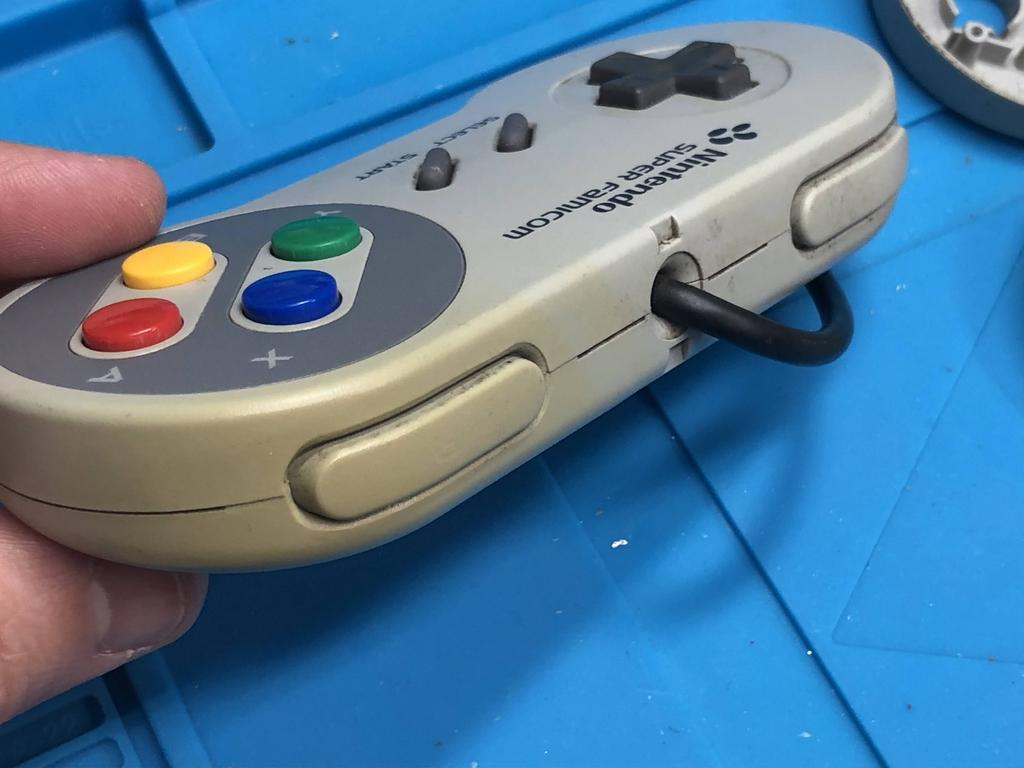
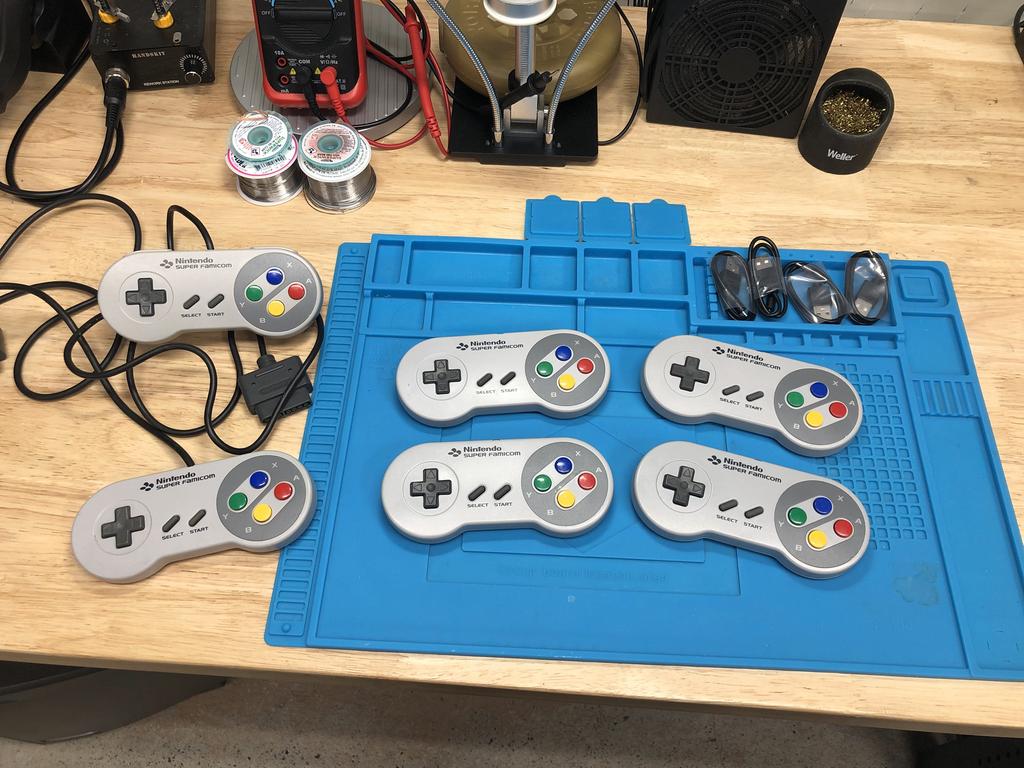
I had originally wanted four SNES controllers, but it turns out that SNES controllers are actually pretty expensive at around $20 each on Marketplace or eBay. Instead, I opted for Super Famicom (SFC) controllers, which are generally less expensive. SFC controllers are slightly different from their SNES counterpart in a couple of ways: the buttons are colored differently, all four buttons are convex while Y and X are concave on the SNES controller, and the cable is significantly shorter. The differences in button color and shape don’t bother me at all, and since I’m going to be replacing the PCB with a Bluetooth one, the cable length doesn’t matter.
I bought a single lot of 6 SFC controllers on eBay that cost me a total of $42.56 USD, or around $7 each:
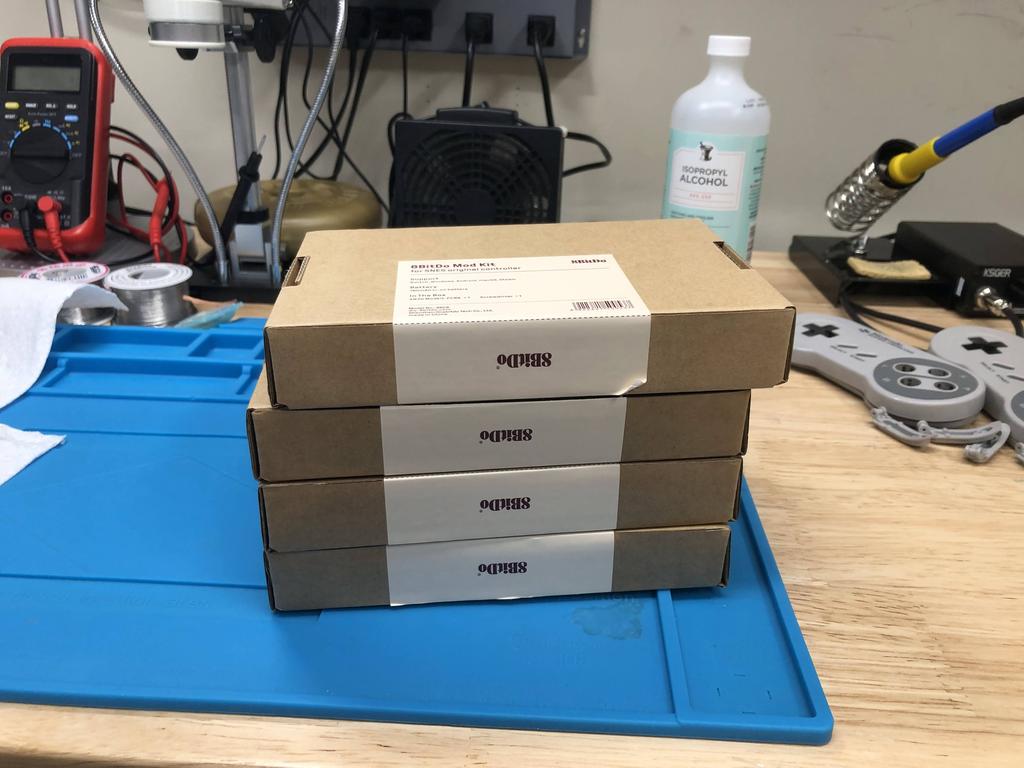
I also bought four mod kits from 8BitDo for $100 USD in total, or $25 each:
Cleaning #
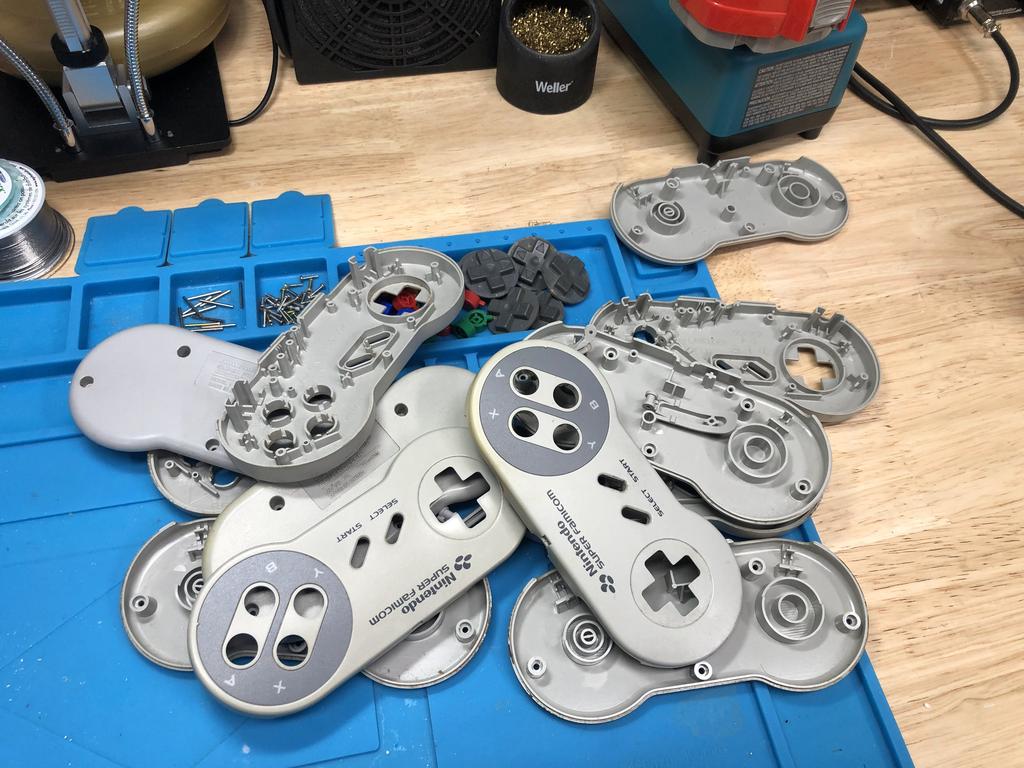
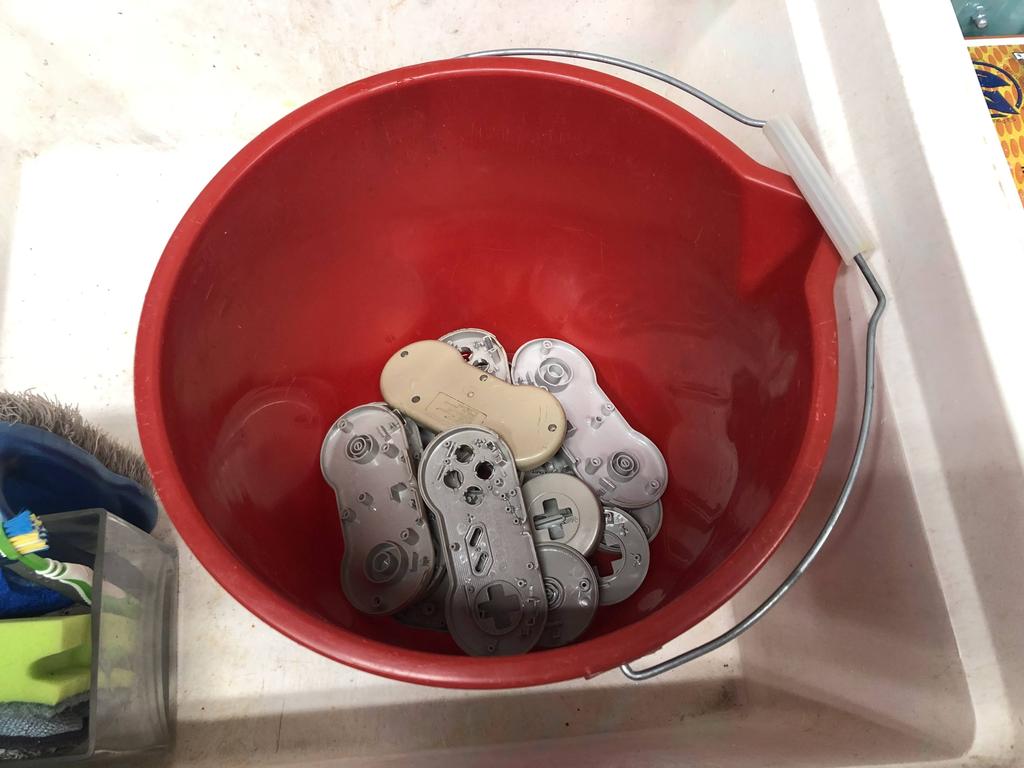
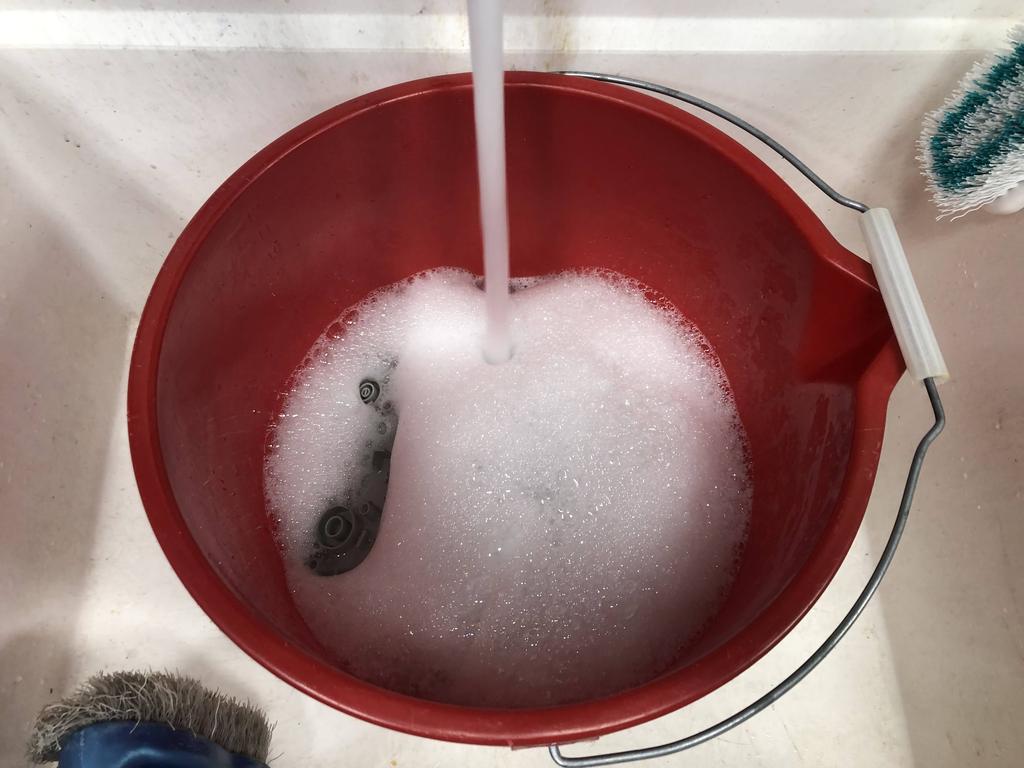
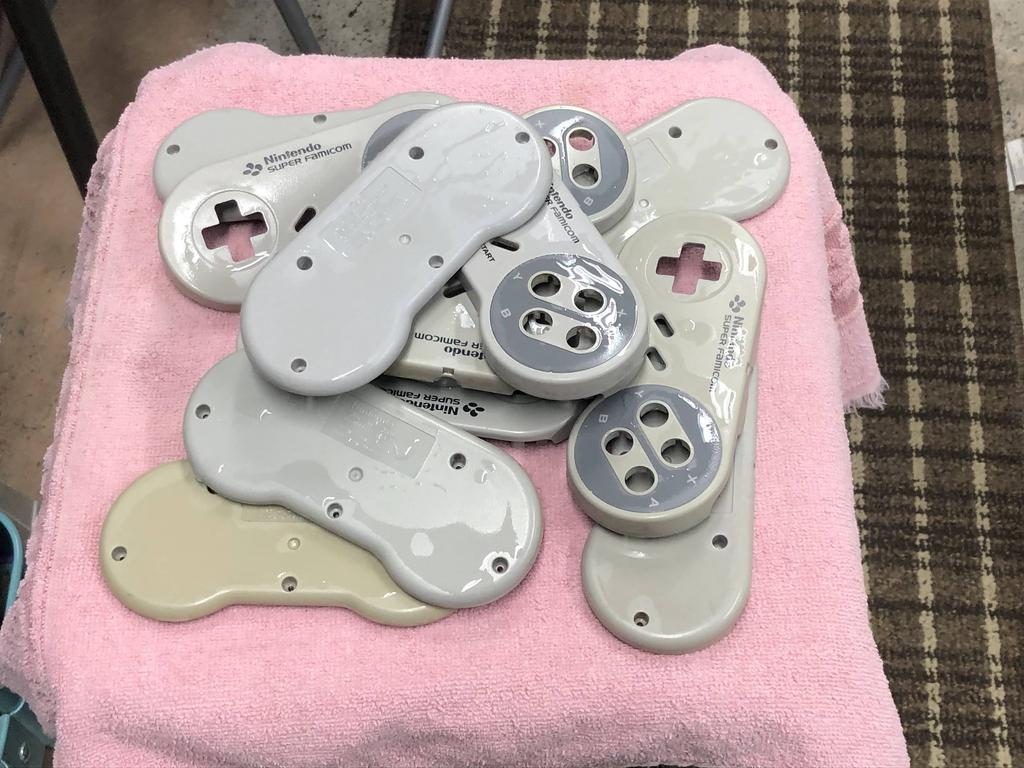
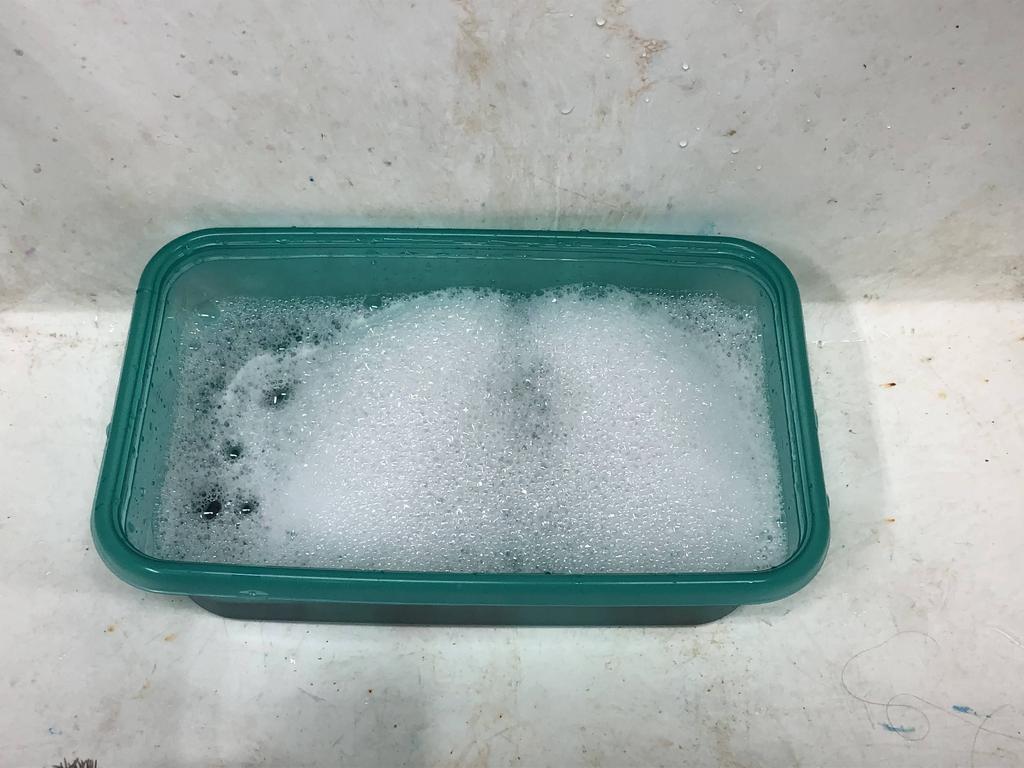
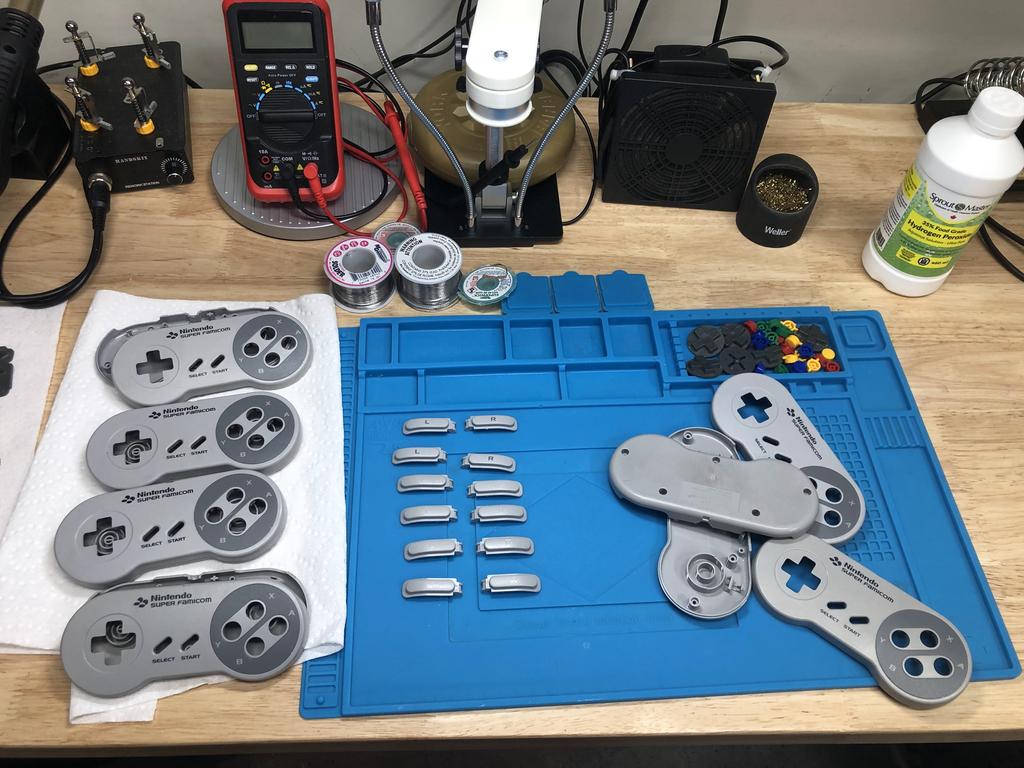
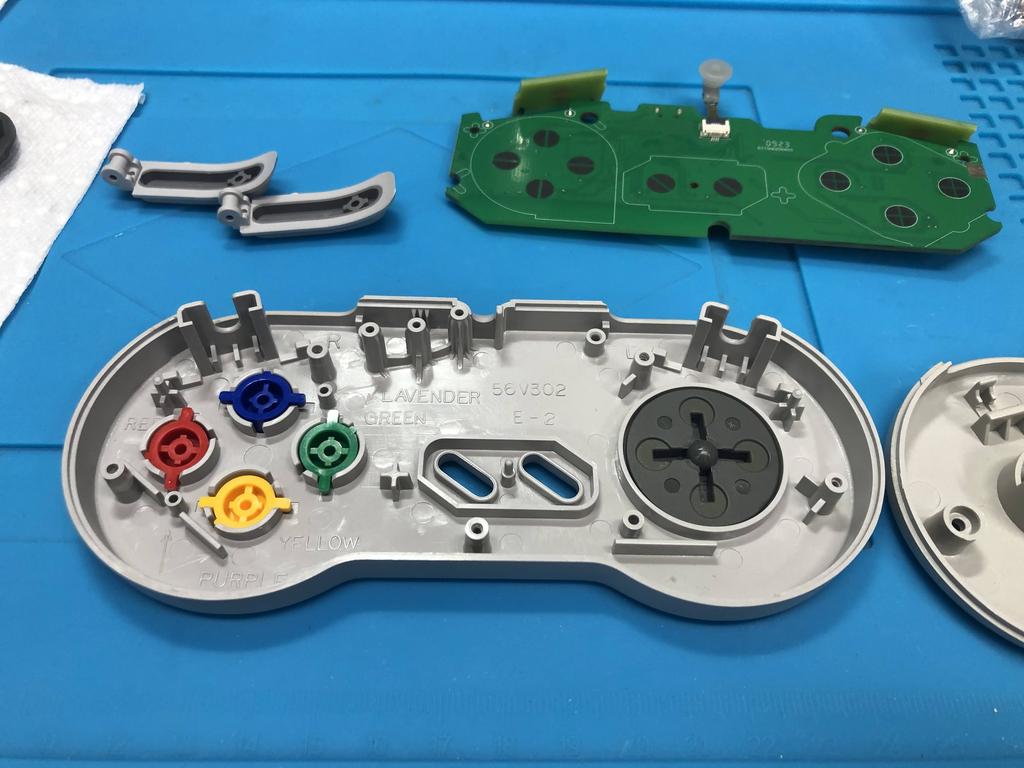
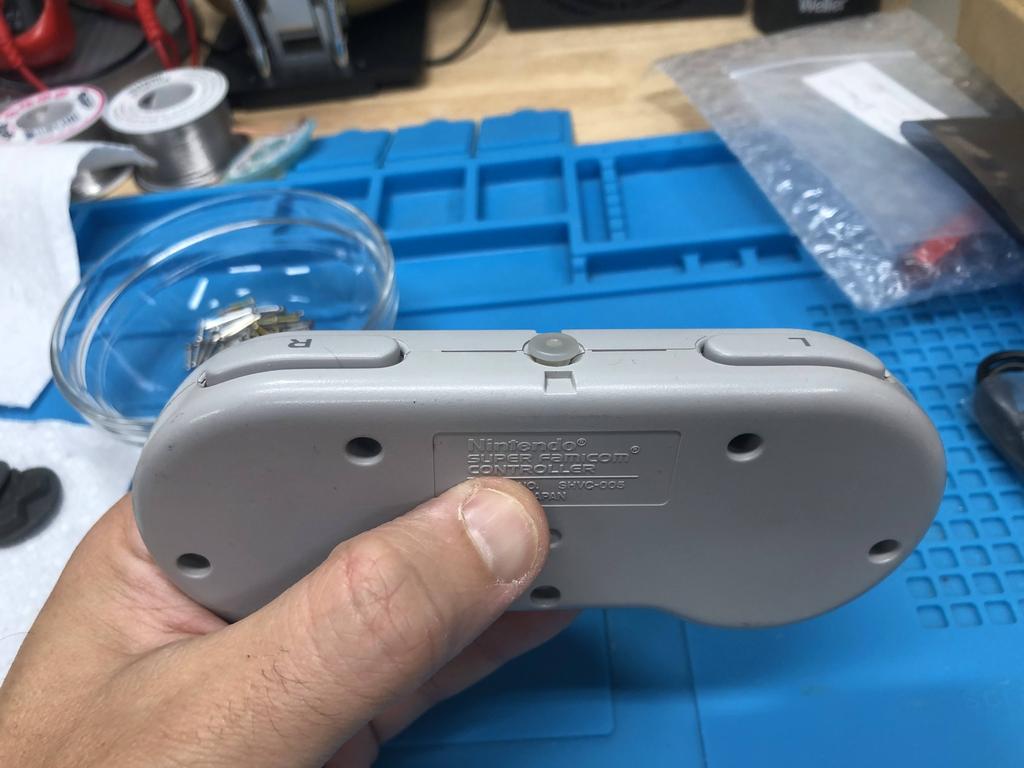
The SFC controllers were pretty dirty and yellowed, so they needed cleaning and retrobriting. I started with taking them all apart, then giving everything a good clean:
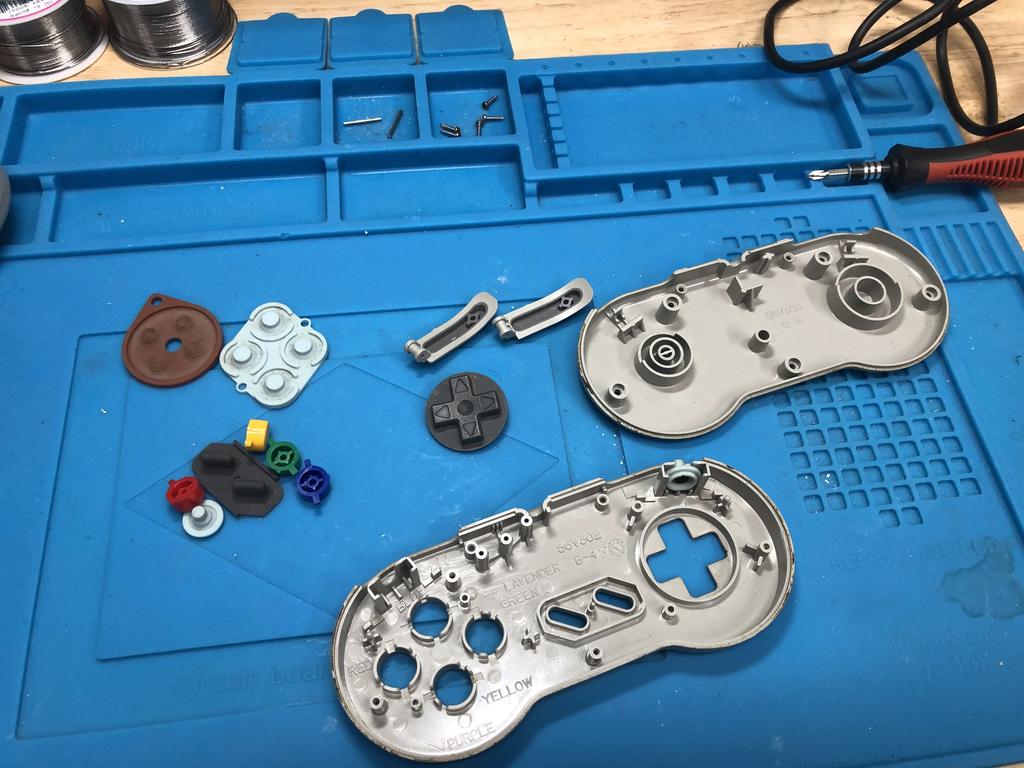
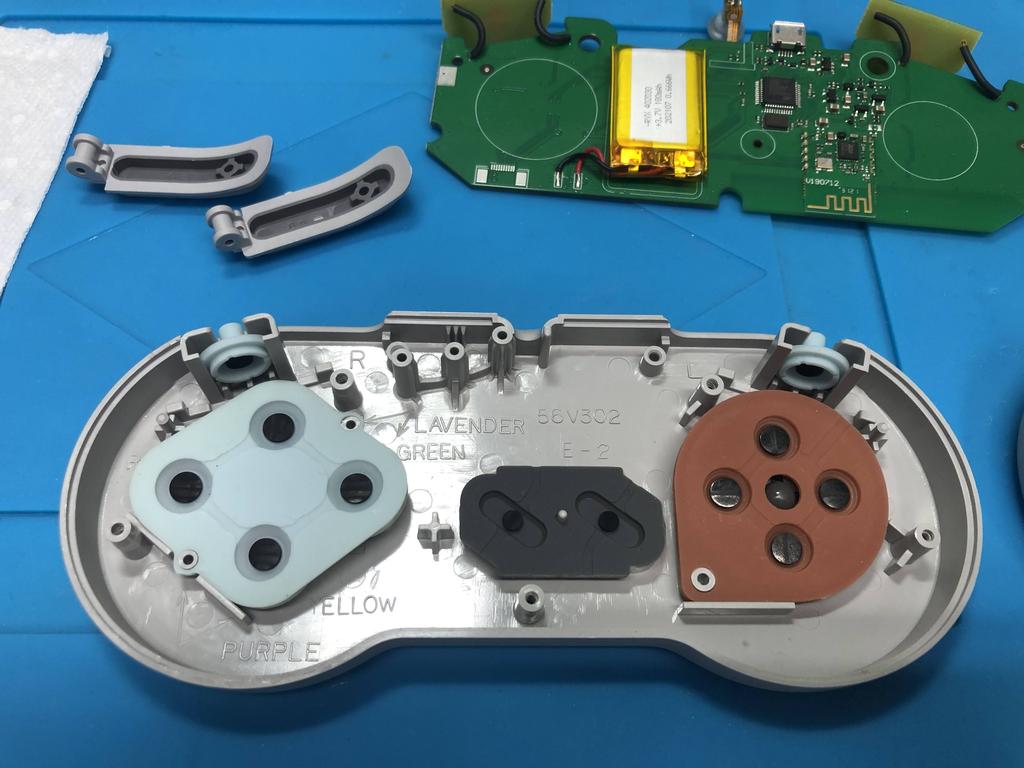
The button membranes were particularly gross:
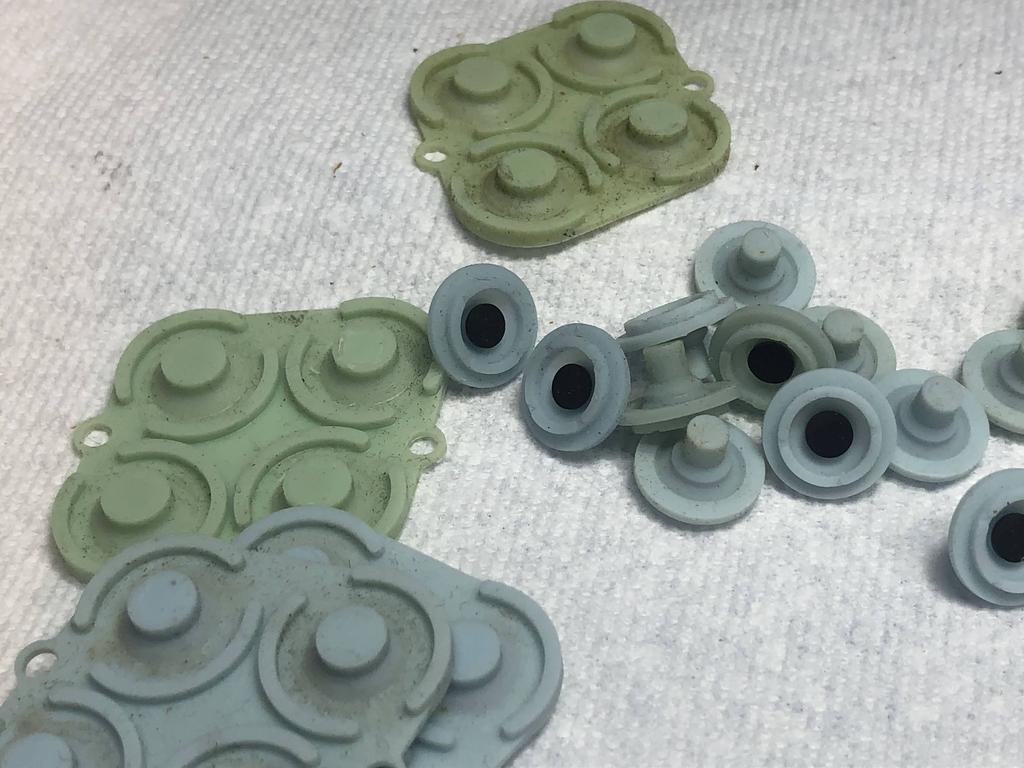
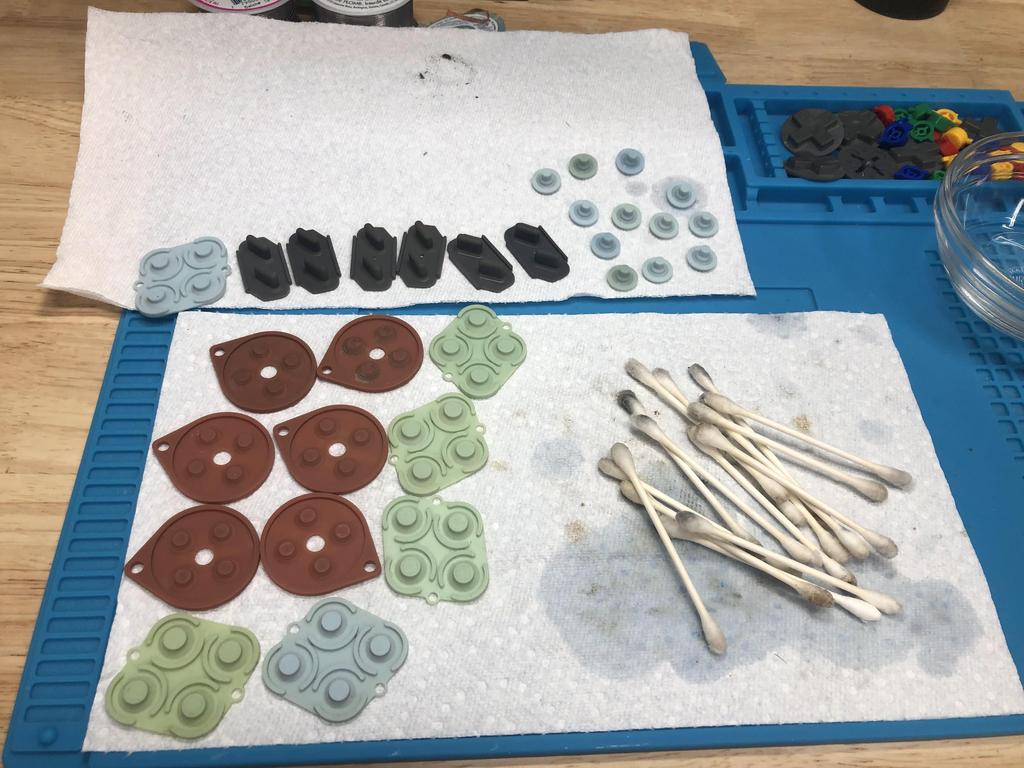
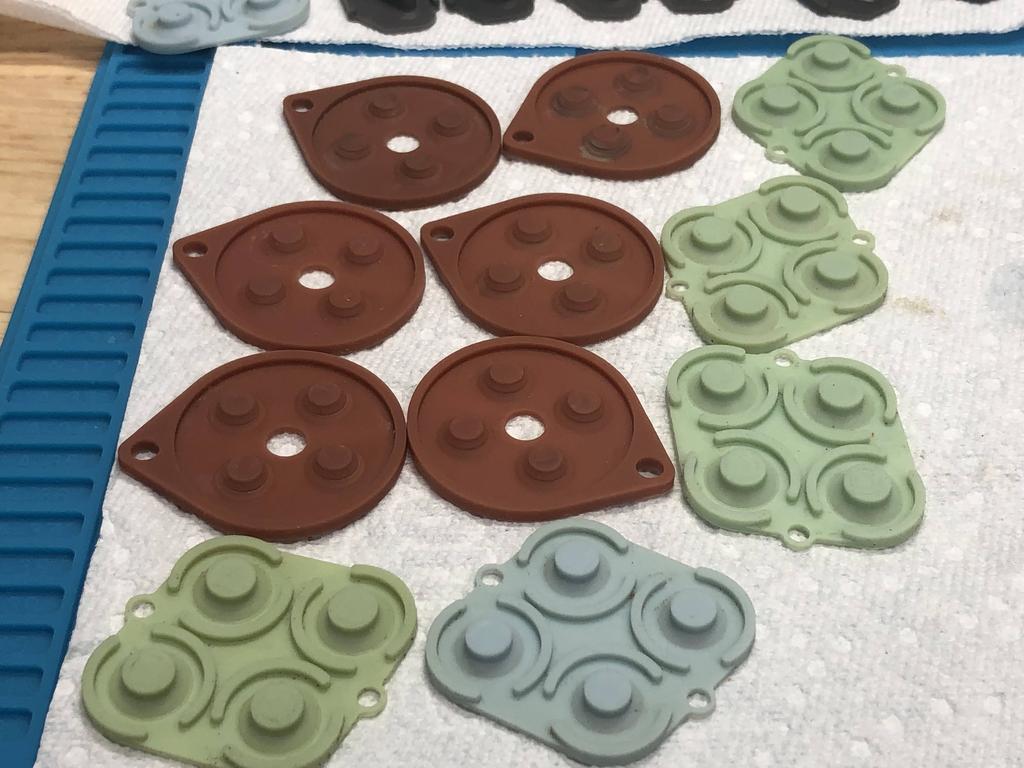
The dpad and buttons were also pretty grimy:
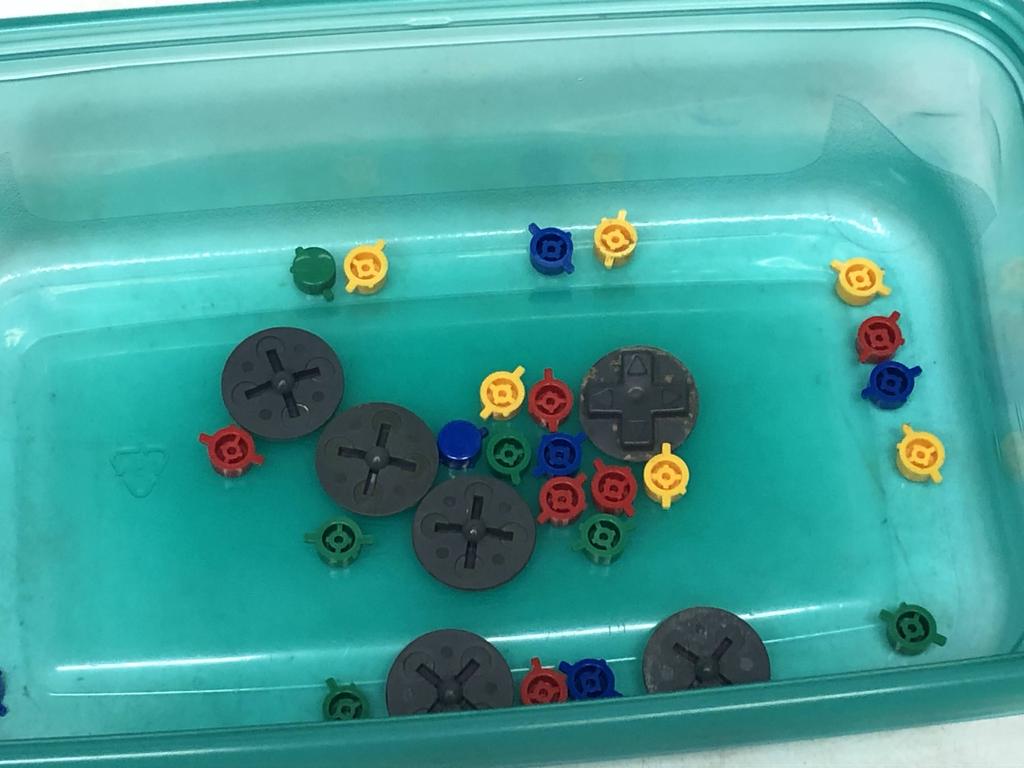
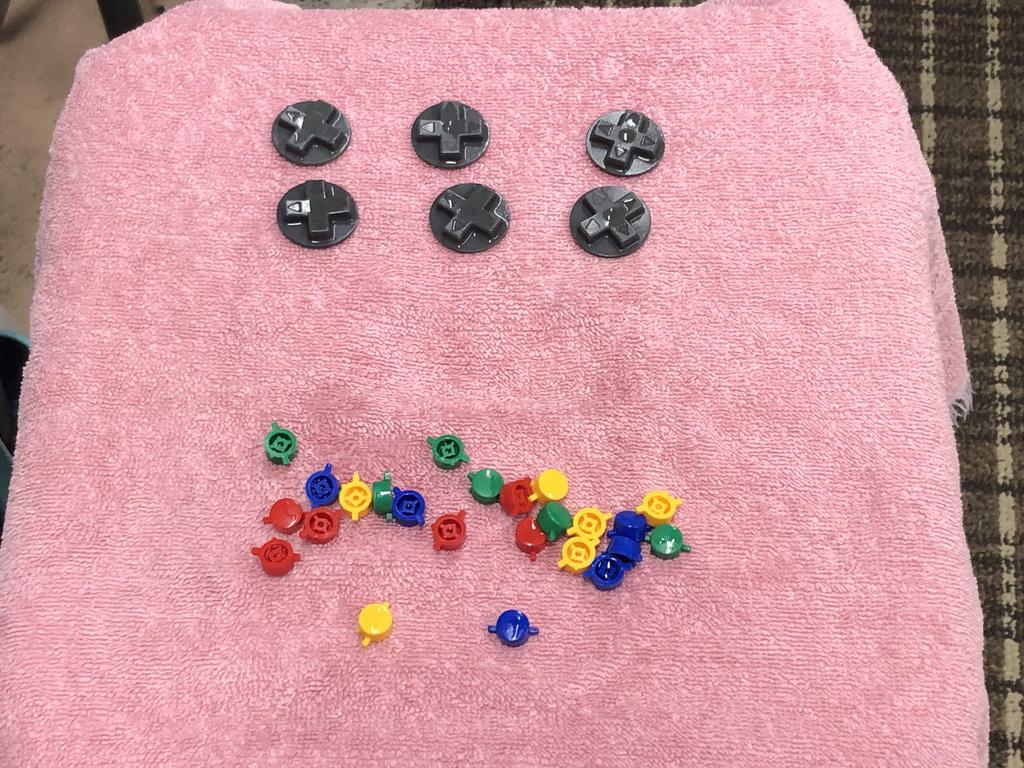
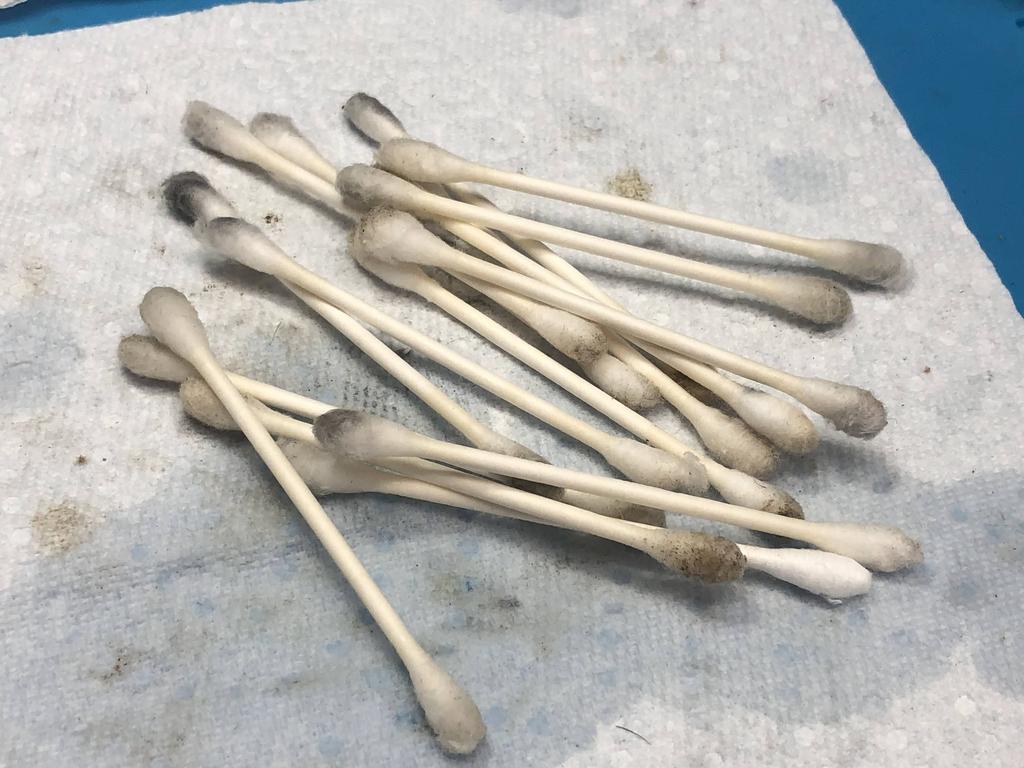
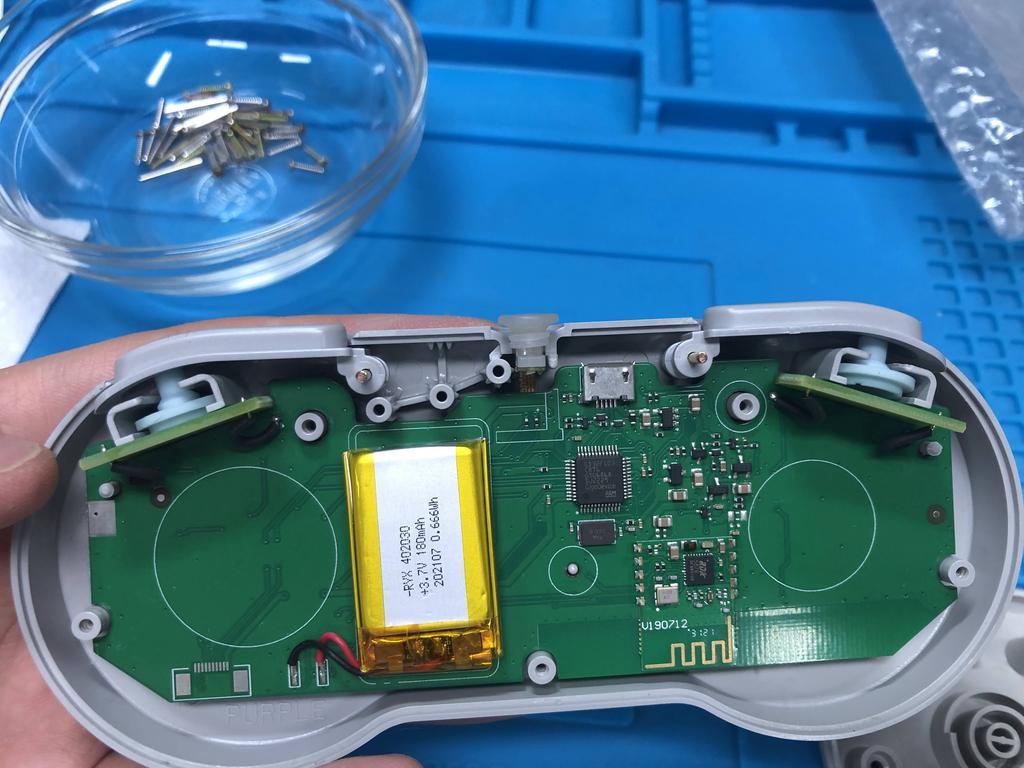
The screws and shoulder button posts weren’t too bad, so I just gave them a quick bath in IPA and scrubbed them with a toothbrush:

Retrobring - “Vapor Method” #
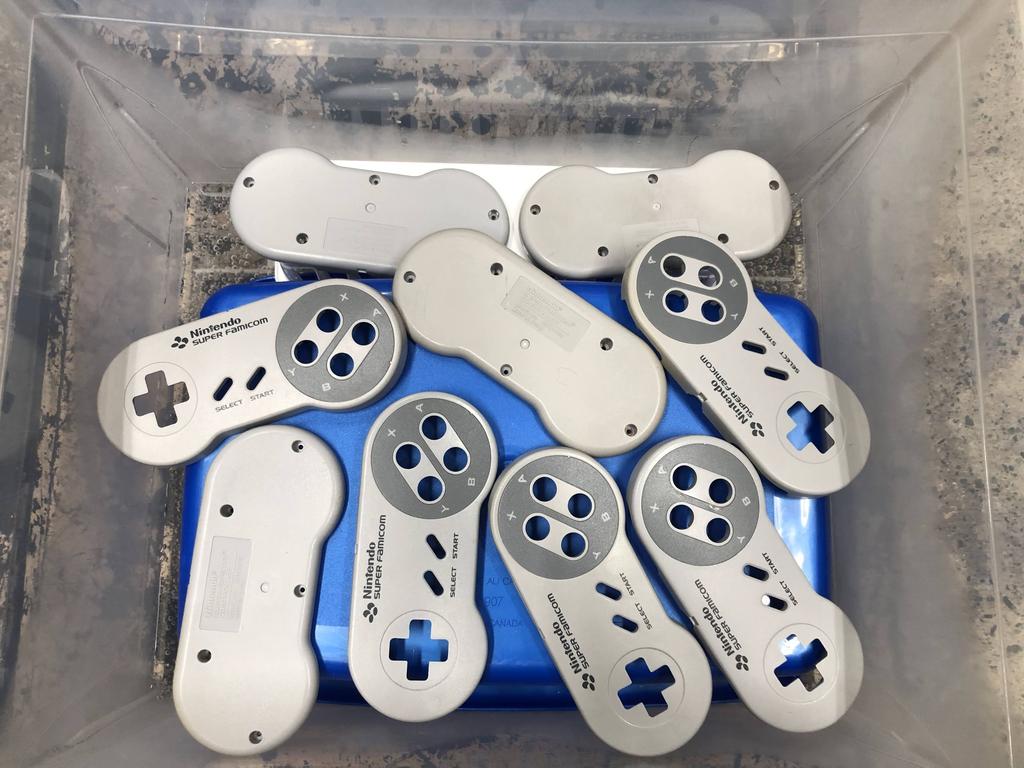
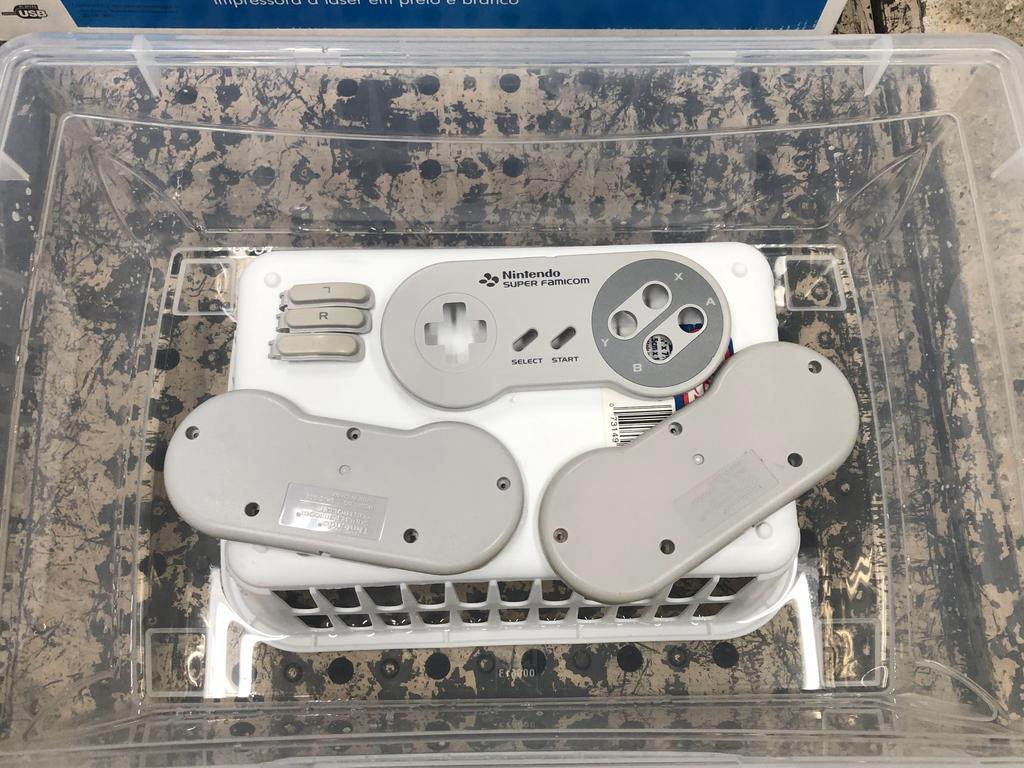
As mentioned earlier, the controllers were pretty yellowed:
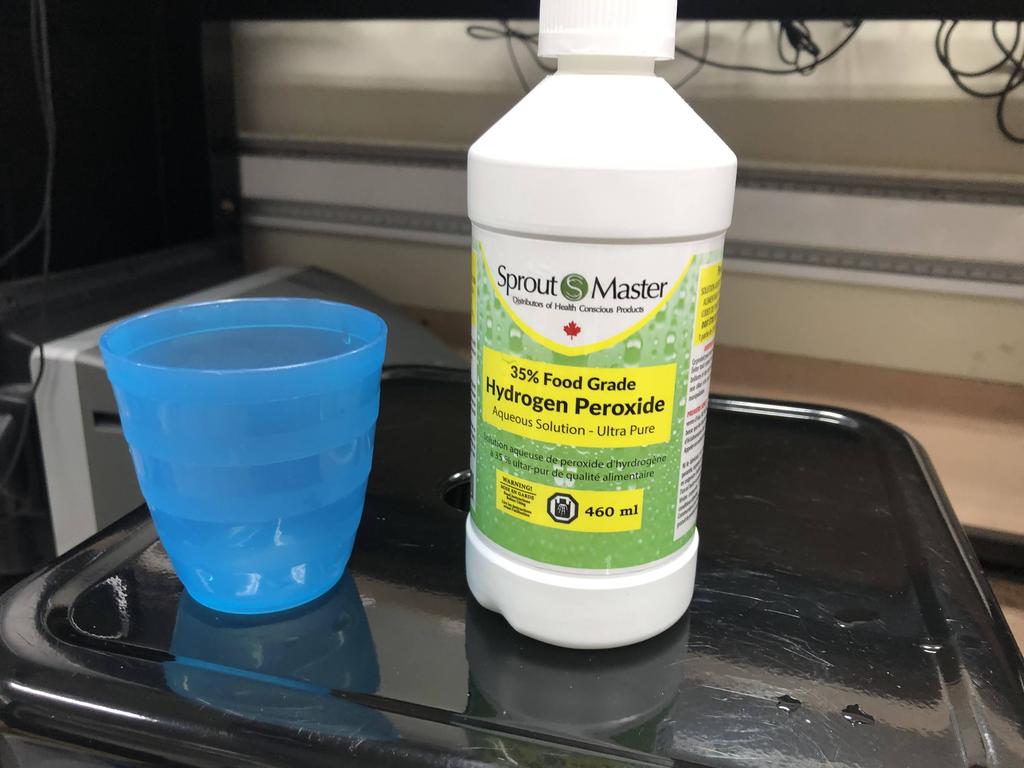
Instead of the usual retrobrite method of submerging the plastics in a hydrogen peroxide solution, I decided to try out a new method shared by Simon Lock that has come to be known as the “vapor method”. This method consists of pouring a much smaller amount of the solution in the bottom of a container, placing plastics onto a stand within the container, then sealing the container. As usual, UV light from a lamp or the sun is required, but the key is that we use a lot less solution, and the plastics are not in direct contact with the hydrogen peroxide solution.
I used 35% food grade hydrogen peroxide, which I diluted down to about 12% (2 parts water, 1 part peroxide). I used about half a bottle:
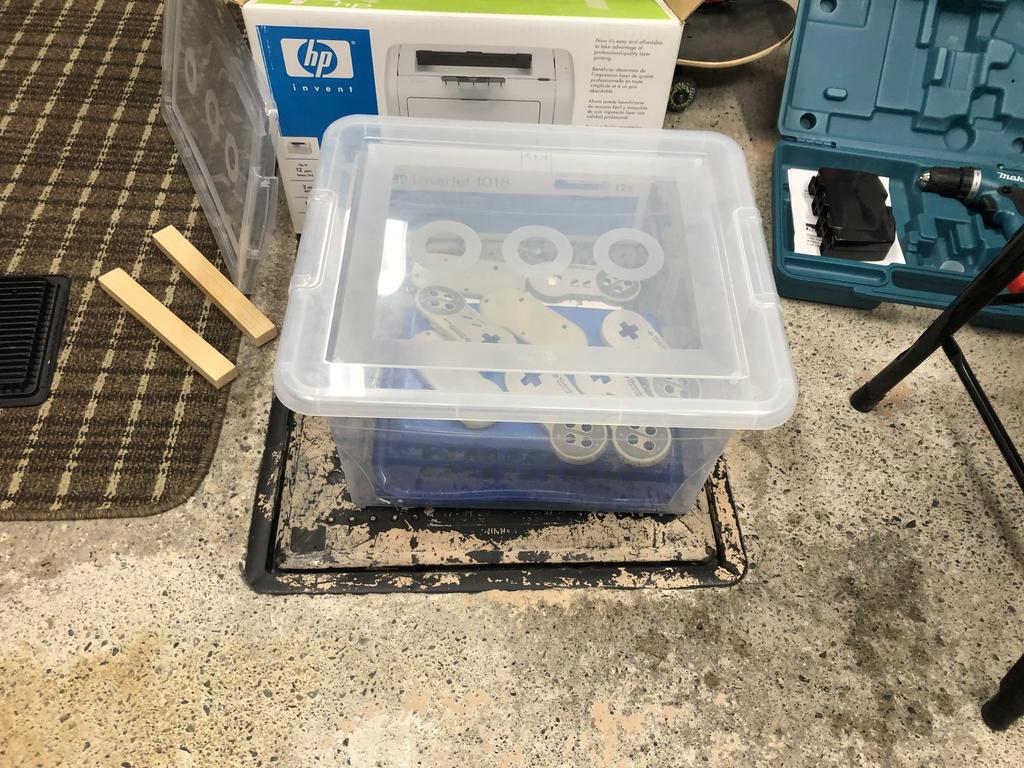
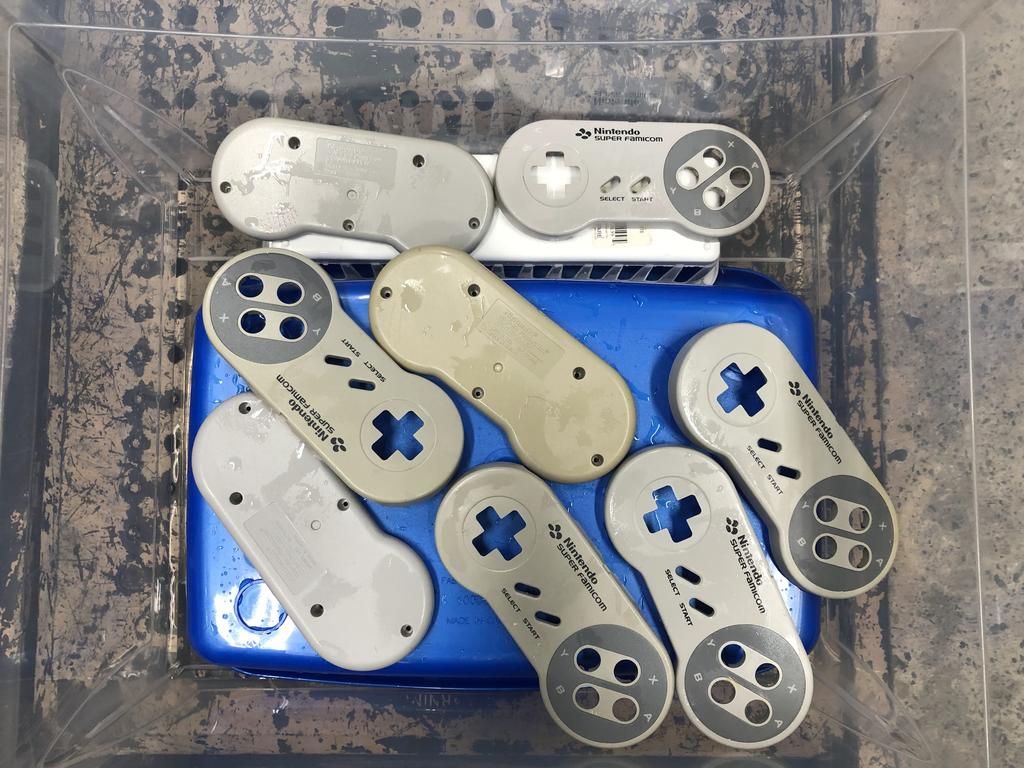
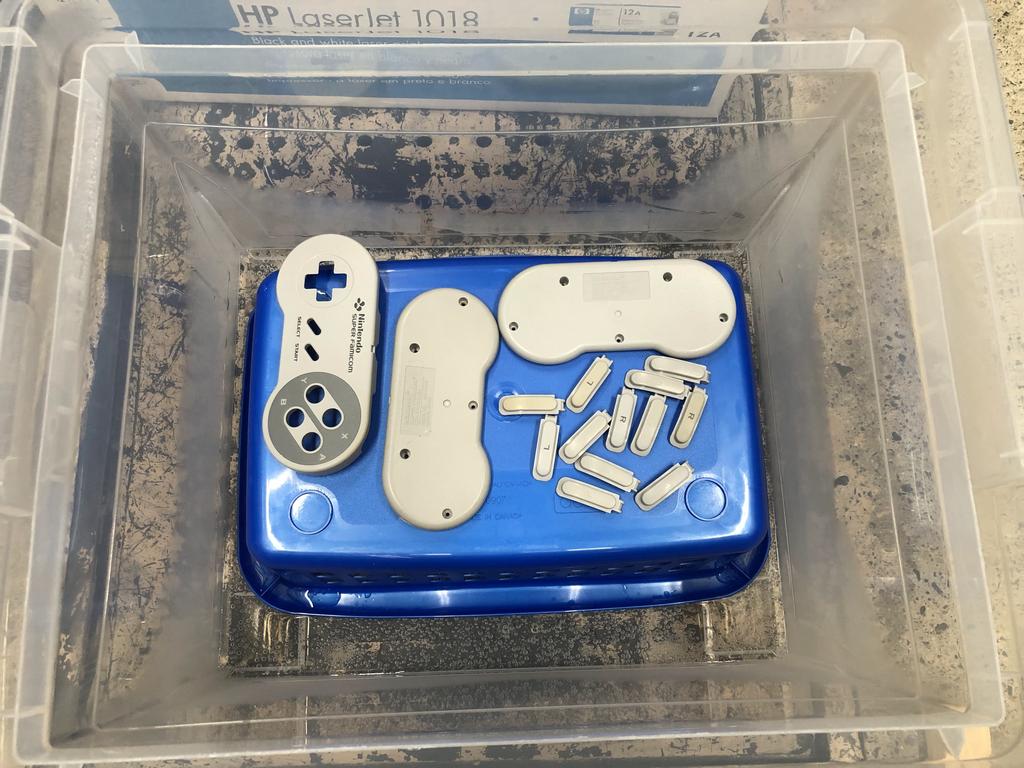
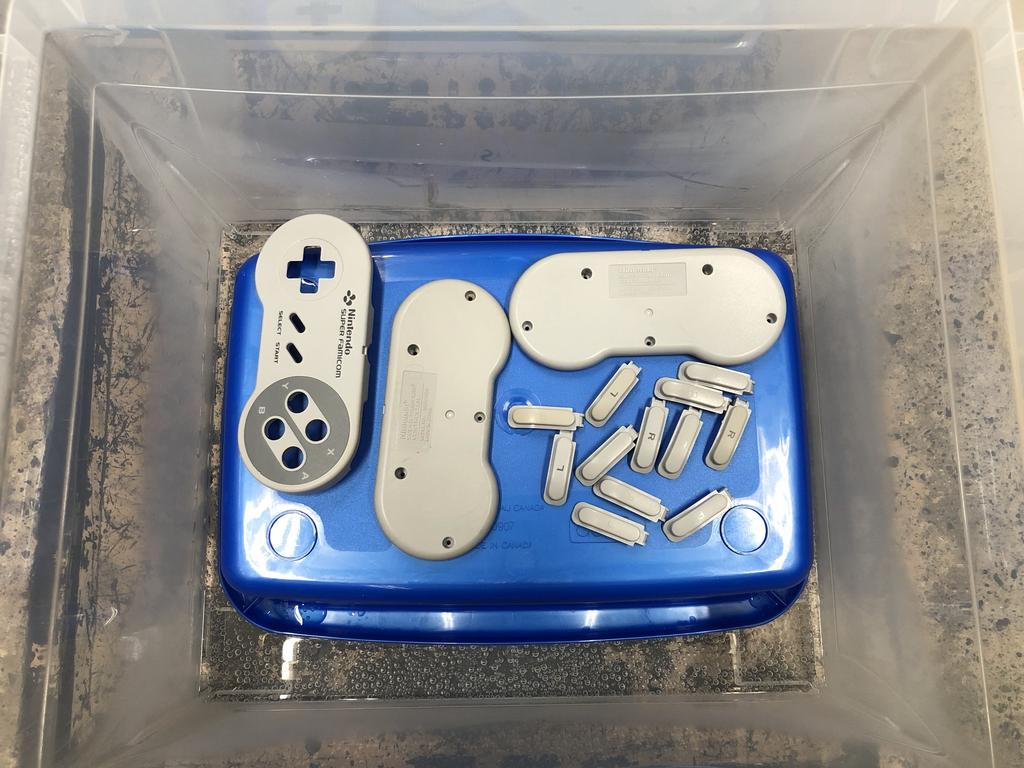
After pouring the solution in the bottom of my transparent container, I placed the controller parts onto some baskets within:
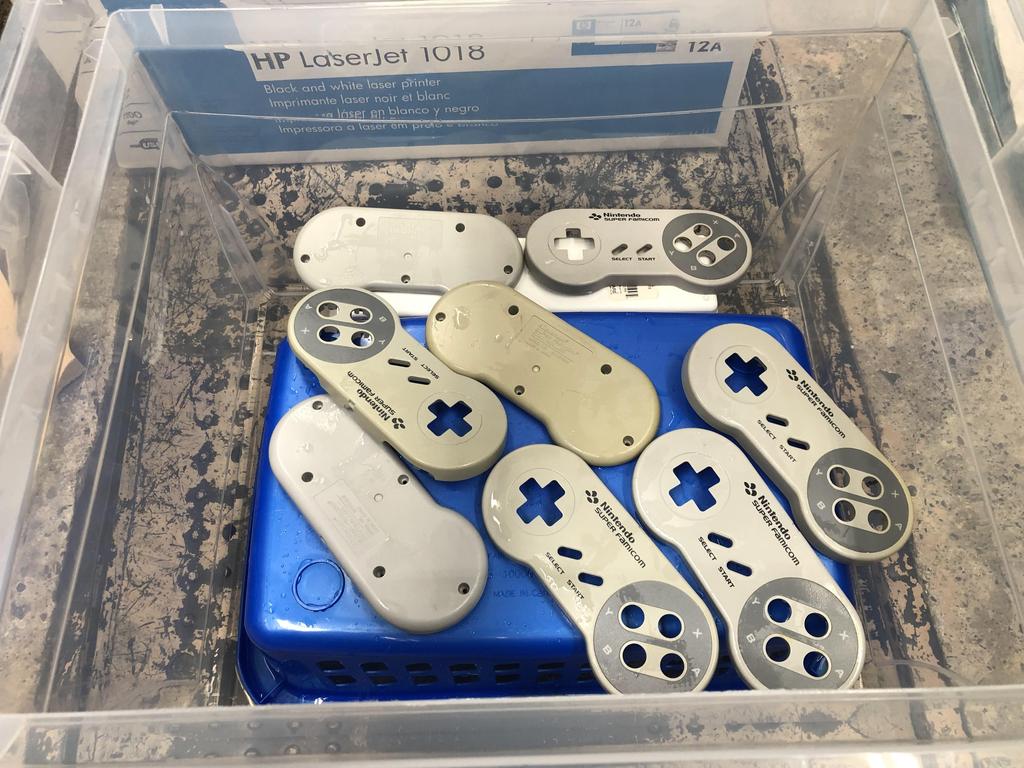
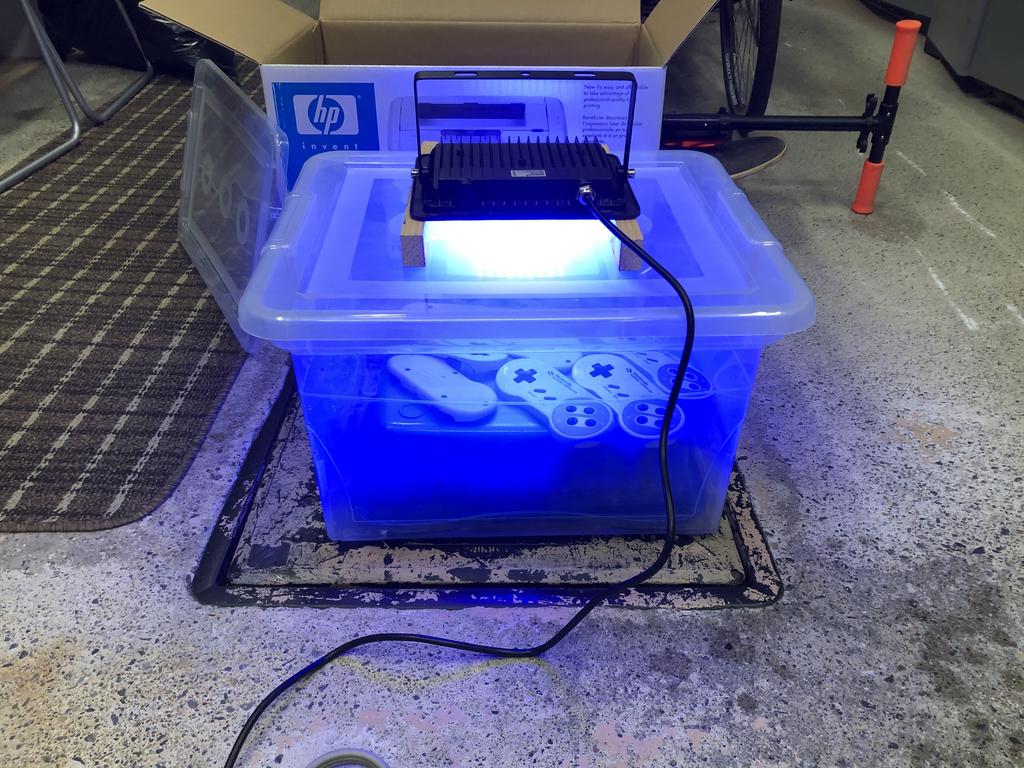
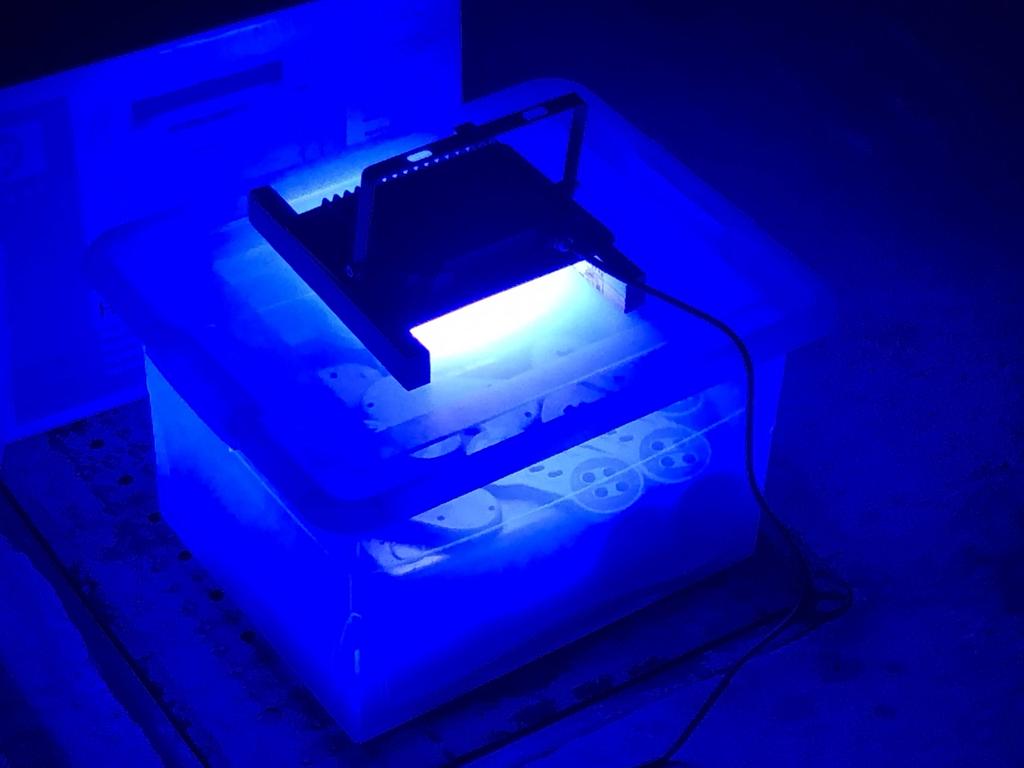
I then sealed the container and placed my 50W UV lamp on top:
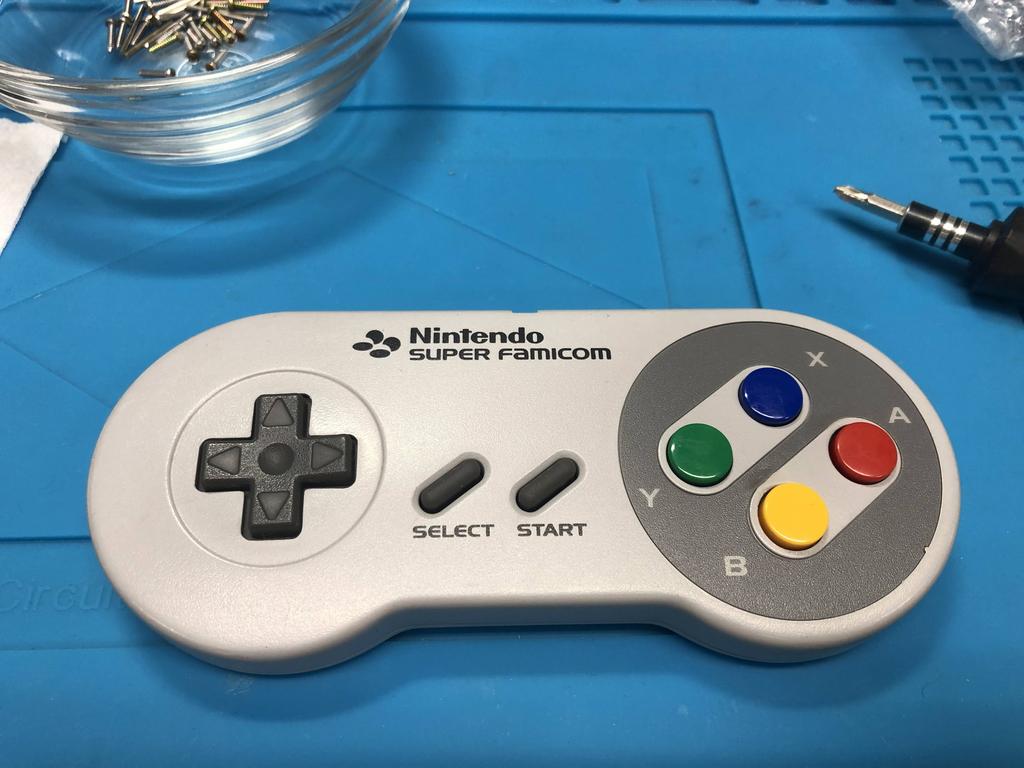
The results were great. Here are some before/after shots.
Before:
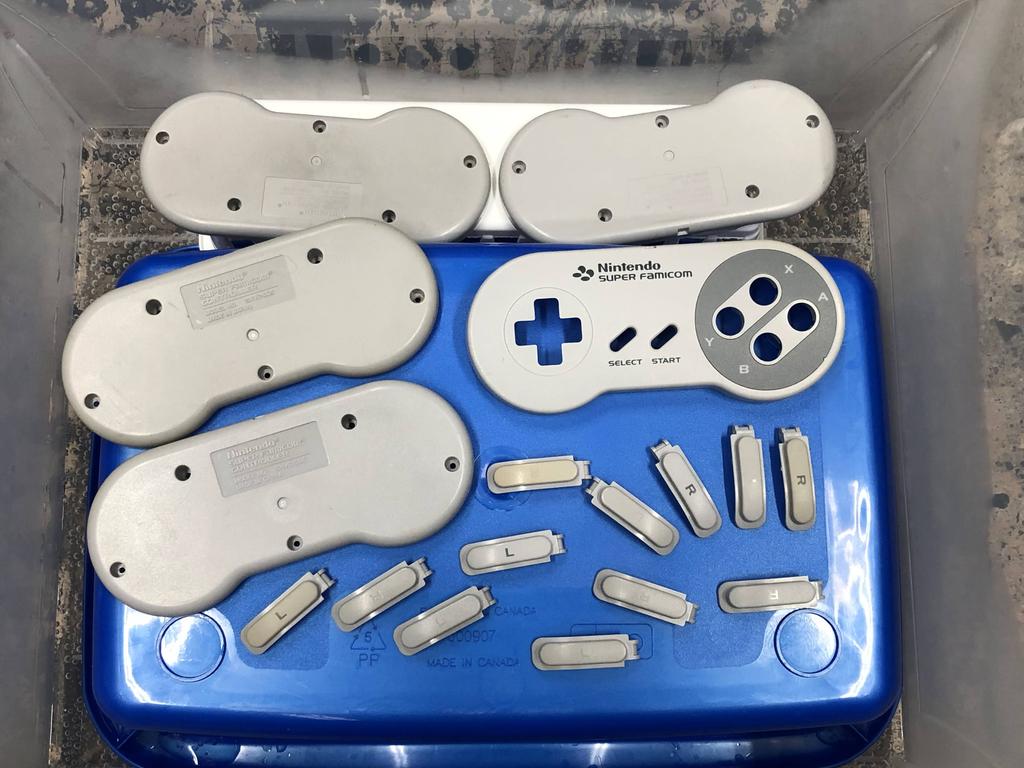
After:
Before:
After:
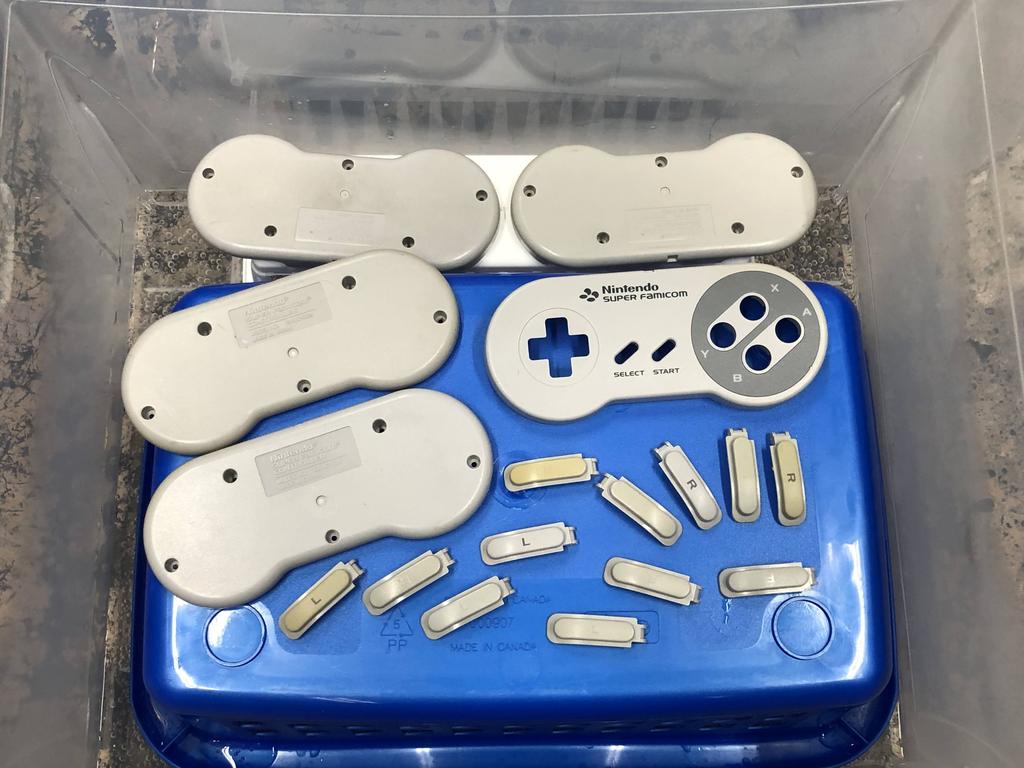
In the pic above, you can see how some pieces were particularly stubborn. So I placed these last pieces back in for about two more days:
Getting better:
The last few very stubborn pieces:
A day later:

The final result:
Without a doubt, the vapor method is definitely the way to go. Because I wasn’t submerging the plastics, I wasn’t worried about leaving the parts in there for a few days until all yellowing was gone.
Putting it all together #
With everything cleaned and retrobrited, all I had left to do was to put the controllers back together using the 8BitDo mod kits.
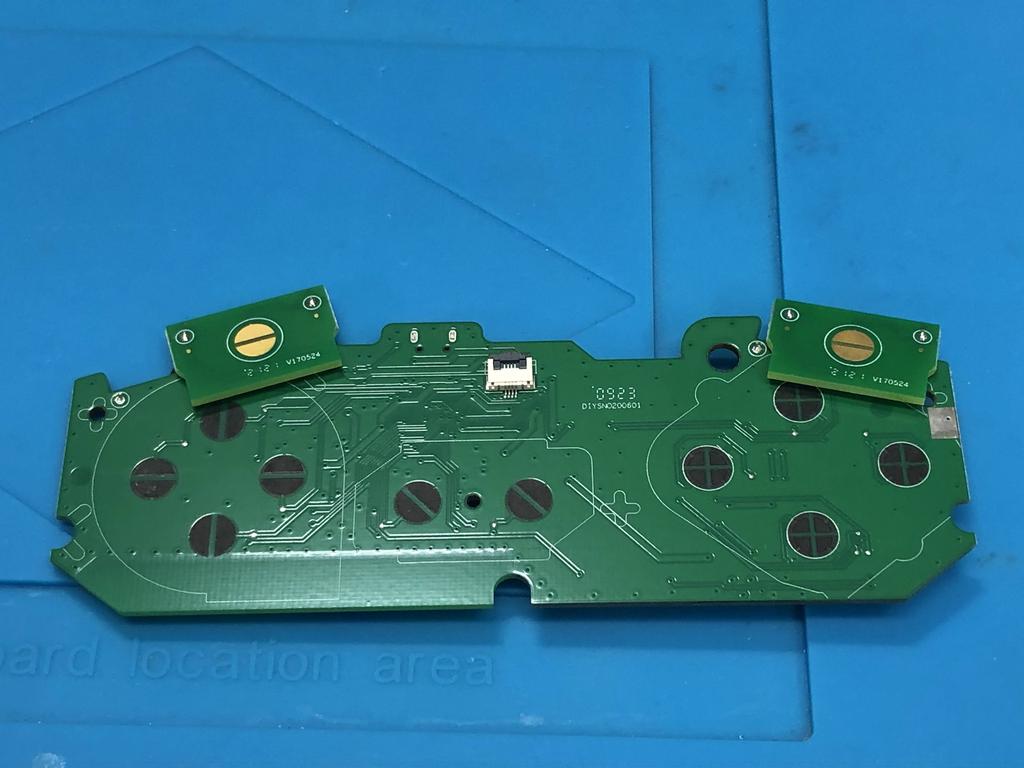
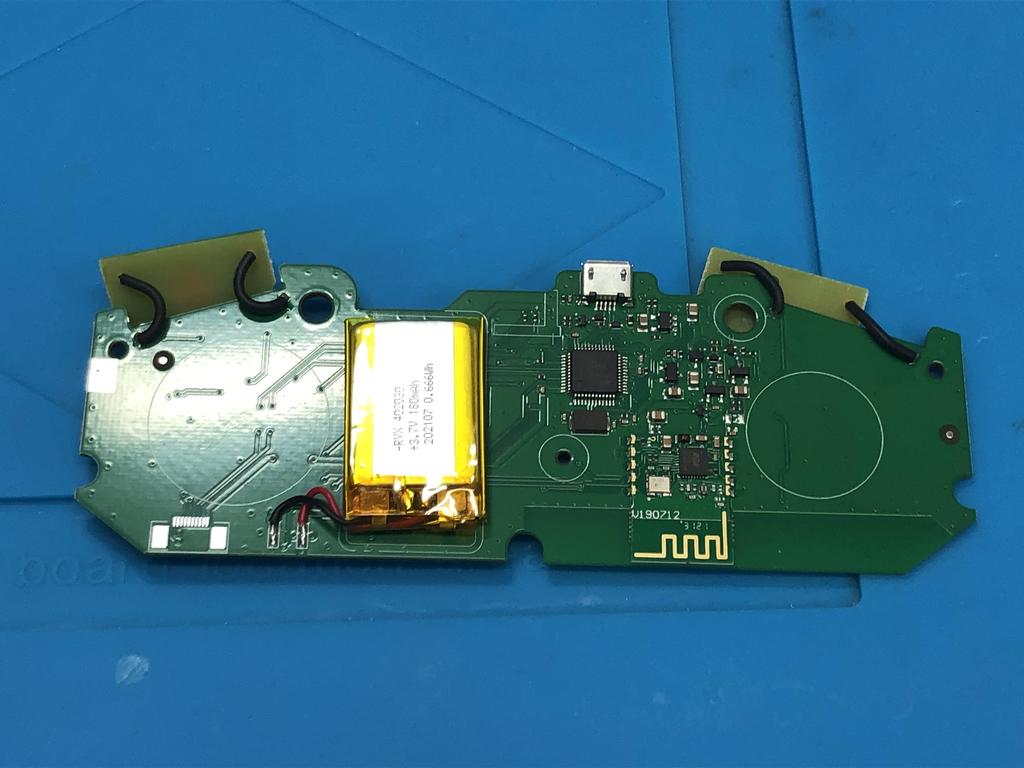
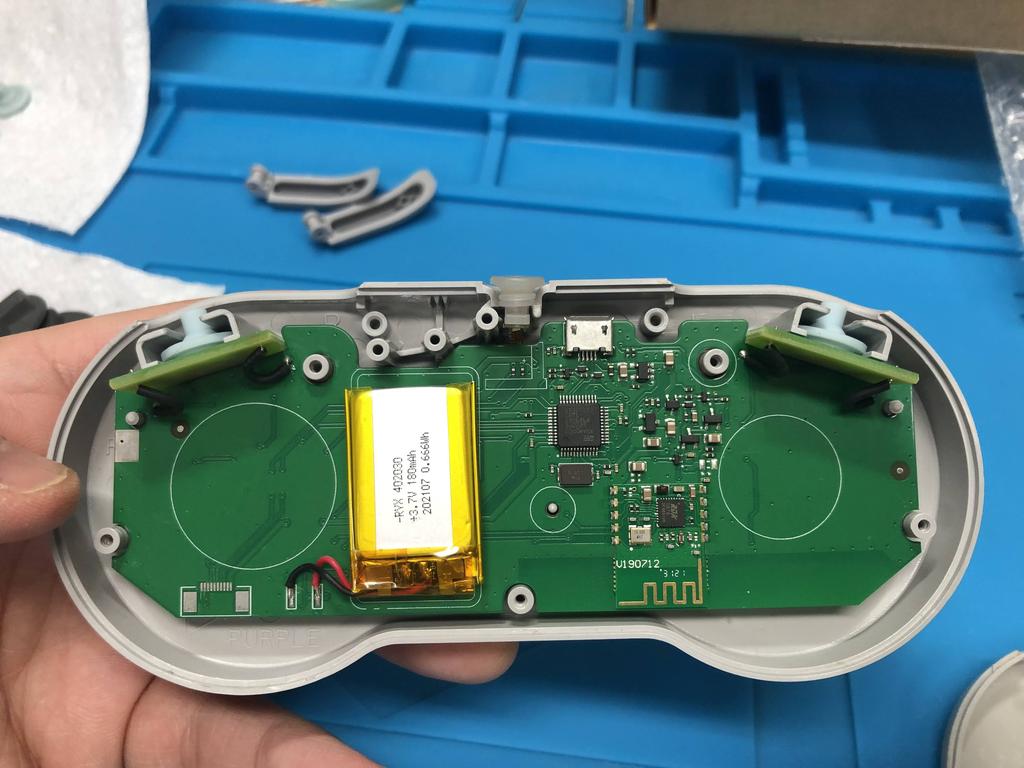
This is what the PCB looks like:
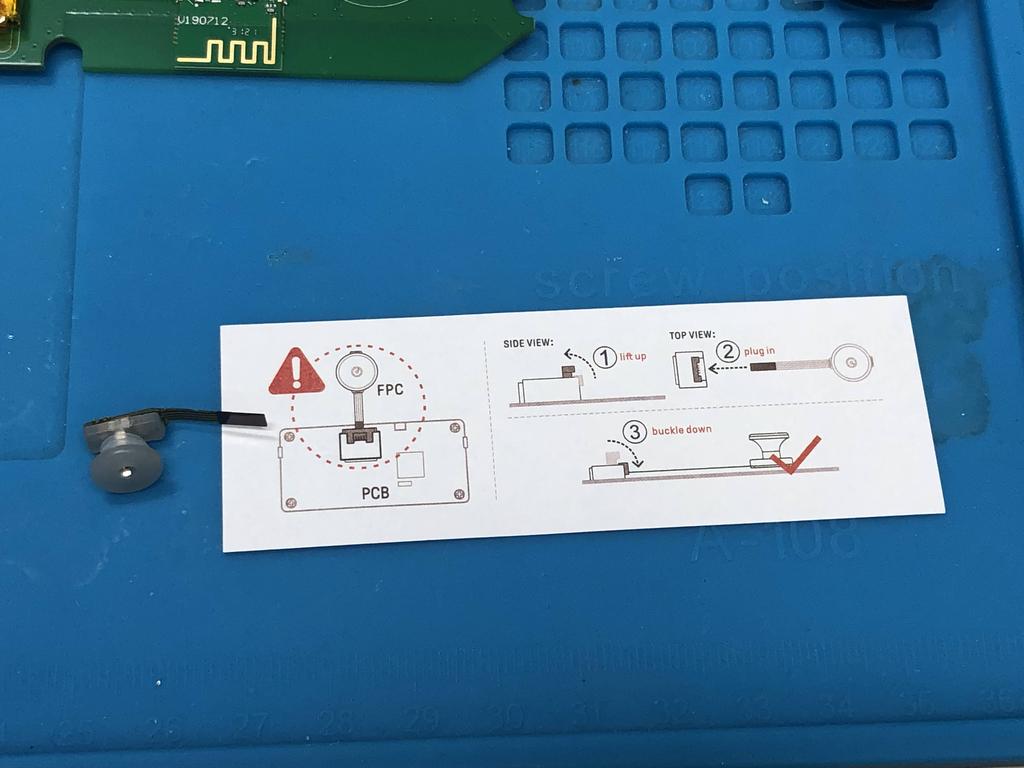
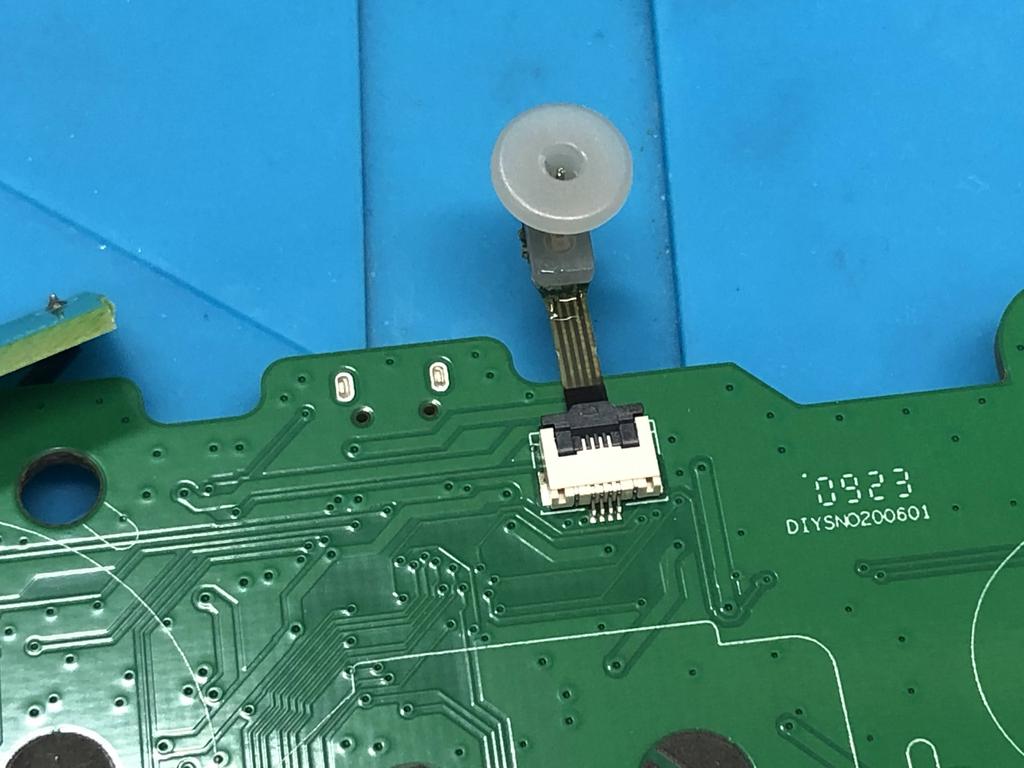
First, I attached the charging port ribbon cable to the PCB:
I put back the buttons and membranes into the front face of the controller:
Then installed the PCB, being careful to route the charging port where the controller cable normally goes:
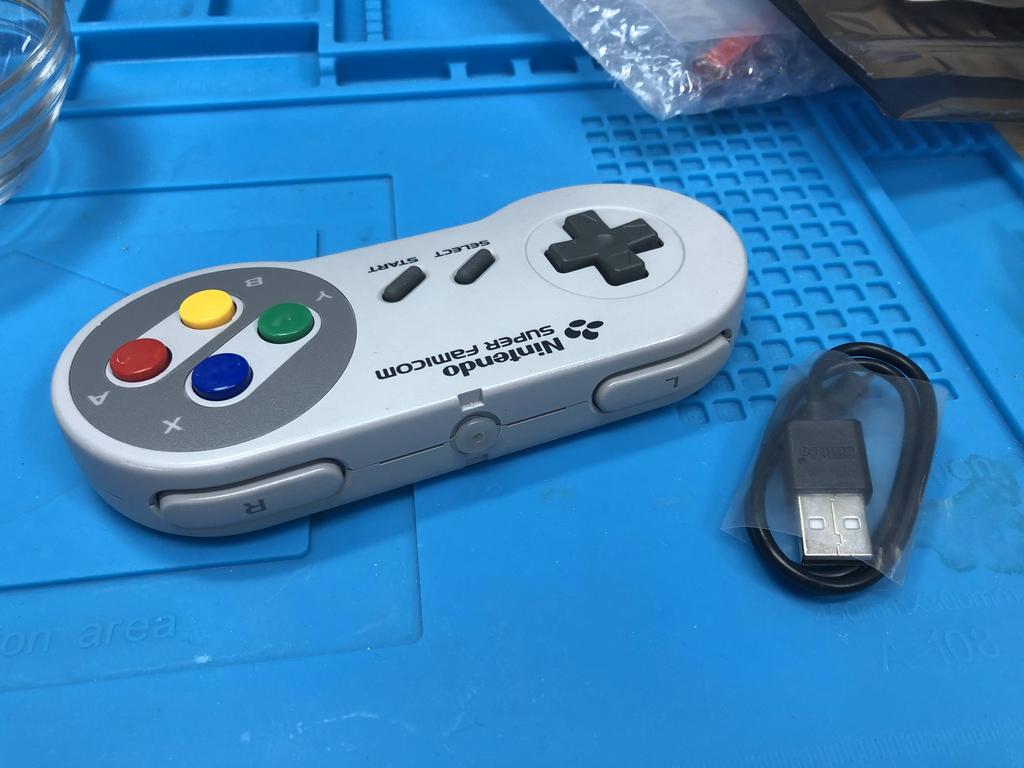
Finally, I put back the shoulder buttons, and closed it all up:
Rinse and repeat for the other three controllers:
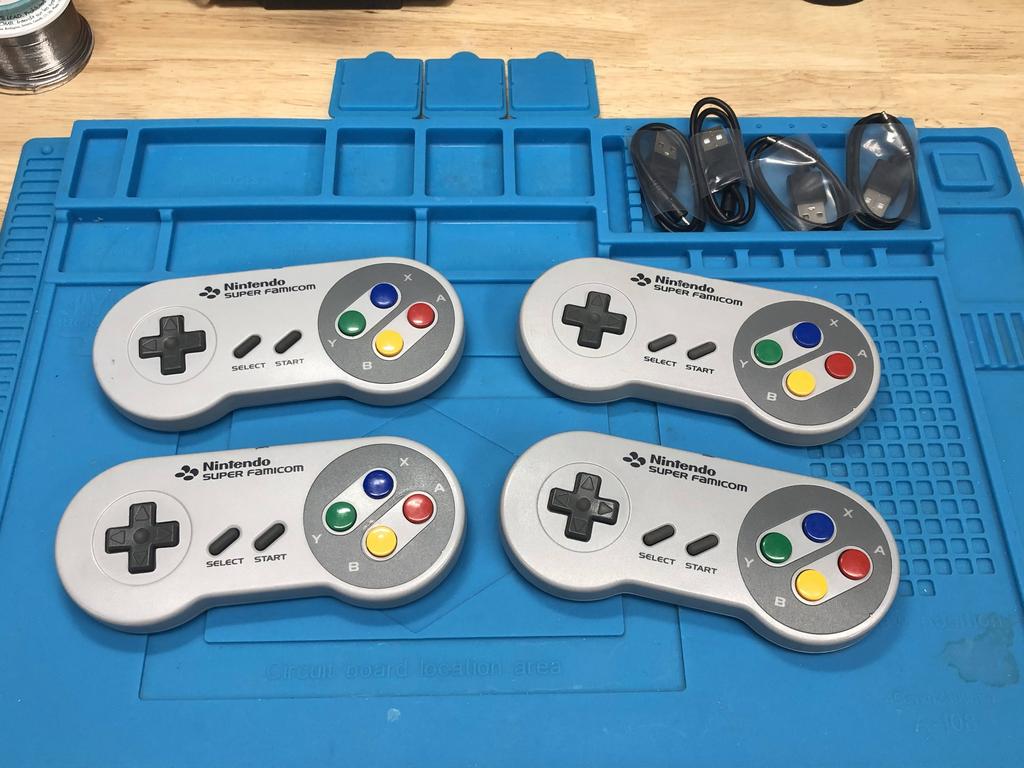
I also put together the extra two controllers with original cables, which may come in handy at some point:
Thoughts #
I am definitely a fan of 8BitDo’s mod kits. Nothing beats the feel of the original controllers for me, and 8BitDo’s PCBs are perfectly shaped so as not to change that feel in any way. The only downside I can think of is the fact that the charge port is proprietary, so you definitely don’t want to lose the charging cables they include with the kit. But I personally don’t think this is a big deal.
I’m also super happy with how well the controllers cleaned up and retrobrited. They look practically new! The vapor method is great, and will be my go-to method from now on. Based on this experience, I also added this section to the ConsoleMods wiki about the vapor method.