Genesis Vectrex Controller - Take 2
Back in January 2020, I made my first Genesis Vectrex controller mod. As it was my first, and my electronics skills were still in development, it wasn’t the cleanest job. In September 2021, I decided to make a second one. This one went much better.
The Build #
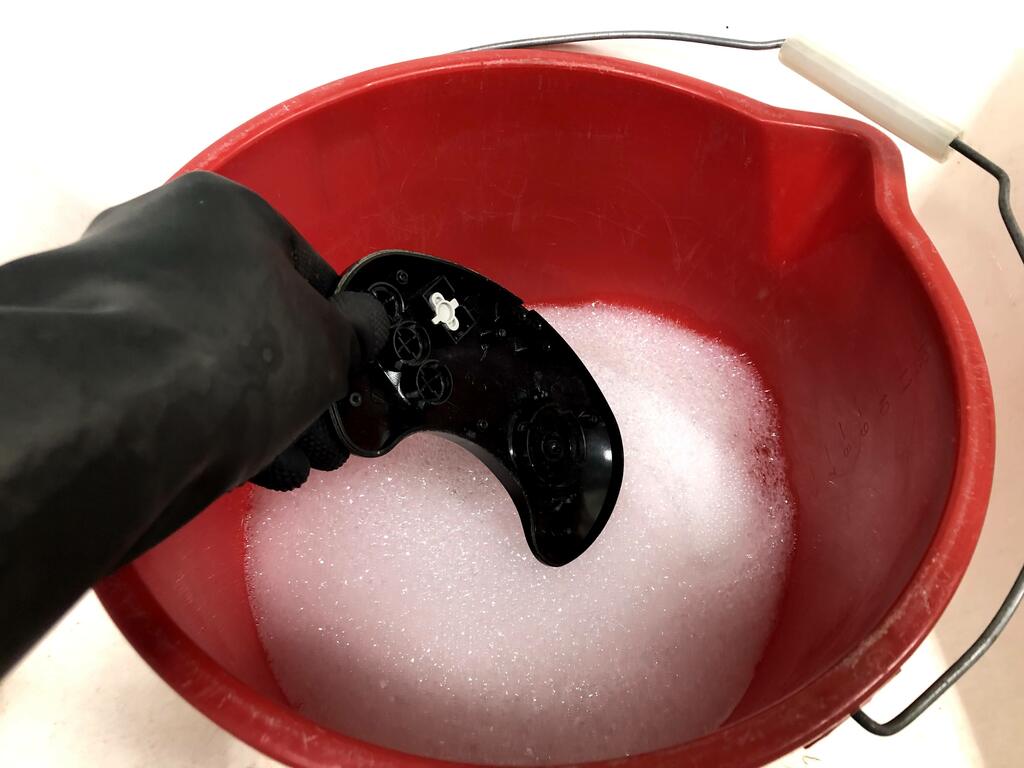
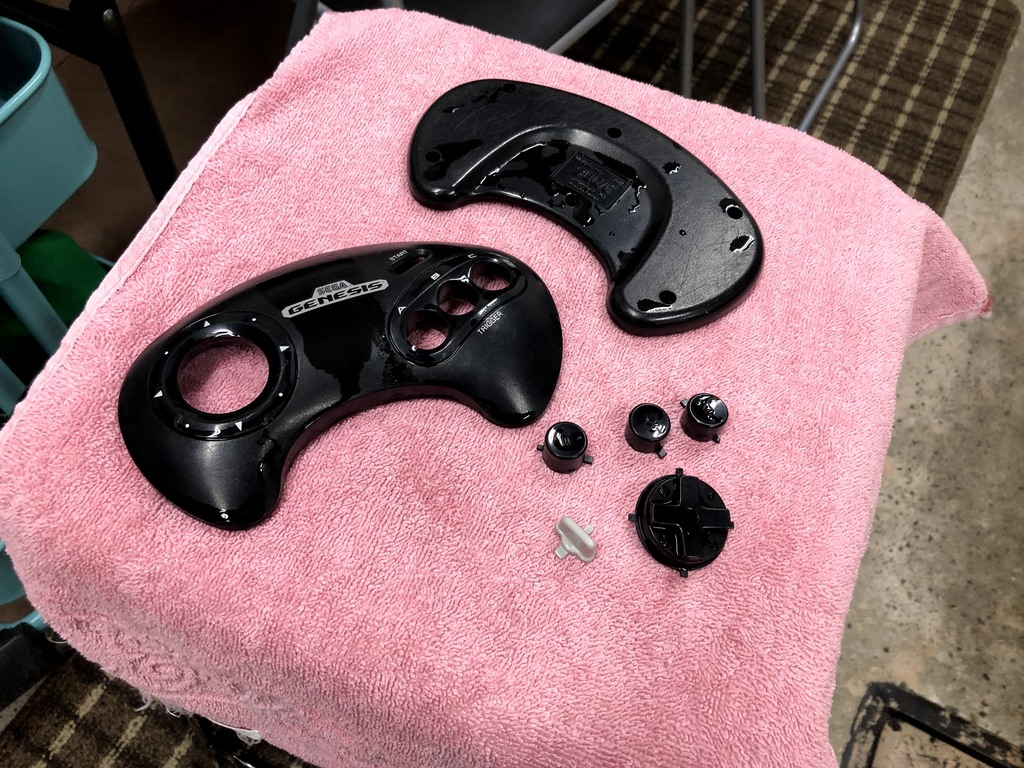
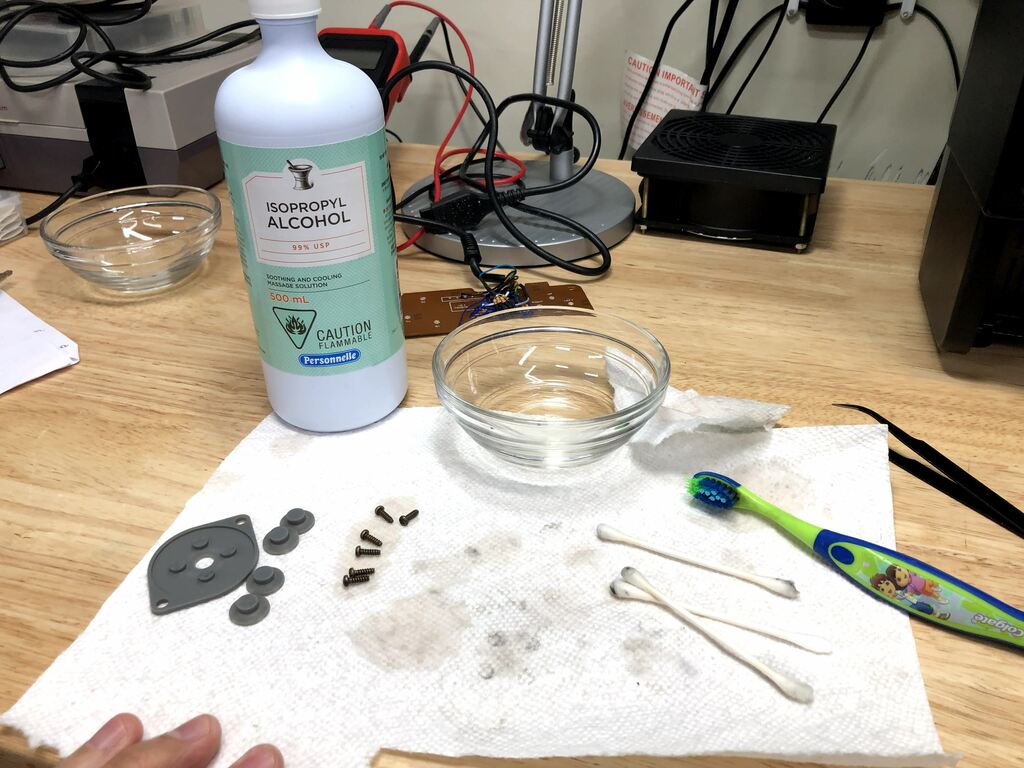
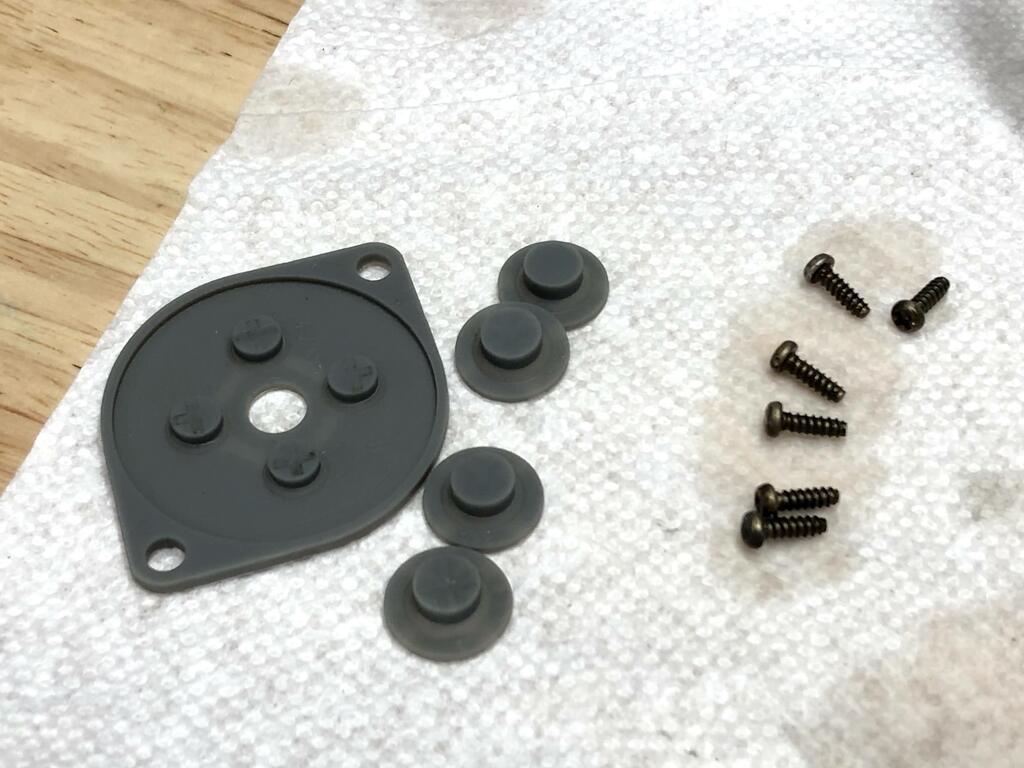
As with the previous mod, I opened the controller and cleaned everthing:
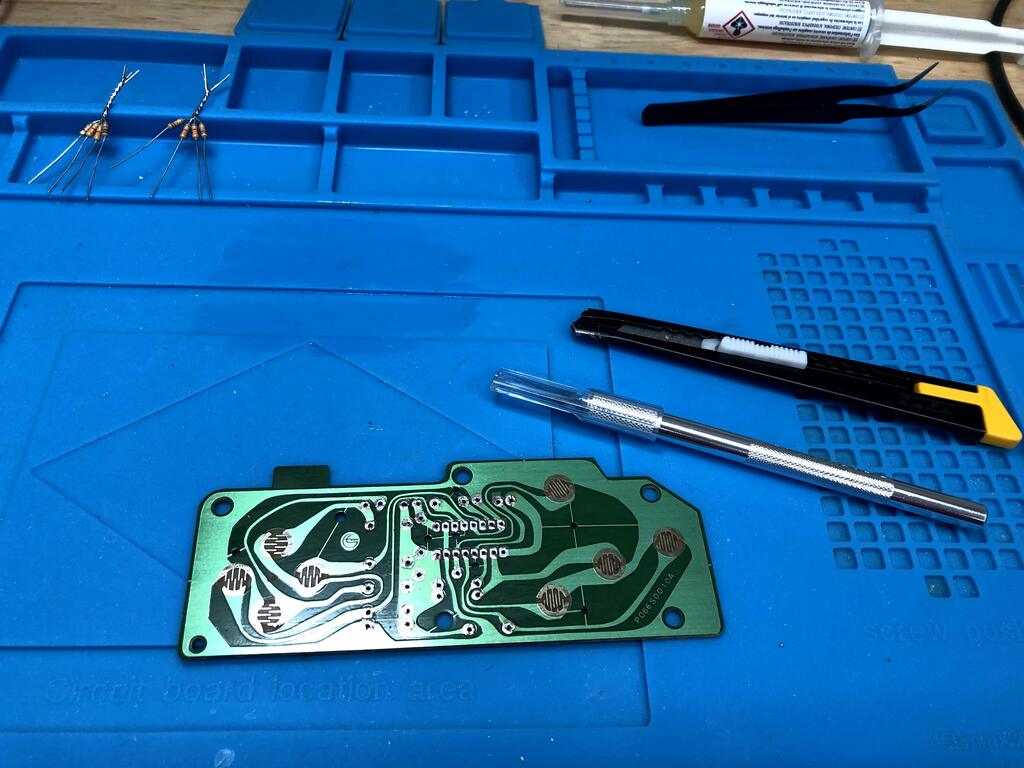
I removed all unnecessary components (resistors and IC) from the PCB:
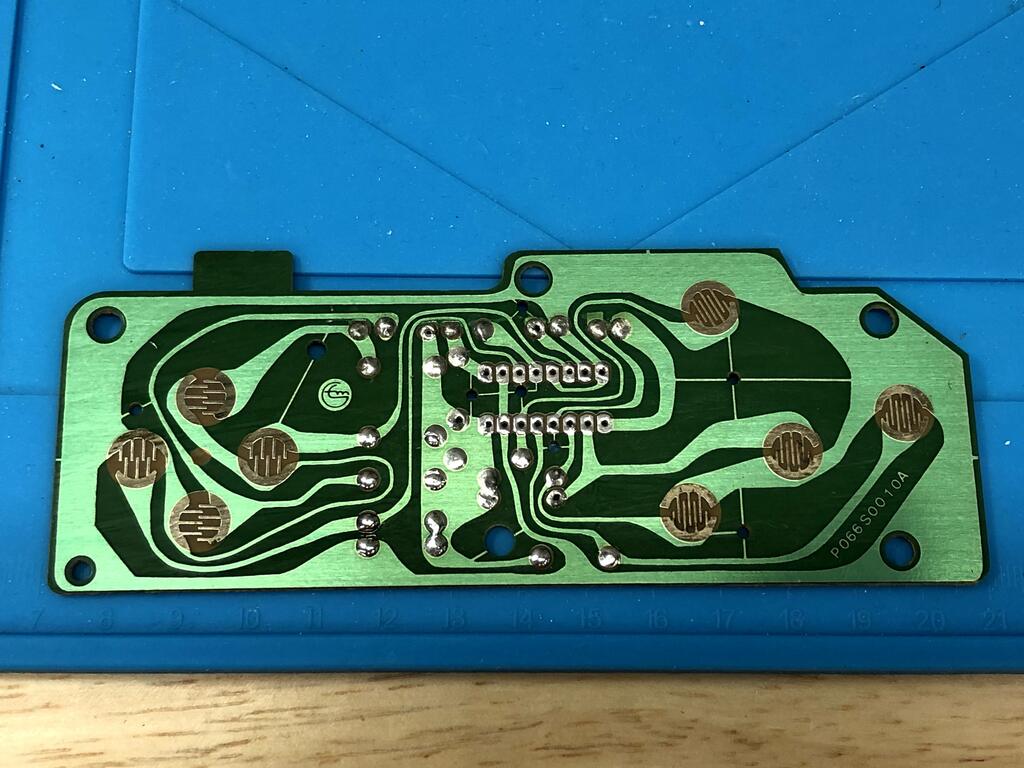
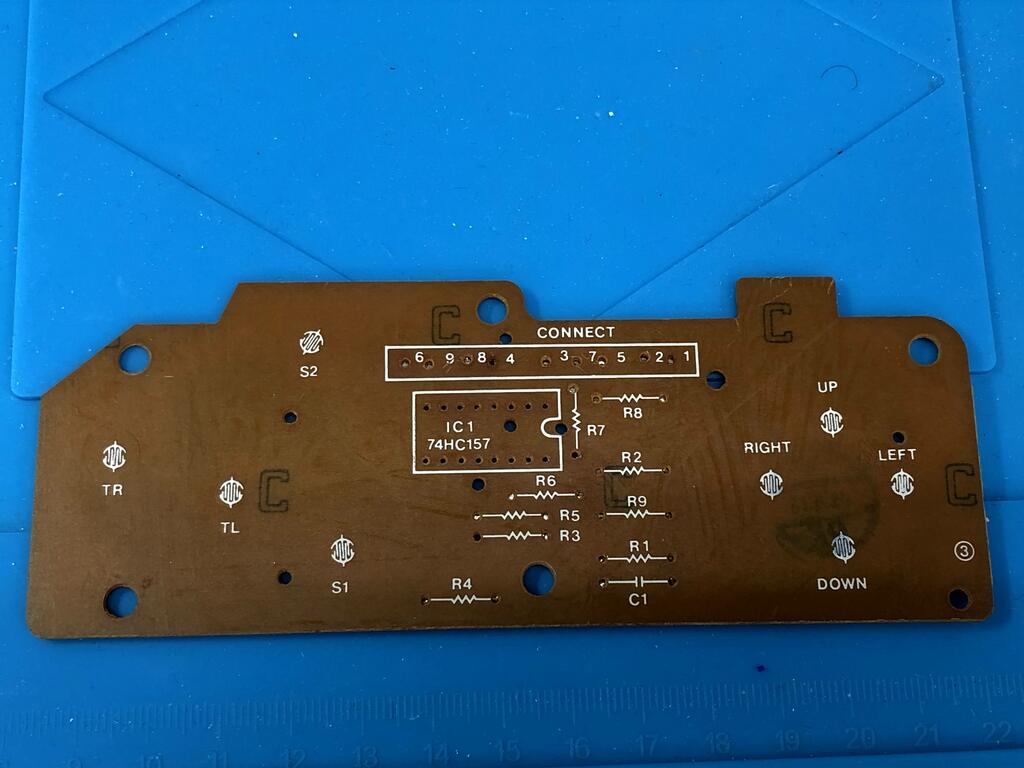
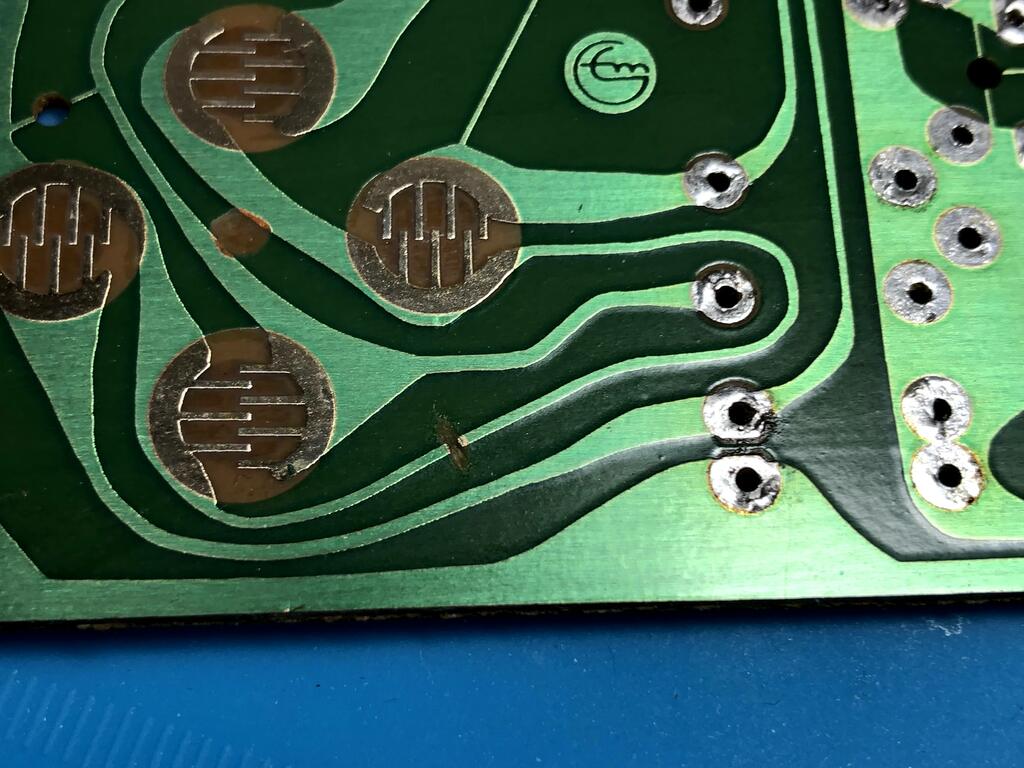
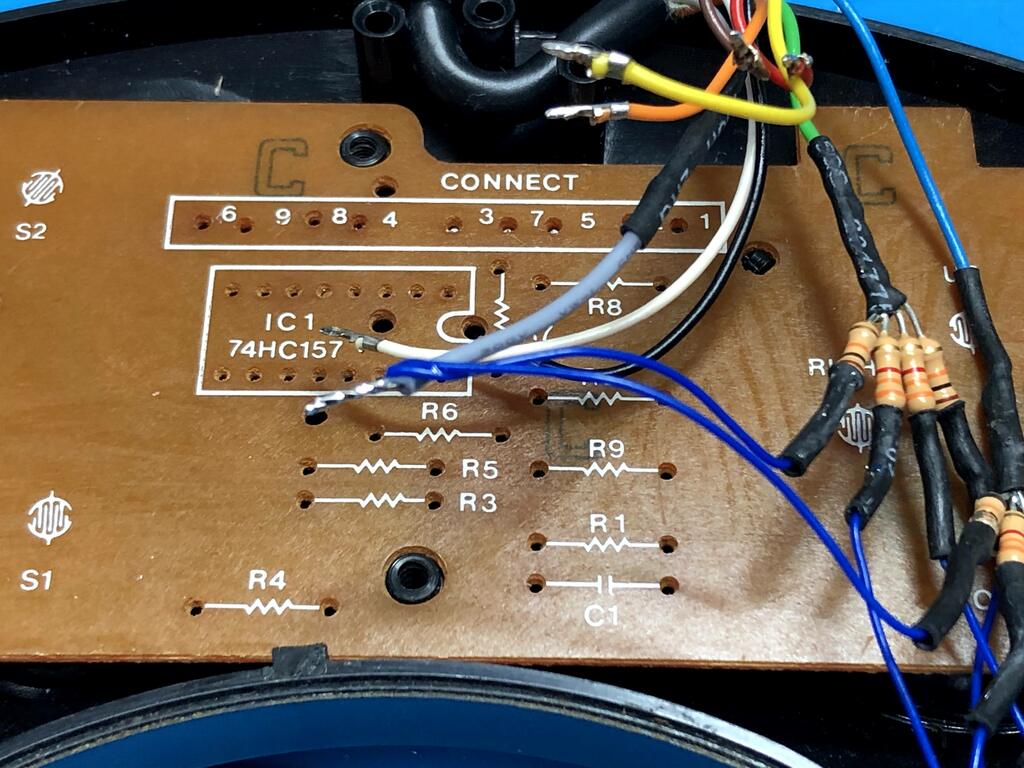
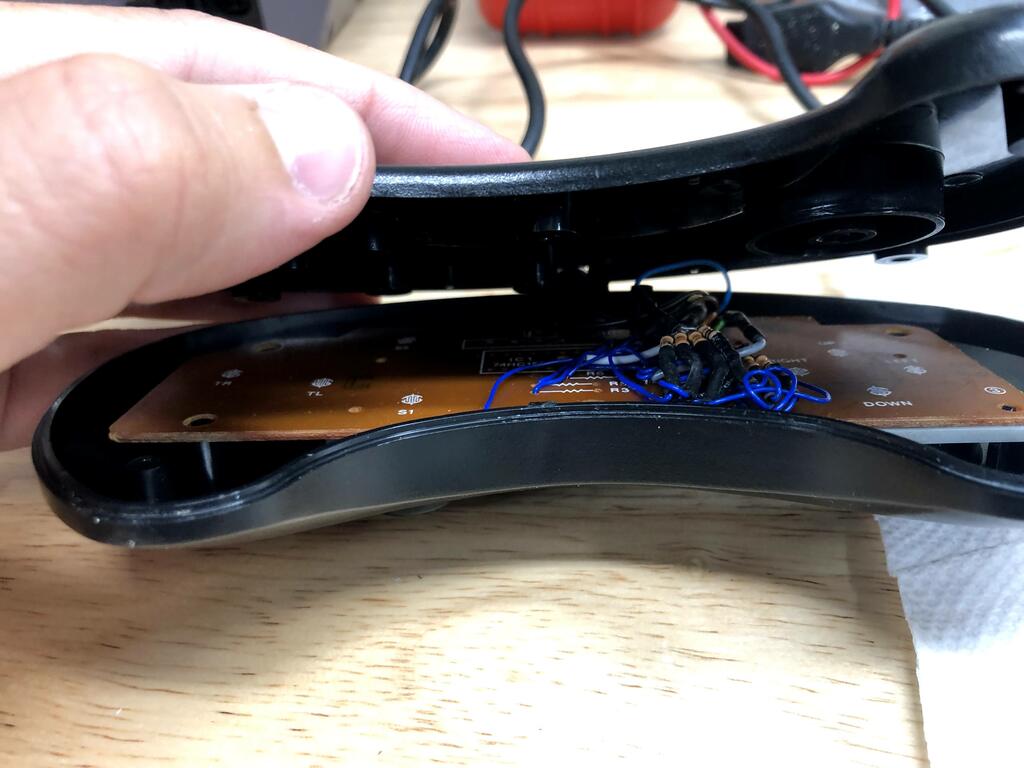
This PCB layout is different from the first one I modded. Using a photo editing tool, I marked up the solder points and where to cut traces:
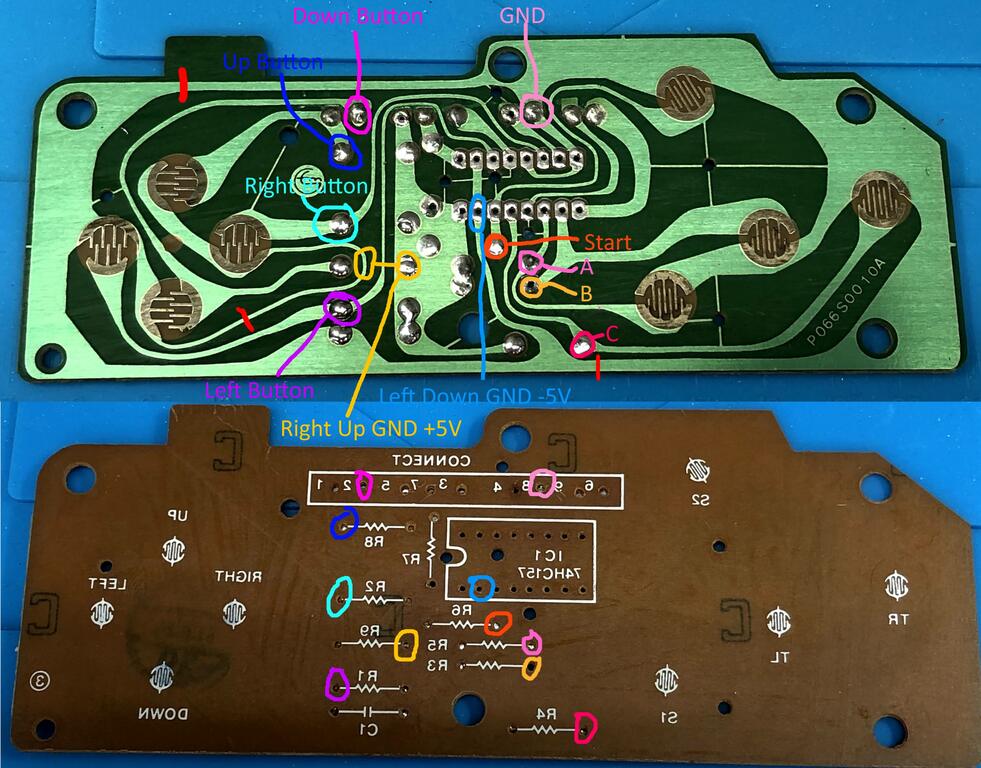
In the photo above, you can see three red lines (top-left, middle-left, and bottom-right) where I need to cut the traces. These are important because unlike the Genesis, the Vectrex has an analog stick, so it uses +5V and -5V as a reference rather than ground to get the stick’s relative position. Also, with this layout, there wasn’t a convenient pad available for the “Right Up +5V”, so you can see in yellow how I planned to scrape solder mask off the narrow trace near the right button pad, and bridge it to via on the right, where +5V would be connected.
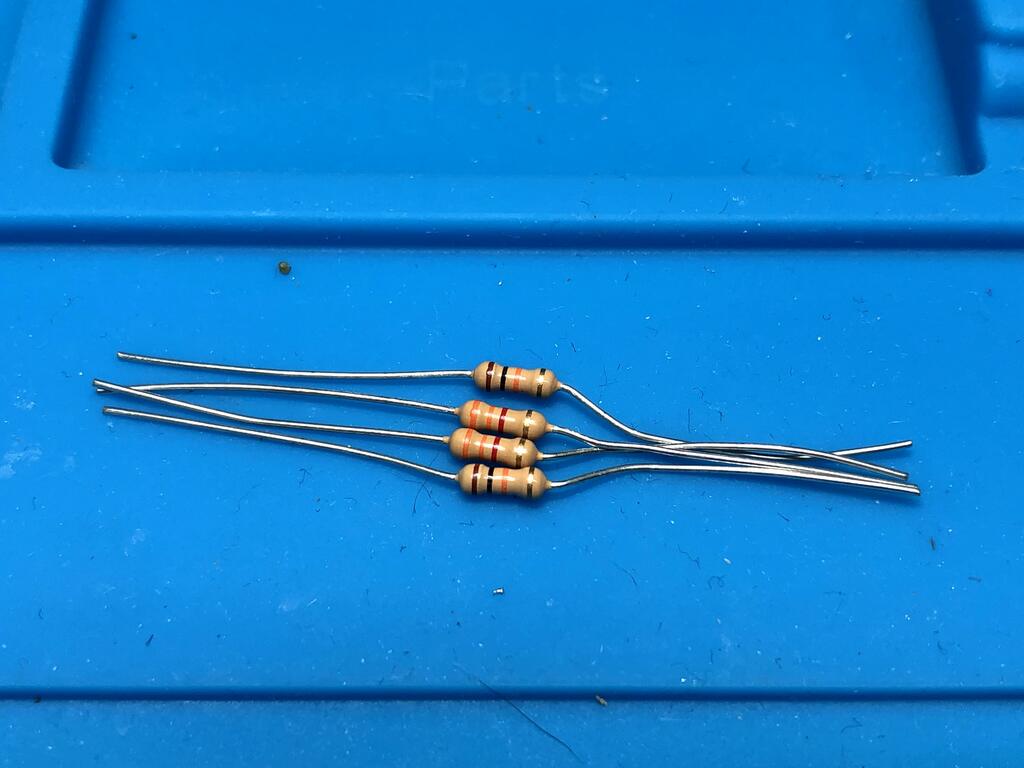
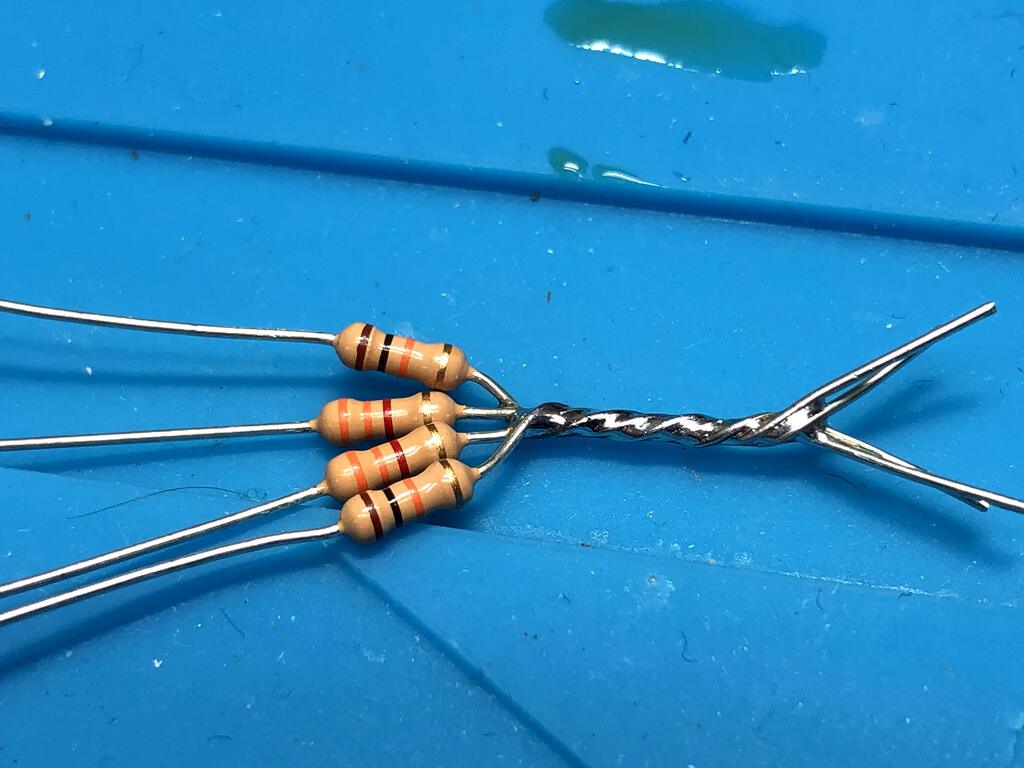
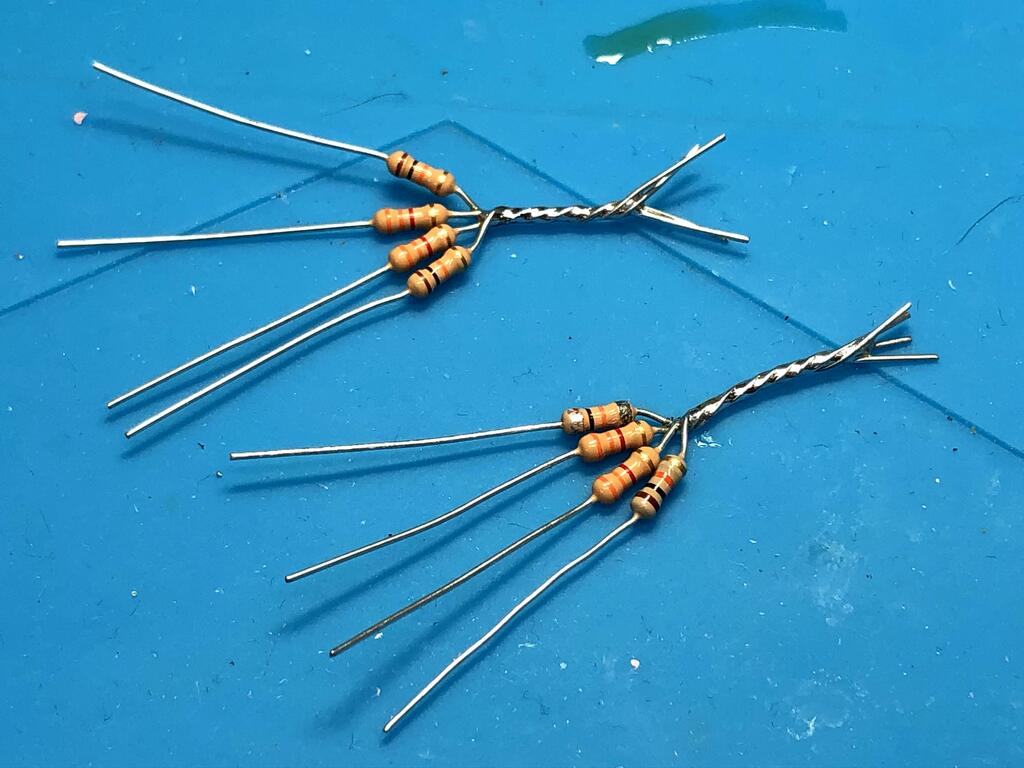
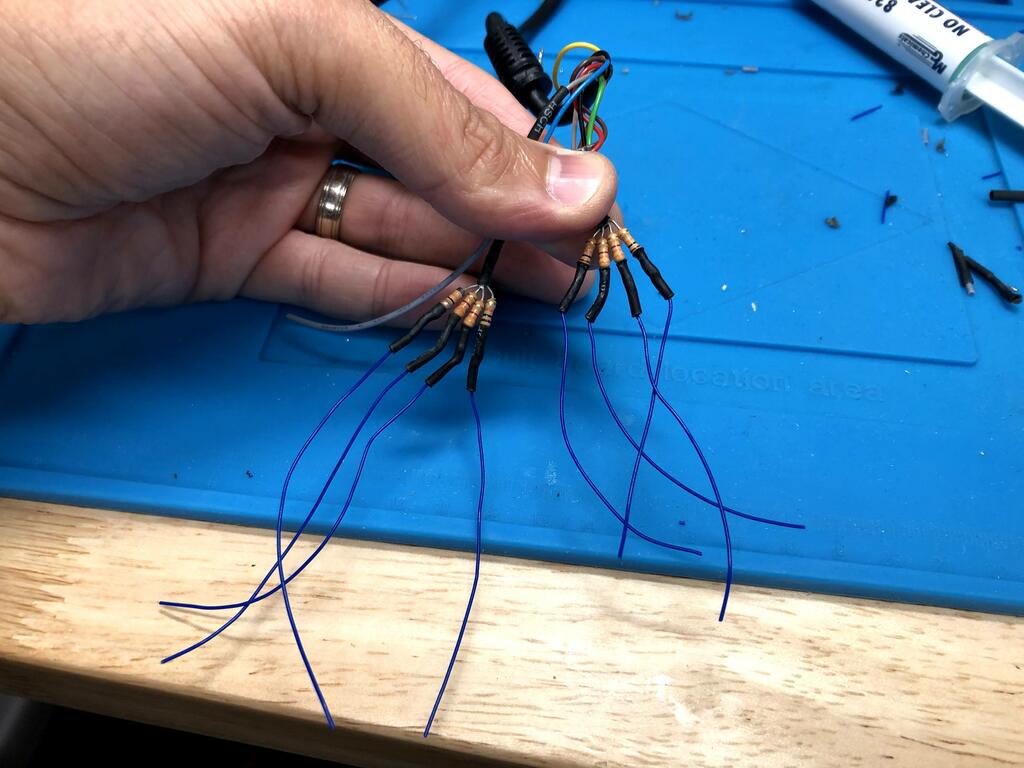
With this plan in place, I proceeded to solder two sets of 2x10K and 2x3.3K resistors together. I found twisting the legs together, and soldering the twisted part to be the easiest way:

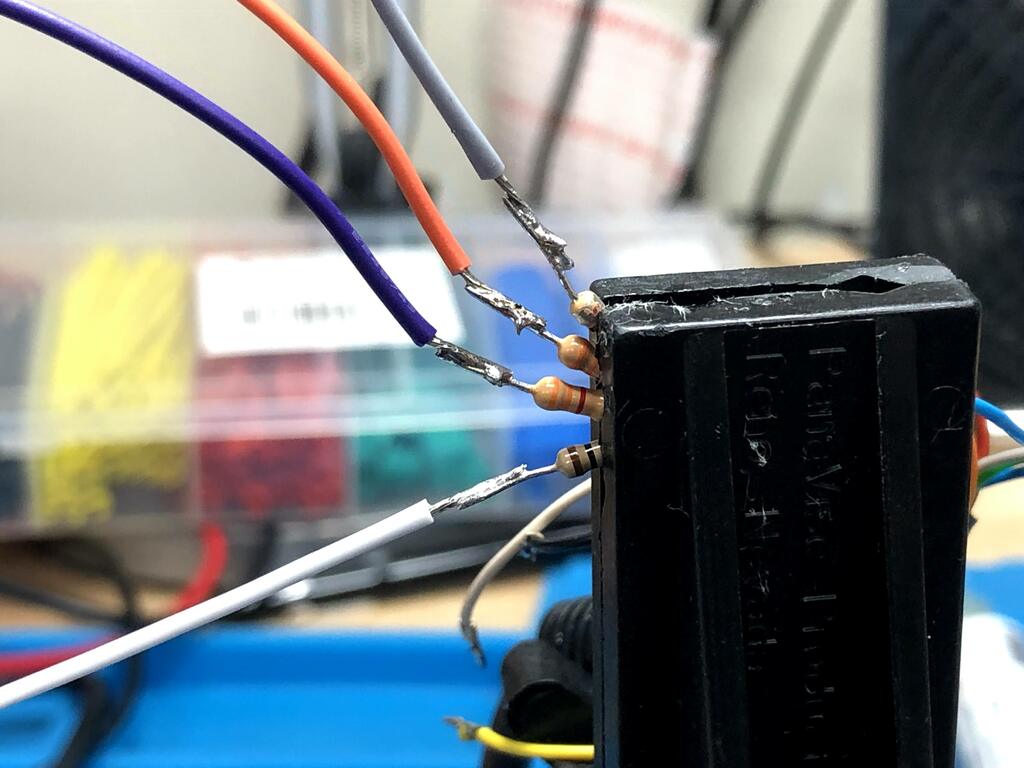
I soldered the resistors to the x-direction (green) and y-direction (blue) wires coming from the controller cable (note that the colors may not match in all controllers):
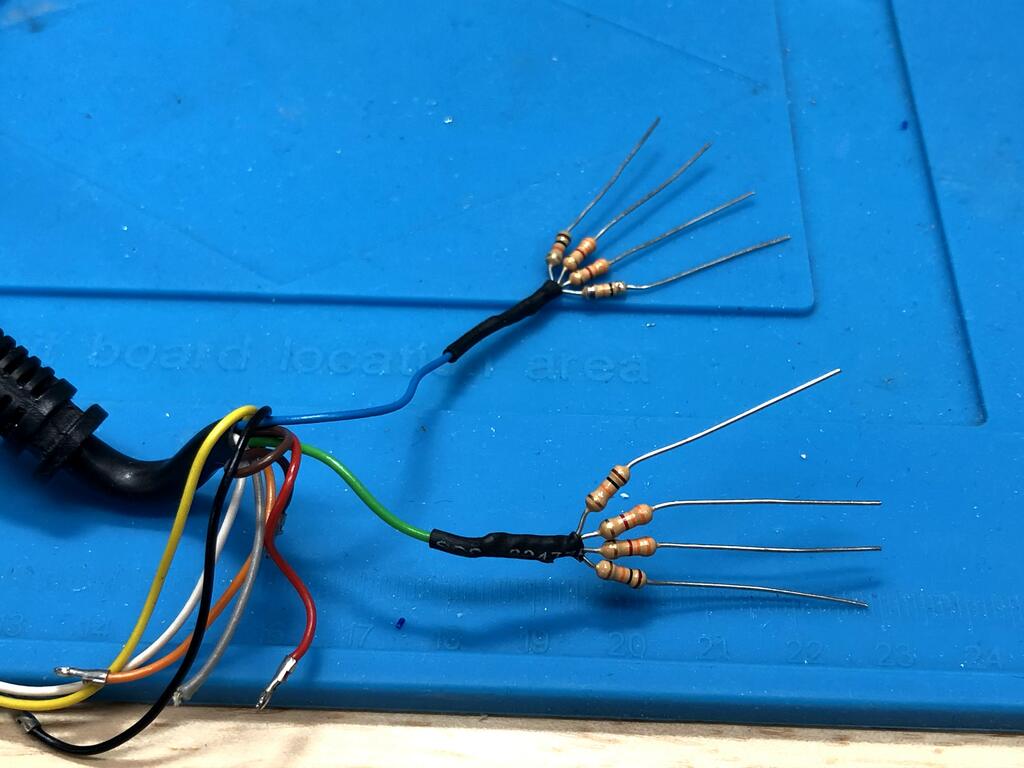
I soldered the other wires onto the ends of the resistors, using my multimeter to identify the correct ones (this is still a good reference):
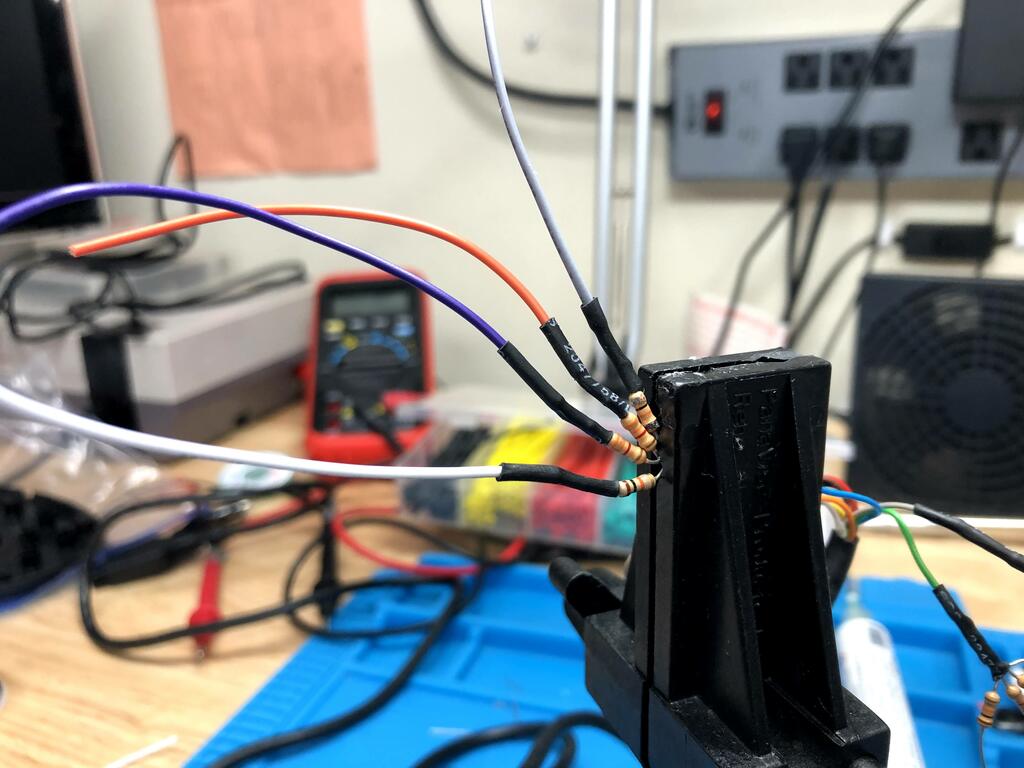
Note that I’m using heat shrink now to avoid having to use wire tape as I did in my first build.
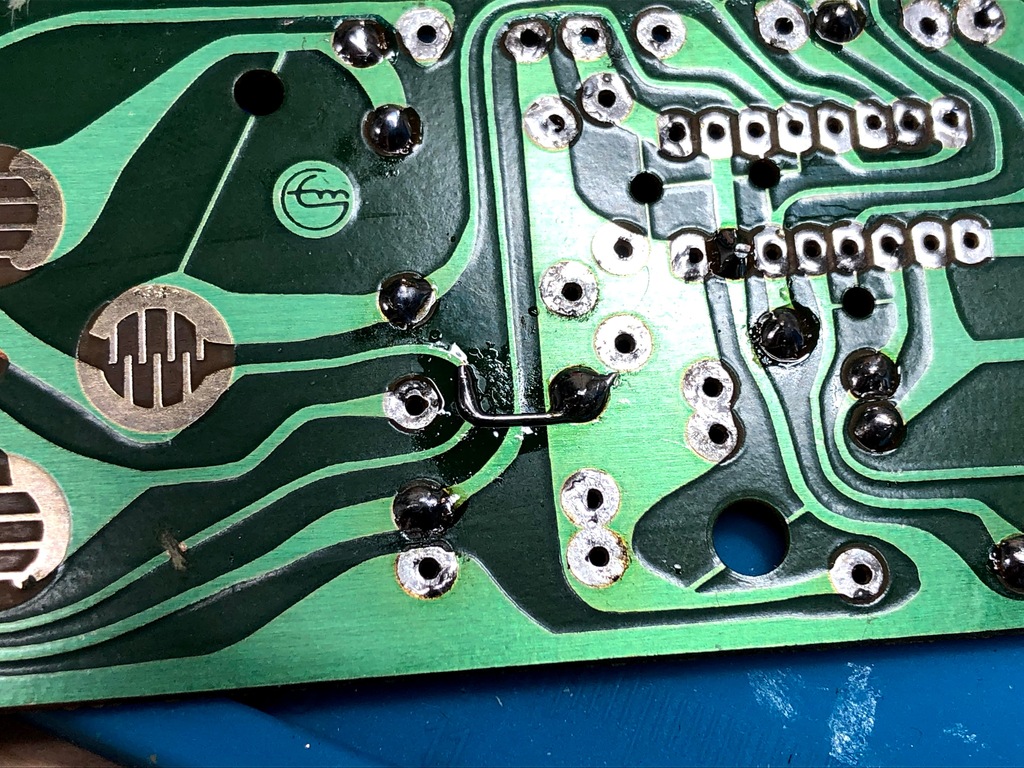
Next, I cut the three traces on the PCB:

And started wiring everything to the PCB as per my plan:
This is what it looked like when I was done:
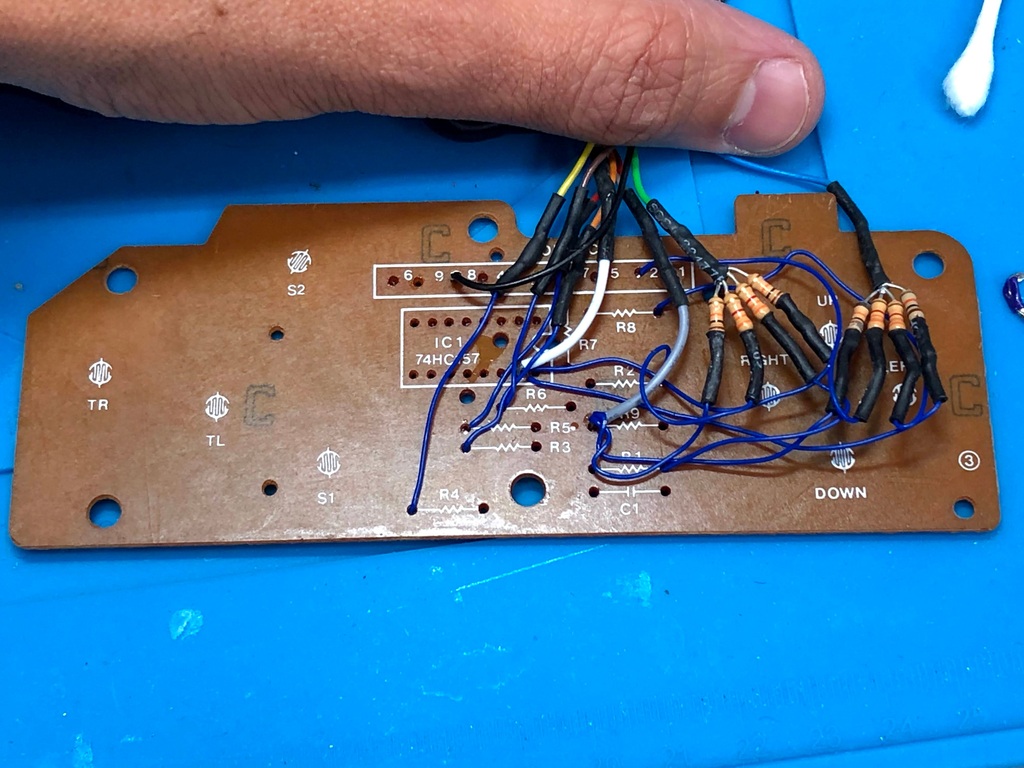
Definitely much better than my first mod. The wires are cut to length, there’s no need to use wire tape, and the whole thing takes less room than in my first mod. This means it will be that much easier to close up the controller, and less chance of accidental shorts.
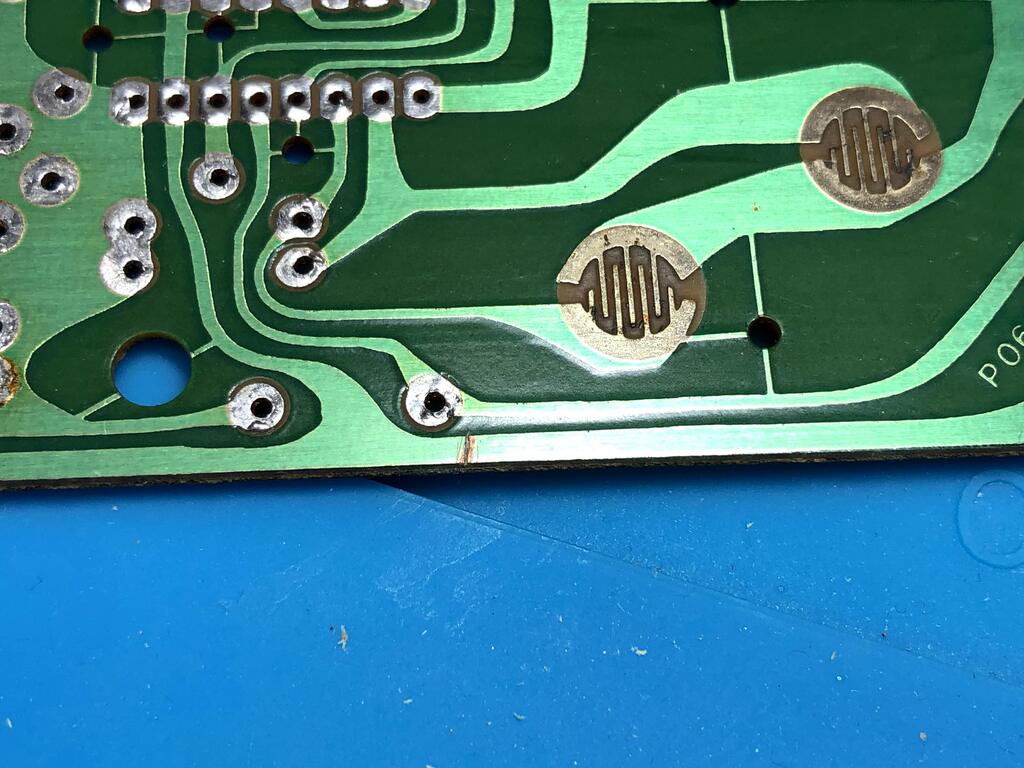
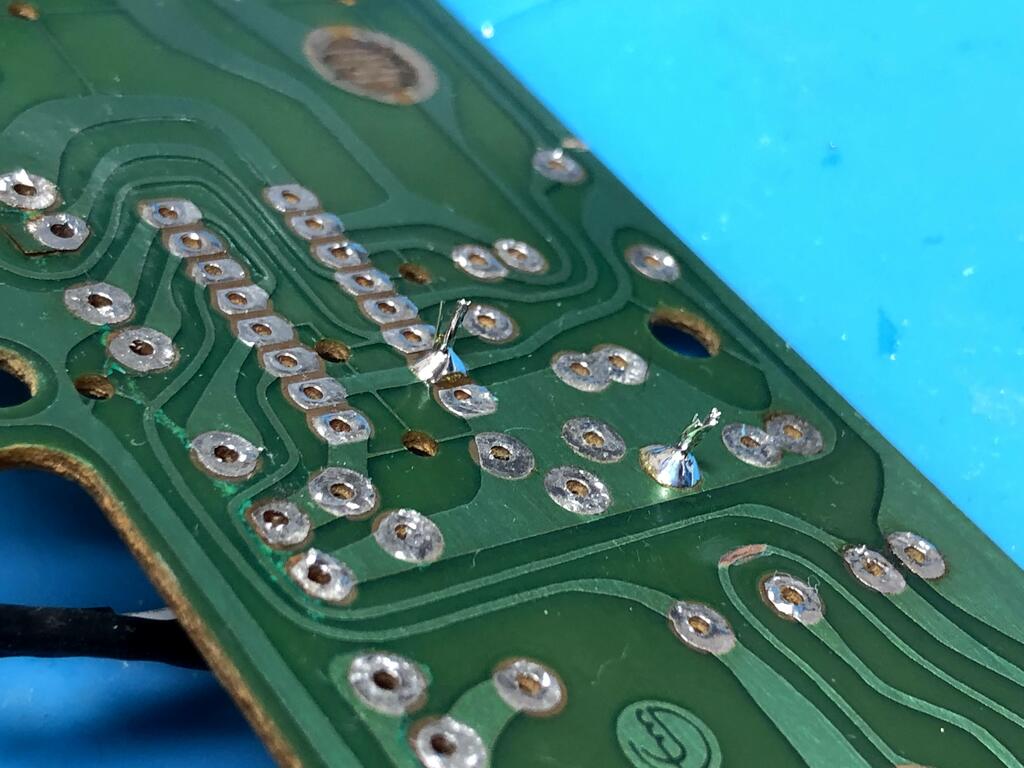
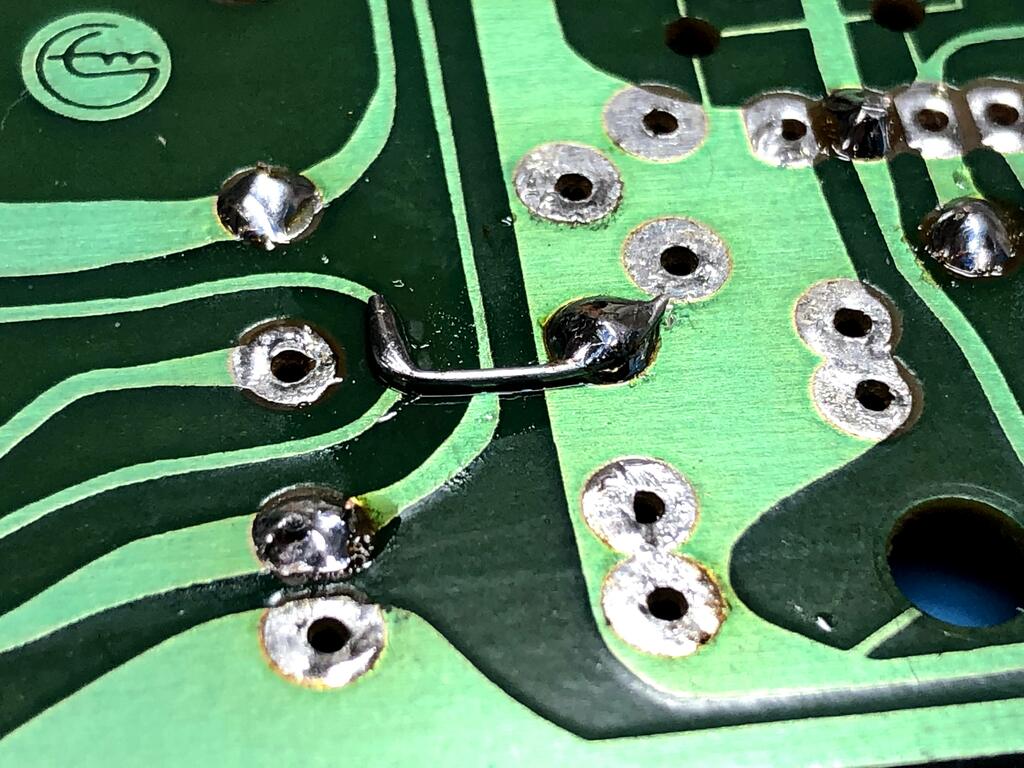
On the other side of the PCB, I still needed to scrape the solder mask off that narrow trace and bridge it to where I would connect +5V. I used a cut off resistor leg to bridge it:
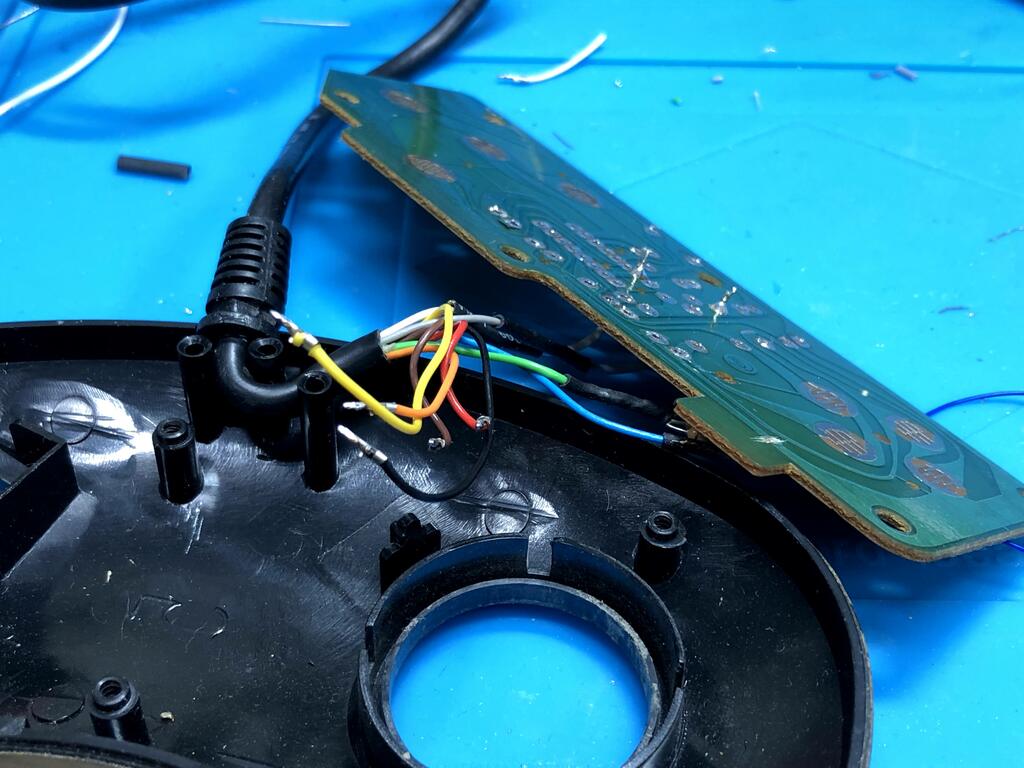
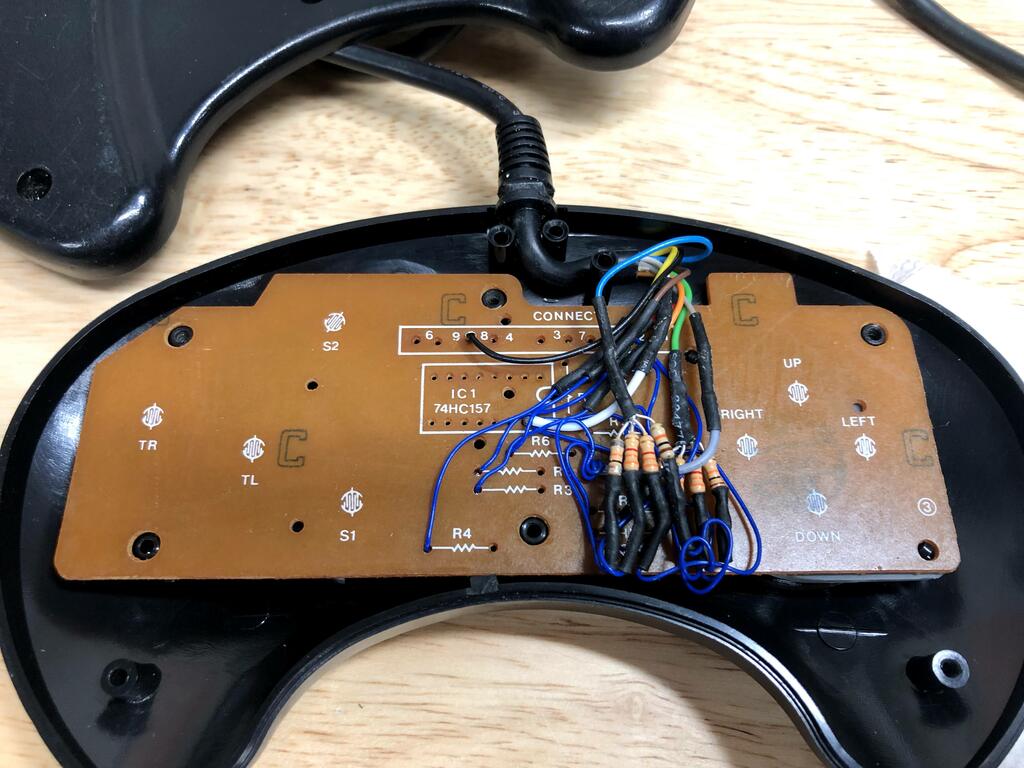
Finally, I put everything together into the controller case, making sure to carefully position the wires so that they didn’t get in the way of the plastic from the top part:
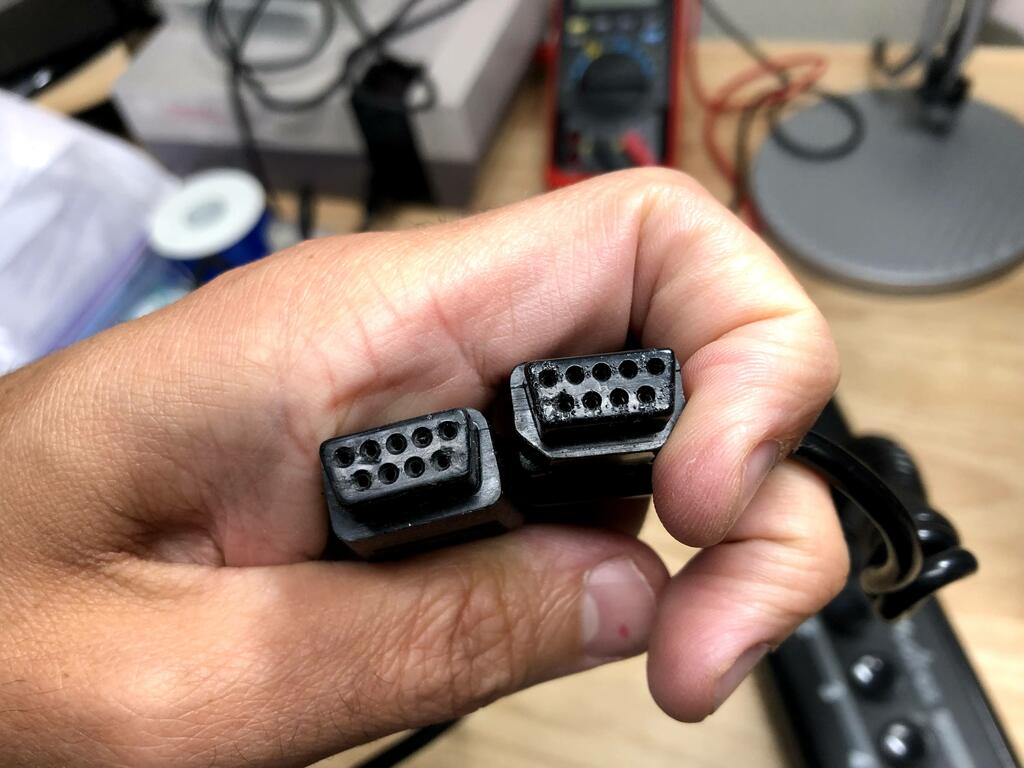
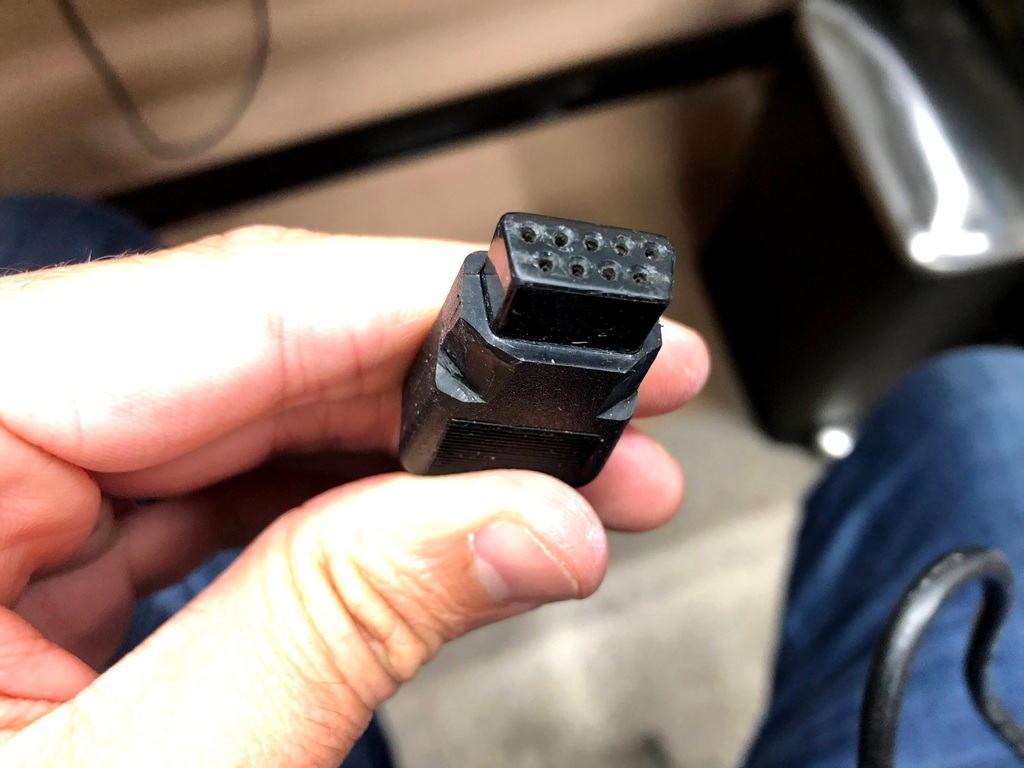
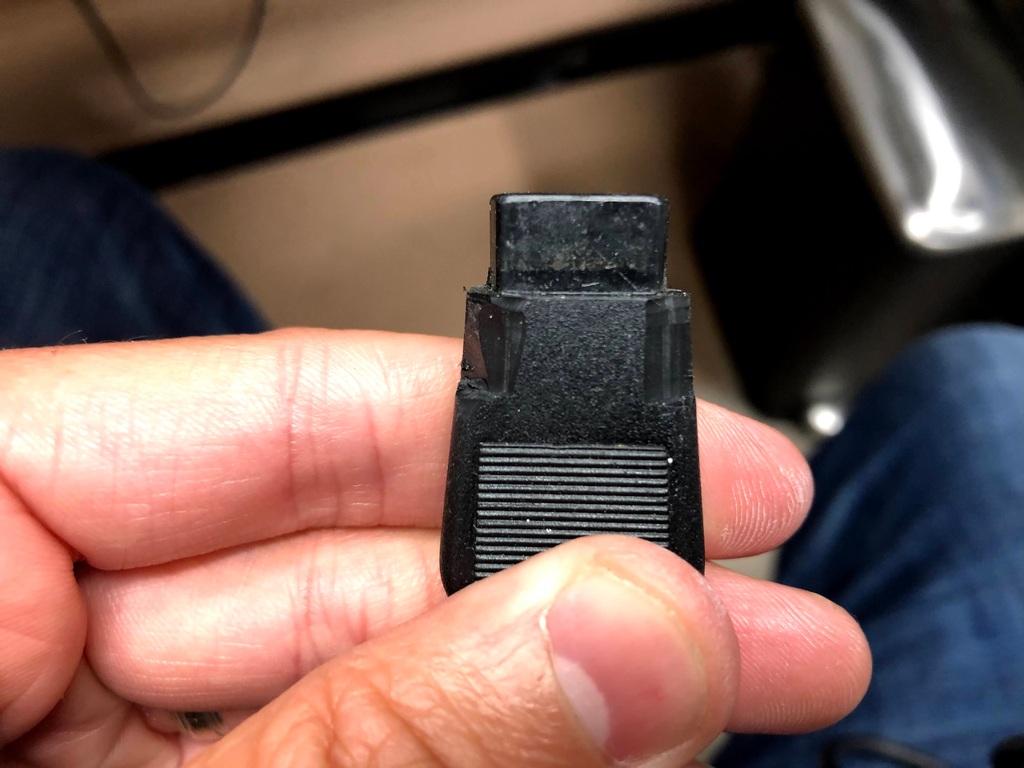
I cut off the two corners of the connector side that goes into the Vectrex, using the actual Vectrex controller as a reference:
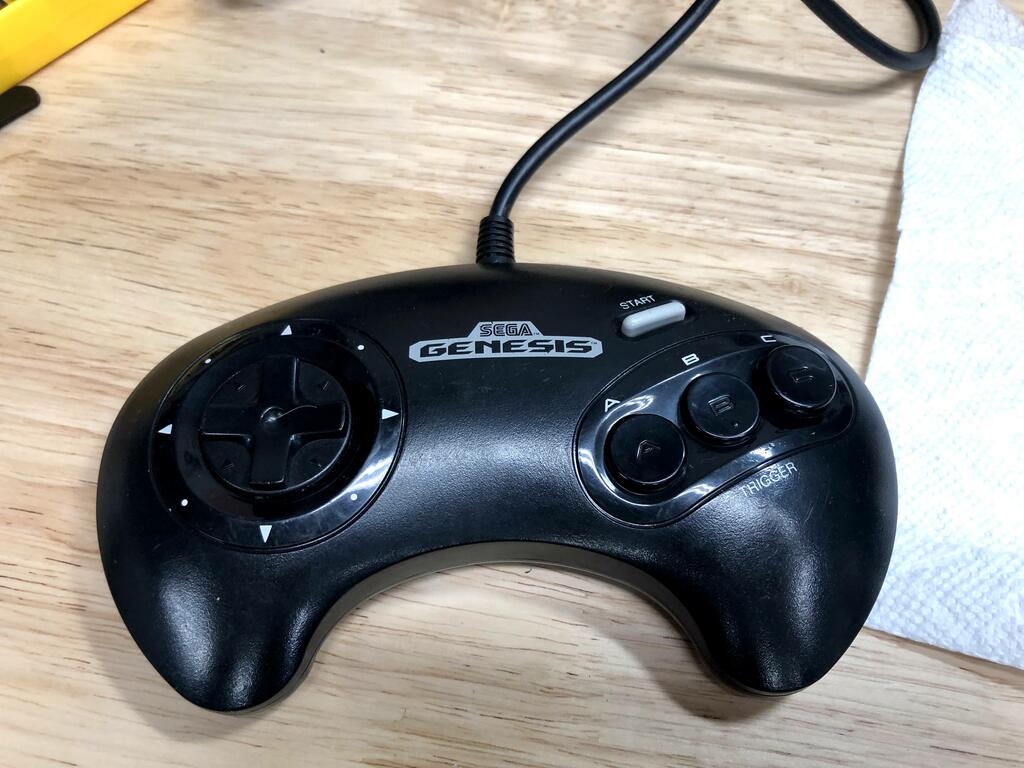
Done! I tested the controller, and it works perfectly.
Thoughts #
Being my second time doing this mod, and with more experience under my belt, I felt this mod went very smoothly. Now I have two Genesis controllers for my Vectrex, which makes it a lot more fun to play games like Rip Off with my kids. I definitely recommend it!