A better NES Repro Cart: Felix the Cat
I’ve already posted about the very first NES repro cart I made of the game Shatterhand. Since then, I’ve made many more repro carts, and my electronics skills have improved quite a bit since then. In this post, I’ll show how I made a repro cart of the game Felix the Cat, which at the time of this post, sells for about $130 USD loose to $4000 USD complete in box according to PriceCharting.
The Build #
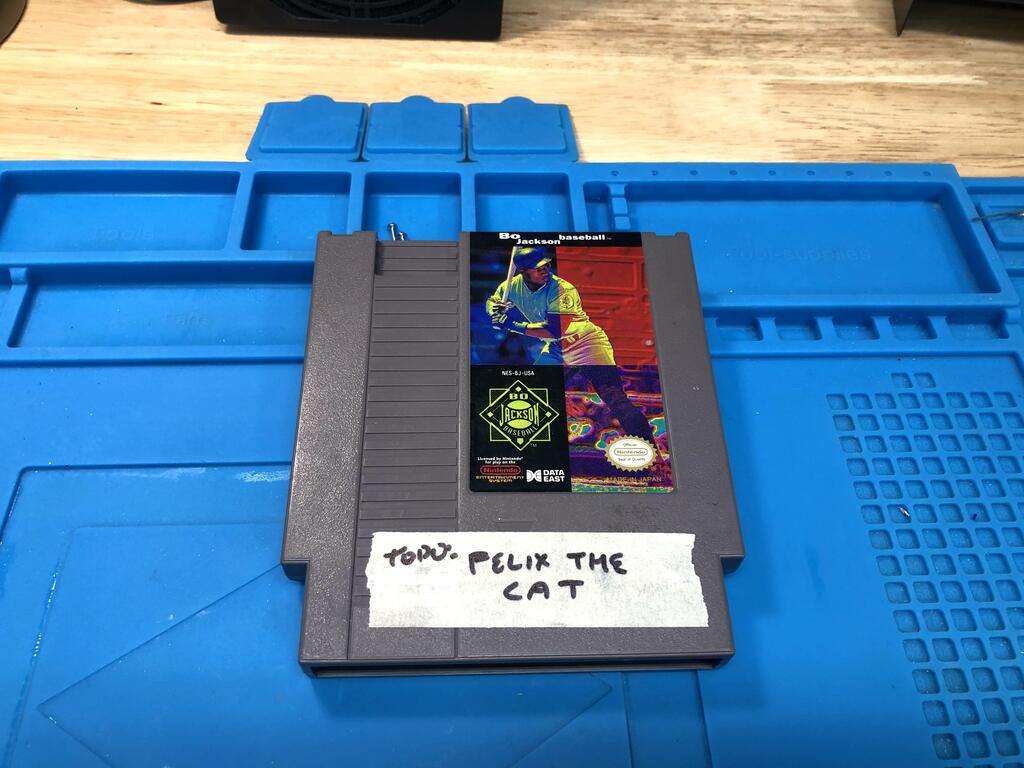
Felix the Cat uses a TSROM PCB, so we need to find a compatible game to cannibalize. After scouring ebay, I found a copy of Bo Jackson Baseball for about $12 CAD:
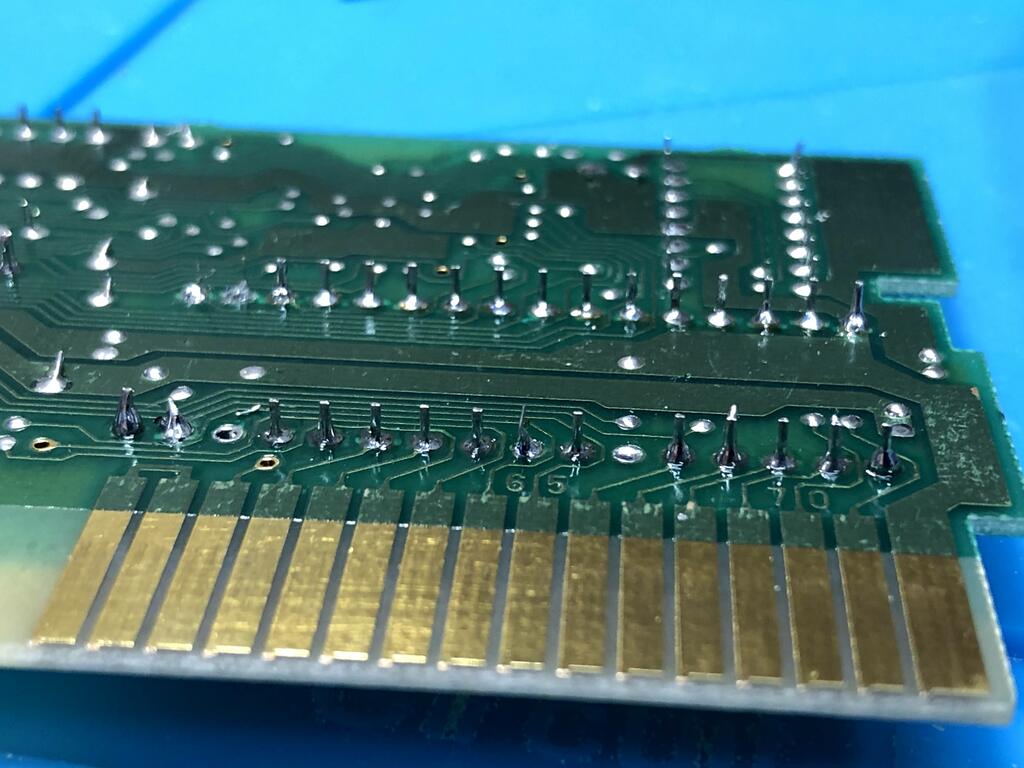
Opening up the cart, we can see the pins will need a good cleaning, which I get to later:
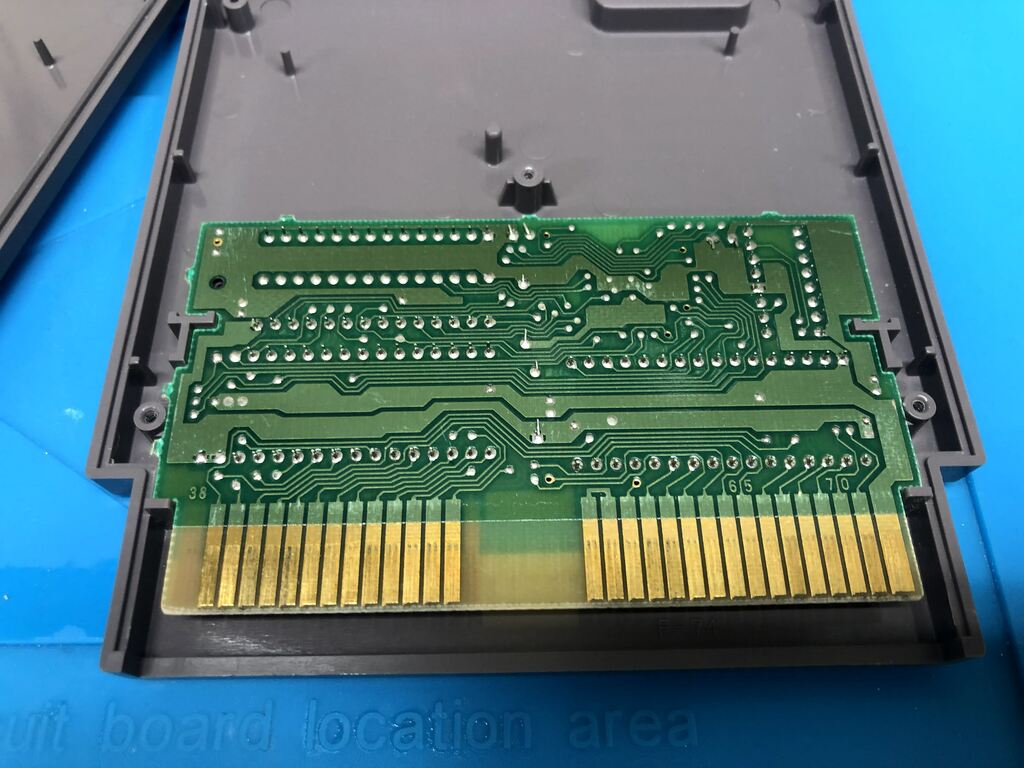
Other side:
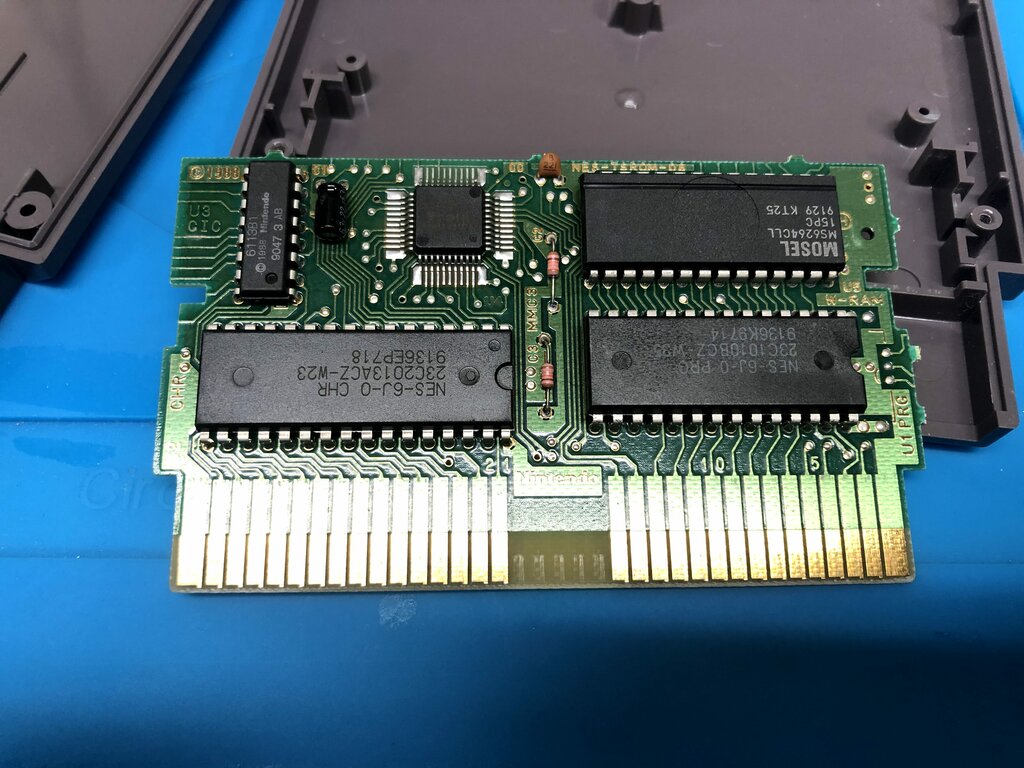
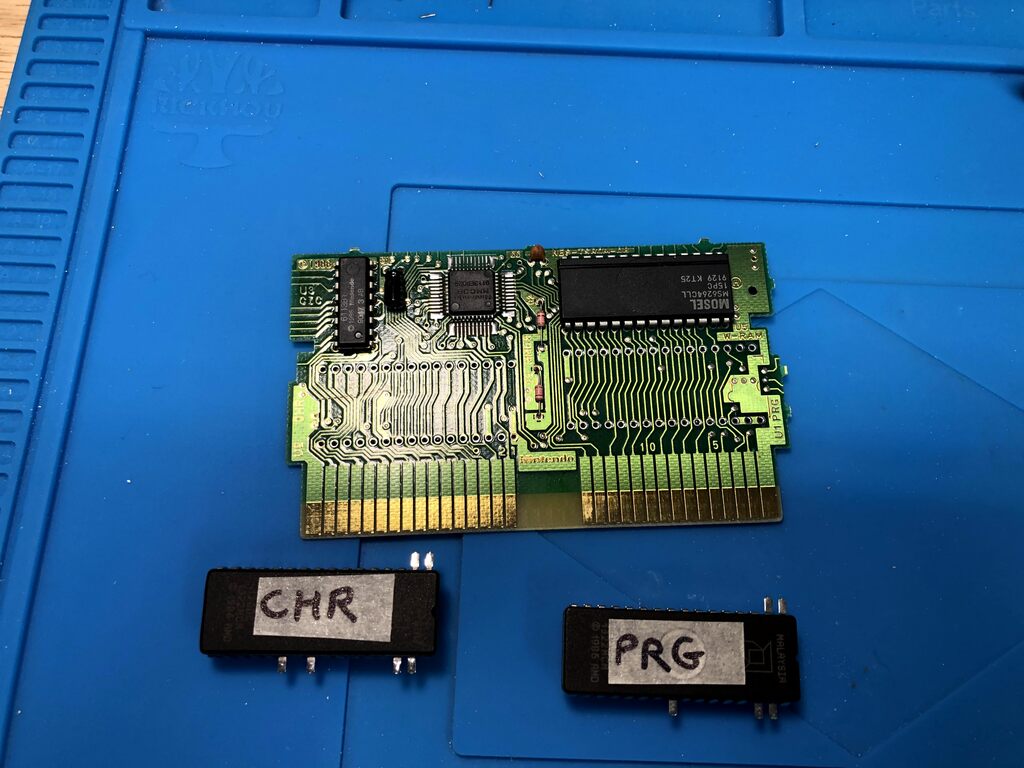
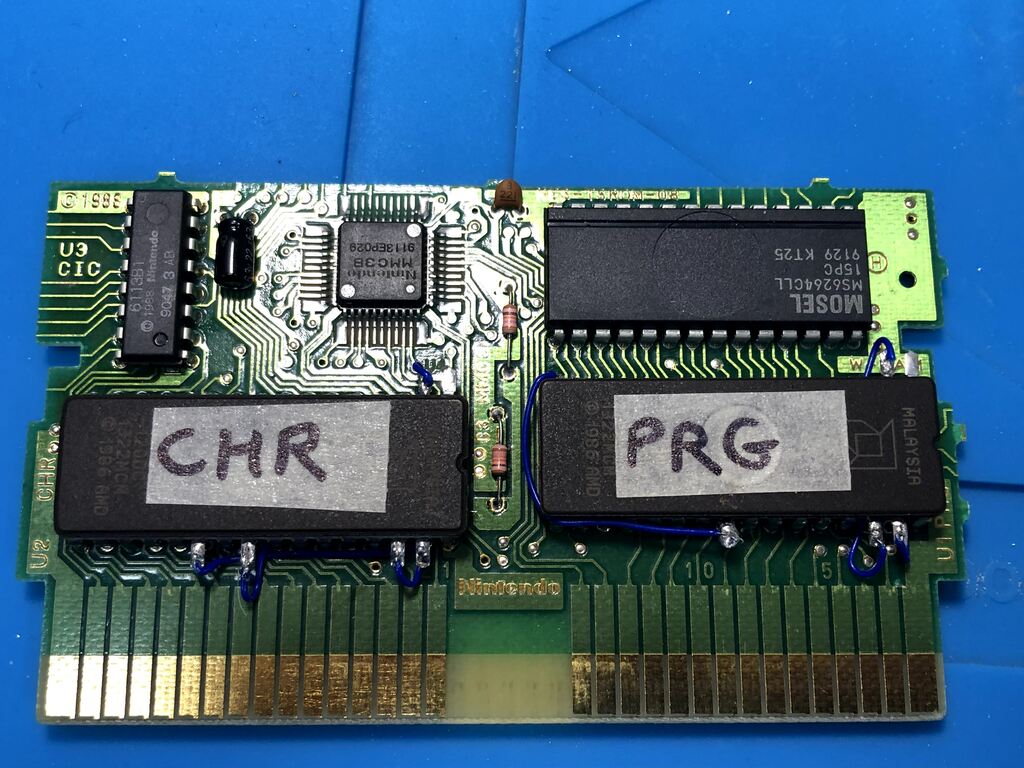
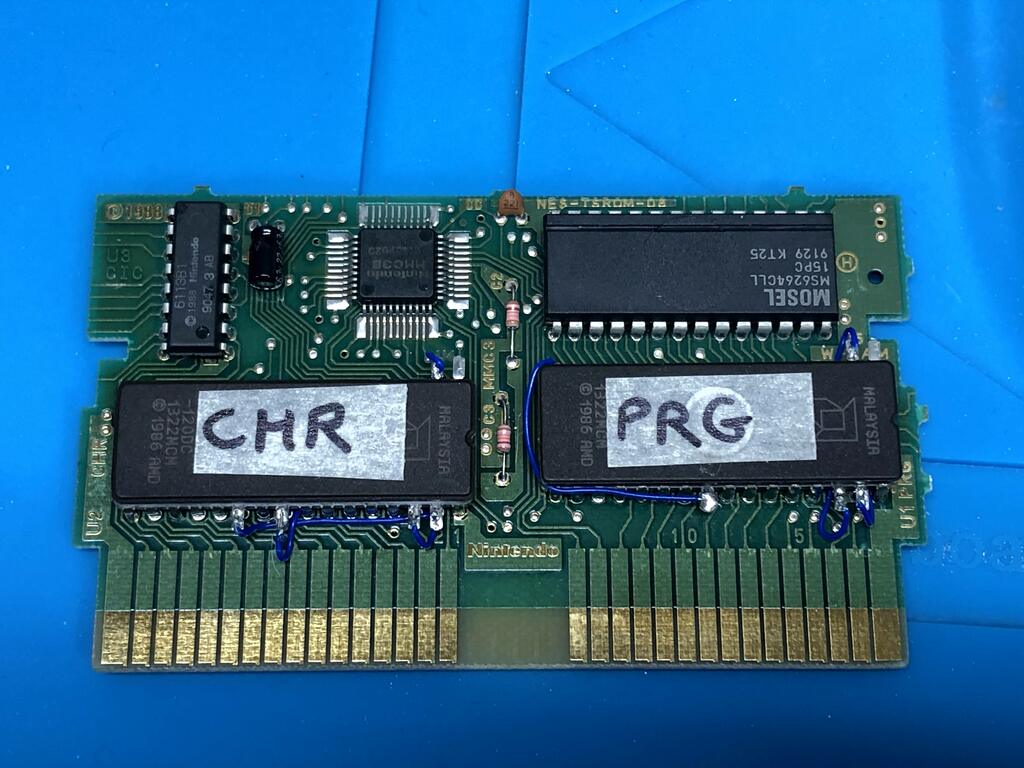
With my desoldering gun, I removed the PRG and CHR rom chips:
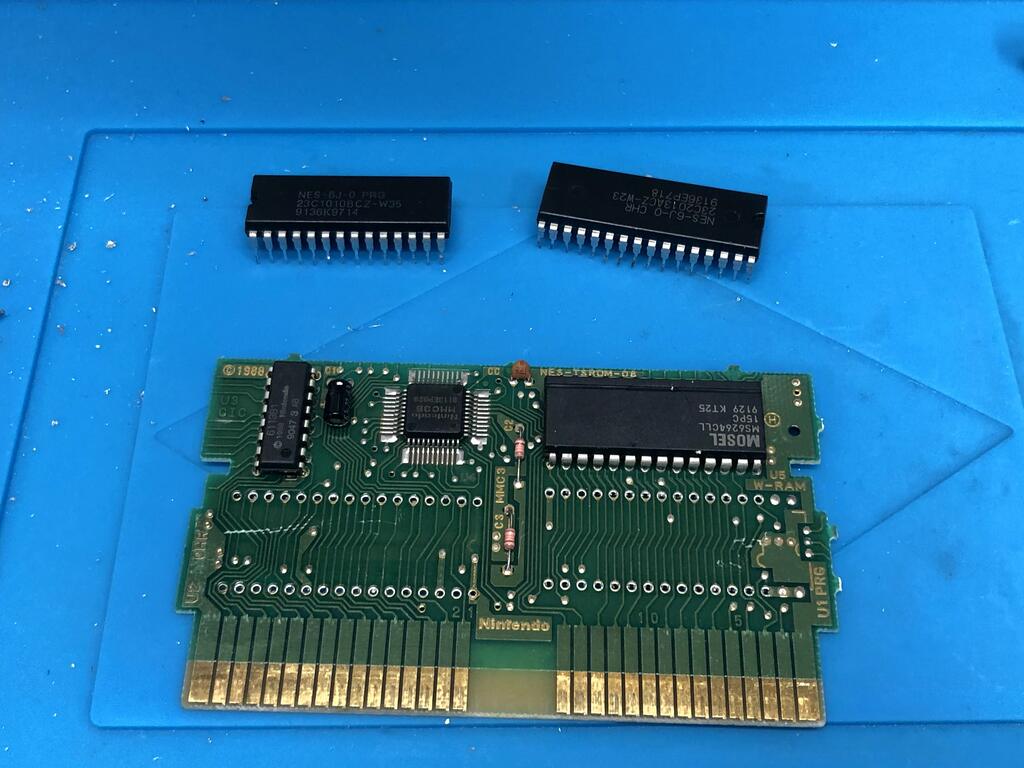
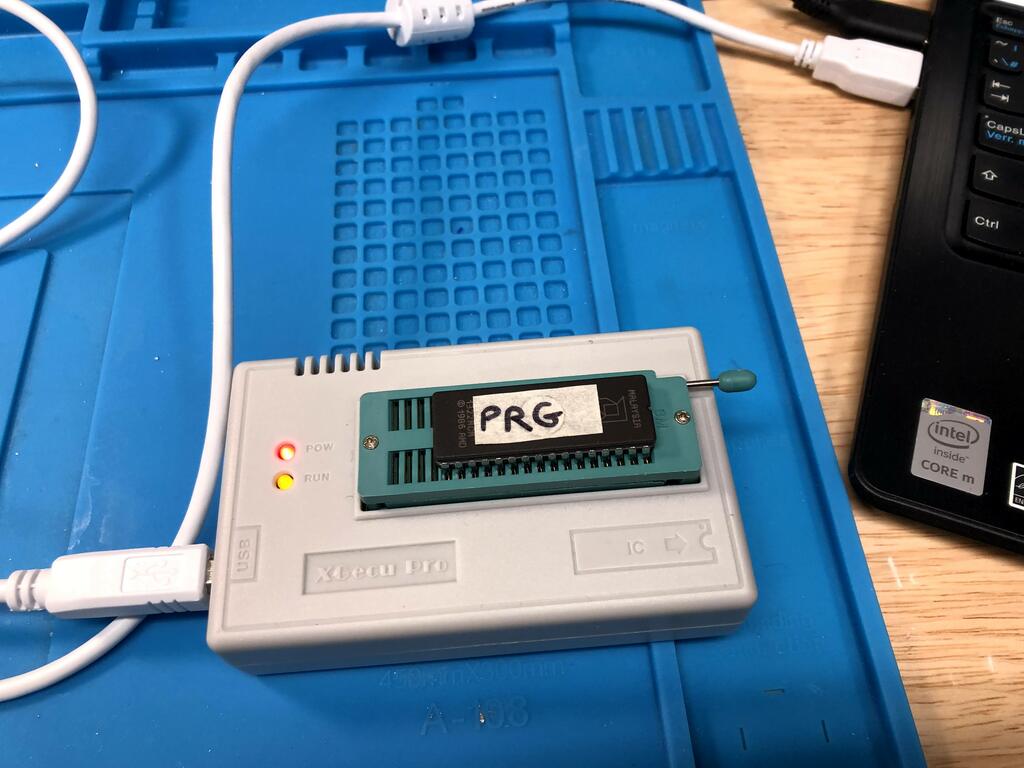
After downloading the rom for Felix the Cat, and splitting it up into PRG and CHR binary files, I used my TL866II programmer to copy the binary files to AM27C040 EEPROMs:

While programming the EEPROMs, I cleaned the cart pins with a mixture of baking soda and vinegar, which I’ve found does a great job of cleaning without removing the coating on the pins:
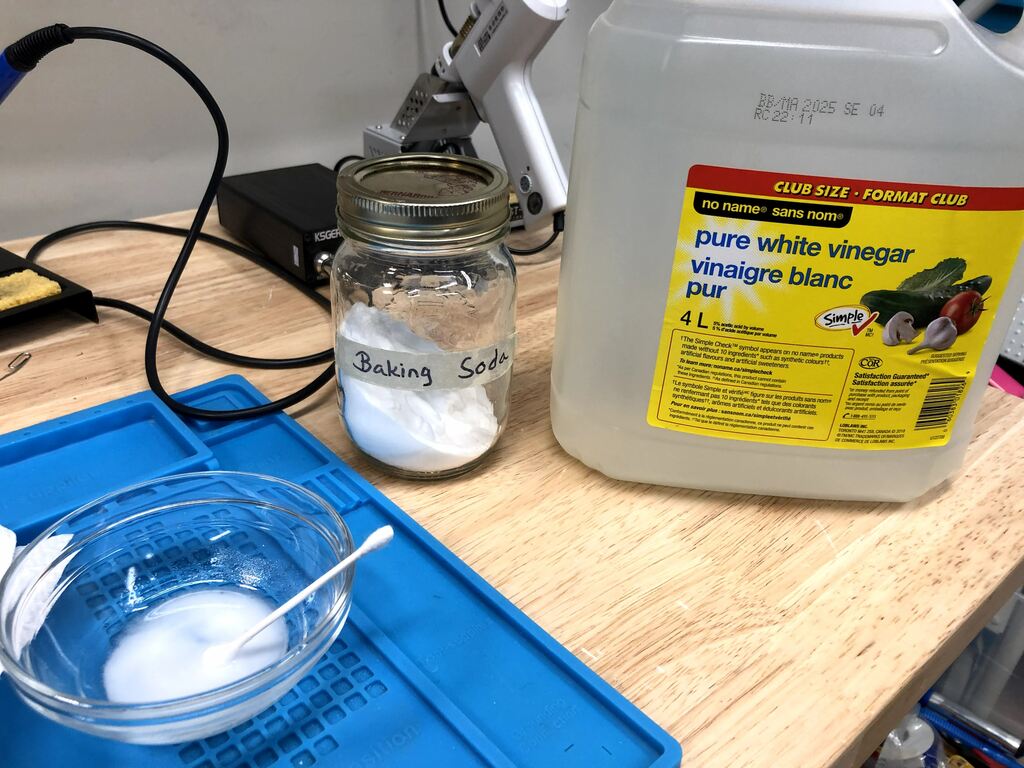
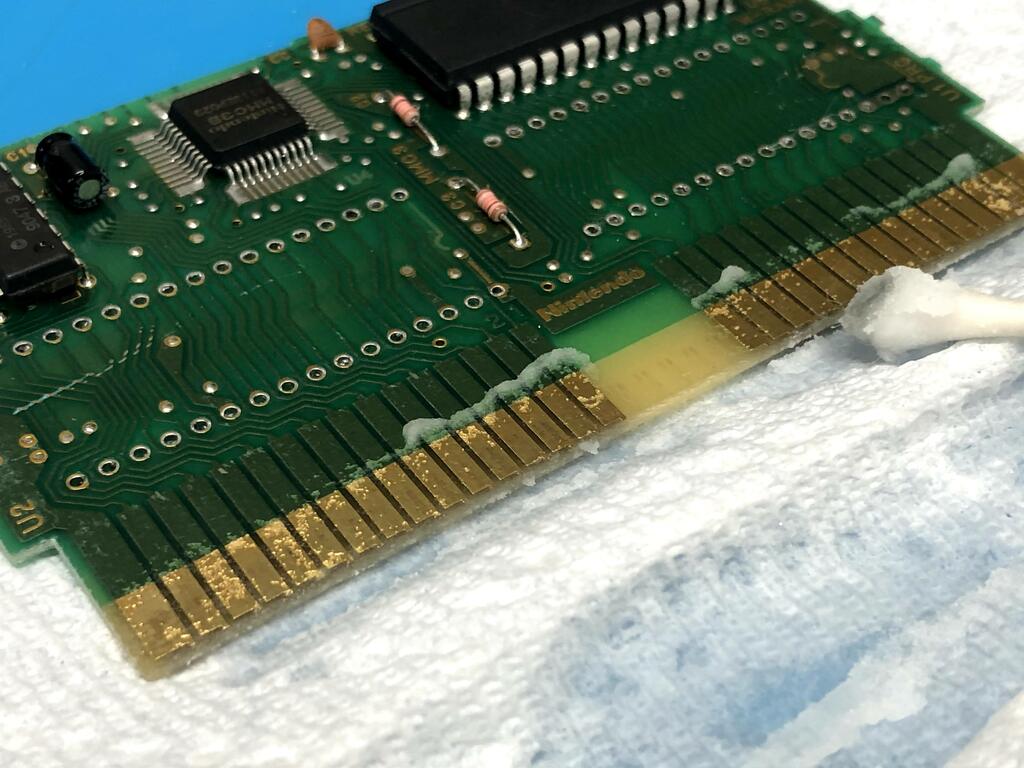
Using cotton swabs and a toothbrush, I rubbed the pins with the baking soda and vinegar mixture, and finally cleaned it all off with 99% IPA.
As with Shatterhand, the pinout of the standard EEPROMs does not match that of the NES carts, so some rewiring is necessary. Again, The Poor Student Hobbyist does a good job at explaining this, so definitely check that out.
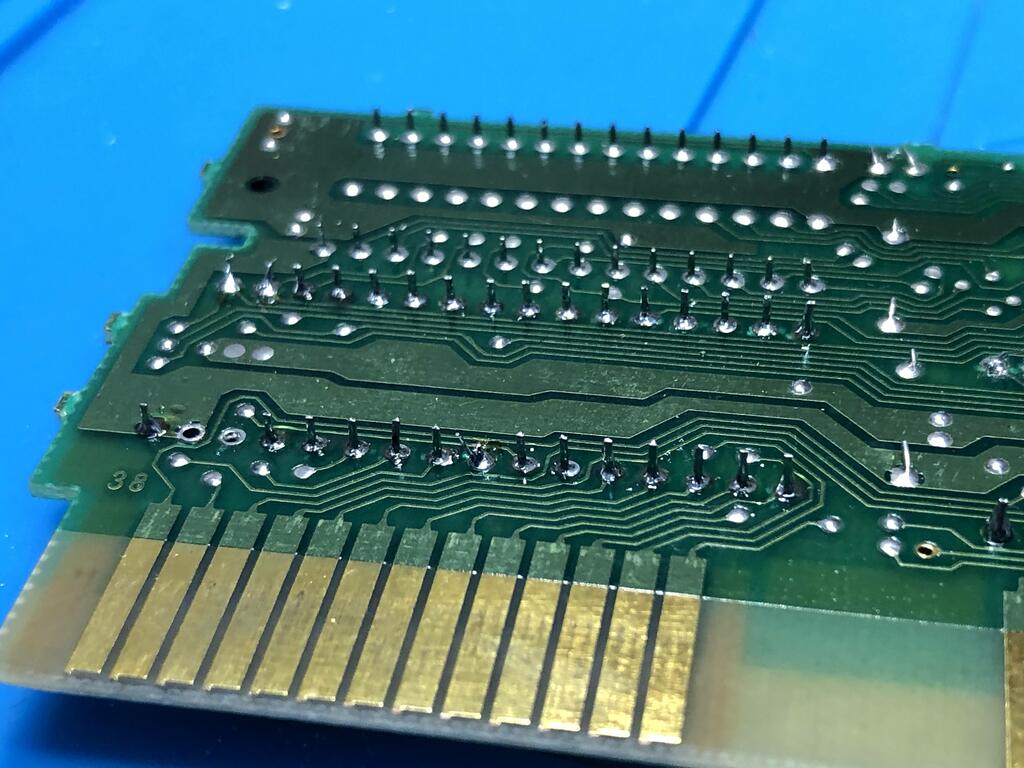
So first, I lifted and cut the tips of the pins that need rewiring:
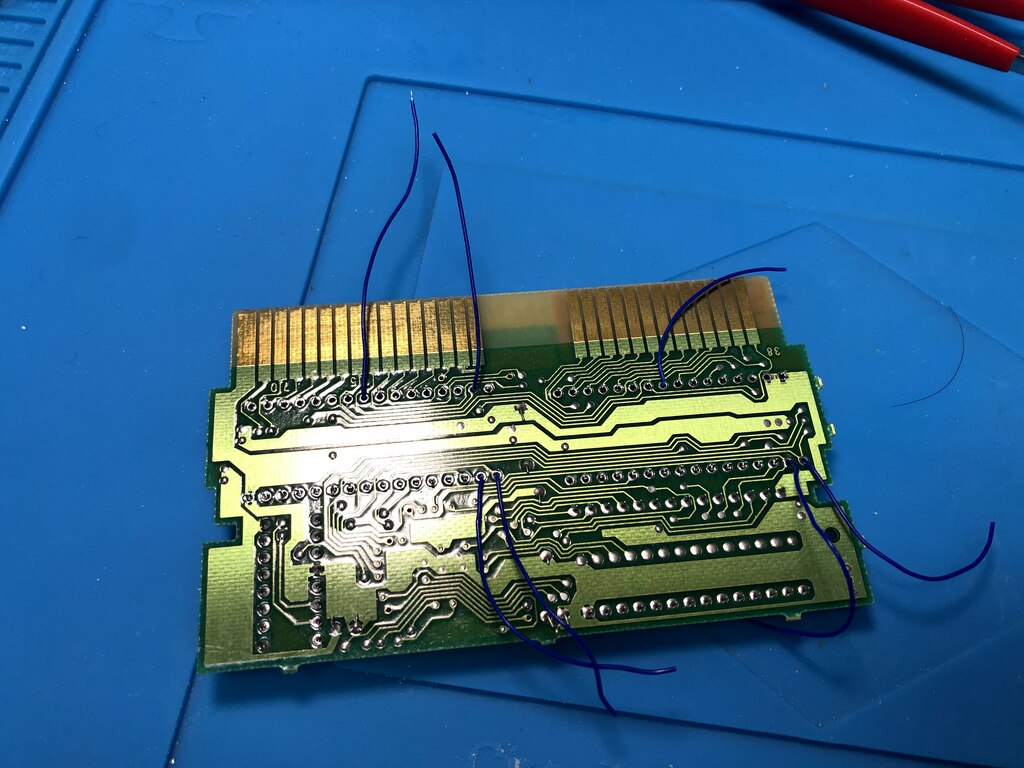
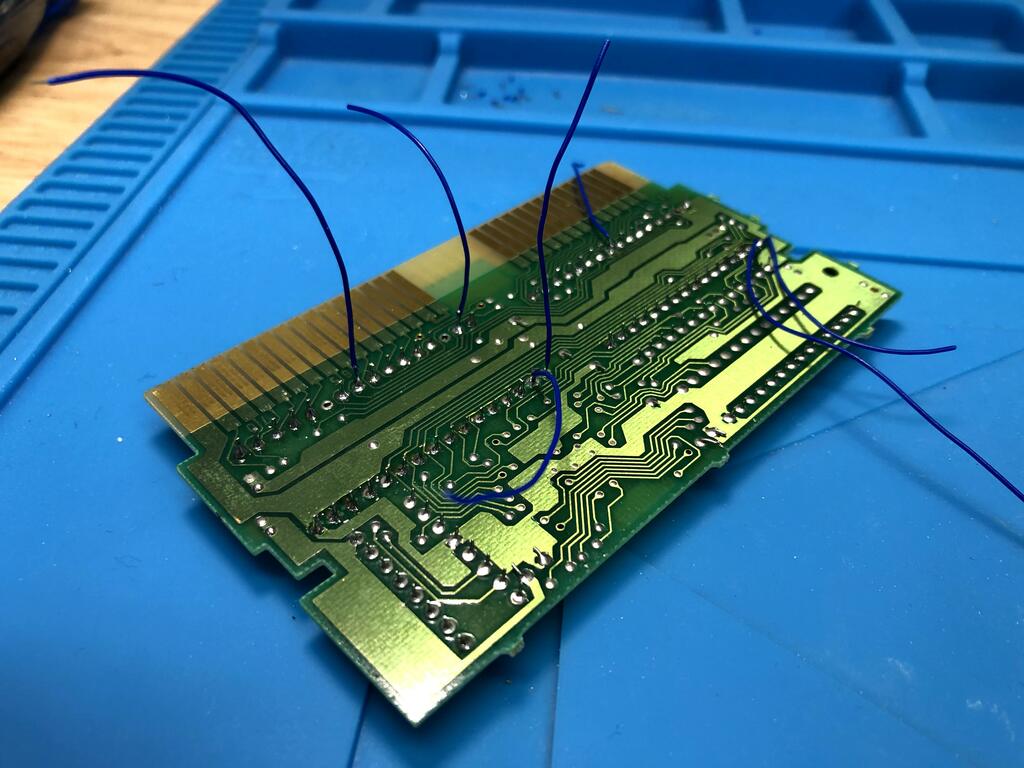
This time, using thinner gauge wires than for Shatterhand, I soldered wires to the lifted pads:

Then I carefully threaded the wires through the cart VIAs where they need to be soldered:
I cut the wires under the board to size and soldered them in place:
And done:
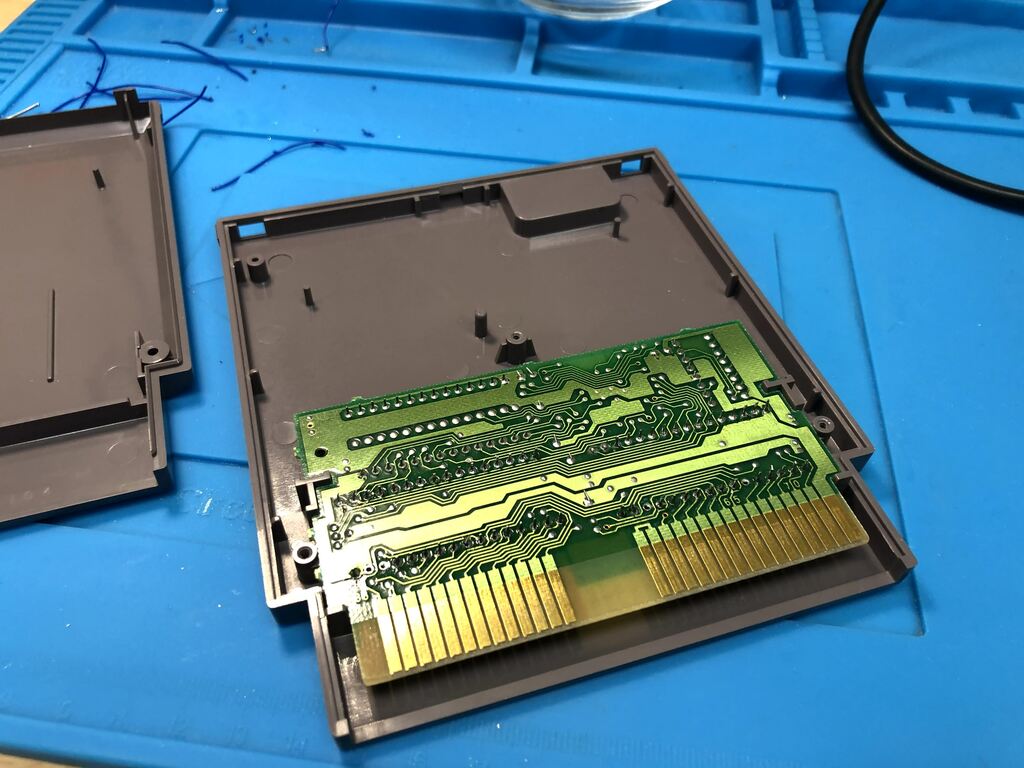
I put the PCB back into the shell:
Time for a test:
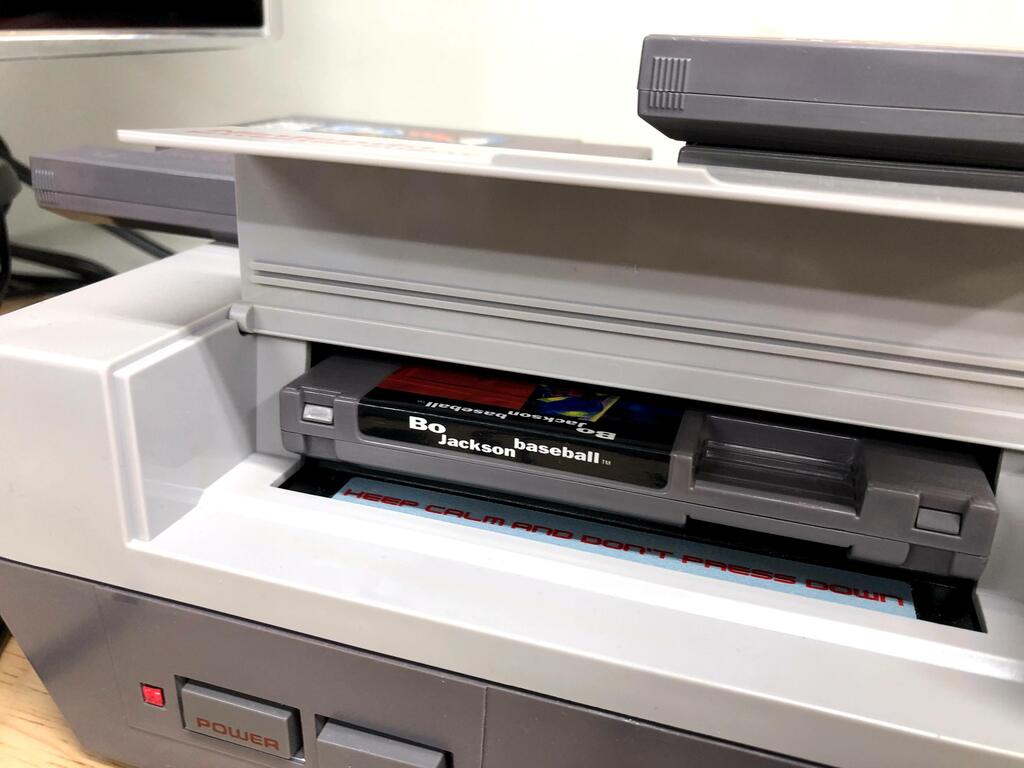
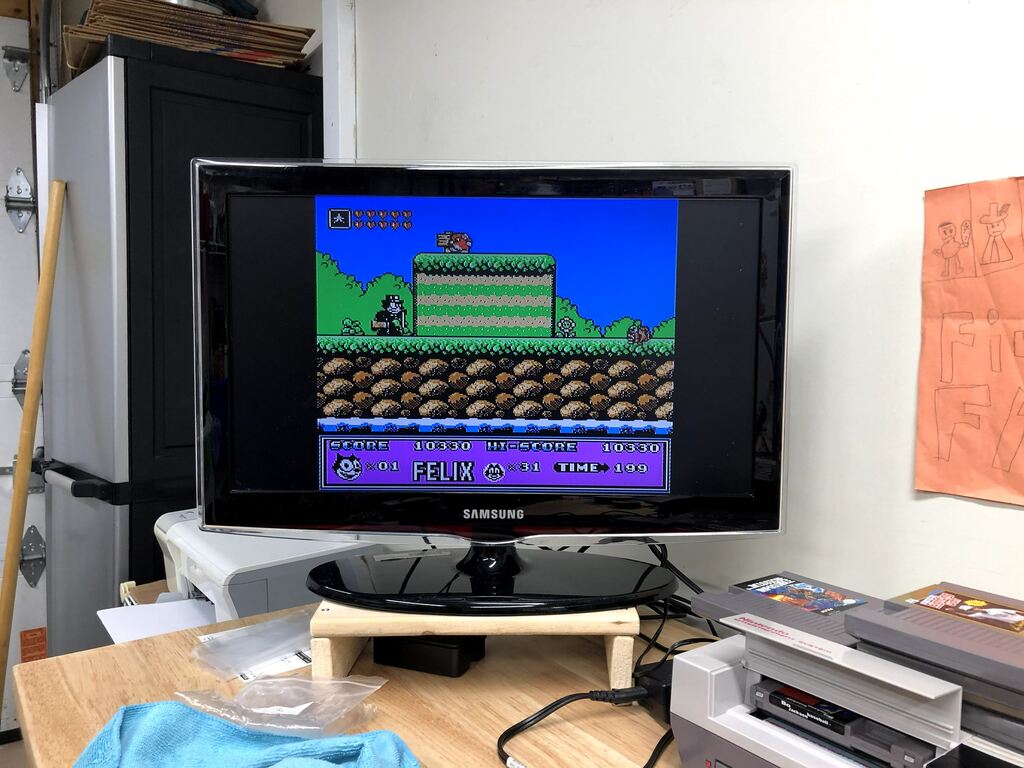
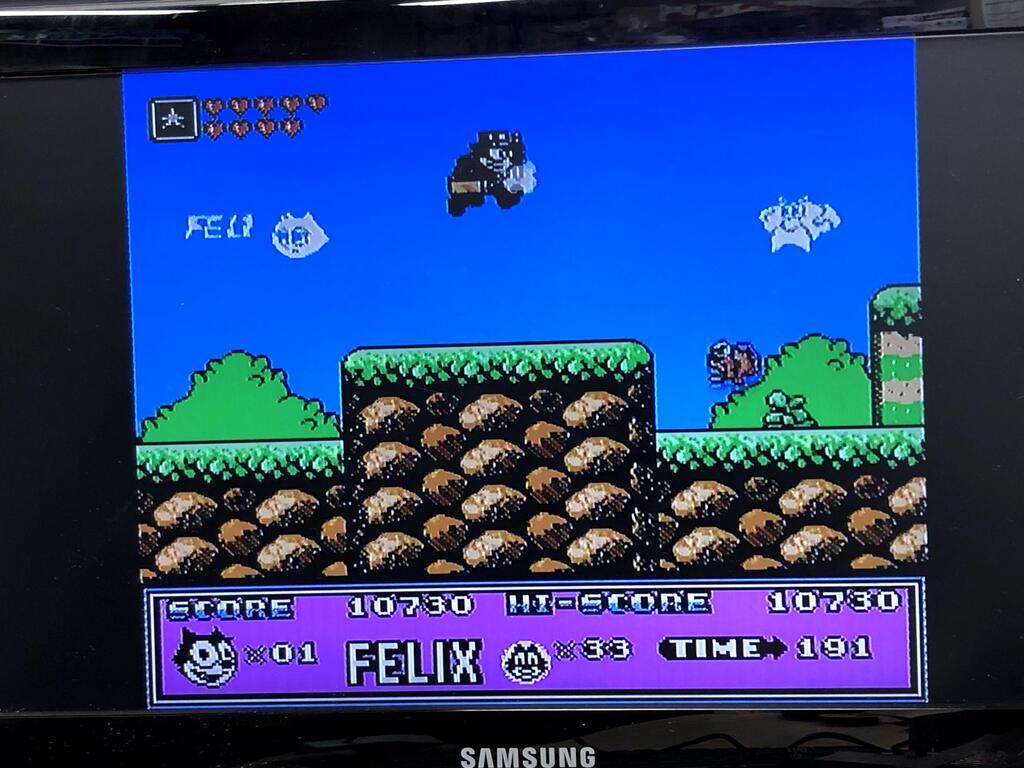
Success!
Thoughts #
I made this repro cart in December 2020, about a year after I made the Shatterhand cart, and I think it’s pretty clear I learned a few things along the way. This time around, the job is much cleaner, fits properly in the shell, and is likely to last a lot longer. One thing I will say is that threading the wires underneath the EEPROMs can be a little tricky, but I think it’s worth it.