N64/SNES Custom Cable - Take 2
A few months ago, I wrote about how I made a custom cable to hook up my N64 to my gbs-control. Although the VGA + Audio end worked out fine, I wasn’t super happy with the multiout end. I had made a bunch of mistakes. In this post, I go over the mistakes I made, and how I improved on these on this second try.
Mistakes #
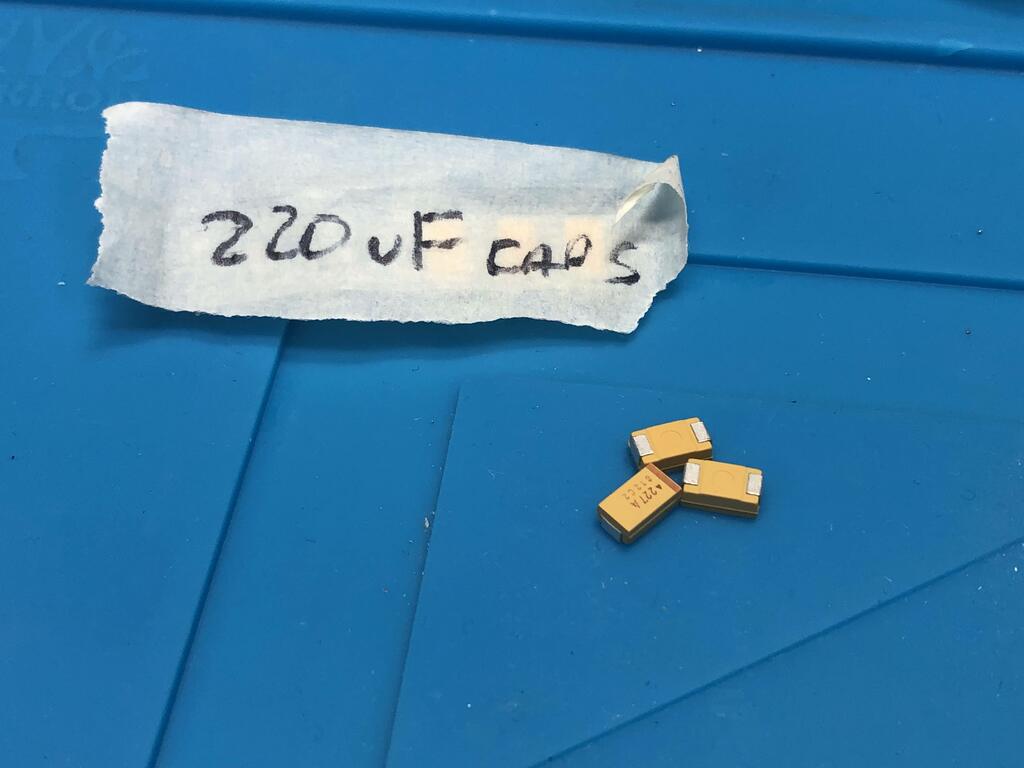
Mistake #1: I had cut the RGB wires too short because I knew I’d need to solder the 220uF caps in between them and the multiout pins. As a result, these pins got disconnected too easily once some strain was put on the cable:
Mistake #2: I had removed my clever dual tie-wrap strain relief because I thought it might have contributed to the color issues I was having with it (it hand’t), and because it took up precious space in the shell:
Instead, I replaced it with wire tape (yuck!), and sure it enough, after some use, the whole thing slipped back out of the shell:

Mistake #3: I had covered the caps in hot glue to avoid the wires getting detached. Although this worked, it was awkward and made the whole thing bulkier:
Having recently restored my childhood SNES, I needed a second custom cable, so now was my chance to learn from my mistakes and make an even better one!
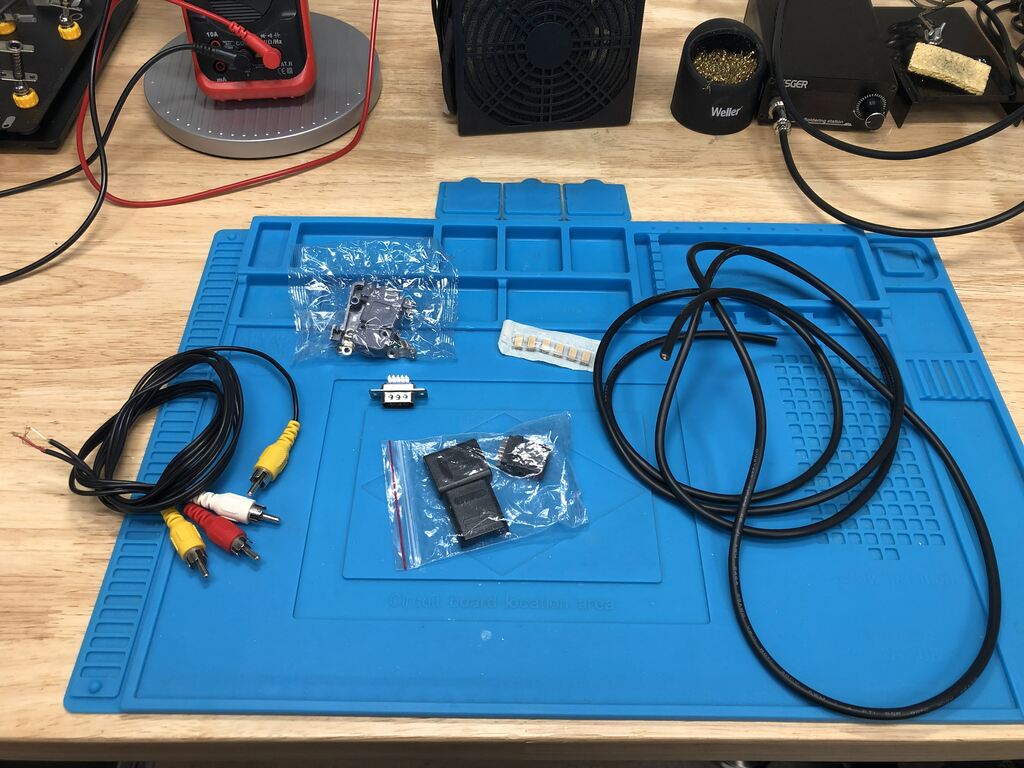
I got all the parts I needed:
As before, I followed the same design for how to wire up everything.
VGA + Audio End #
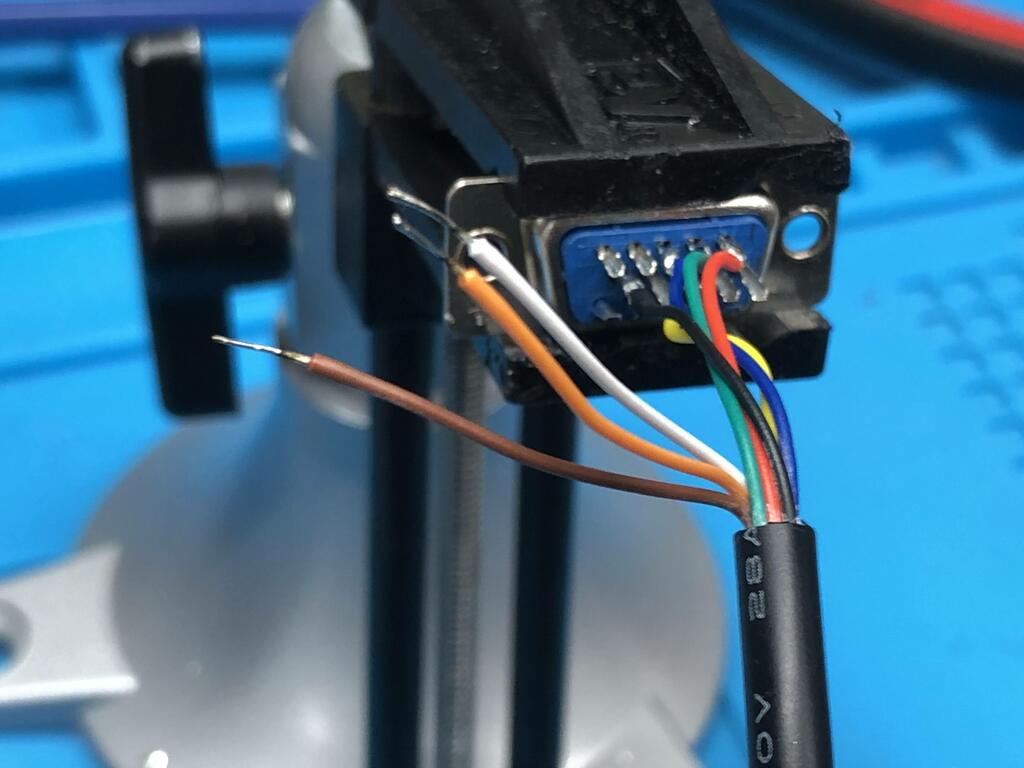
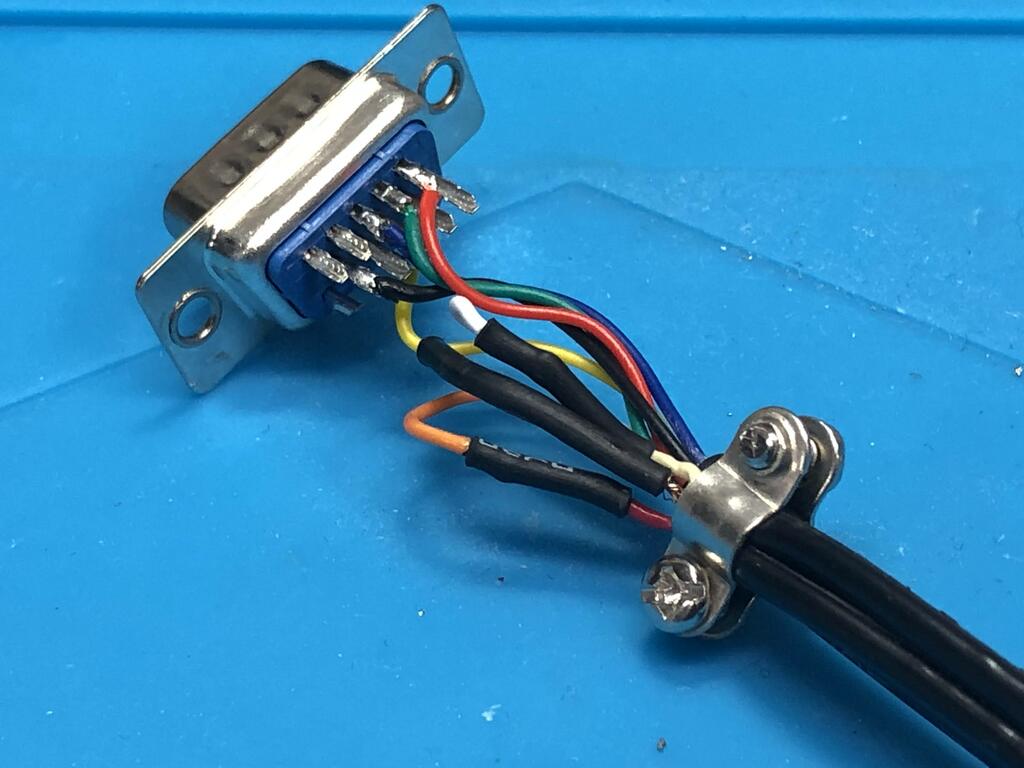
I stripped one end of the cable to expose the wires, stripped and tinned each wire, and then soldered all but the three audio wires to the DB15 connector:
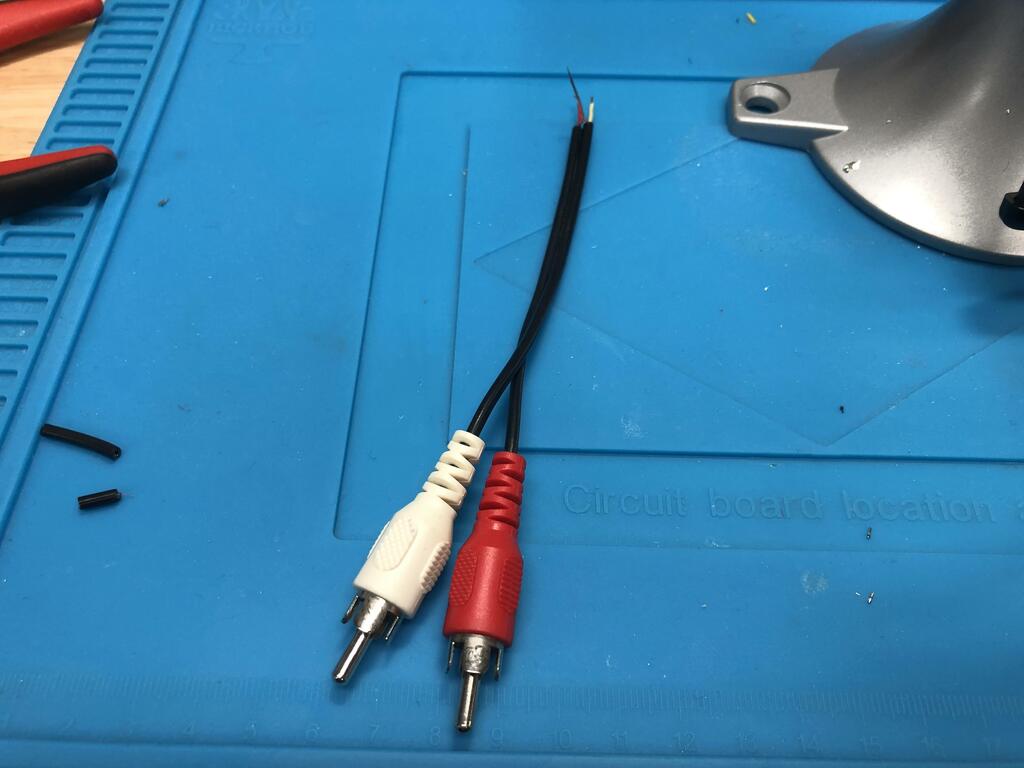
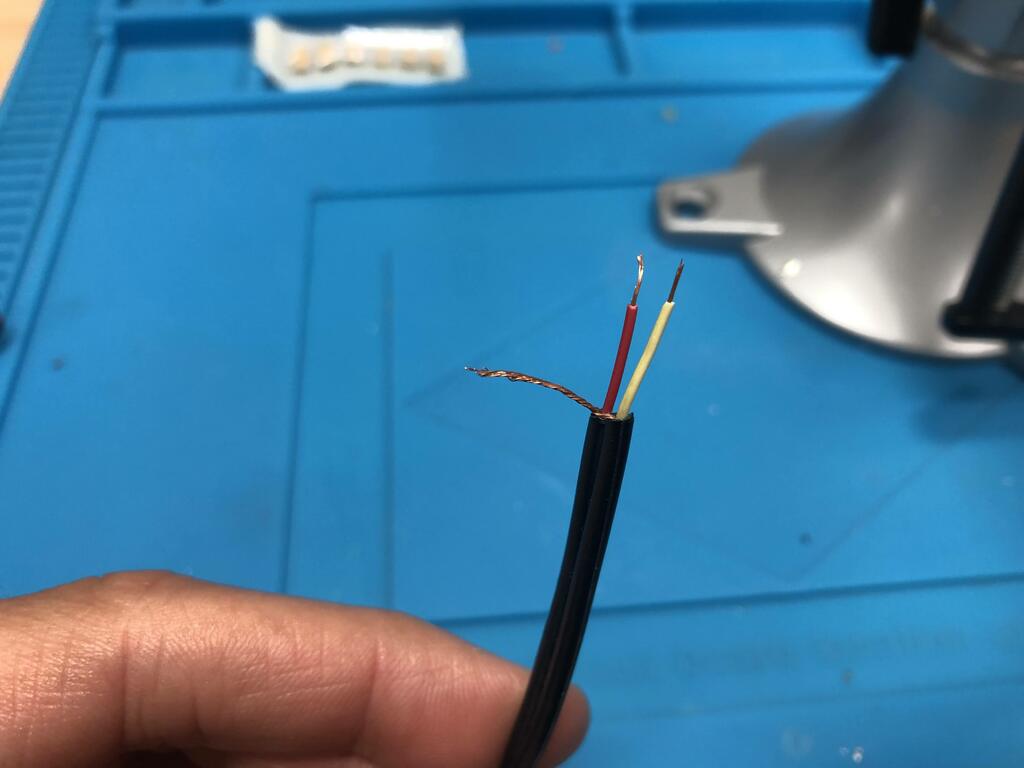
I cut and prepared my audio RCA cable, exposing the leads and twisting the ground sheath together:
Using my new and awesome Omnifixo helping hands, I soldered the RCA wires to the three audio wires from the cable, and used heat shrink to wrap them up:
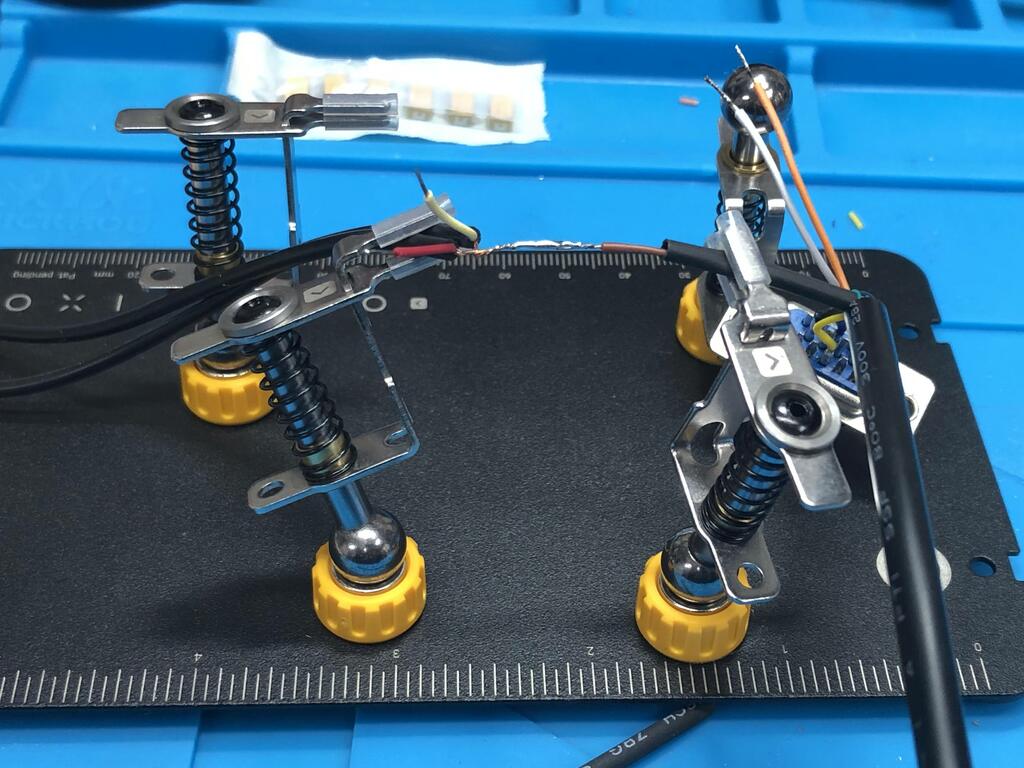
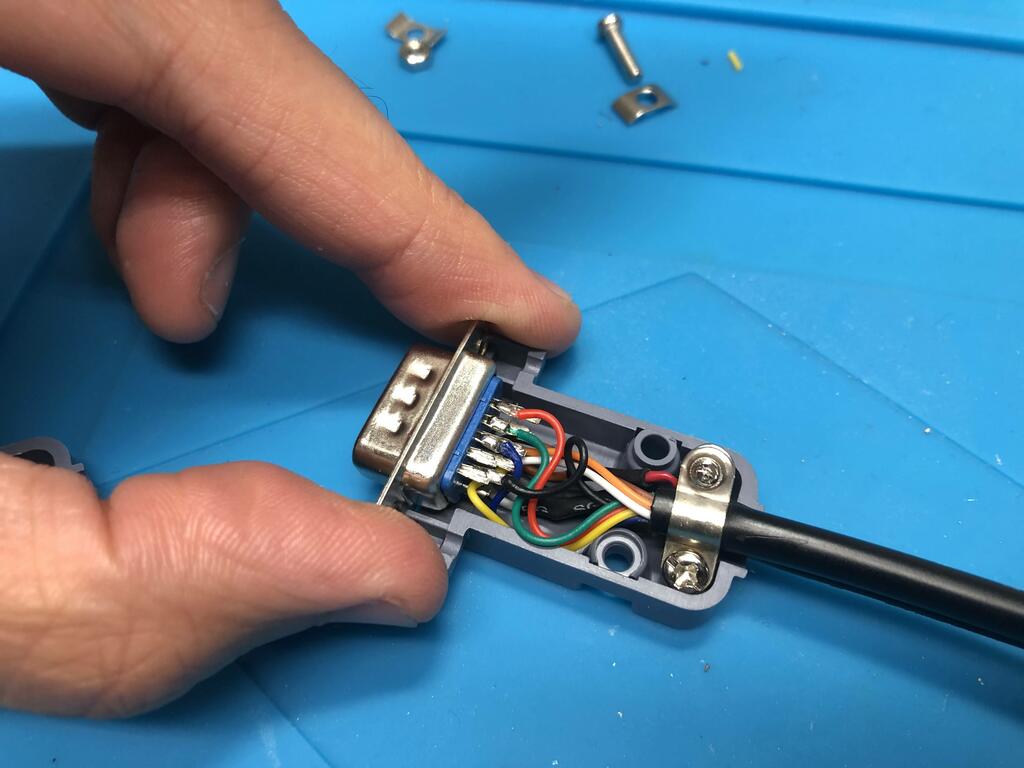
I used the strain relief to hold both the cable and the RCA wires together, and put everything into the DB15 shell:
Multiout End #
Now it was time to make the Multiout end. This is where all the improvements kick in.
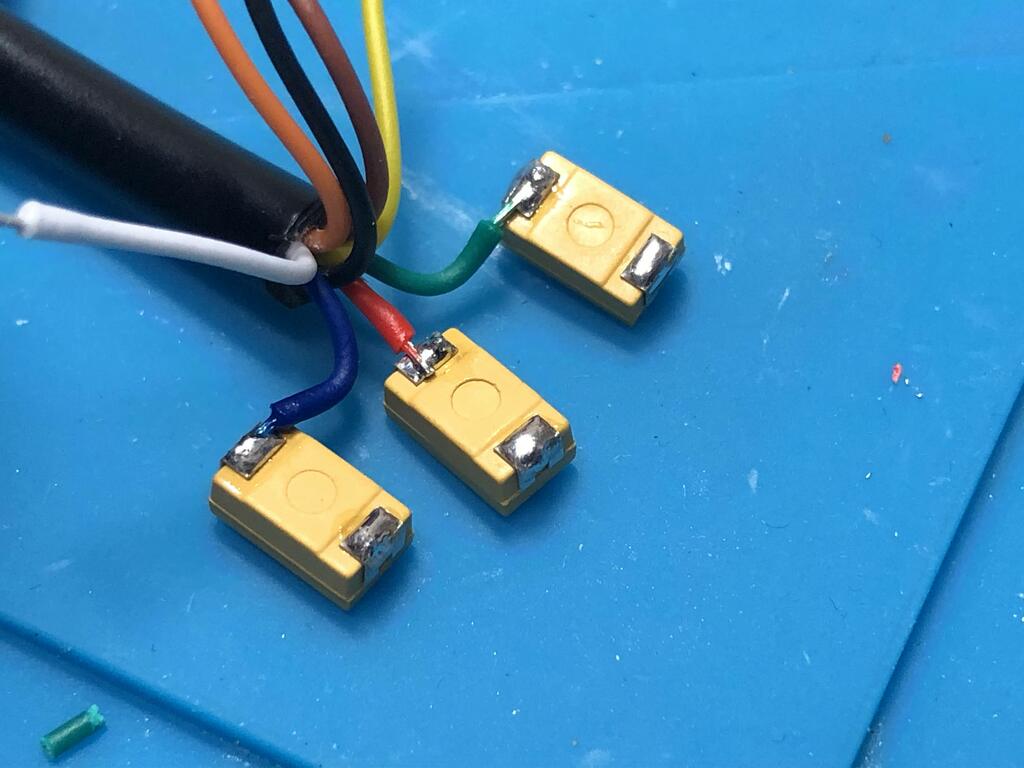
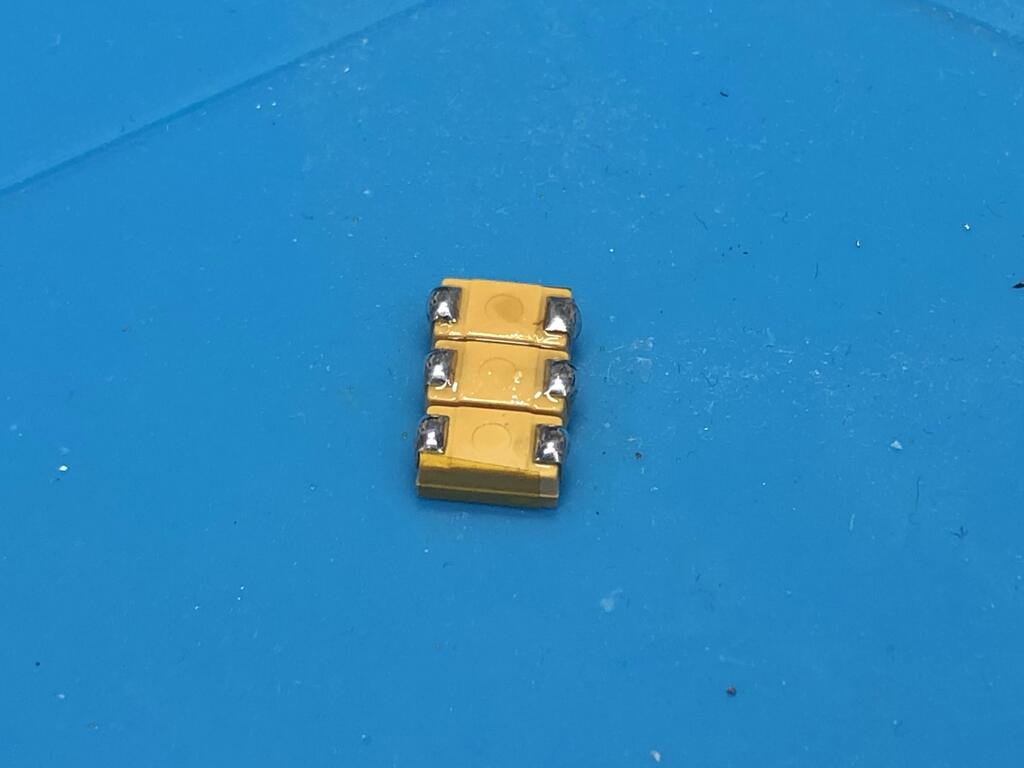
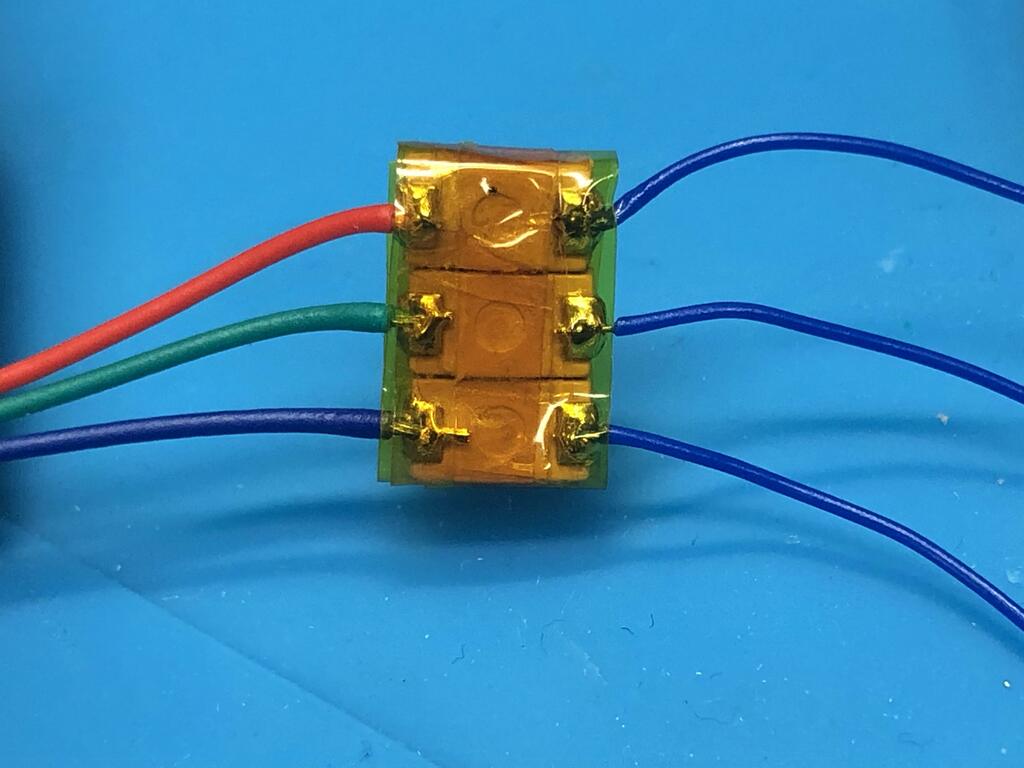
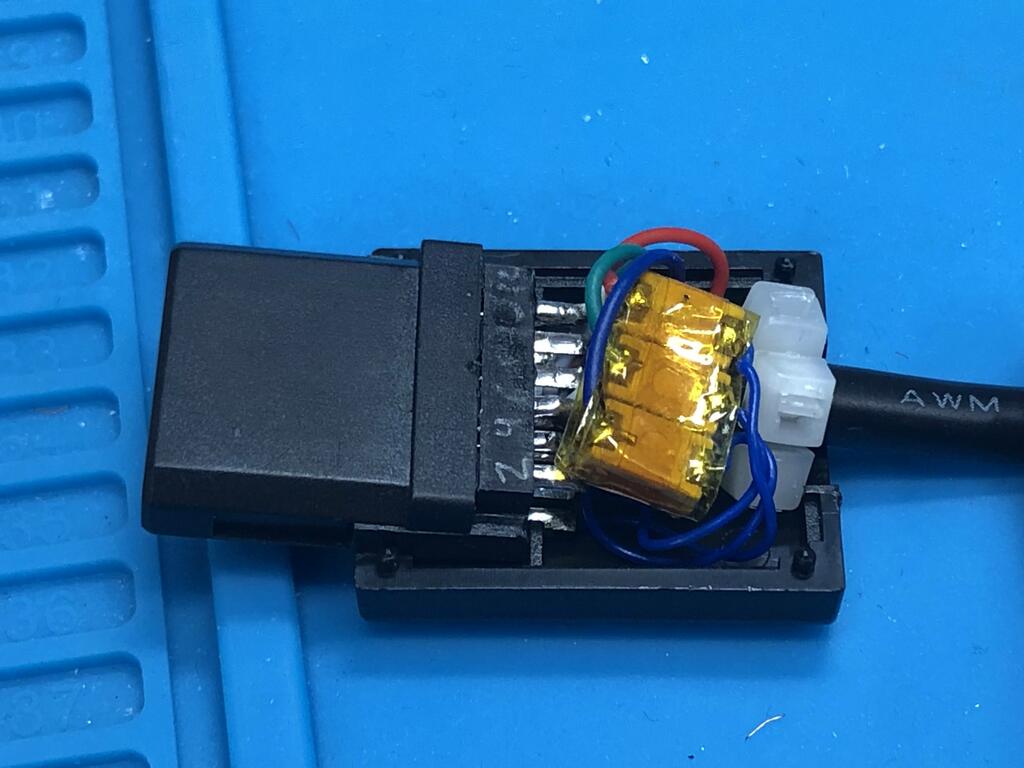
First, I lined up the three caps, and used a strip of Kapton tape underneath to hold them together:
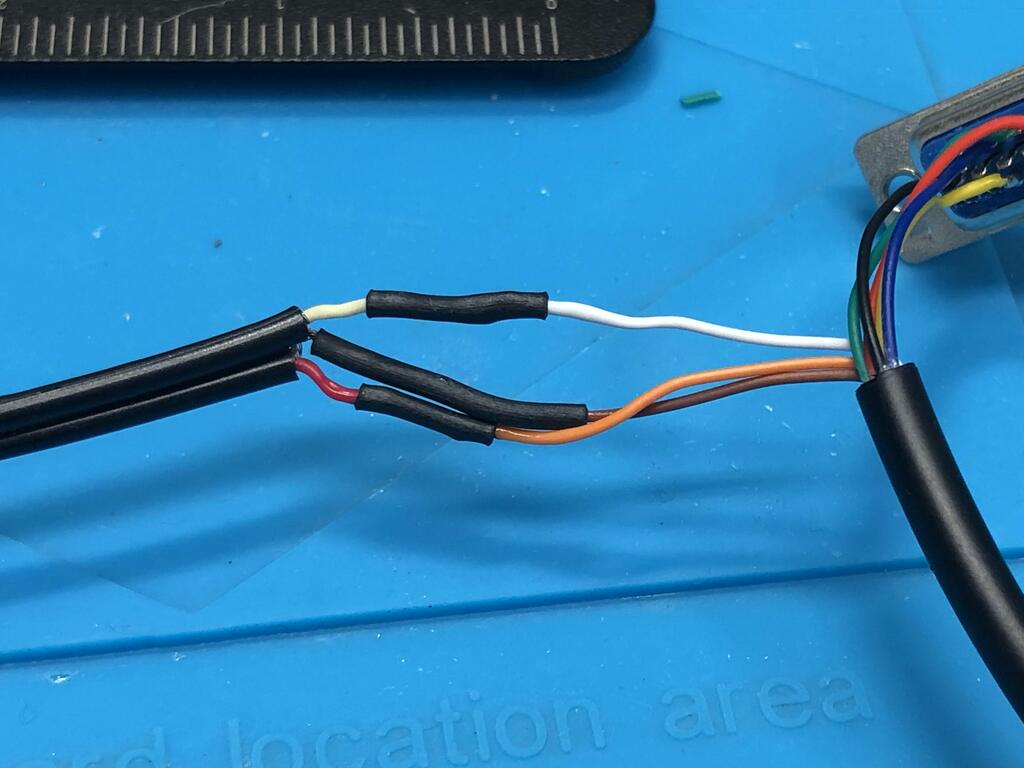
I soldered the three RGB wires to teh caps, keeping them at full length:
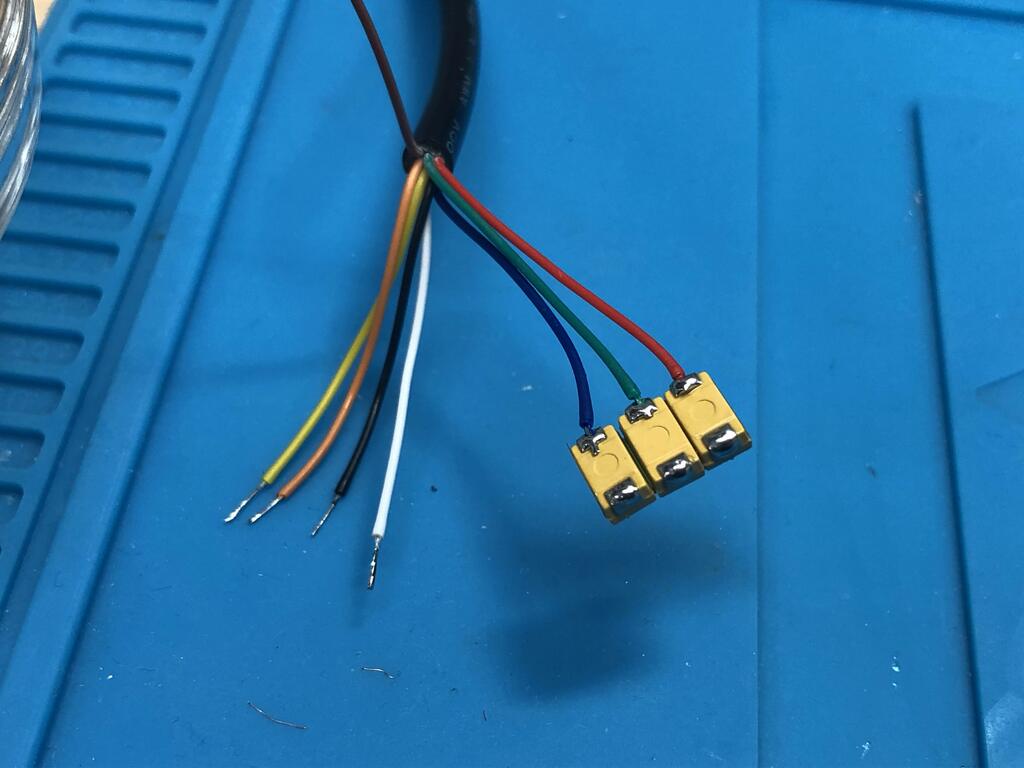
I then soldered three 30 AWG wires to the other end of the caps:
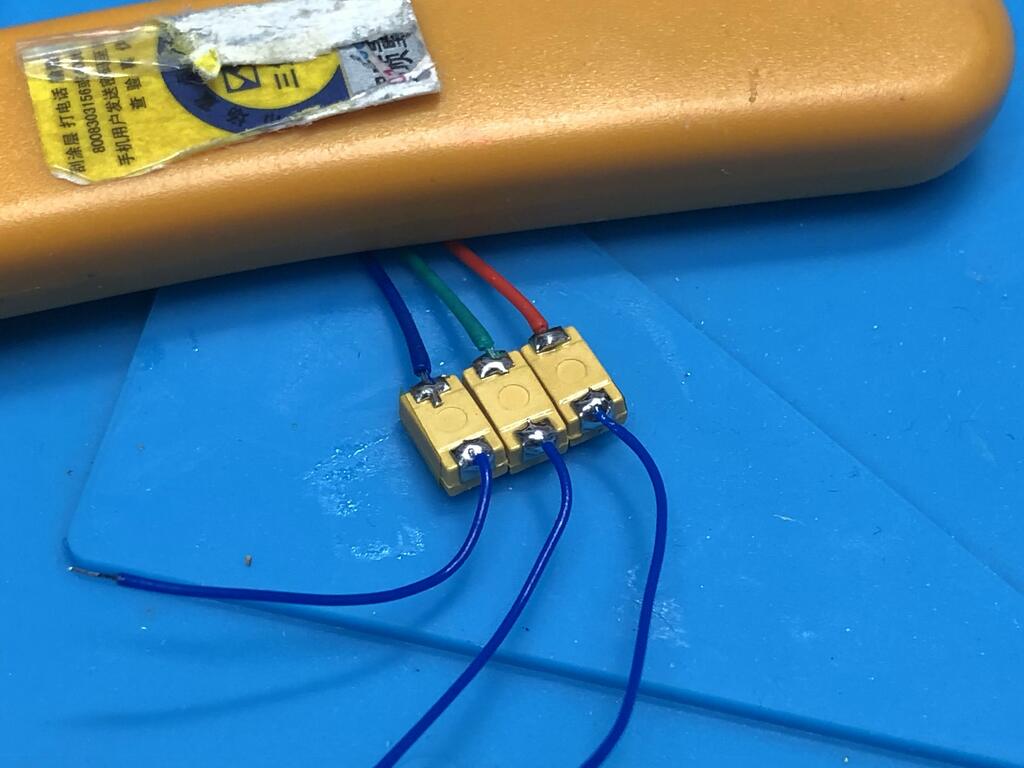
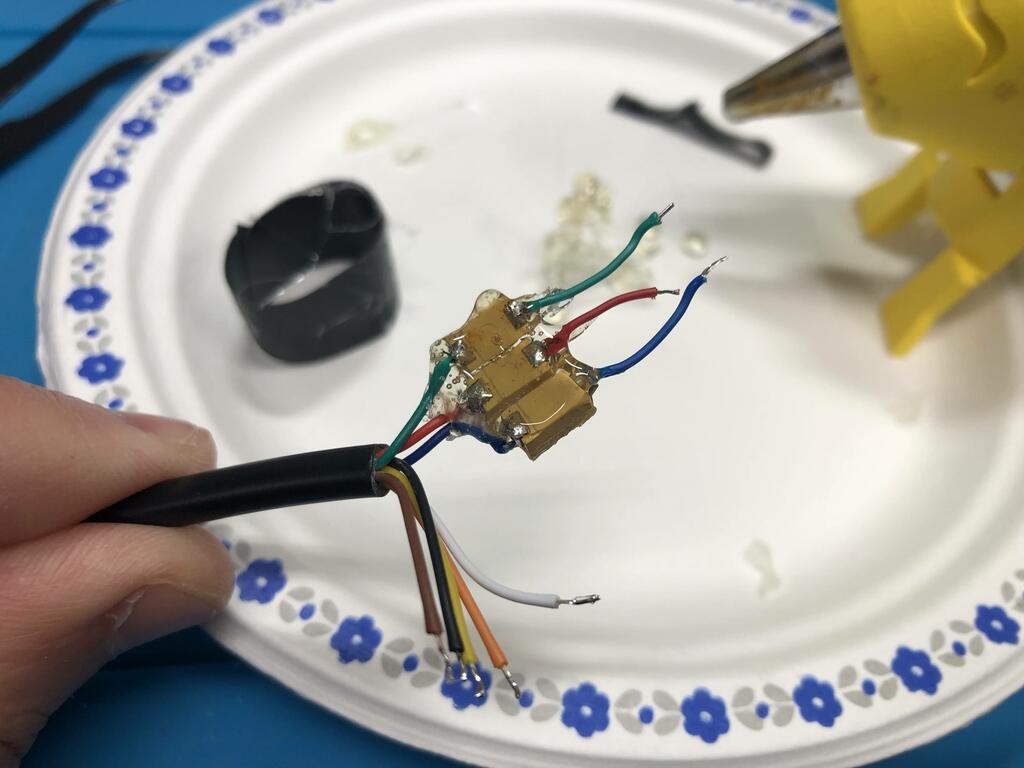
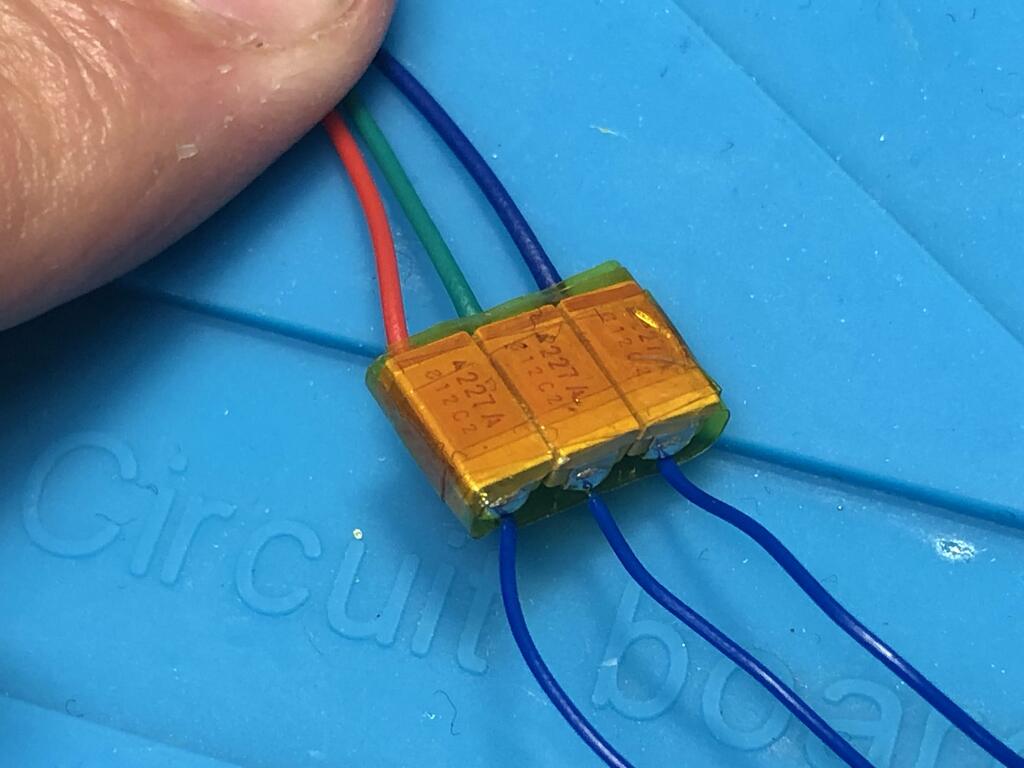
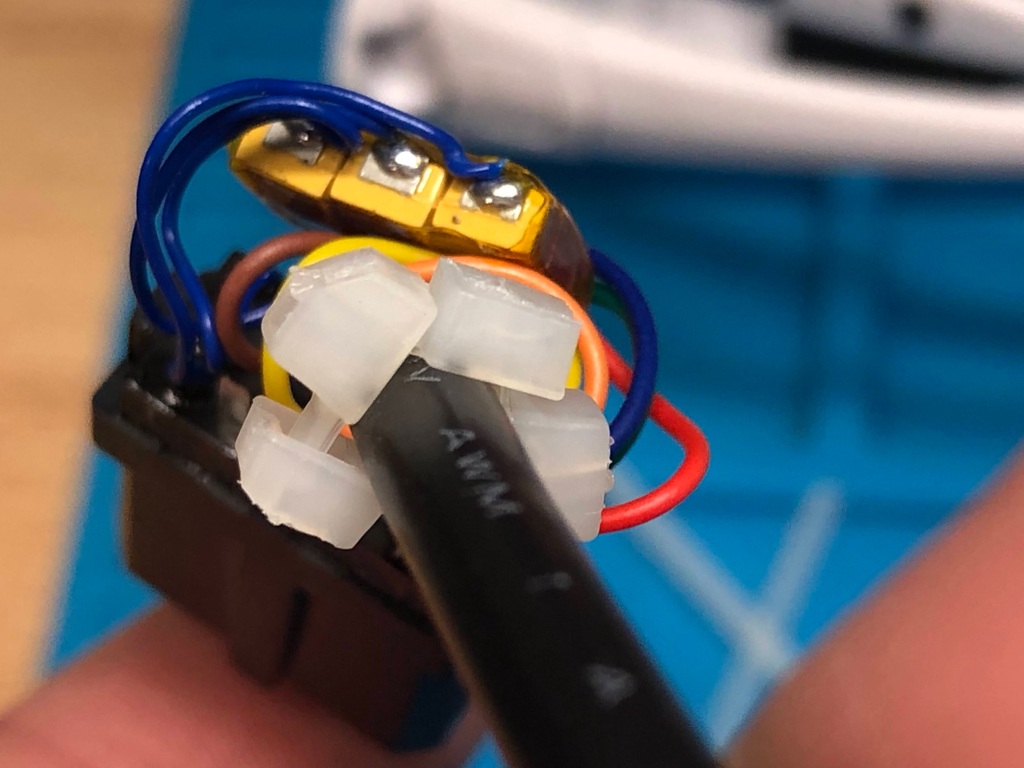
Instead of hot glue, I wrapped up the caps with more Kapton tape. Not only is this so much easier, but it holds well, avoids shorts, and lets us see what’s underneath:
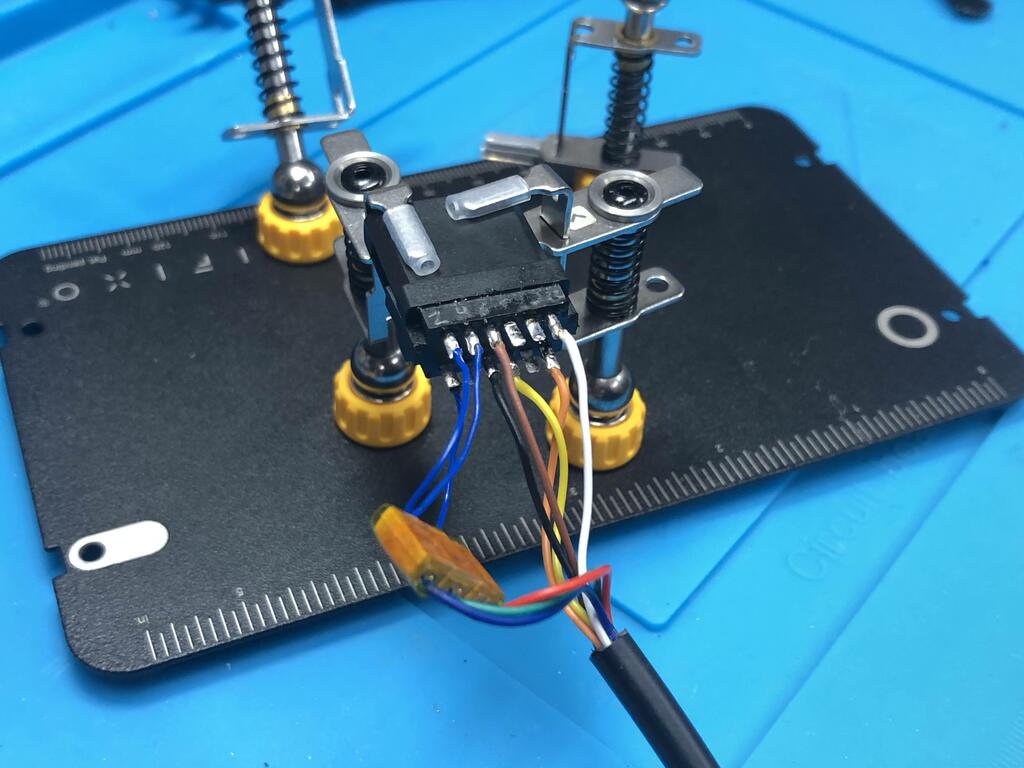
Next, I soldered all the wires to the multiout:
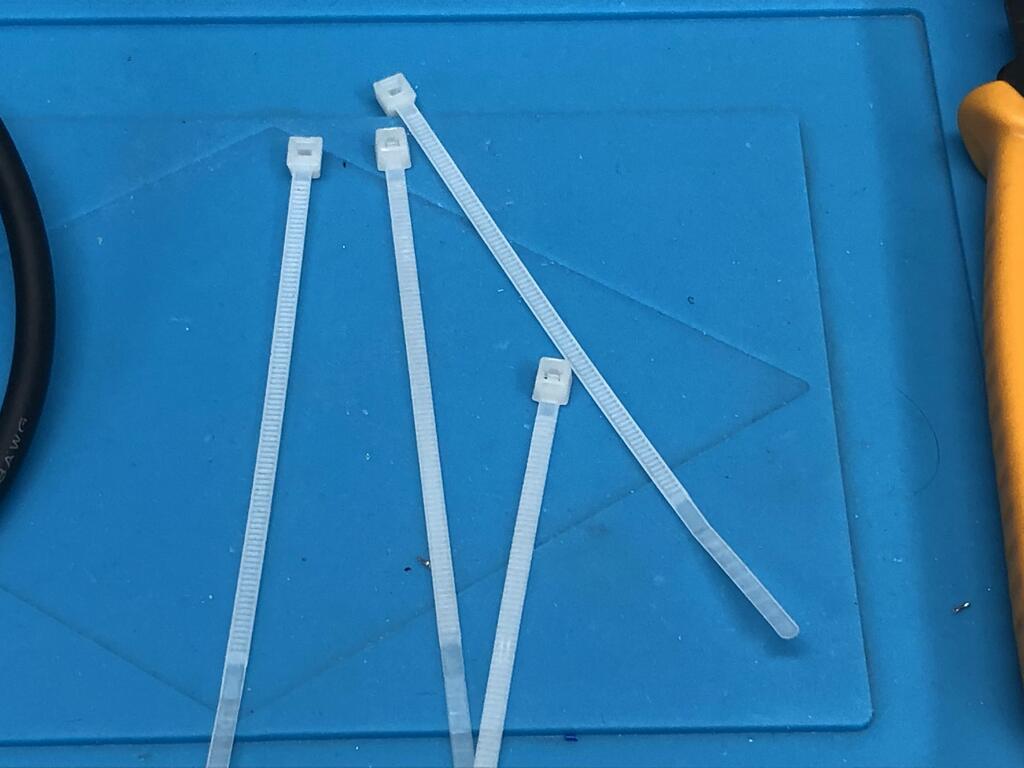
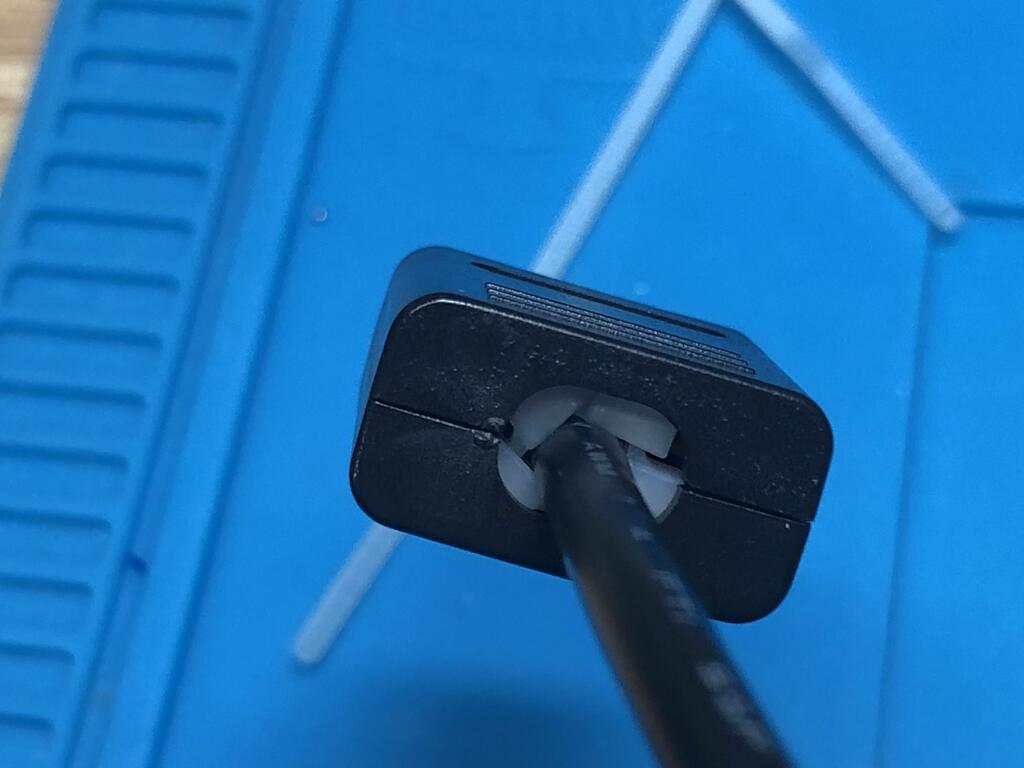
Now for the strain relief. Again, I decided to use tie wraps, but very small ones:
I slid each end into the other to form a rectangle:
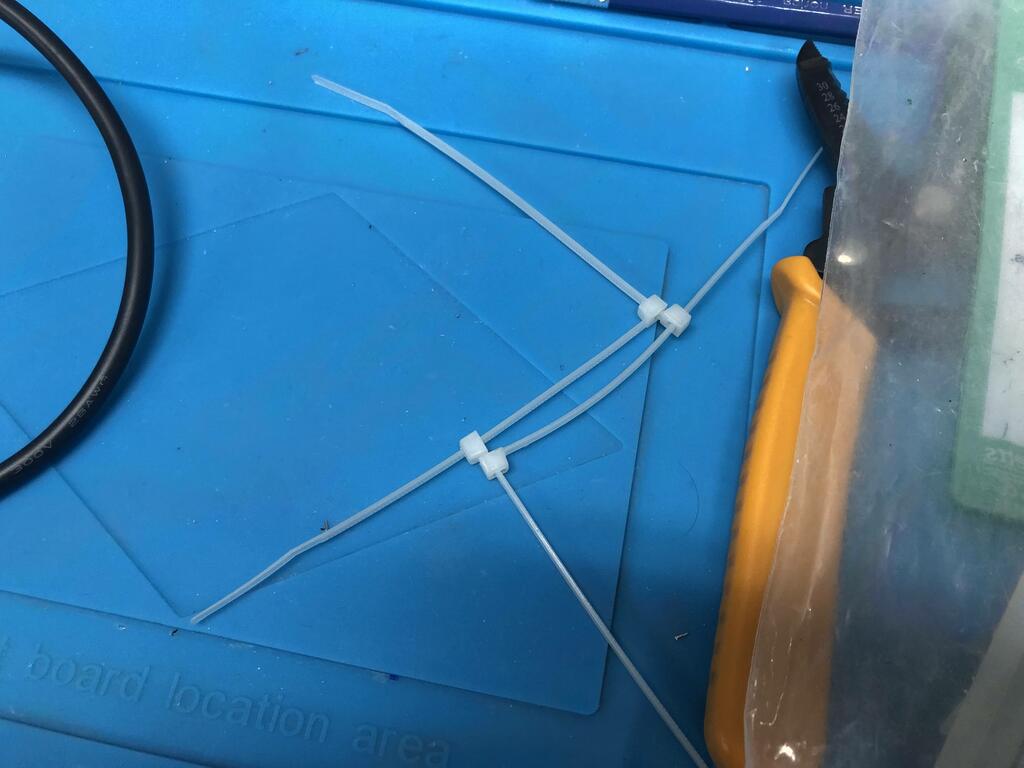
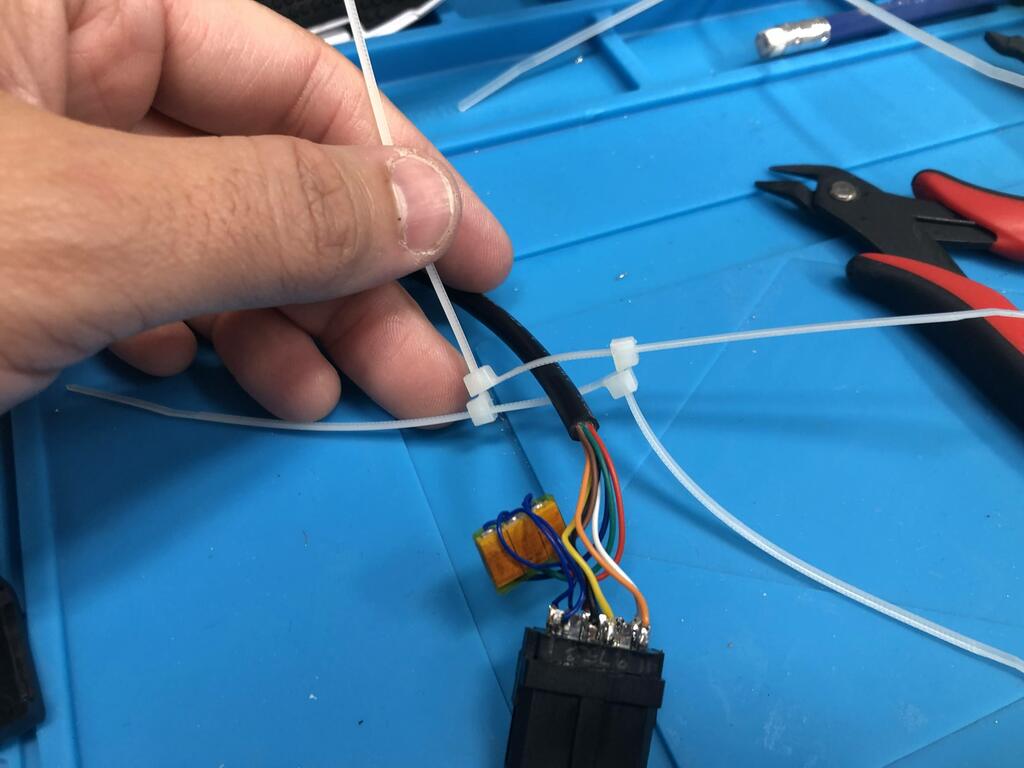
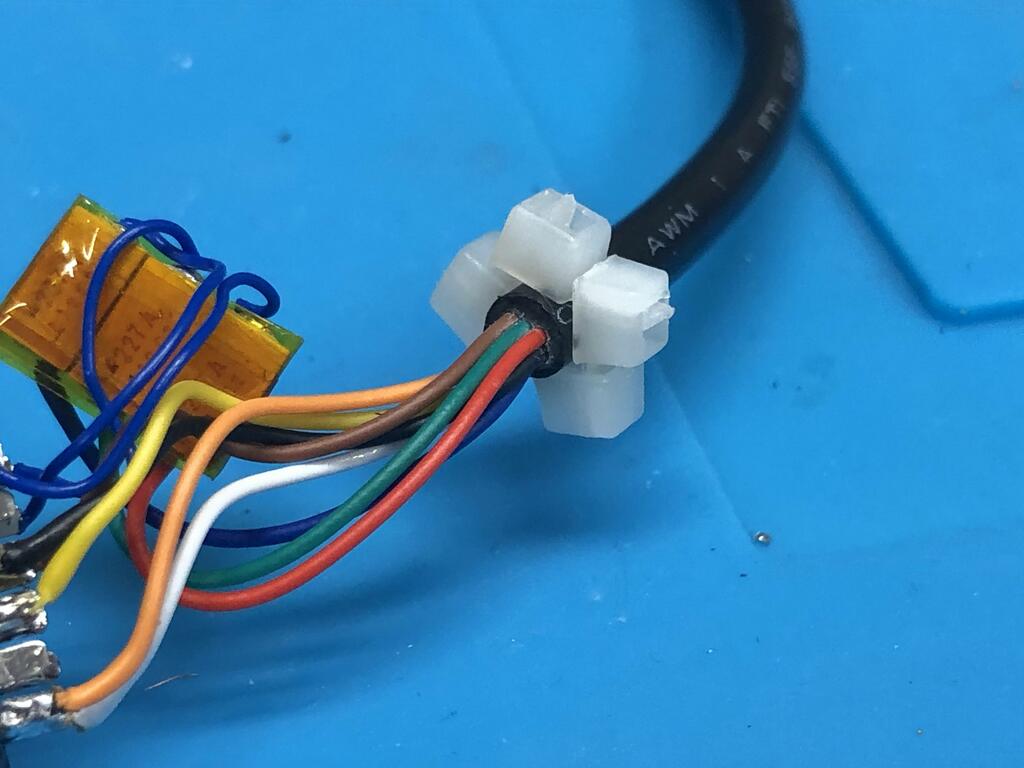
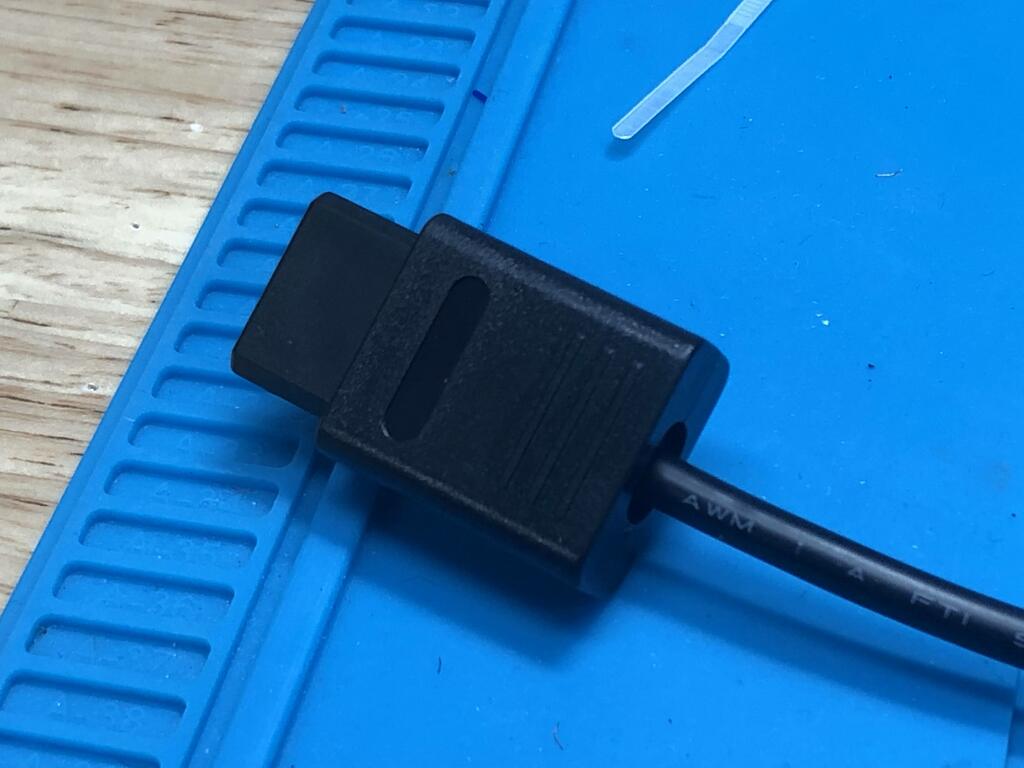
I slipped it around the cable, then closed it up and made it very tight around the edge of the cable:

I cut the ends off:
I tried packing it into the shell, but my tie wrap strain relief was a little big, so I used my flush cutters to snip some plastic off the top and bottom:
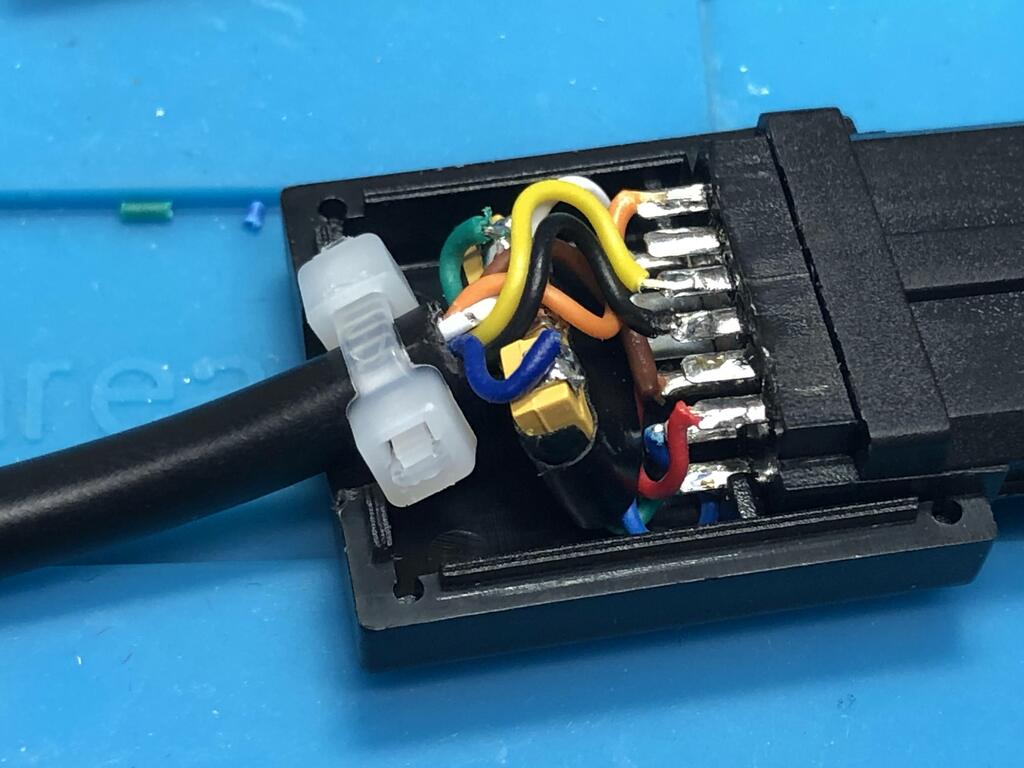
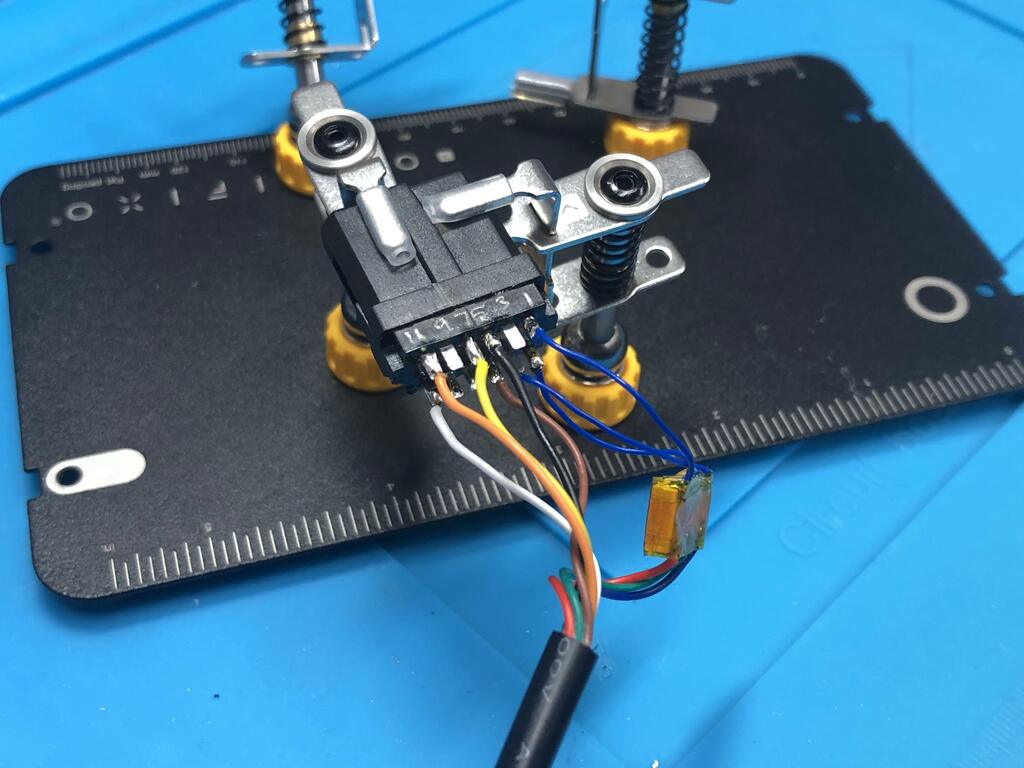
With a little patience, I was able to fit it all into the shell:
The strain relief works surprisingly well, keeping everything in place, and not ripping anything if the wire is pulled instead of the shell:
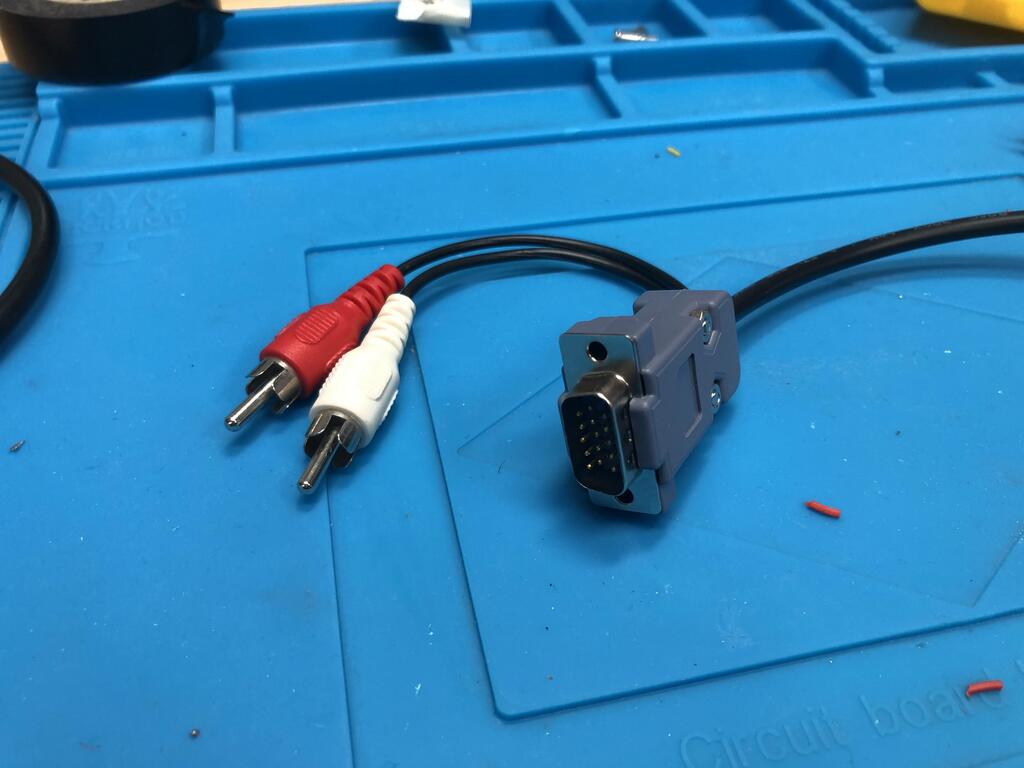
And with that, the cable’s done!
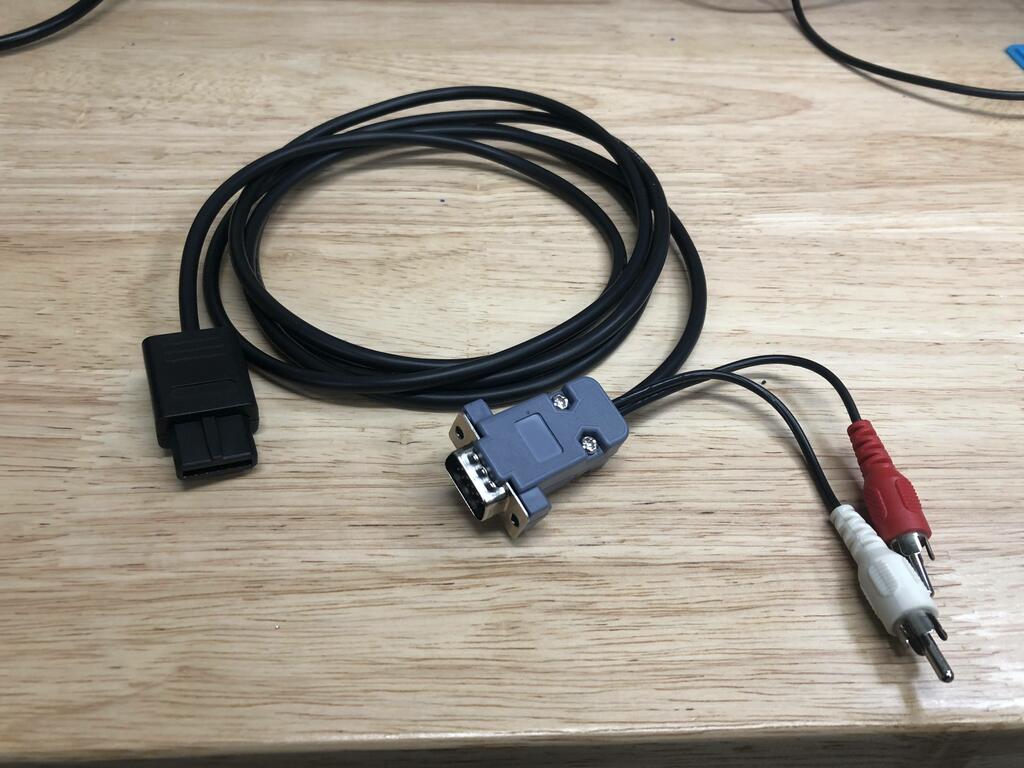
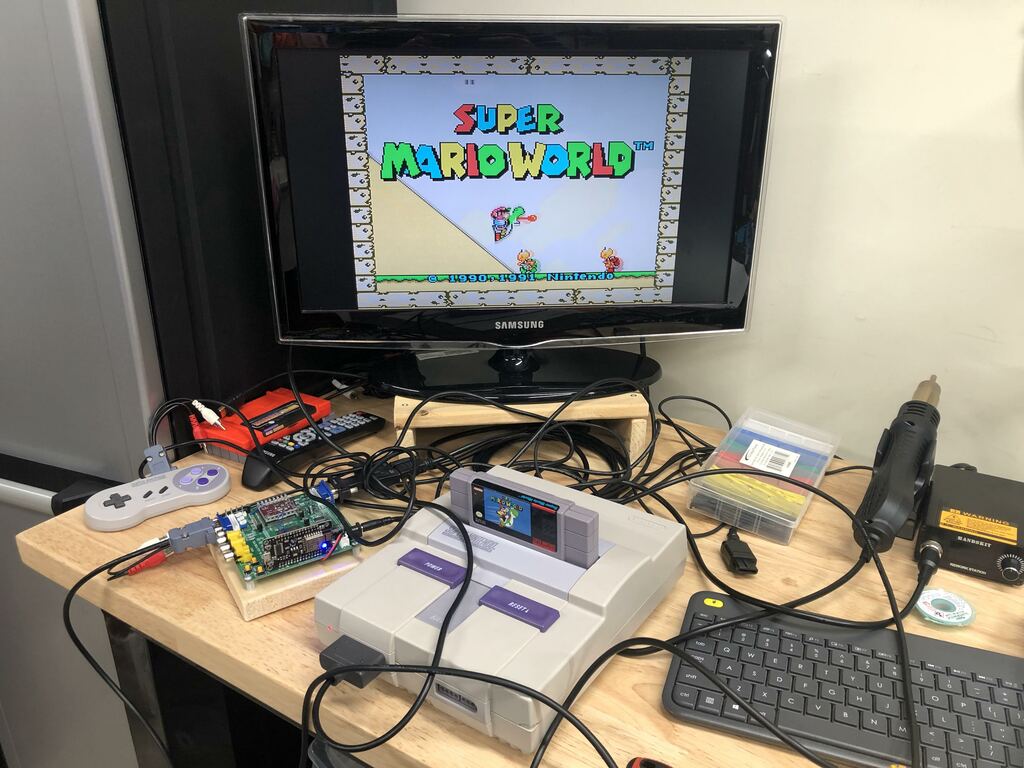
A quick test shows that everything works perfectly:
Thoughts #
This attempt at making the cable was definitely much better than the first. In fact, right after making this one, I took the first one I had made and redid the multiout end on it. A few things that really helped this time around was having some helping hands, as well as Kapton tape.