SNES 2-Chip RGB Filter Mod
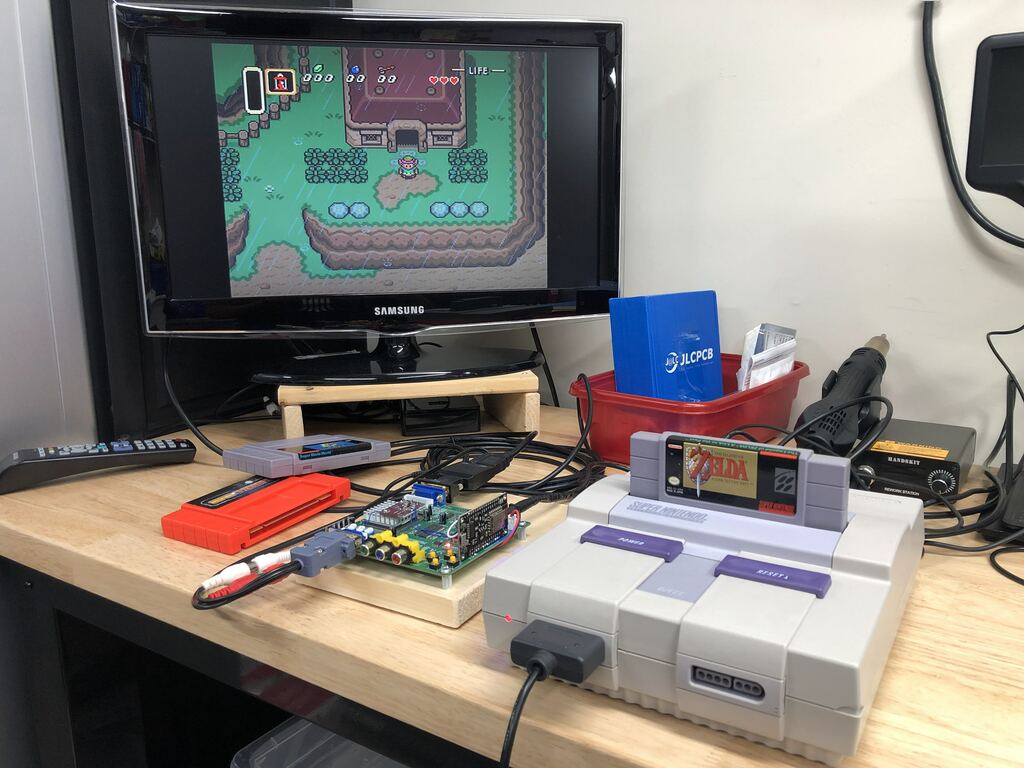
I recently restored my childhood SNES, and although I was able to use a custom cable I made to output RGB, I knew that the video quality was not optimal. The reason for this is that my SNES is an older “2-chip” model, which produces a lower quality signal as compared to the later “1CHIP” models (see this page and this one for more details on the differences). Thankfully, there is a lesser-known mod to improve the 2-chip’s video quality which I successfully installed and share in this post.
Before diving in, I should mention that despite the 1CHIP’s video quality already being very good, there are mods to improve the brightness and to bypass video output filtering. These are covered on RetroRGB and ConsoleMods, but there are no 2-chip mods mentioned to improve video quality there at this time. However, a user by the name of “unmaker” on the ConsoleMods Discord made me aware of this mod by Buttersoft, which is a reworking of Japanese modder Torapu’s initial work. Huge thanks to unmaker for all his help!
UPDATE 2023-03-07: This post covers how to mod a SHVC-CPU-01 revision SNES. Check out this newer post on how to mod a SNS-CPU-RGB-02.
Parts #
This mod requires getting a PCB printed, populating it with a bunch of components, then wiring it up to the SNES main board after making some mods to it. I mostly followed the instructions by Buttersoft on his post, but with a few changes recommended by unmaker.
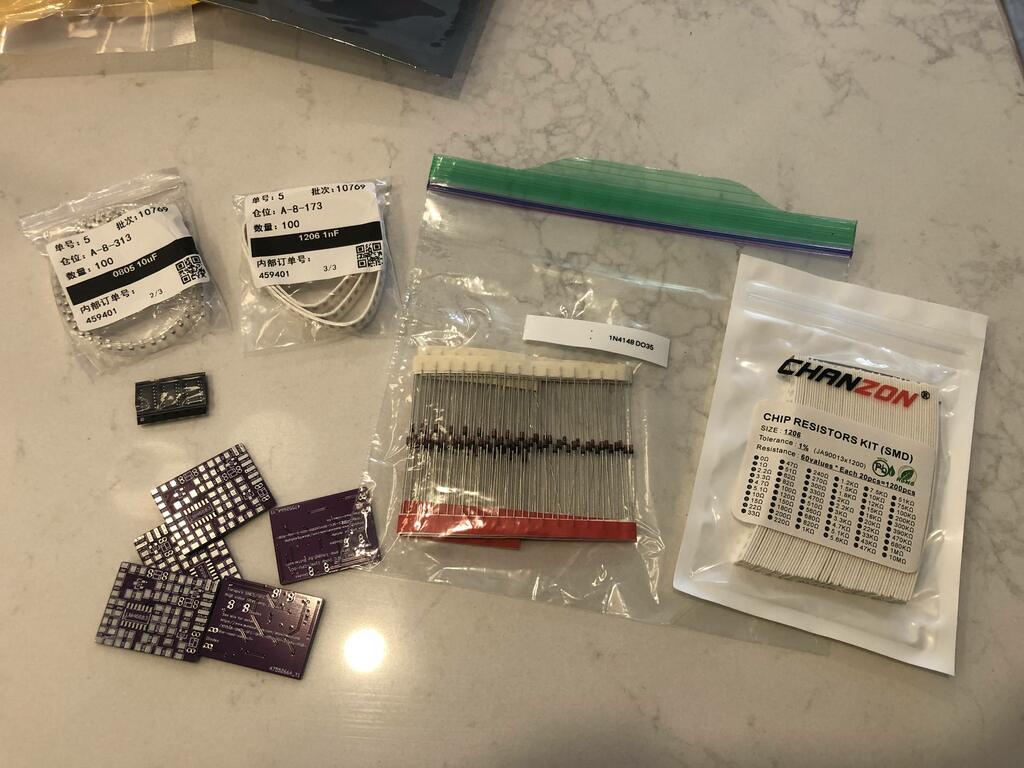
First, the list of parts I bought for this project (prices in Canadian dollars):
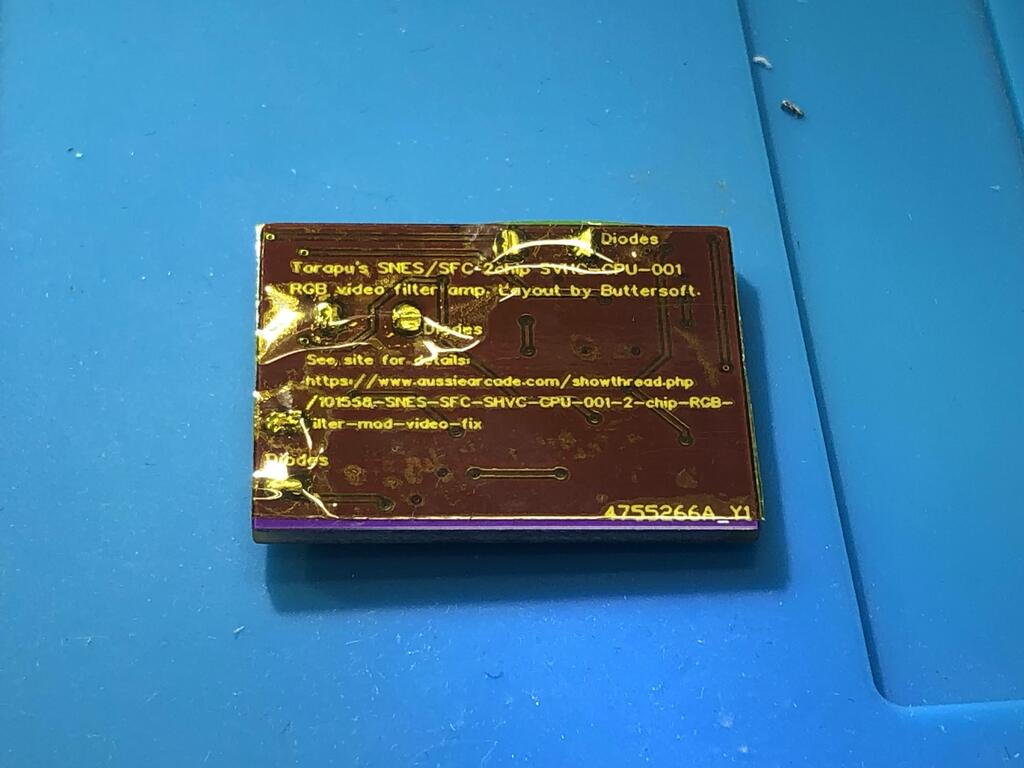
- PCB: Buttersoft made the PCB available on OSHPark here, but it was cheaper for me to get it from JLPCB - $7.57 for 5 boards
- Parts for the PCB:
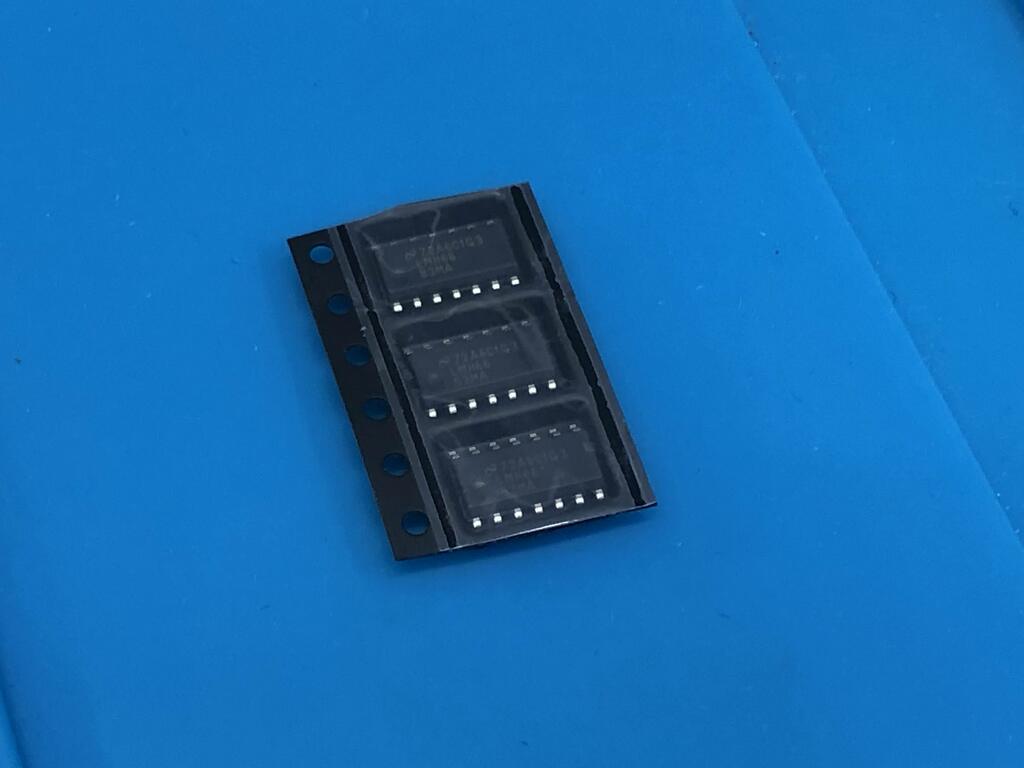
- LMH6683MAX package SOIC14 - - $21 for 3 on Mouser
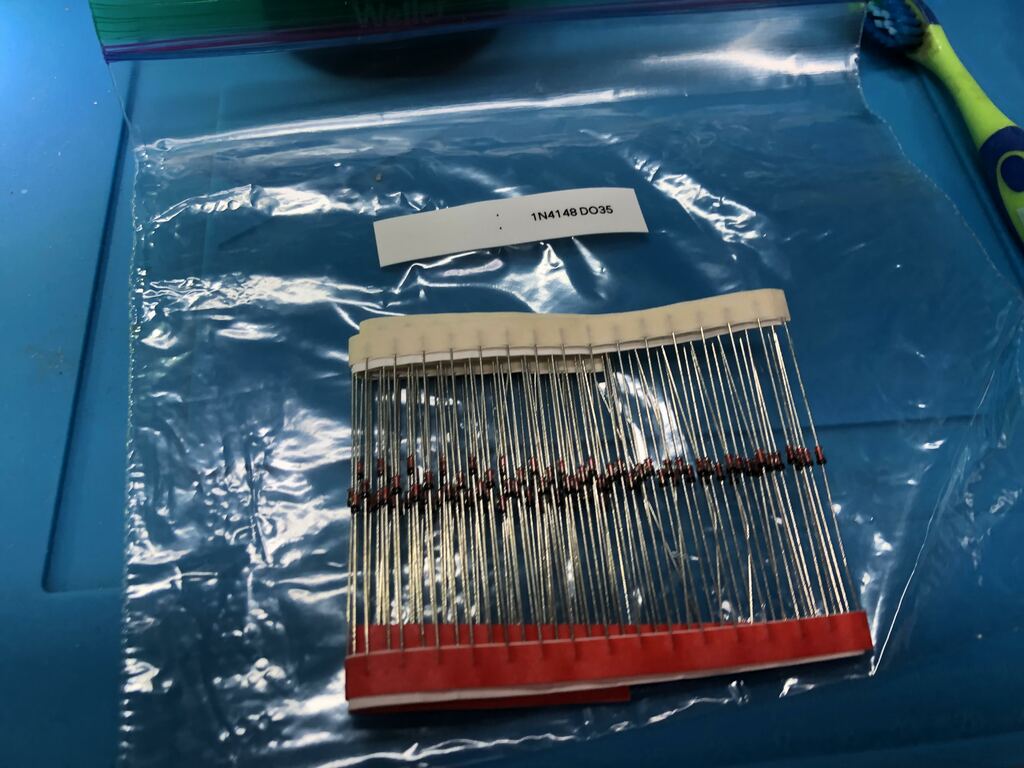
- 6x diodes, 1N4148 DO-35 package - $2.84 for 100 on AliExpres
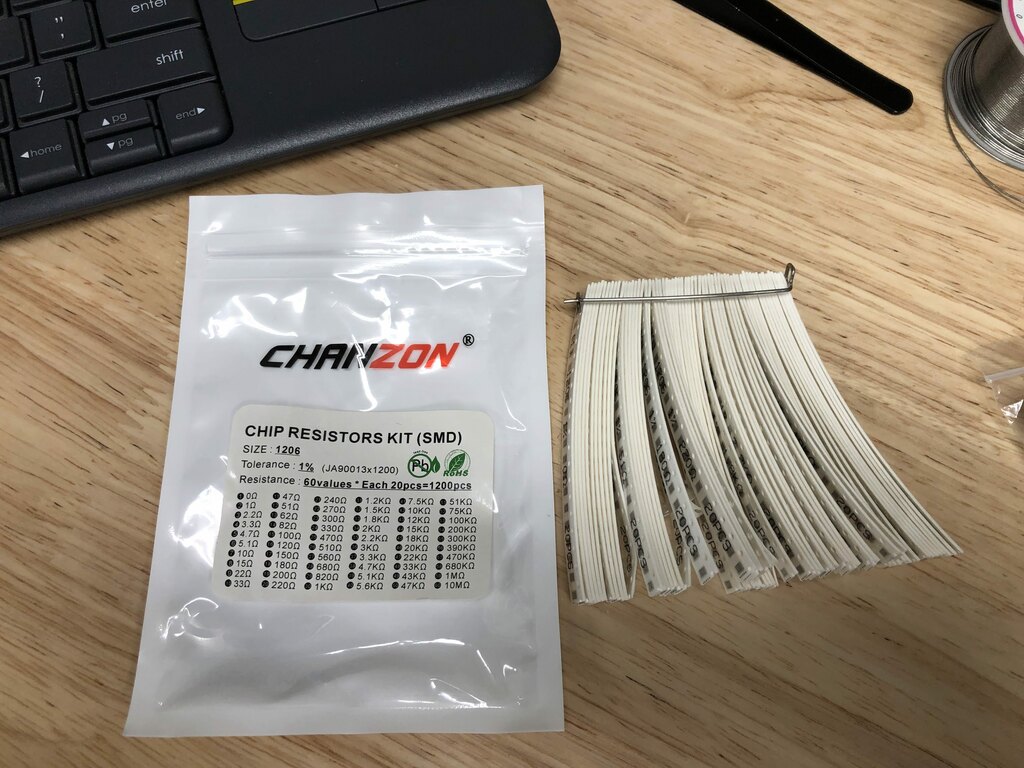
- Resistors 1206 package: 6x 2kR, 3x 300R, 6x 200R, 6x 47R - $7.93 for 1200 piece kit of 60 values on AliExpress.
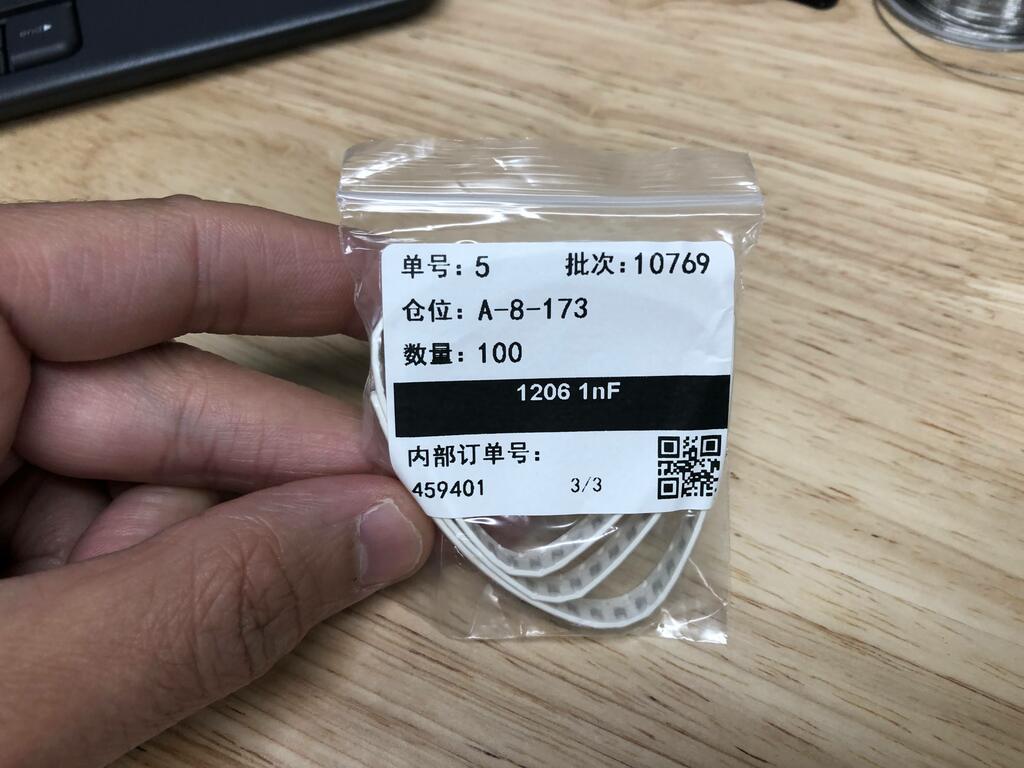
- 6x 1nF 1206 ceramic caps - $1.30 for 100 on AliExpress
- For SNES main board:
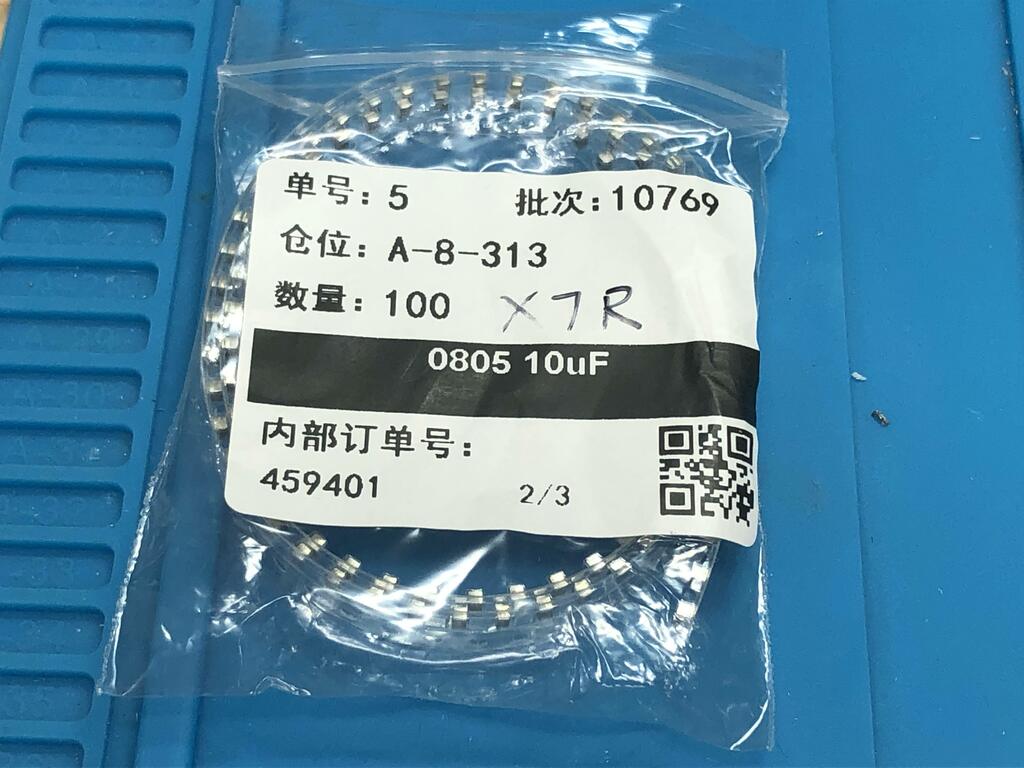
- 8x 10uf X7R 0805 ceramic caps - $1.80 for 100 on AliExpress
In total, it cost me about $43 ($30 USD), but this would allow me to make three mods with lots of parts to spare. I would estimate that a single mod costs about $10 ($7 USD).
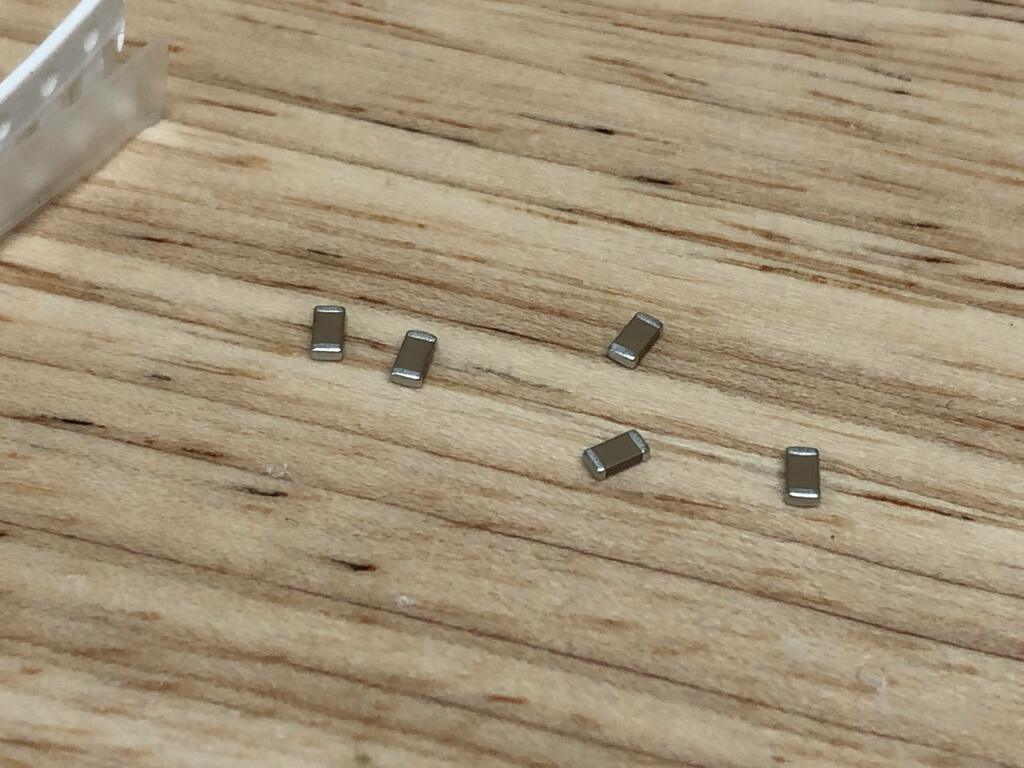
Here are all the parts I received:
The Build #
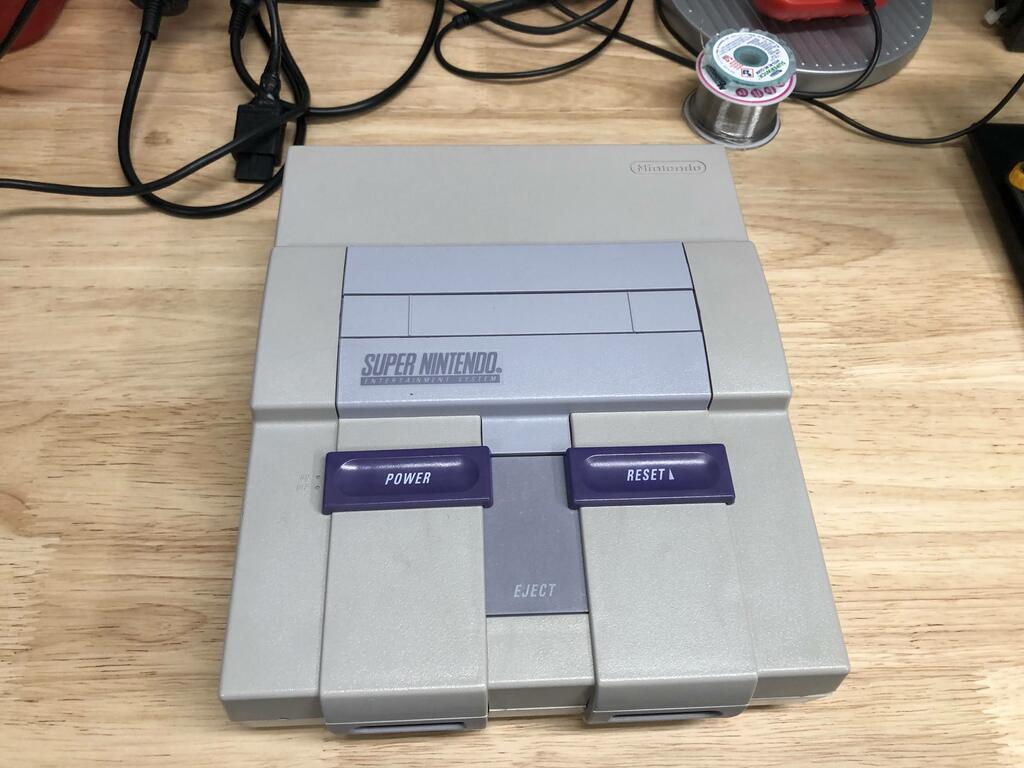
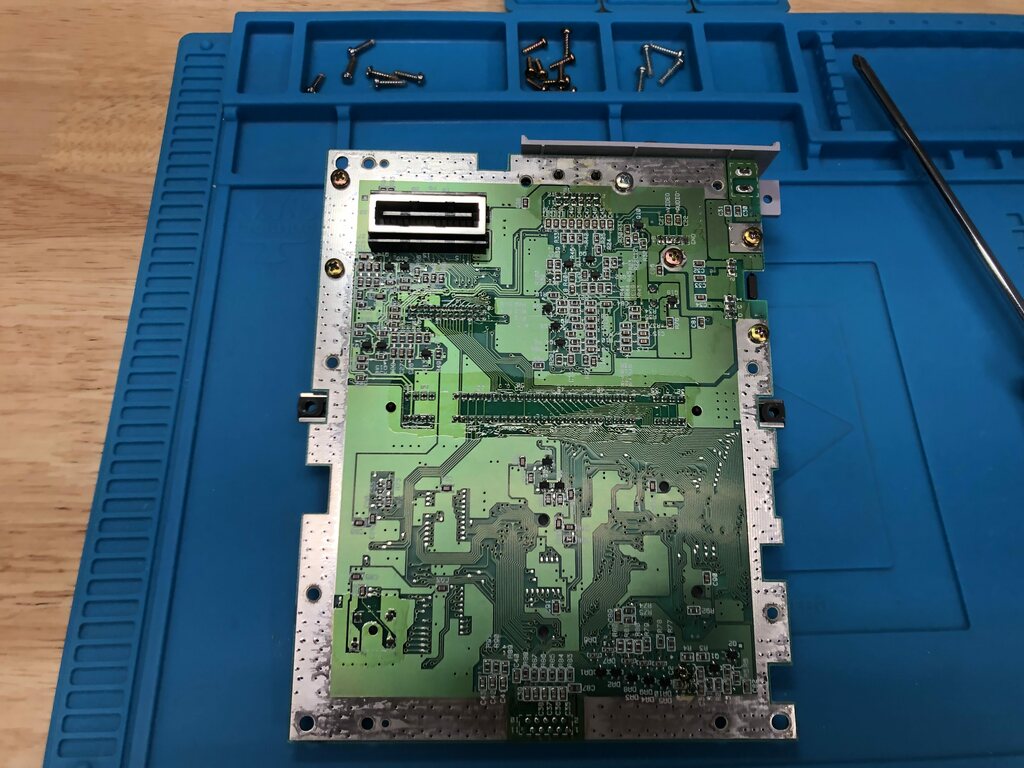
I opened up my SNES and extracted the main board:
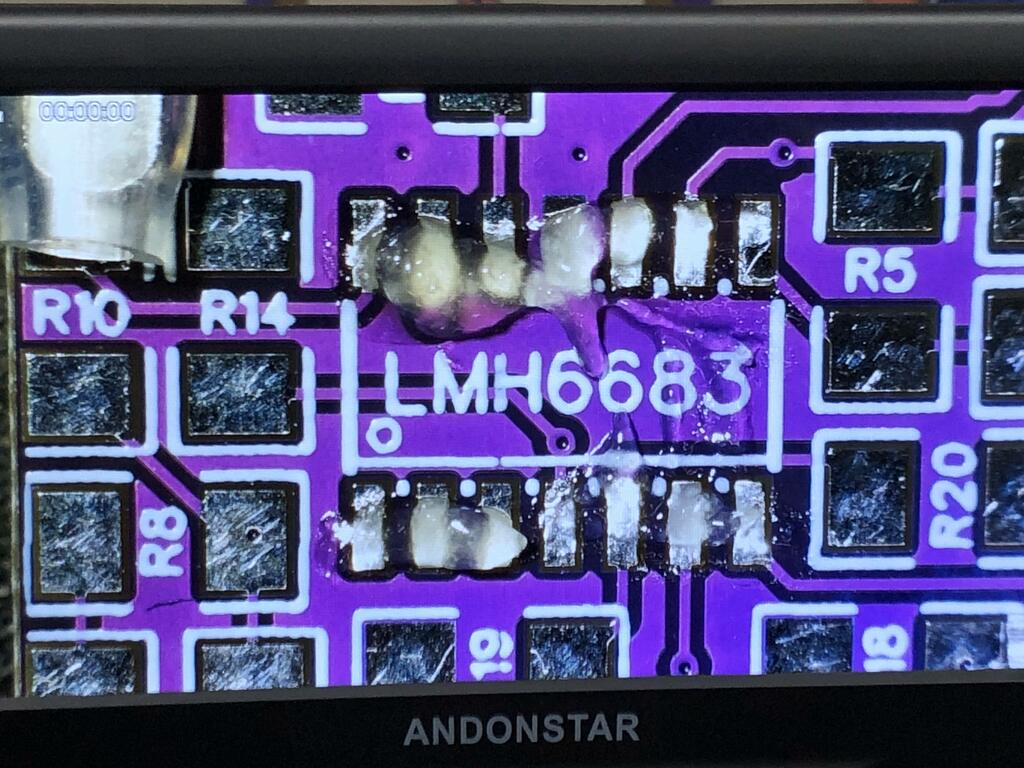
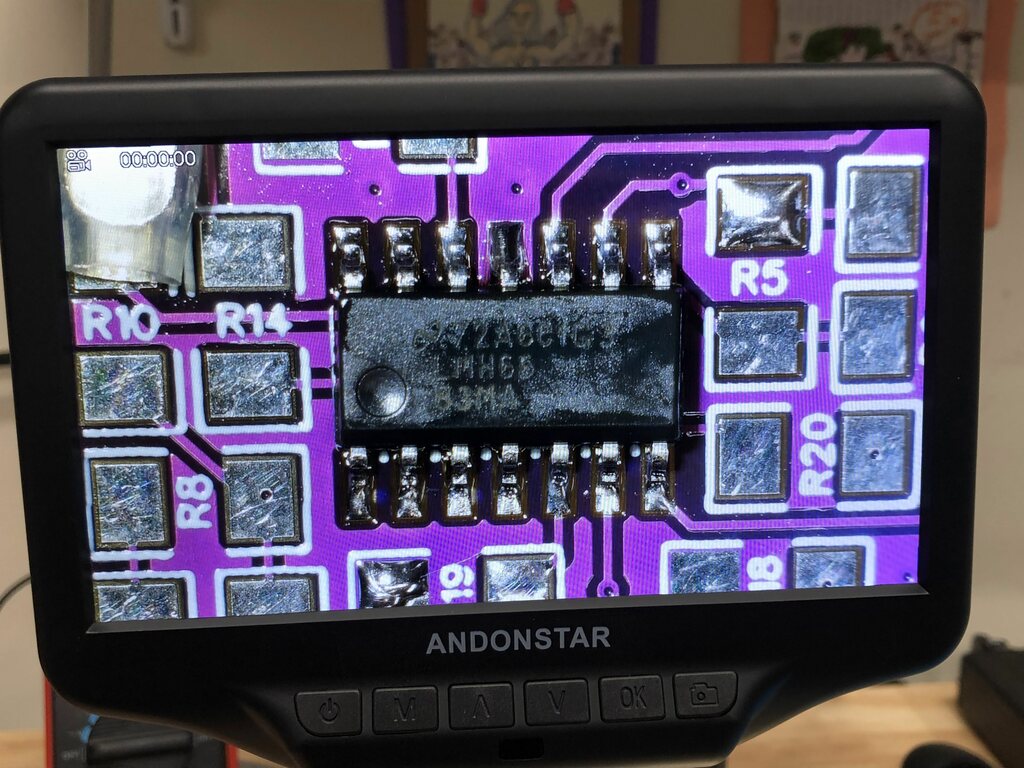
The first thing to do was to populate the PCB with all components. I started with the lowest profile components, and worked my way up. First thing I installed was the LMH6683MAX op amp:
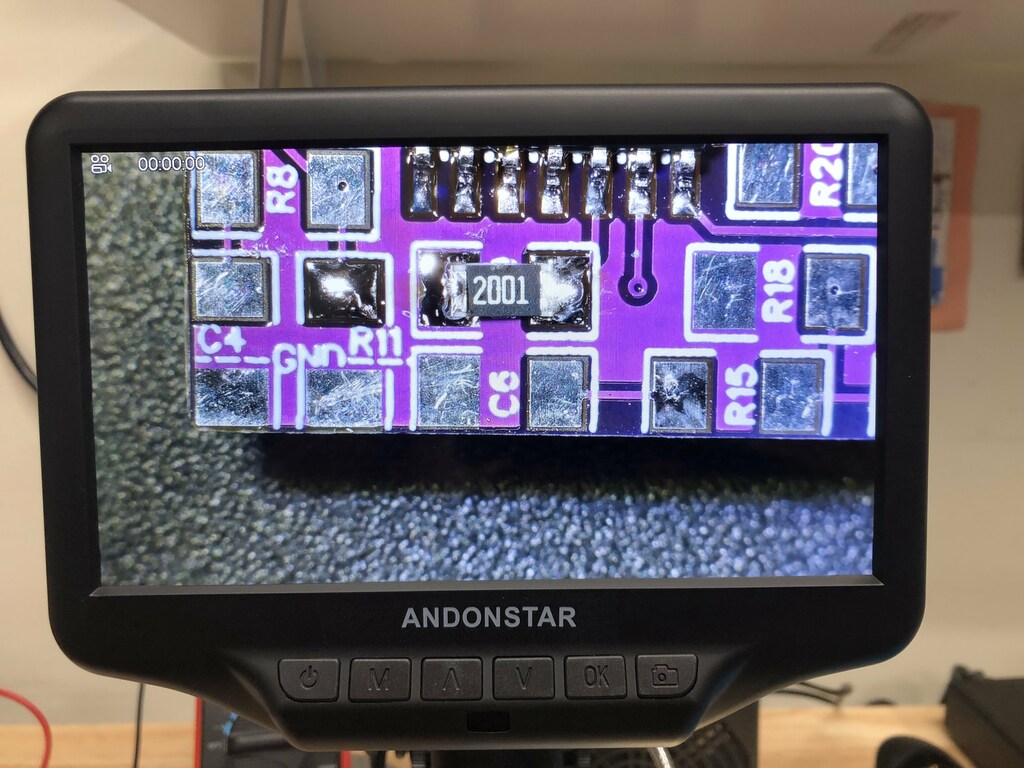
I followed up by installing the resistors:

Then the capacitors:
I don’t have a pic of the caps installed alone. You’ll see them in the final PCB pic below.
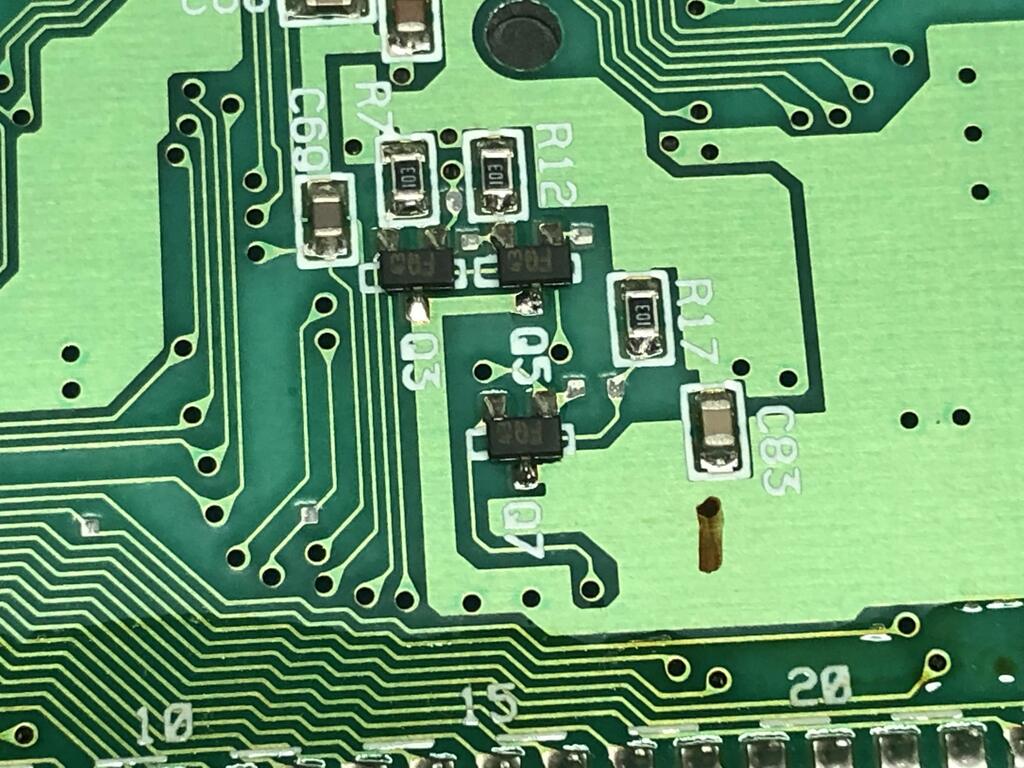
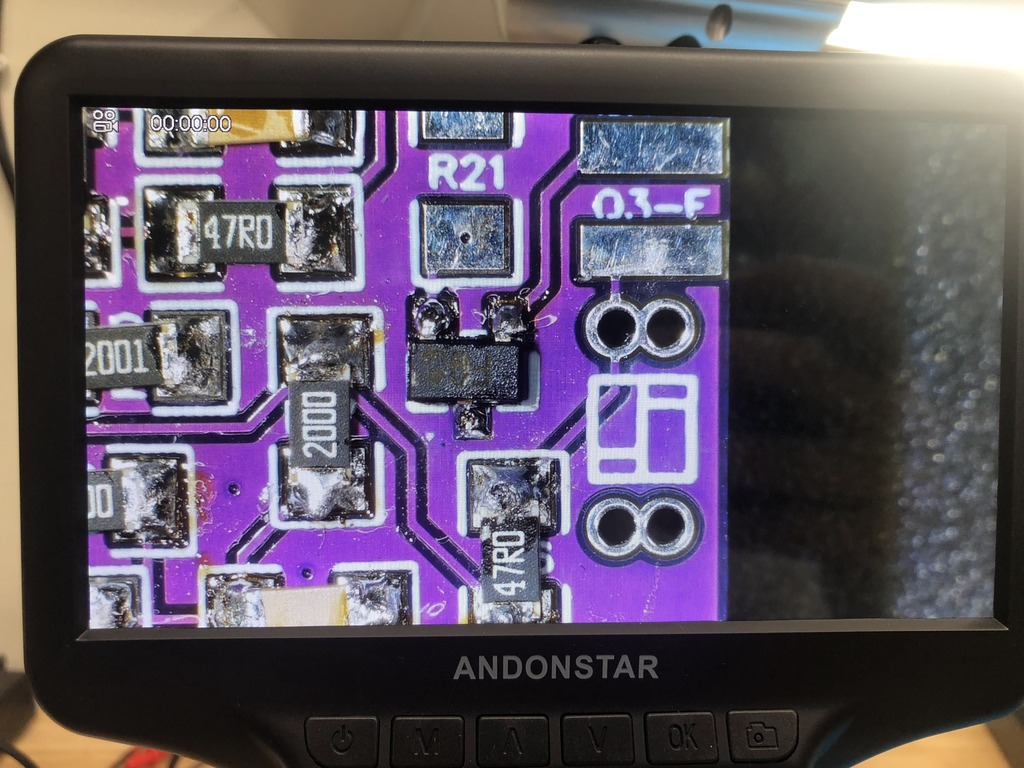
There are three transistors on the main SNES board at Q3, Q5, and Q7 that need to be removed, and installed onto the PCB. I desoldered them from the main board using a hot air rework station:
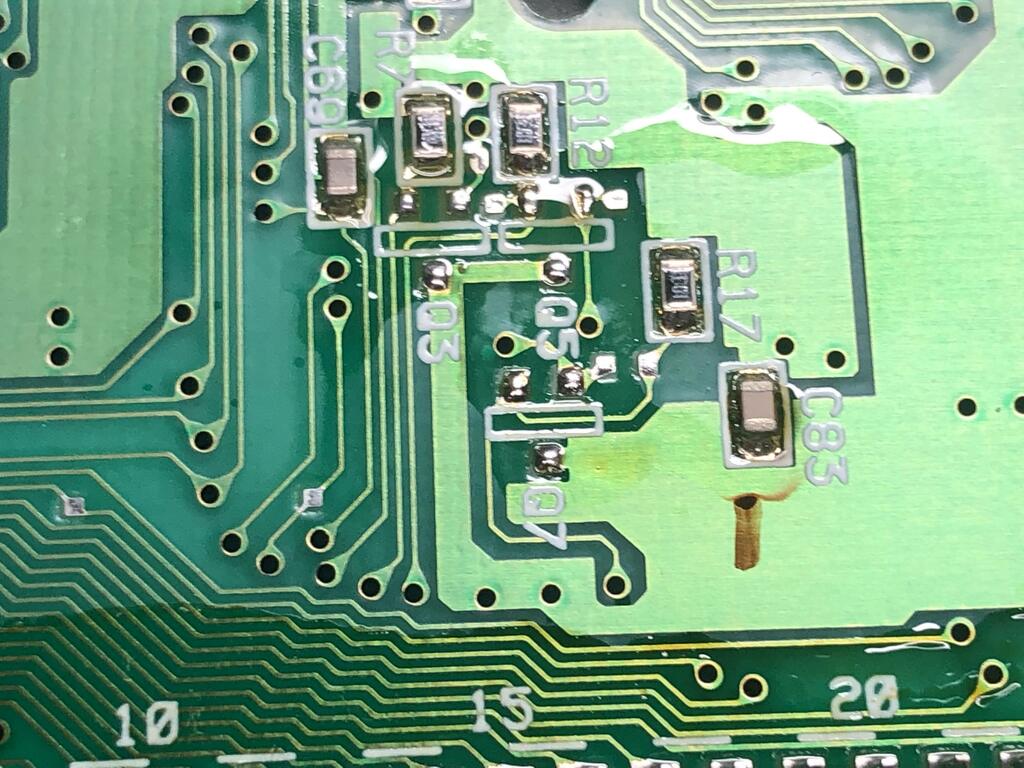
And soldered them onto the PCB:
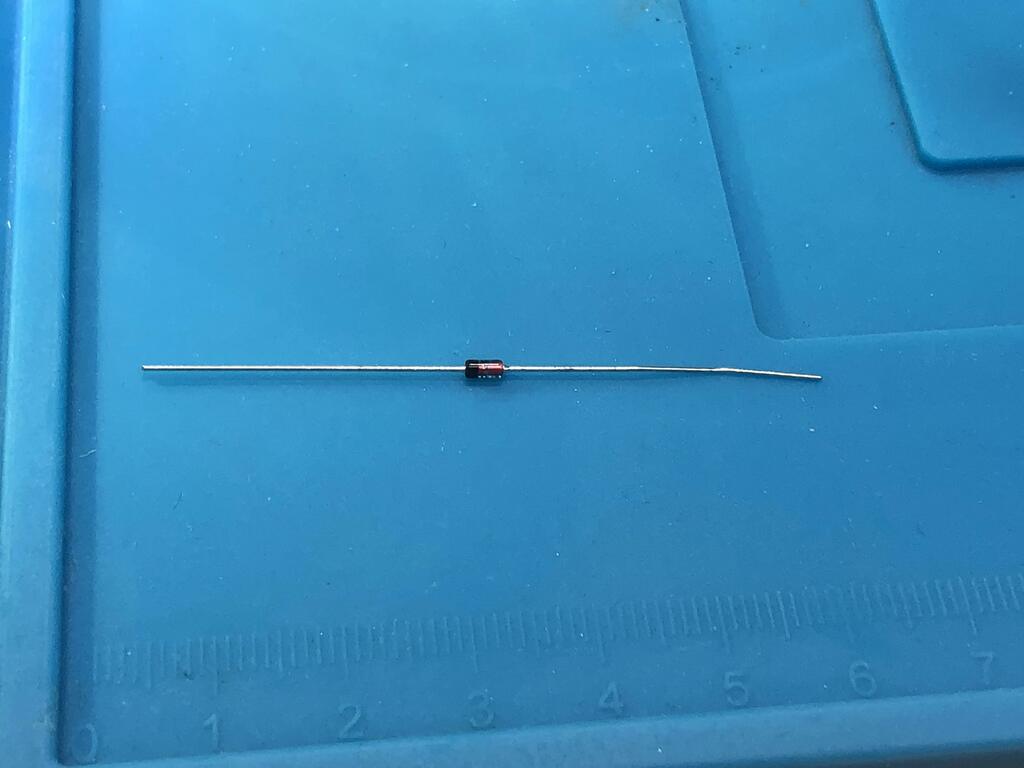
Finally, I installed the 6 through-hole diodes:
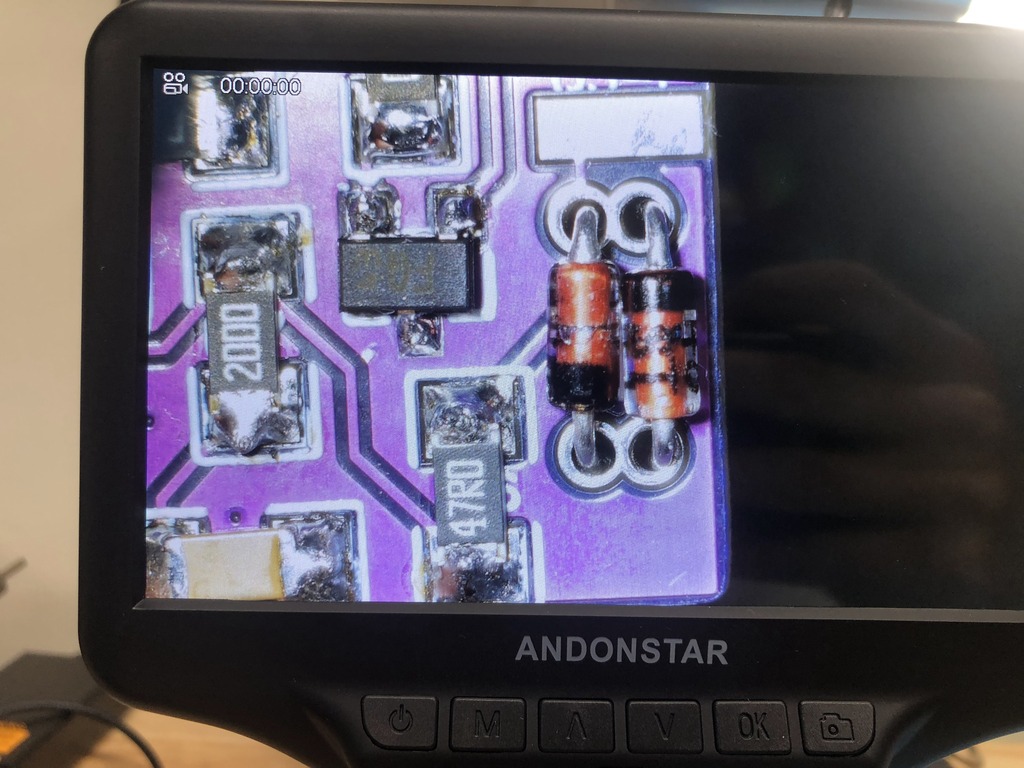
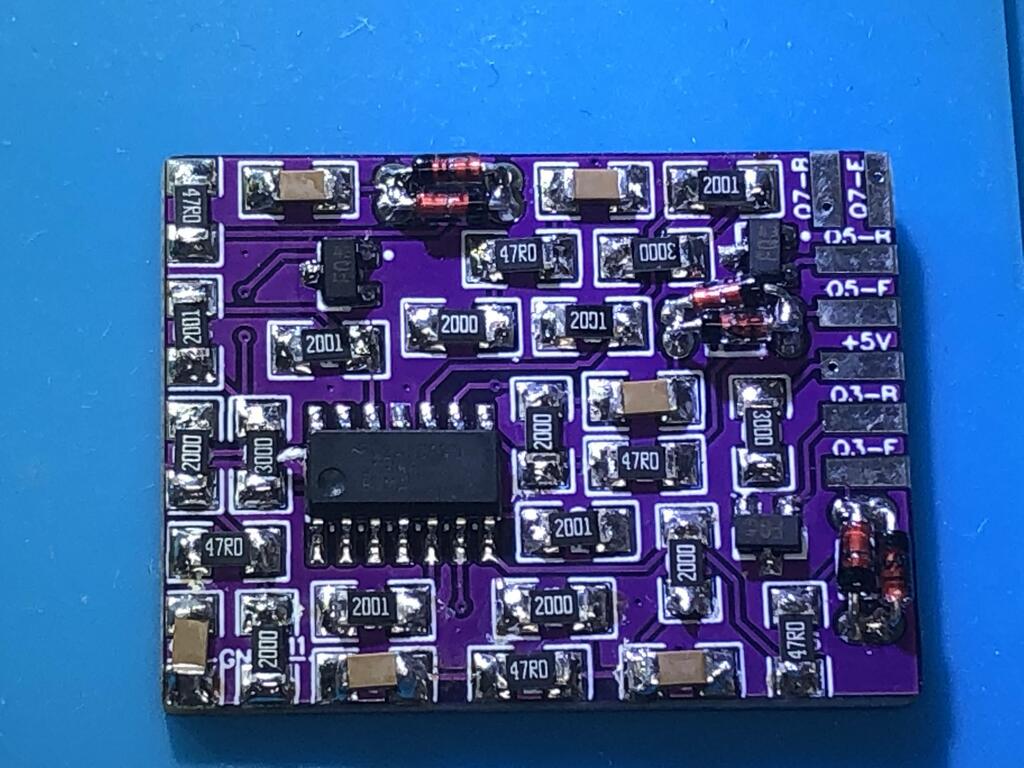
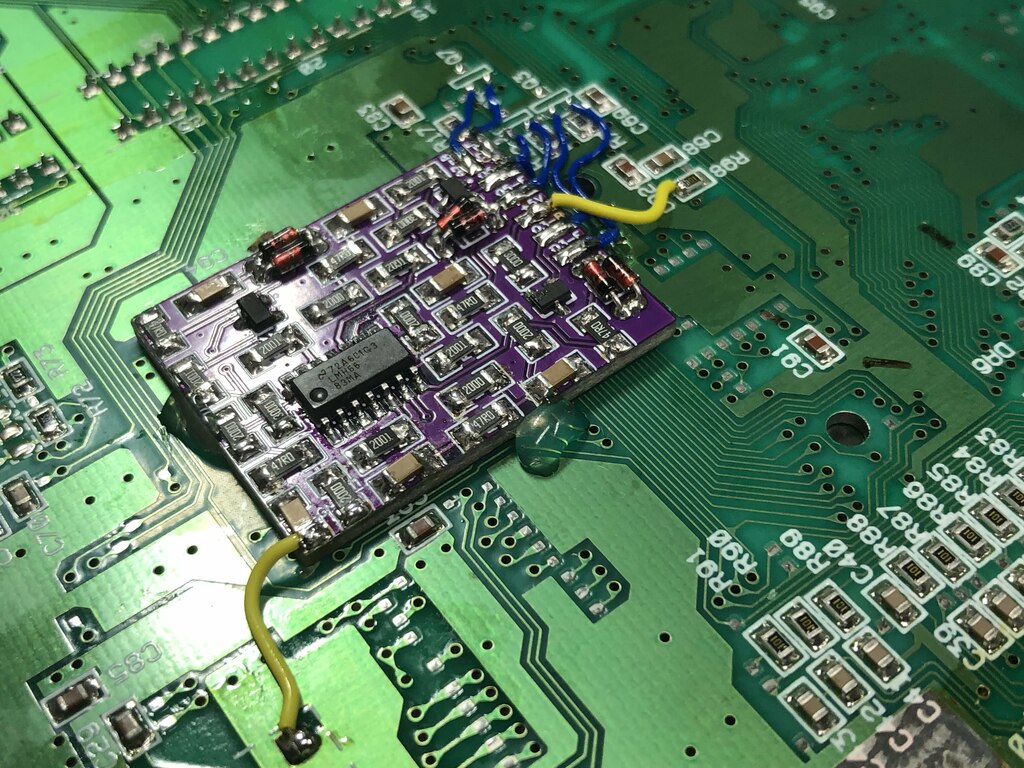
And here’s the PCB fully populated:
Next it was time to position it on the SNES main board. I added Kapton tape on the underside of the PCB to ensure no shorts, then positioned it on the board.
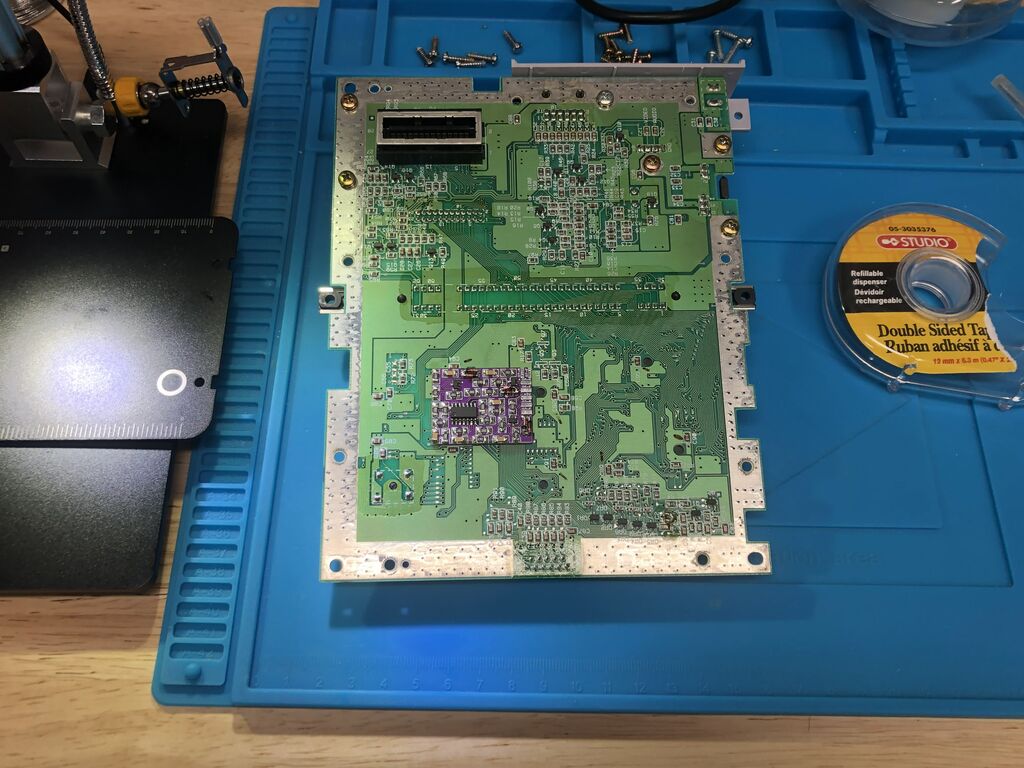
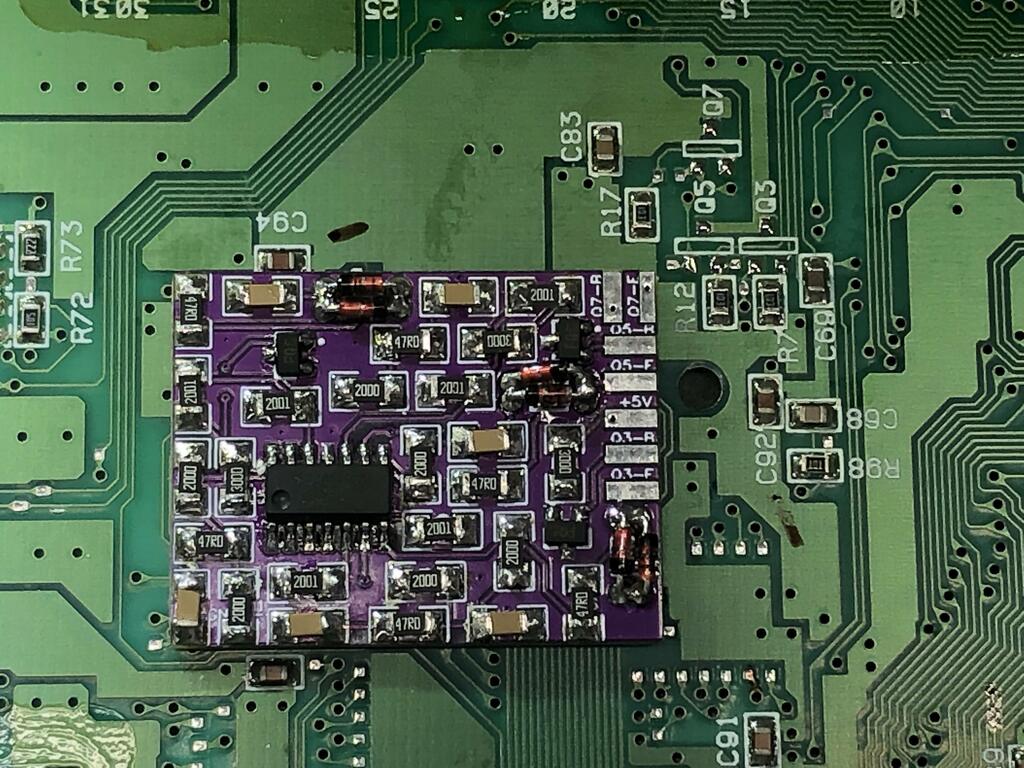
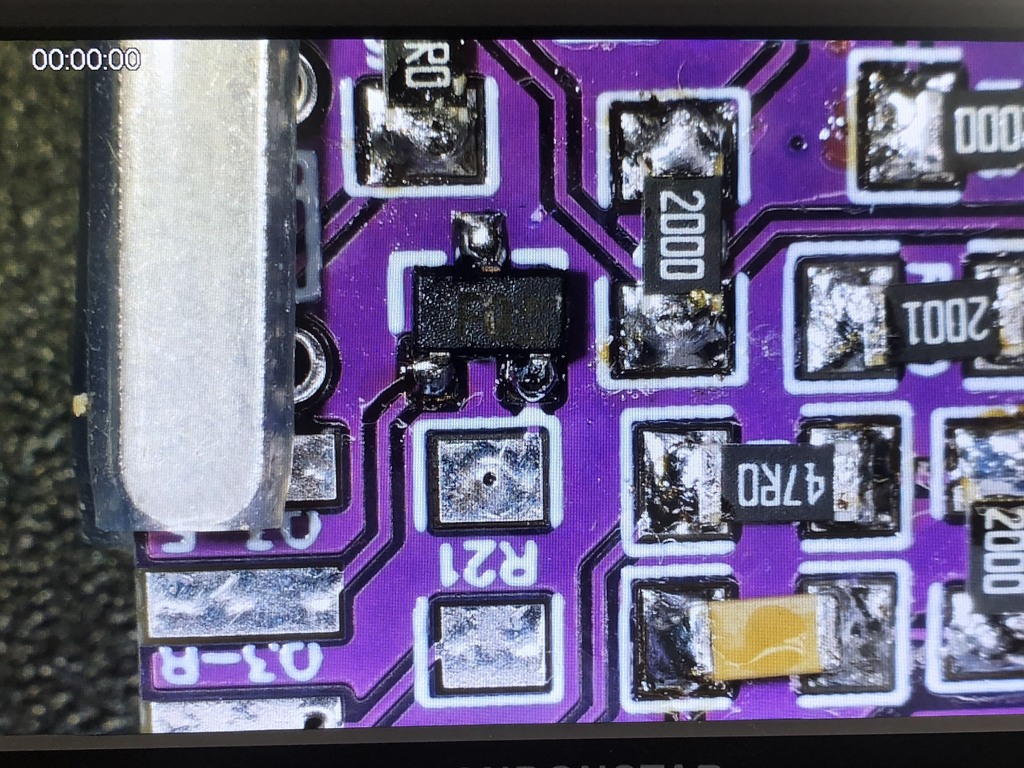
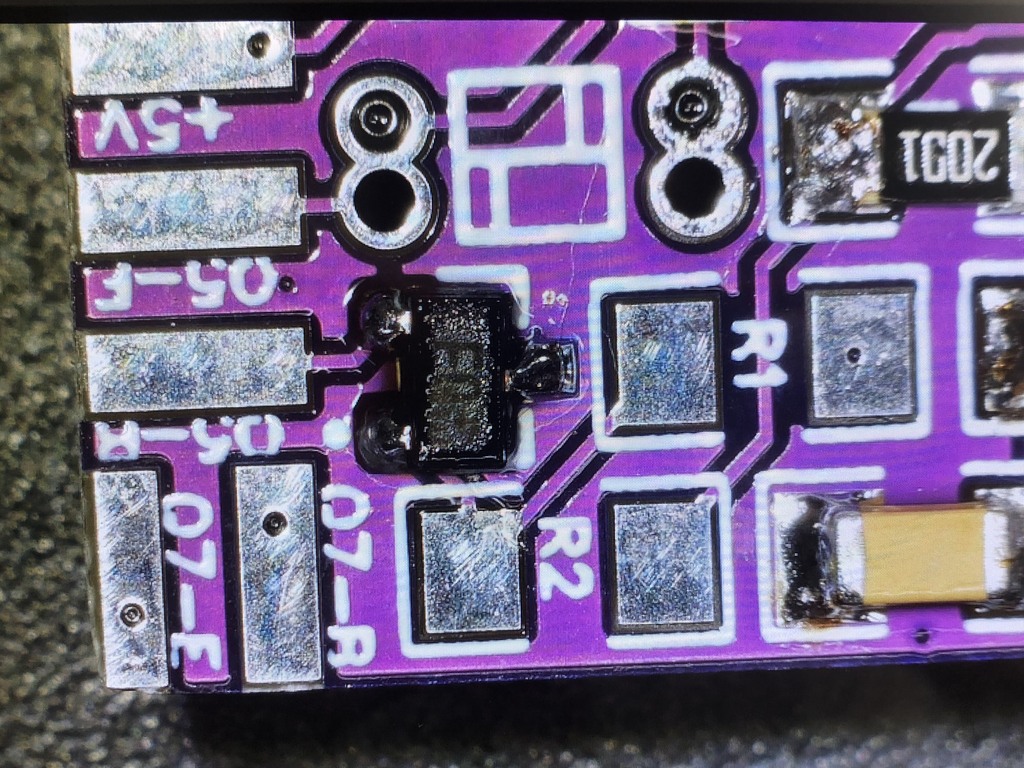
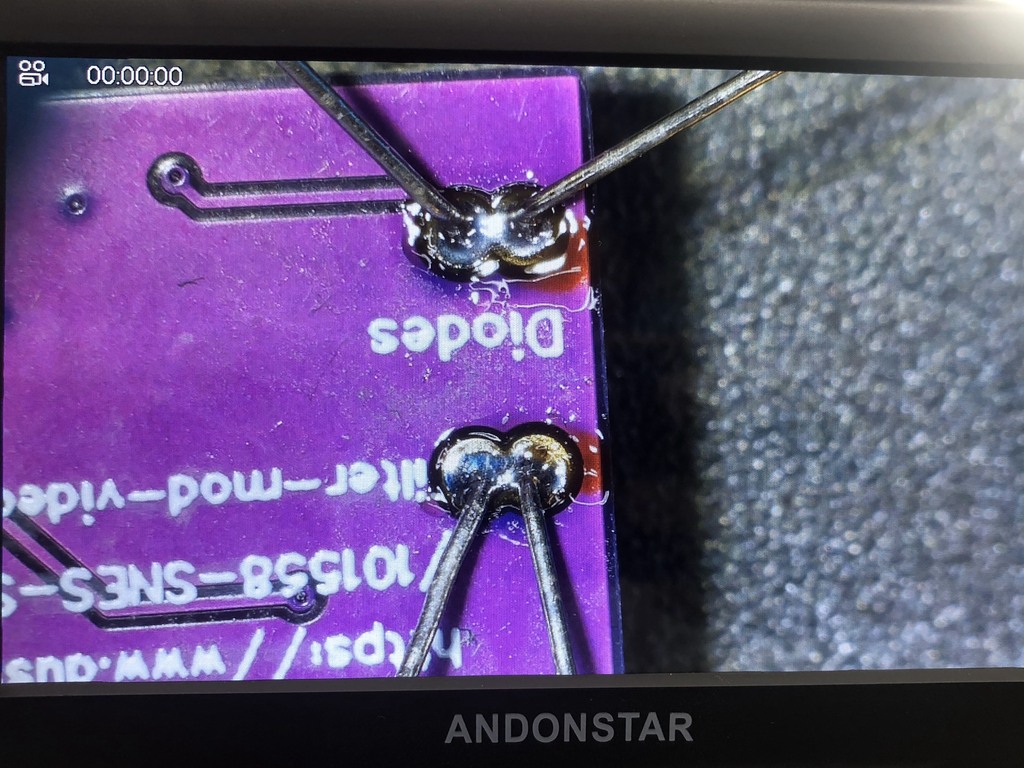
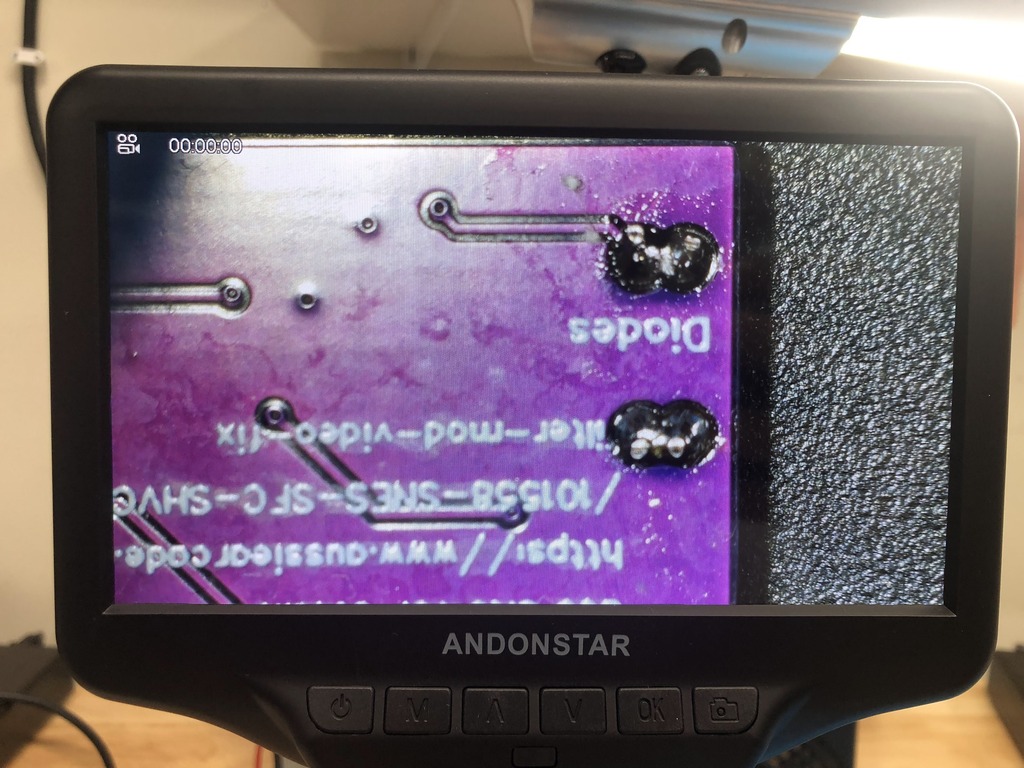
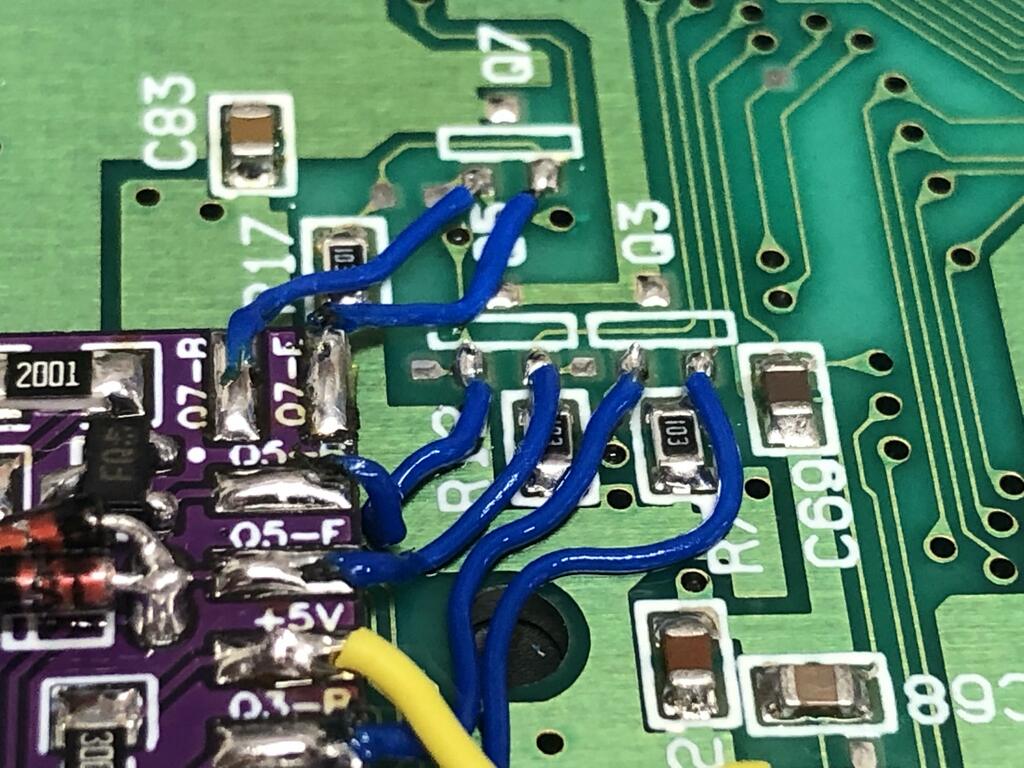
Next I soldered the wires from the PCB to the board. I connected the pads labelled Q3-E and Q3-B to the emitter and base pads, respectively, of the Q3 transistor I had removed earlier on the main board. Same for Q5 and Q7. I used blue 30 gauge wires for these. I connected GND (bottom left), and +5V (right side to R98) using yellow 28 gauge wire:
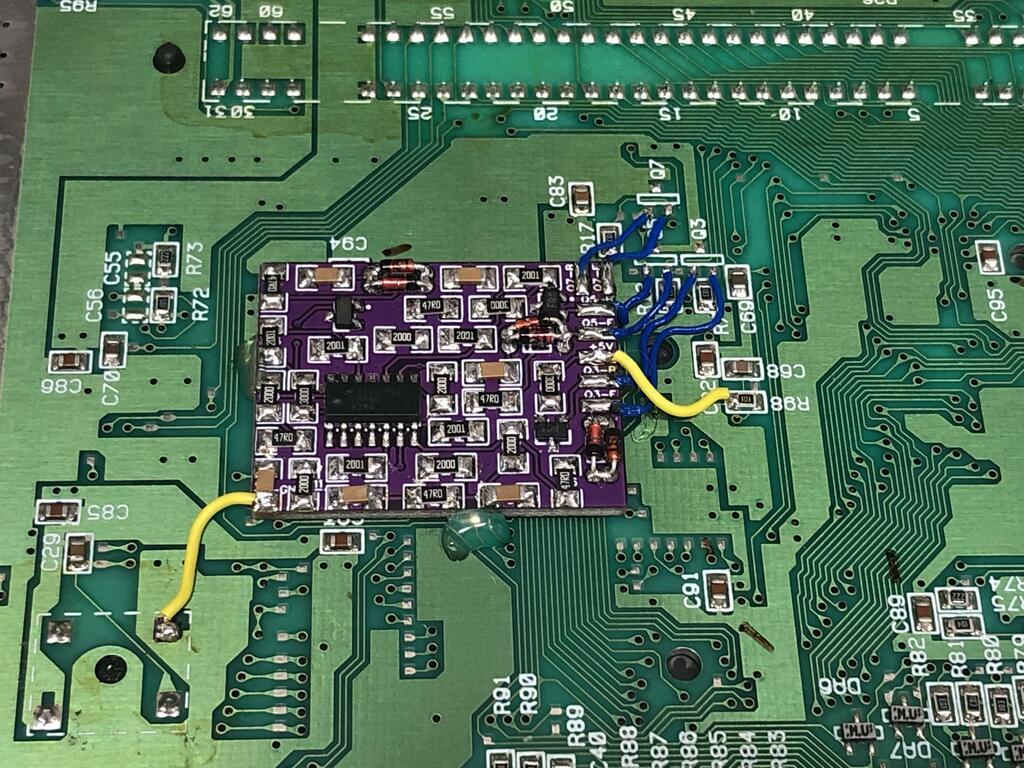
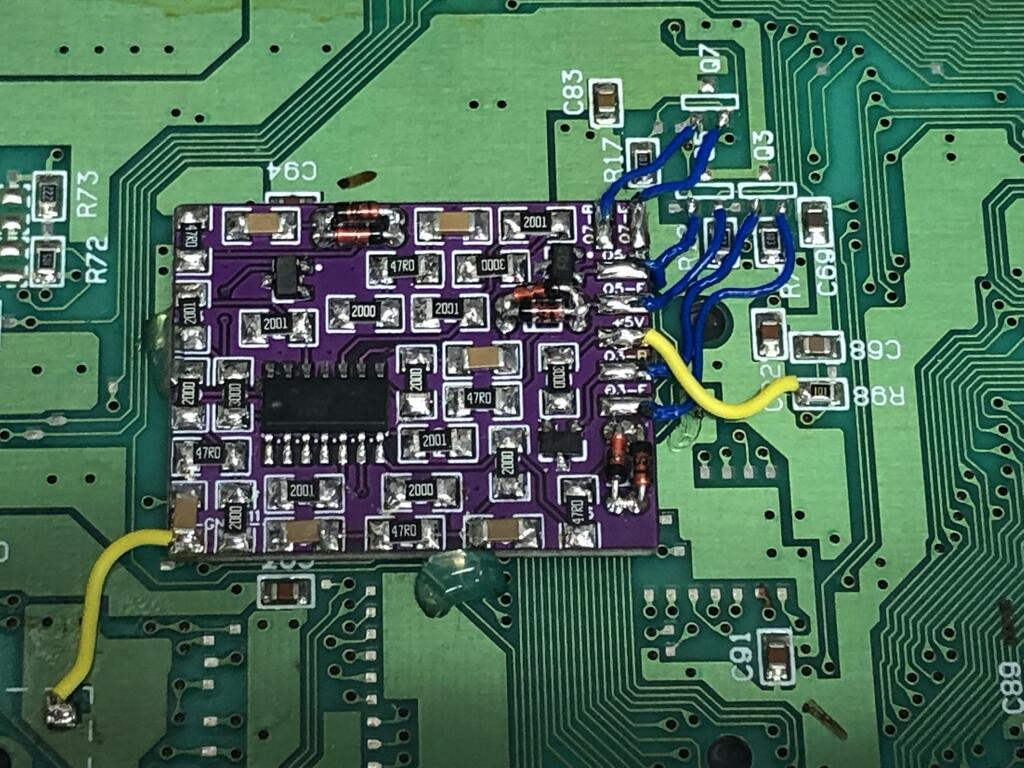
You can see that I used hot glue to secure the PCB in place above. Below is a close-up of the transistor connections:
Finally, the last part of the mod is to beef up the caps on the main board. Buttersoft suggests replacing C83, C92, and C94 with 10uF caps, but unmaker recommended instead to stack 10uF X7R caps on top of the existing ones, and to include 5 more caps for a total of 8: C83, C89, C90, C91, C92, C93, C94, and C95:


With the mod install complete, I loosely put everything together to give it a test. It worked perfectly!
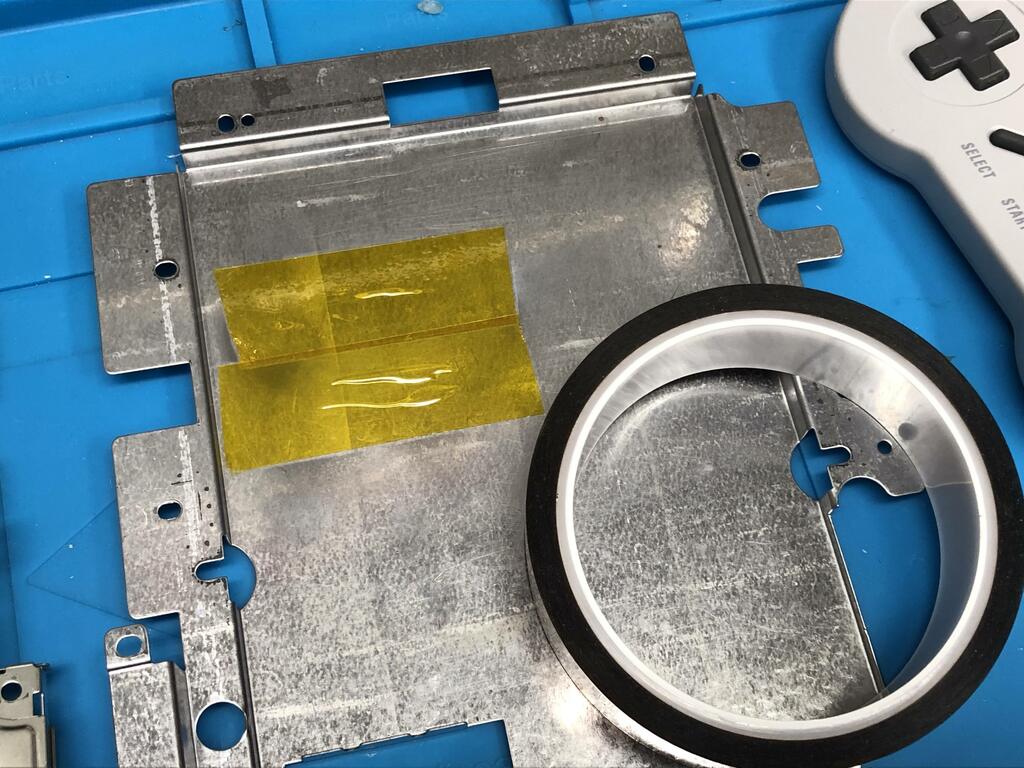
Before closing up everything, I stuck some Kapton tape on the RF shield to make sure it wouldn’t short against the new PCB:
I put everything back together and gave it a final test:
Comparison Screenshots #
I took some pictures before and after the mod. I don’t have a capture card setup, so these are pics of my TV screen using my iPhone, so the quality isn’t amazing. However, even at this lower quality, the differences are there.
Here’s the Super Mario Bros. 3 title screen. You can see that the left side (before the mod) is fuzzier, while the right side (after the mod) is more crisp:

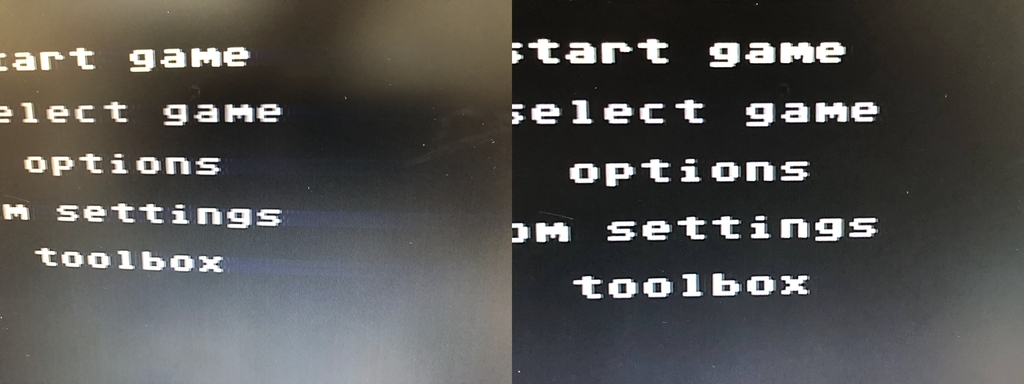
In the main menu of my clone Everdrive, you can see that before the mod, there’s a blue streaking to the right of the text, while post-mod it’s completely gone:
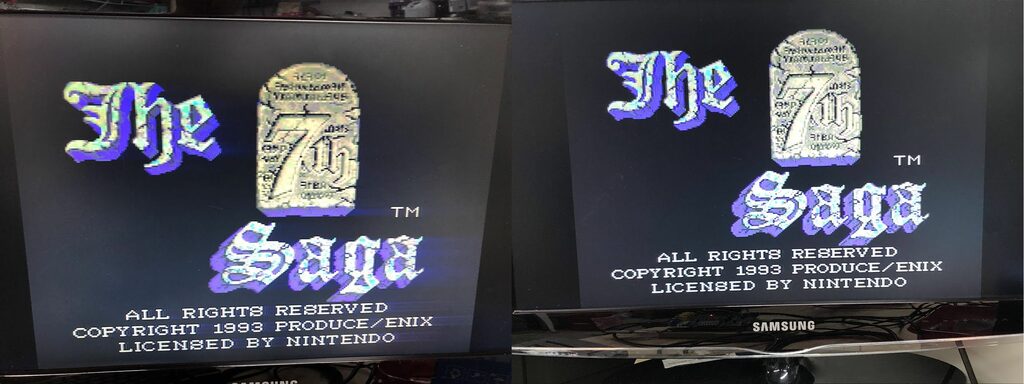
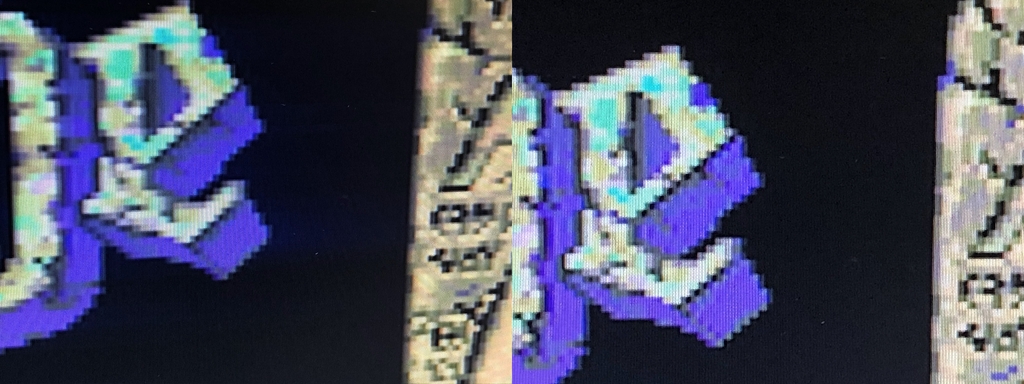
The blue streaking is also very obvious on the 7th Saga title screen - again, gone with the mod installed:
Thoughts #
I am very happy with the results of this mod, and would definitely recommend it for anyone with a 2-chip SNES. It does require soldering small components to a PCB, so it’s not really for novices. I also highly recommend having a microscope.
At this point, I think this is one of the only mods that improves the video quality of 2-chip SNESes. Recently, Voultar has teased that he’s been working on a similar mod. I look forward to seeing how that one works. In the meantime, I’m going to enjoy my crispy pixels!