gbs-control Custom Component Cable
A while ago, I put together the awesome gbs-control scaler to allow me to scale up low-resolution signals from my old consoles, like the NES, SNES and PS1, to my modern TV. Well, the gbs-control isn’t only an upscaler; it can maintain or even downscale input signals so that you can connect modern consoles to old 240p or 480i dipslays like CRTs. On top of that, the gbs-control features an experimental option that makes it output a YPbPr (aka “component”) signal instead of RGB on its DB15 output connector. This is particularly interesting for me because my CRT has a component input, but no RGB input, so with the gbs-control, I should be able to connect my RGB-modded consoles to my CRT and enjoy the much higher quality signal. In this post, I go over how I made a cheap, custom cable to do exactly that.
The feature that enables outputting YPbPr instead of RGB can be found in the Settings page of the gbs-control web UI:
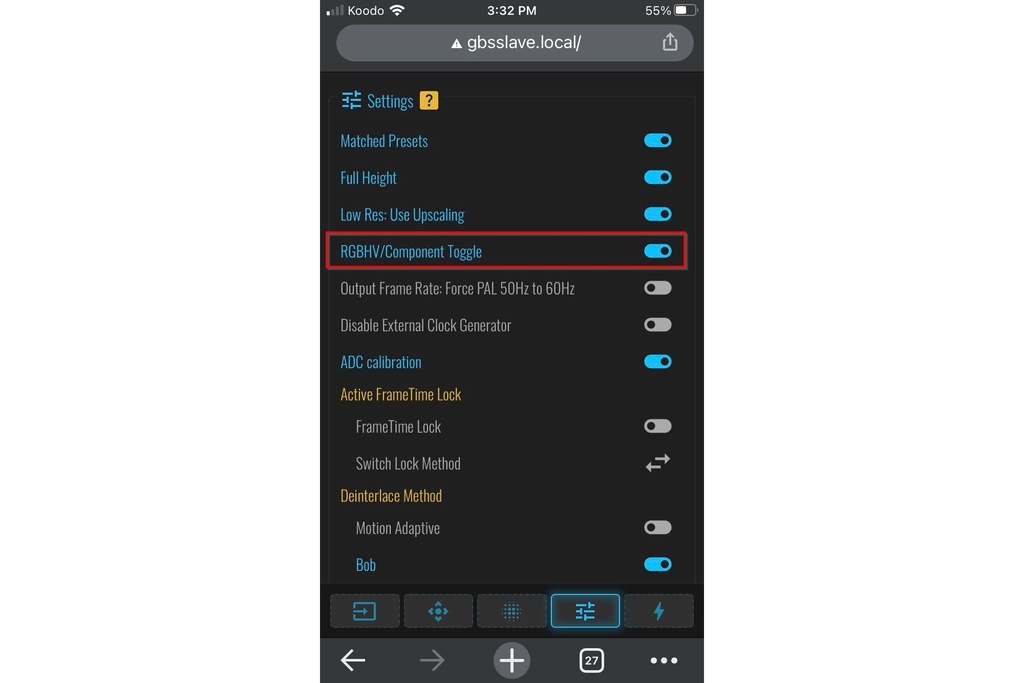
When enabled, the gbs-control outputs Y + sync (component green) on its DB15 output pin 2, Pb (component blue) on pin 3, and Pr (component red) on pin 1. All we need, then, is a cable that can carry these three signals, along with ground, to three RCA male connectors. On top of the video signal, we also need a way to carry stereo audio.
Parts #
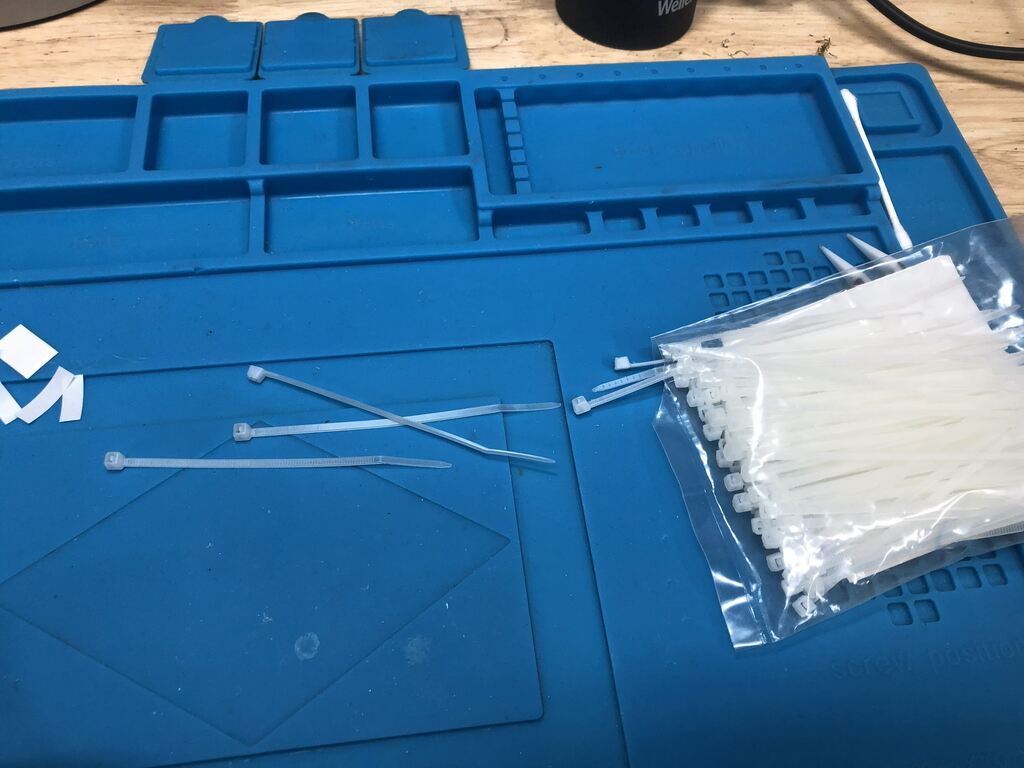
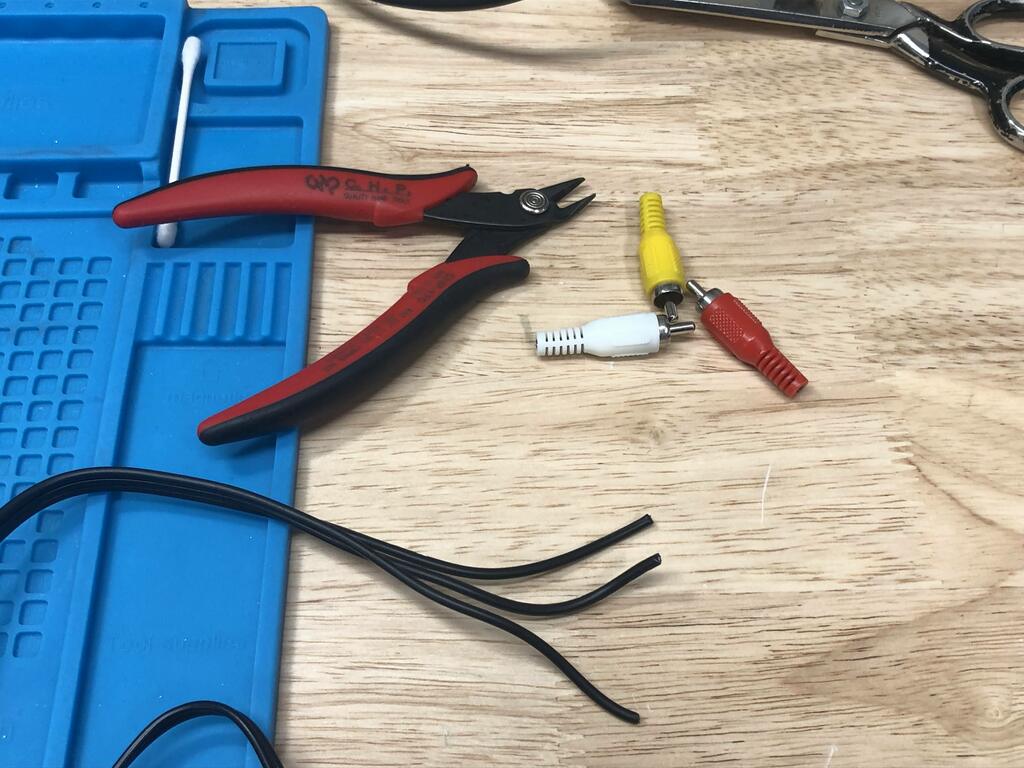
Here are the parts I bought to build this cable:
- DB15 male connector - this connects to the gbs-control’s output port, and will carry YPbPr + Sync + Ground.
- 3-RCA male to male A/V cable - one end is wired to the DB15 connector, the other end goes to the TV’s YPbPr (component) input.
- 2-RCA female to male A/V extension cable - this is simply be used to pass audio through to the TV. I actually bought a 3-RCA extension as it was cheaper.
In total, I’d say it probably cost me less than $5 total.
The Build #
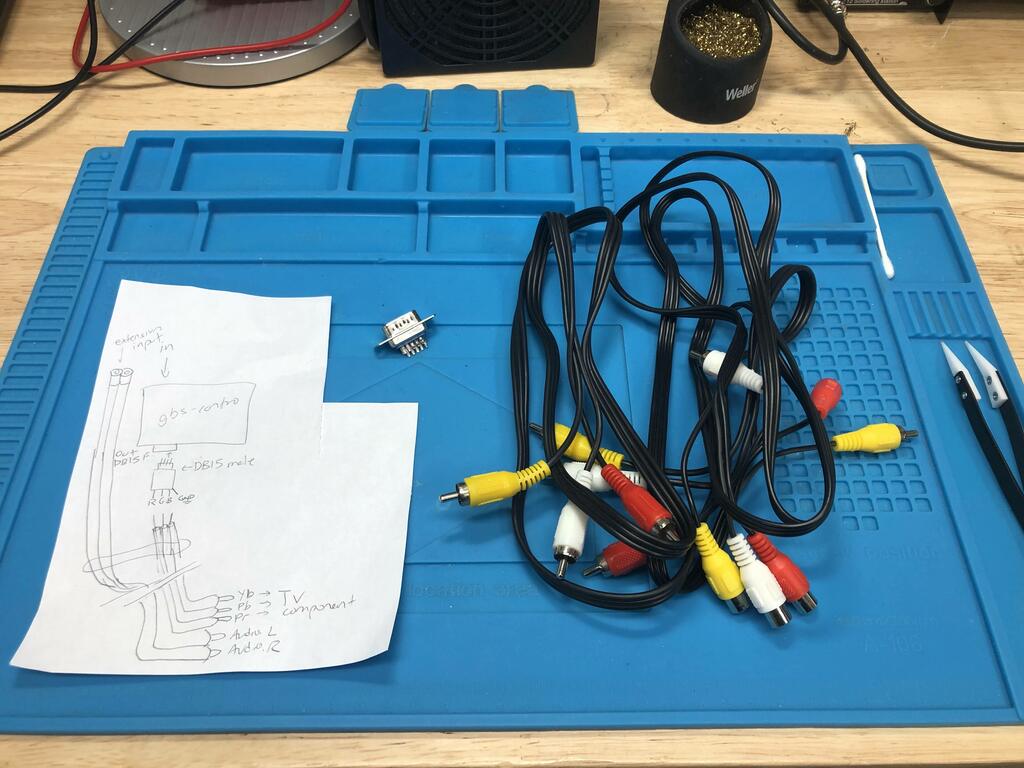
Here are the parts I bought, along with a little diagram I drew of what I was going to build:
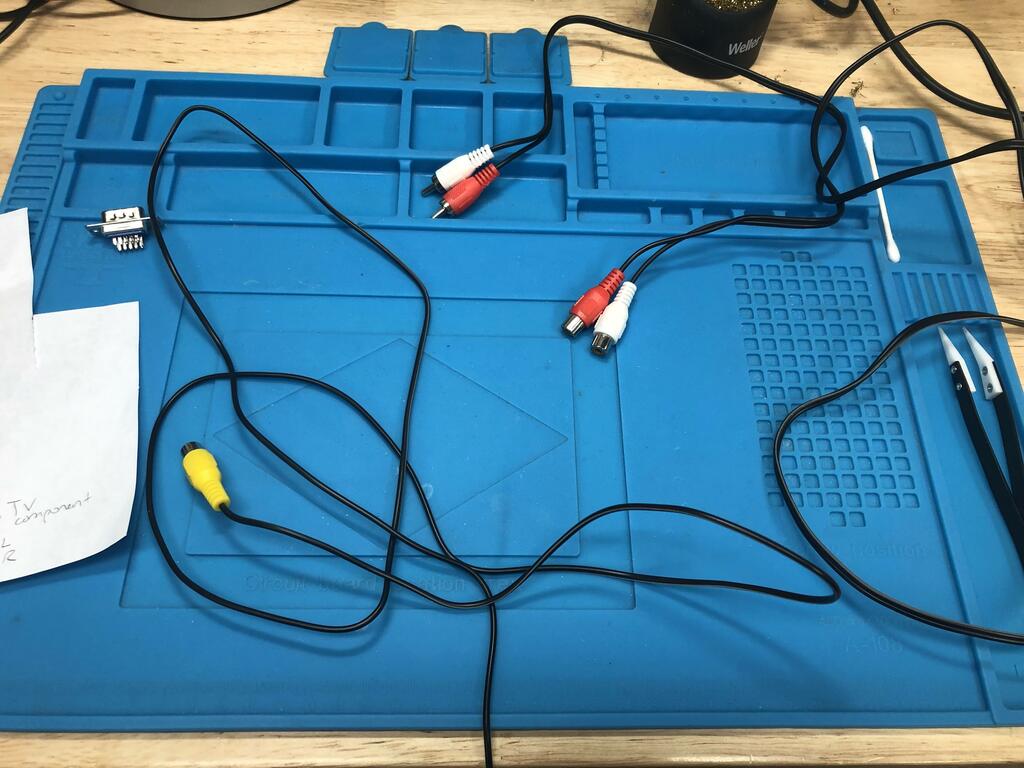
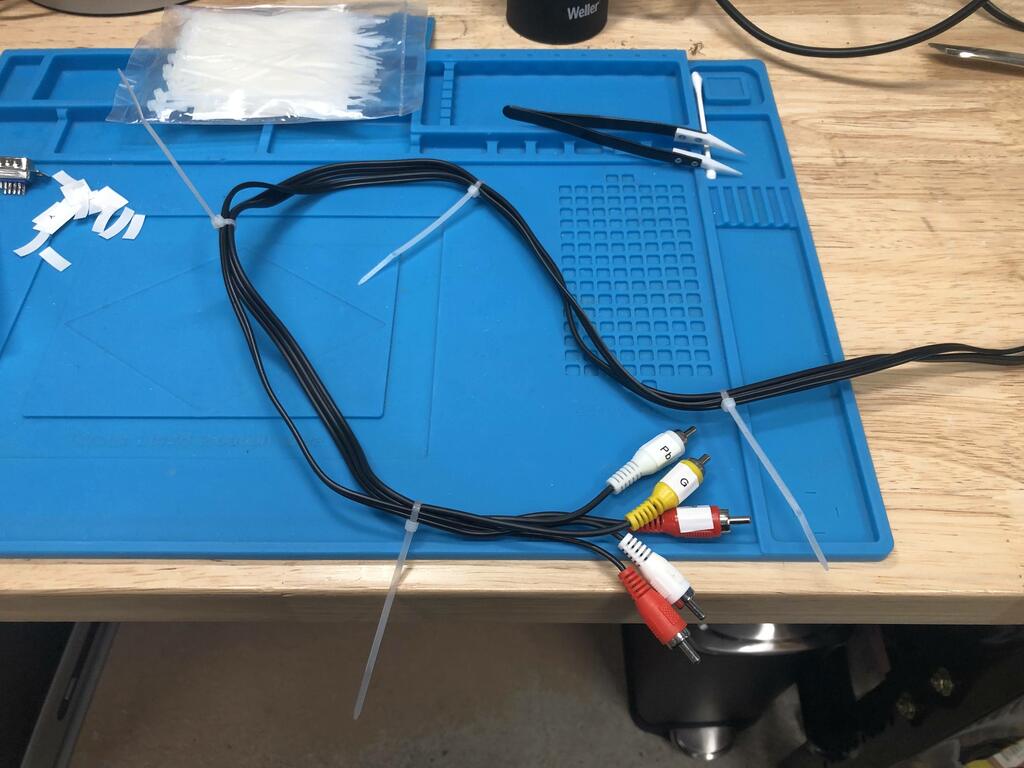
To carry audio, I bought a 3-RCA extension cable as it was cheaper, so I simply removed the yellow cable:
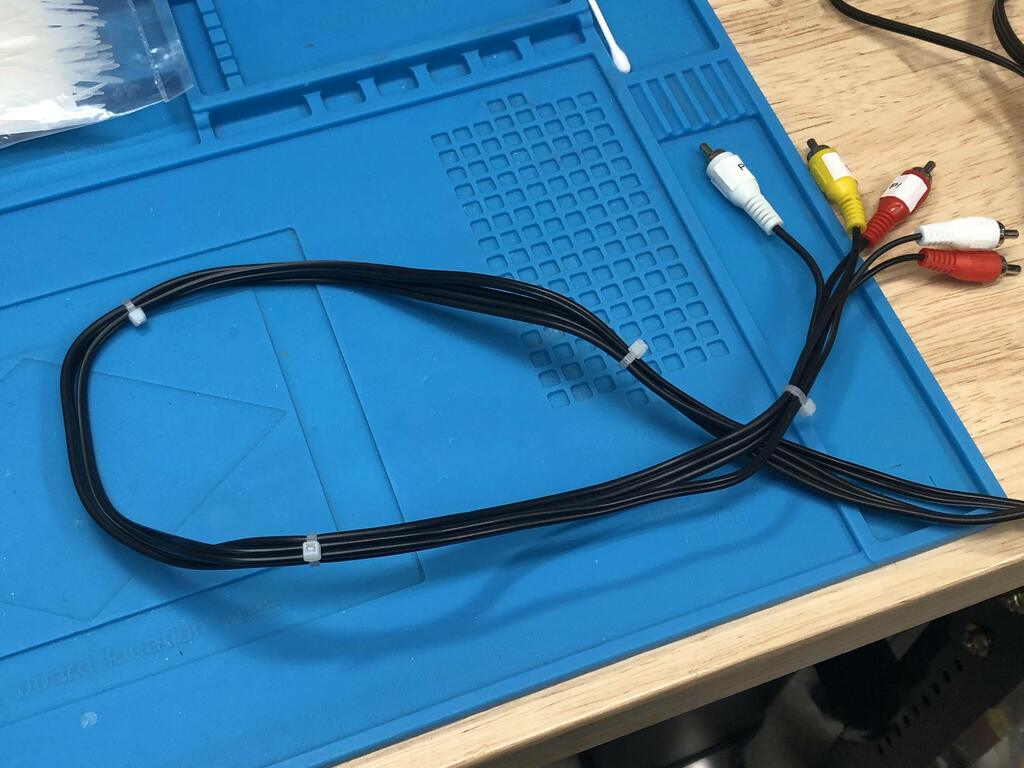
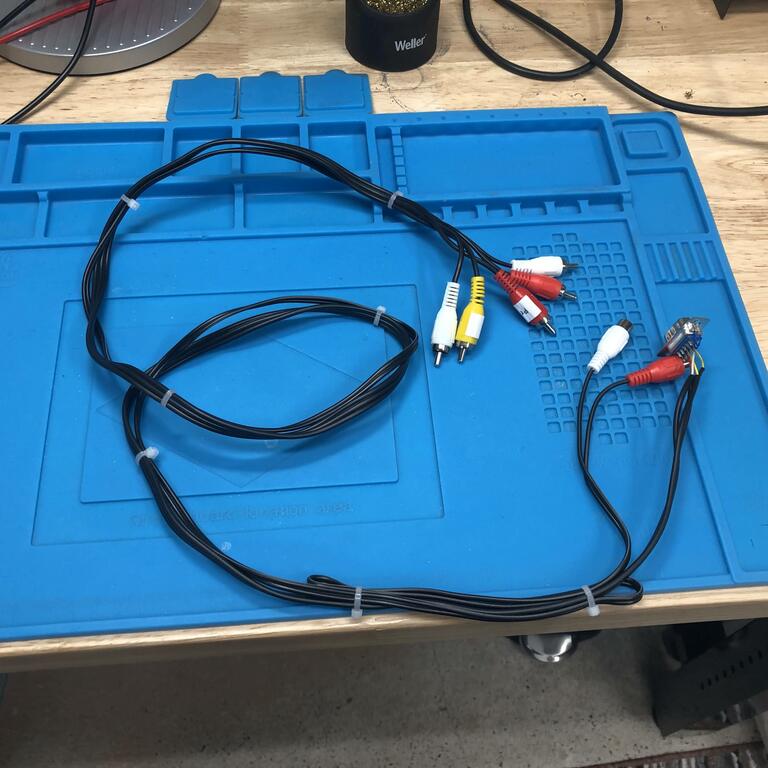
Next, I used some zip ties to tie the 3-RCA video cable to the 2-RCA audio extension together:
On the end that will connect to the gbs-control, I cut the three male connectors off the video cable and stripped the wires:
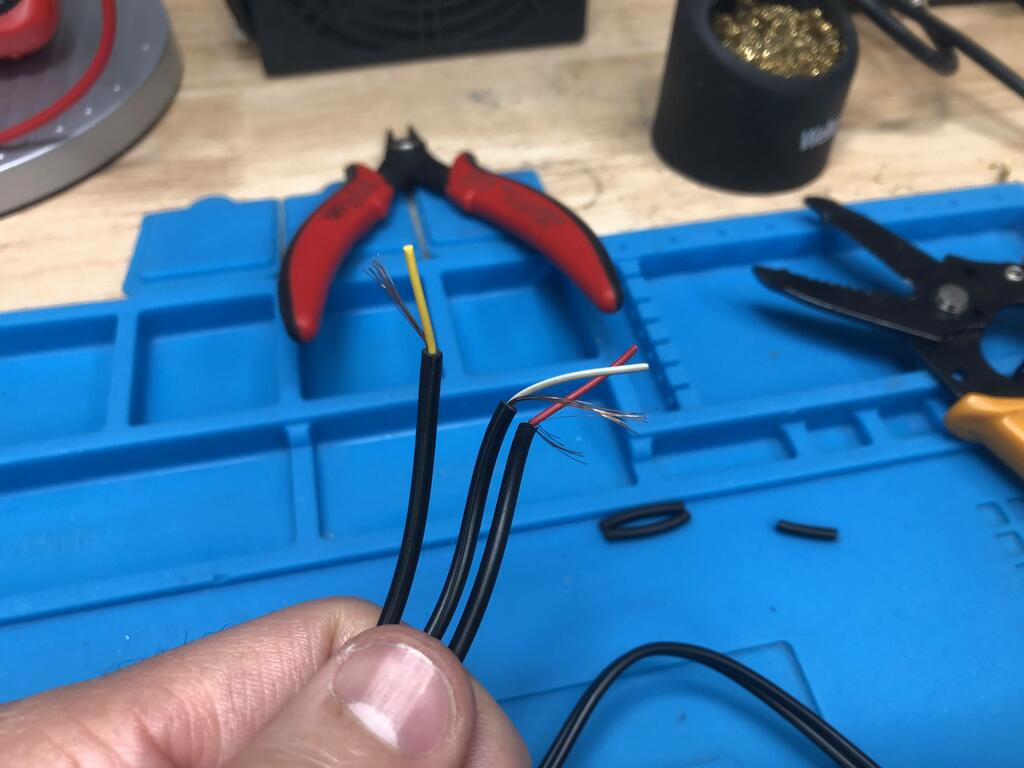
I twisted the ground shielding from all three together, and soldered them together:
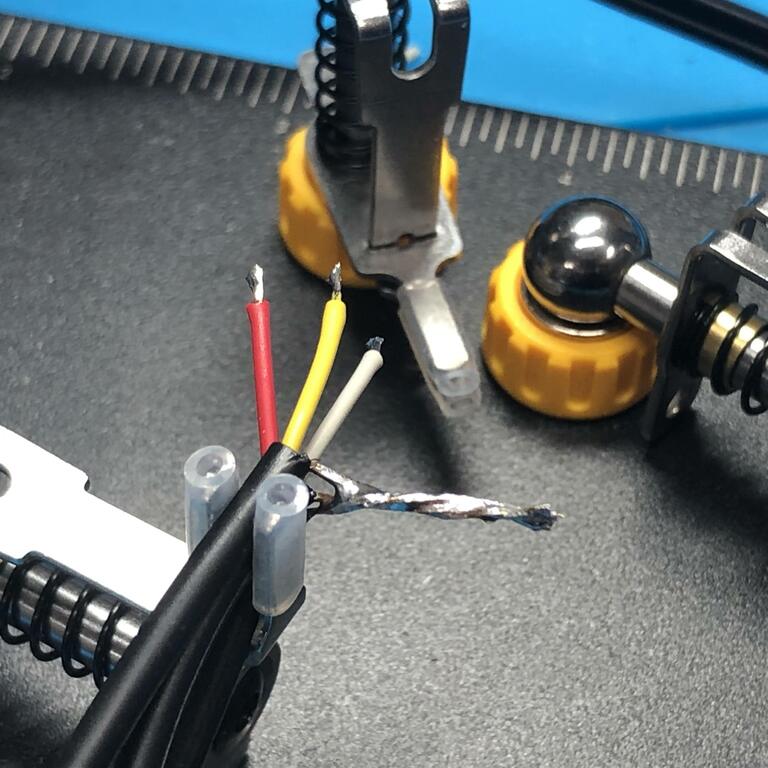
I soldered a little wire to the grounds, and wrapped the exposed bit with heat shrink:

I soldered the three video wires and ground to the DB15 connector:
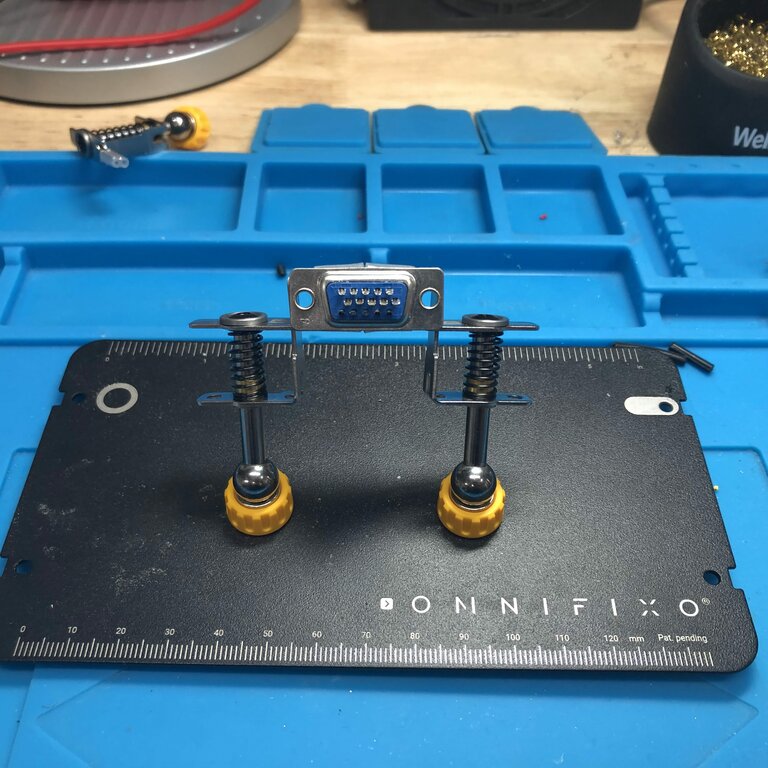
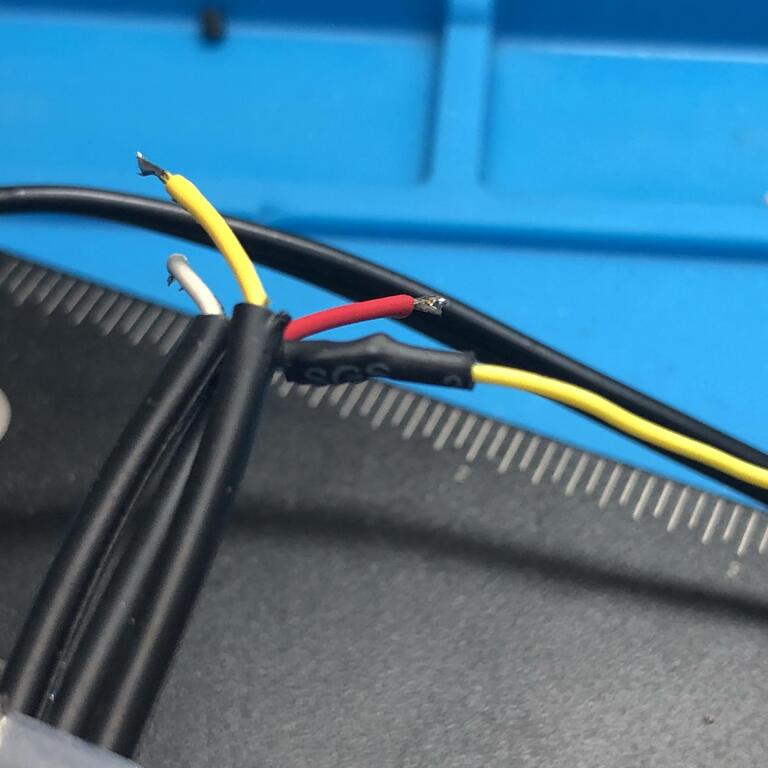
For my cable, I decided to wire it up so that:
- Yellow goes to Green, which carries Y + Sync, soldered to pin 2.
- Red goes to Red, which carries Pr, soldered to pin 1.
- White goes to Blue, which carries Pr, soldered to pin 3.
I also tied the two ground pins, 5 and 10, to the shielding, and soldered the RCA grounds to the shielding as well:

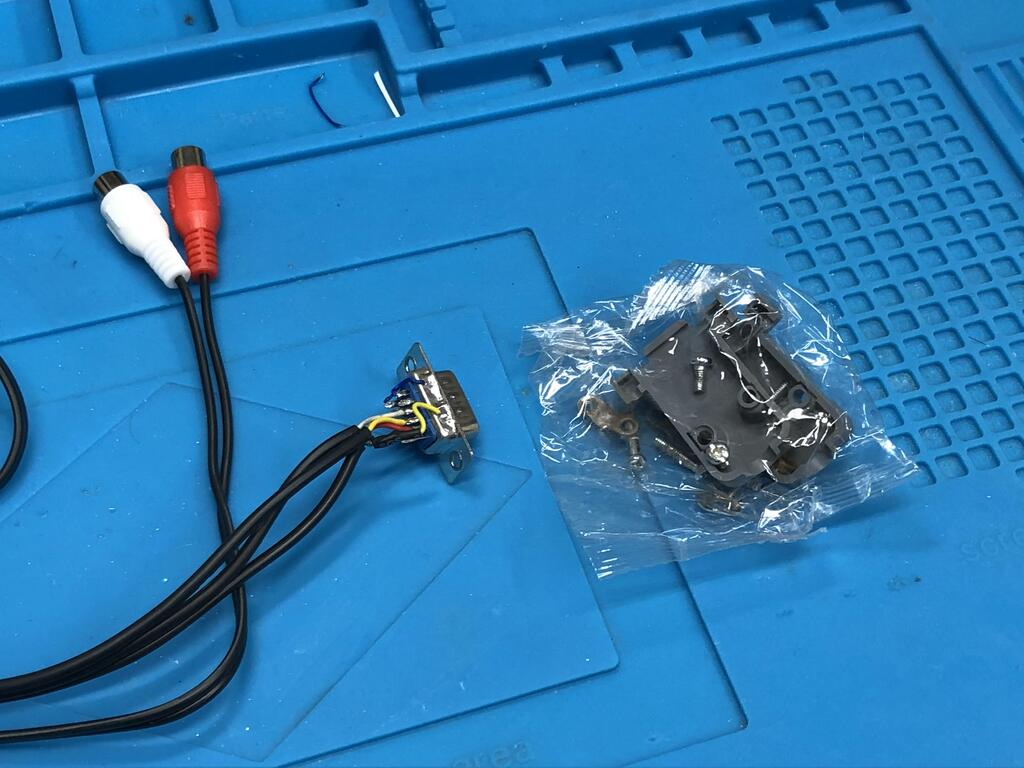
The cable at this point:
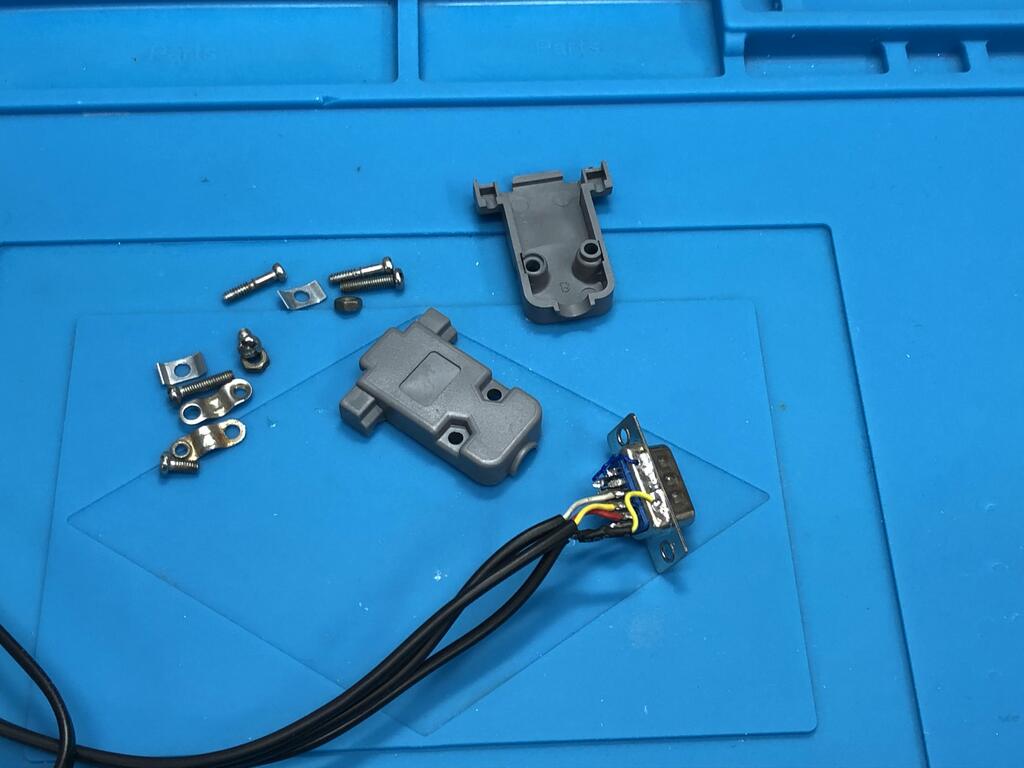
Finally, I put on the shell for the DB15 connector:
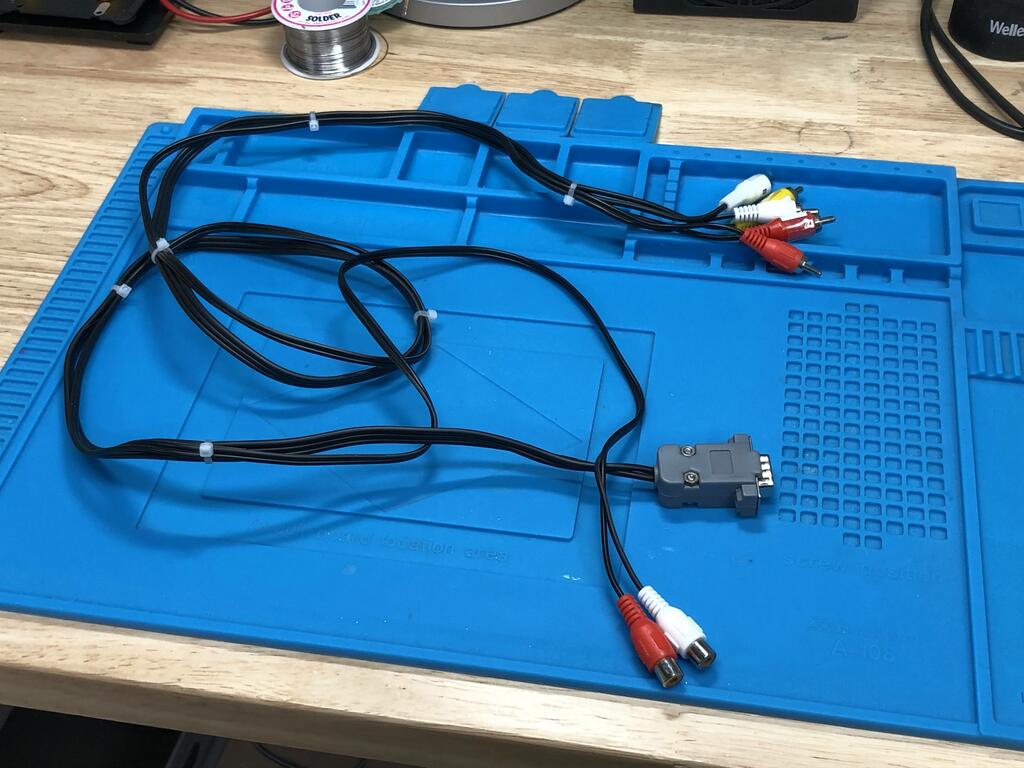
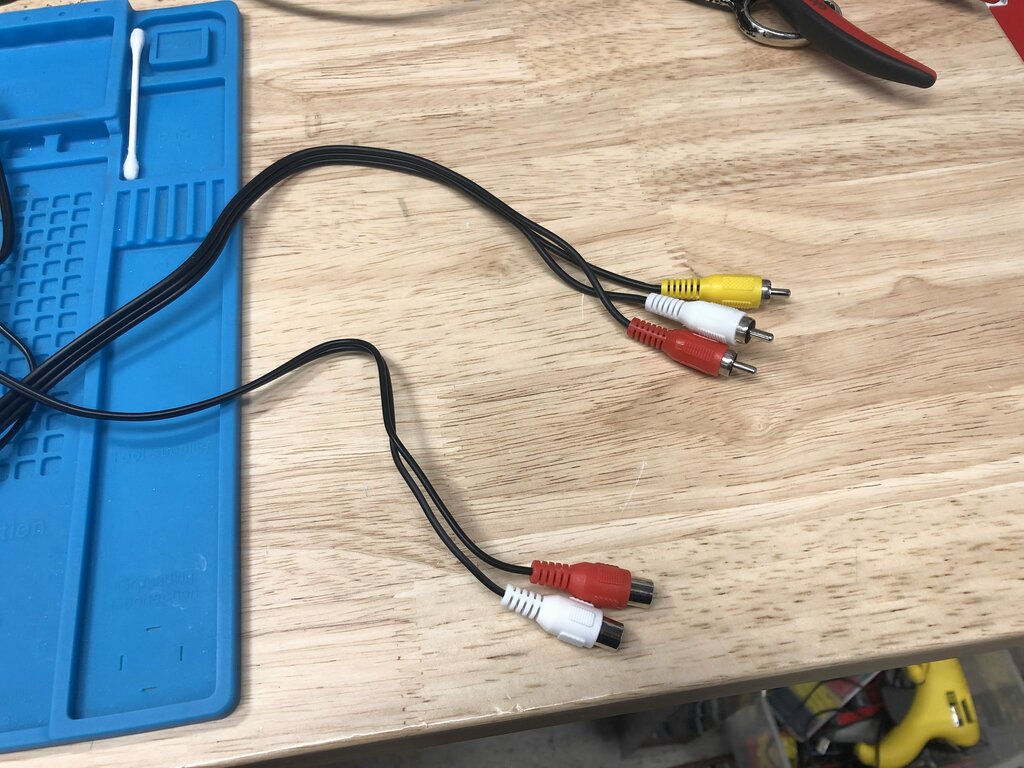
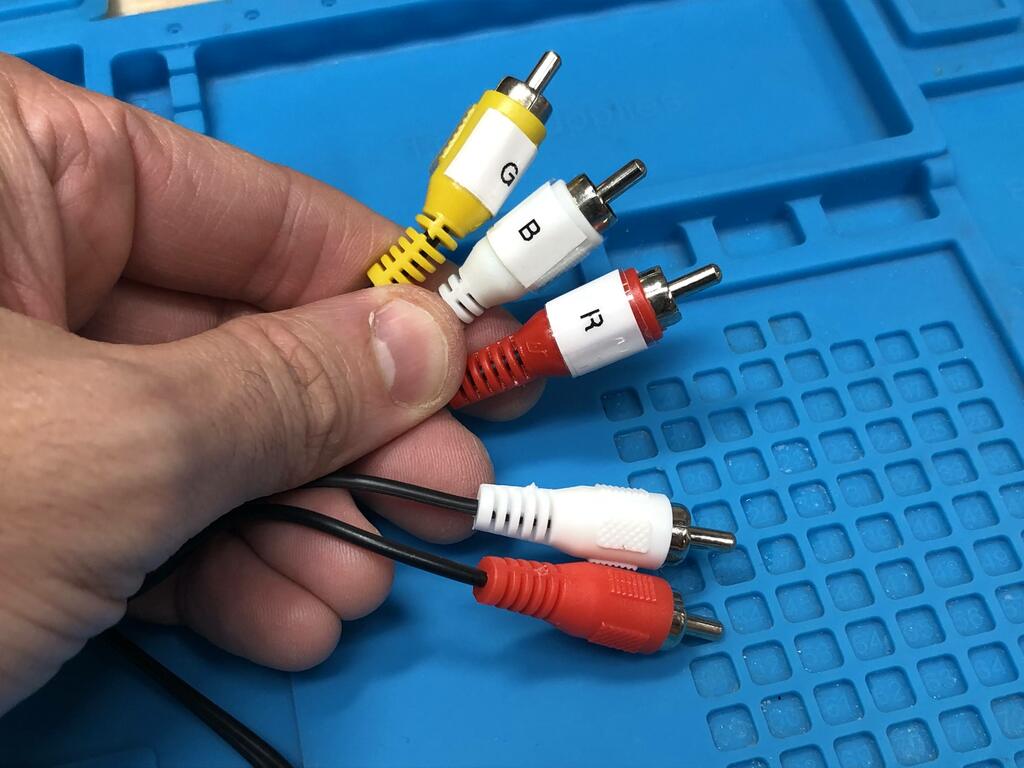
I labeled the three video ends with the standard colors of the component jacks to connect them to:
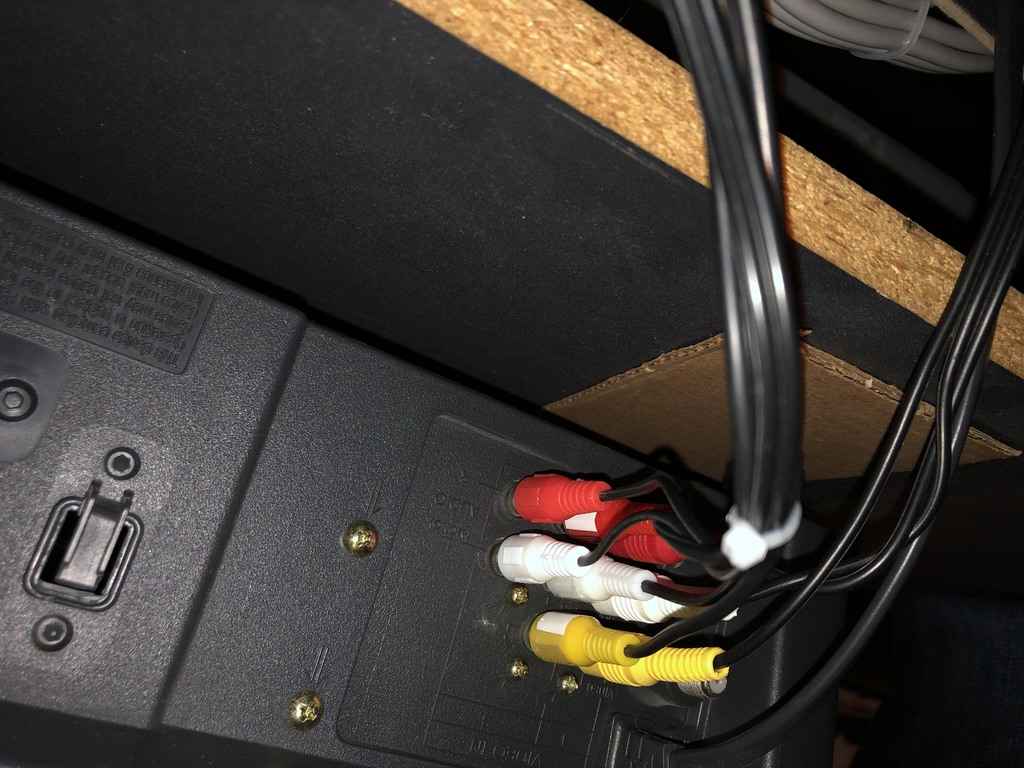
Time to test it out! I hooked up all five connectors from one end of my cable to the component and audio jacks behind my CRT:
For the other end of the cable, the DB15 connector hooks up to the output (back) side of the gbs-control, while the 2 RCA female audio connectors extend to the front where I can hook up audio in:
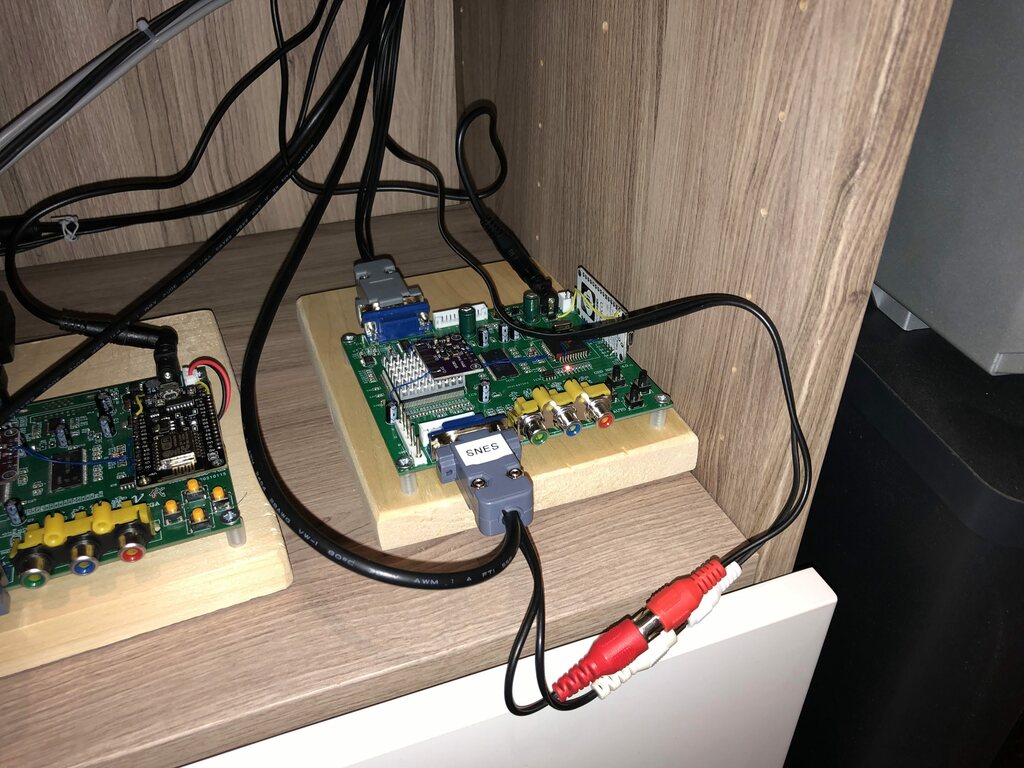
In the pic above, I’ve got my SNES hooked up with the multiout custom cable I made.
With everything in place, I can now finally play games in beautiful quality on my CRT:
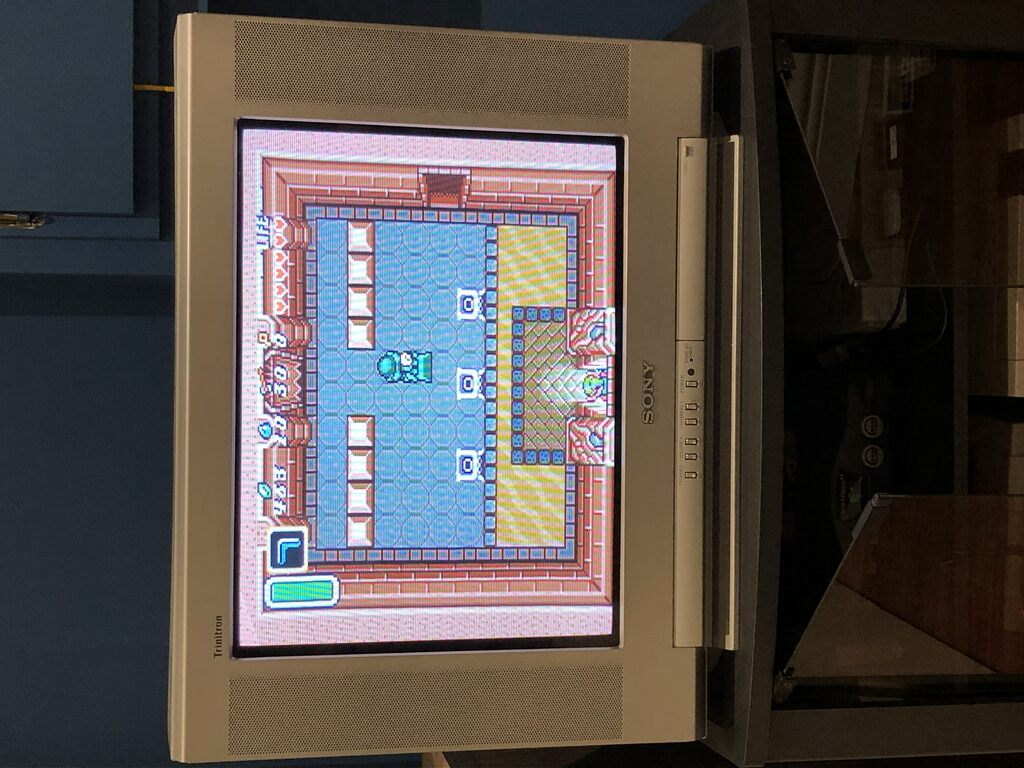
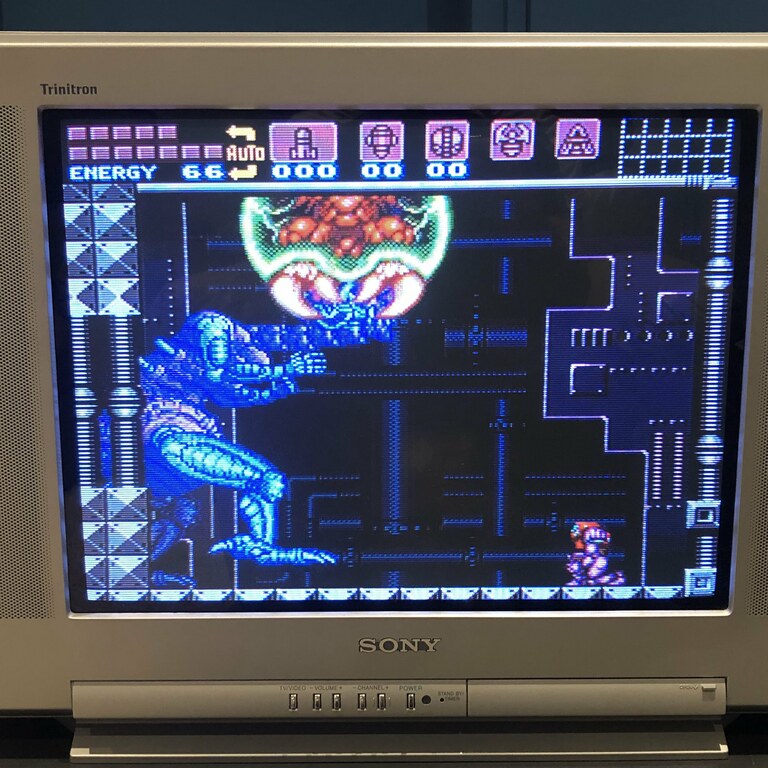
Thoughts #
For less than $5, this cable is very easy to build, and allows me to connect up all my RGB-modded consoles to my CRT. The gbs-control is a fantastic, affordable up-scaler, but with this added ability to downscale/passthrough and output YPbPr, it makes it an essential part of any retro setup.